Cane Back Chairs Painted with Annie Sloan Paint!

I bought these chairs for $25 each.  Real wood.  GO ME!  

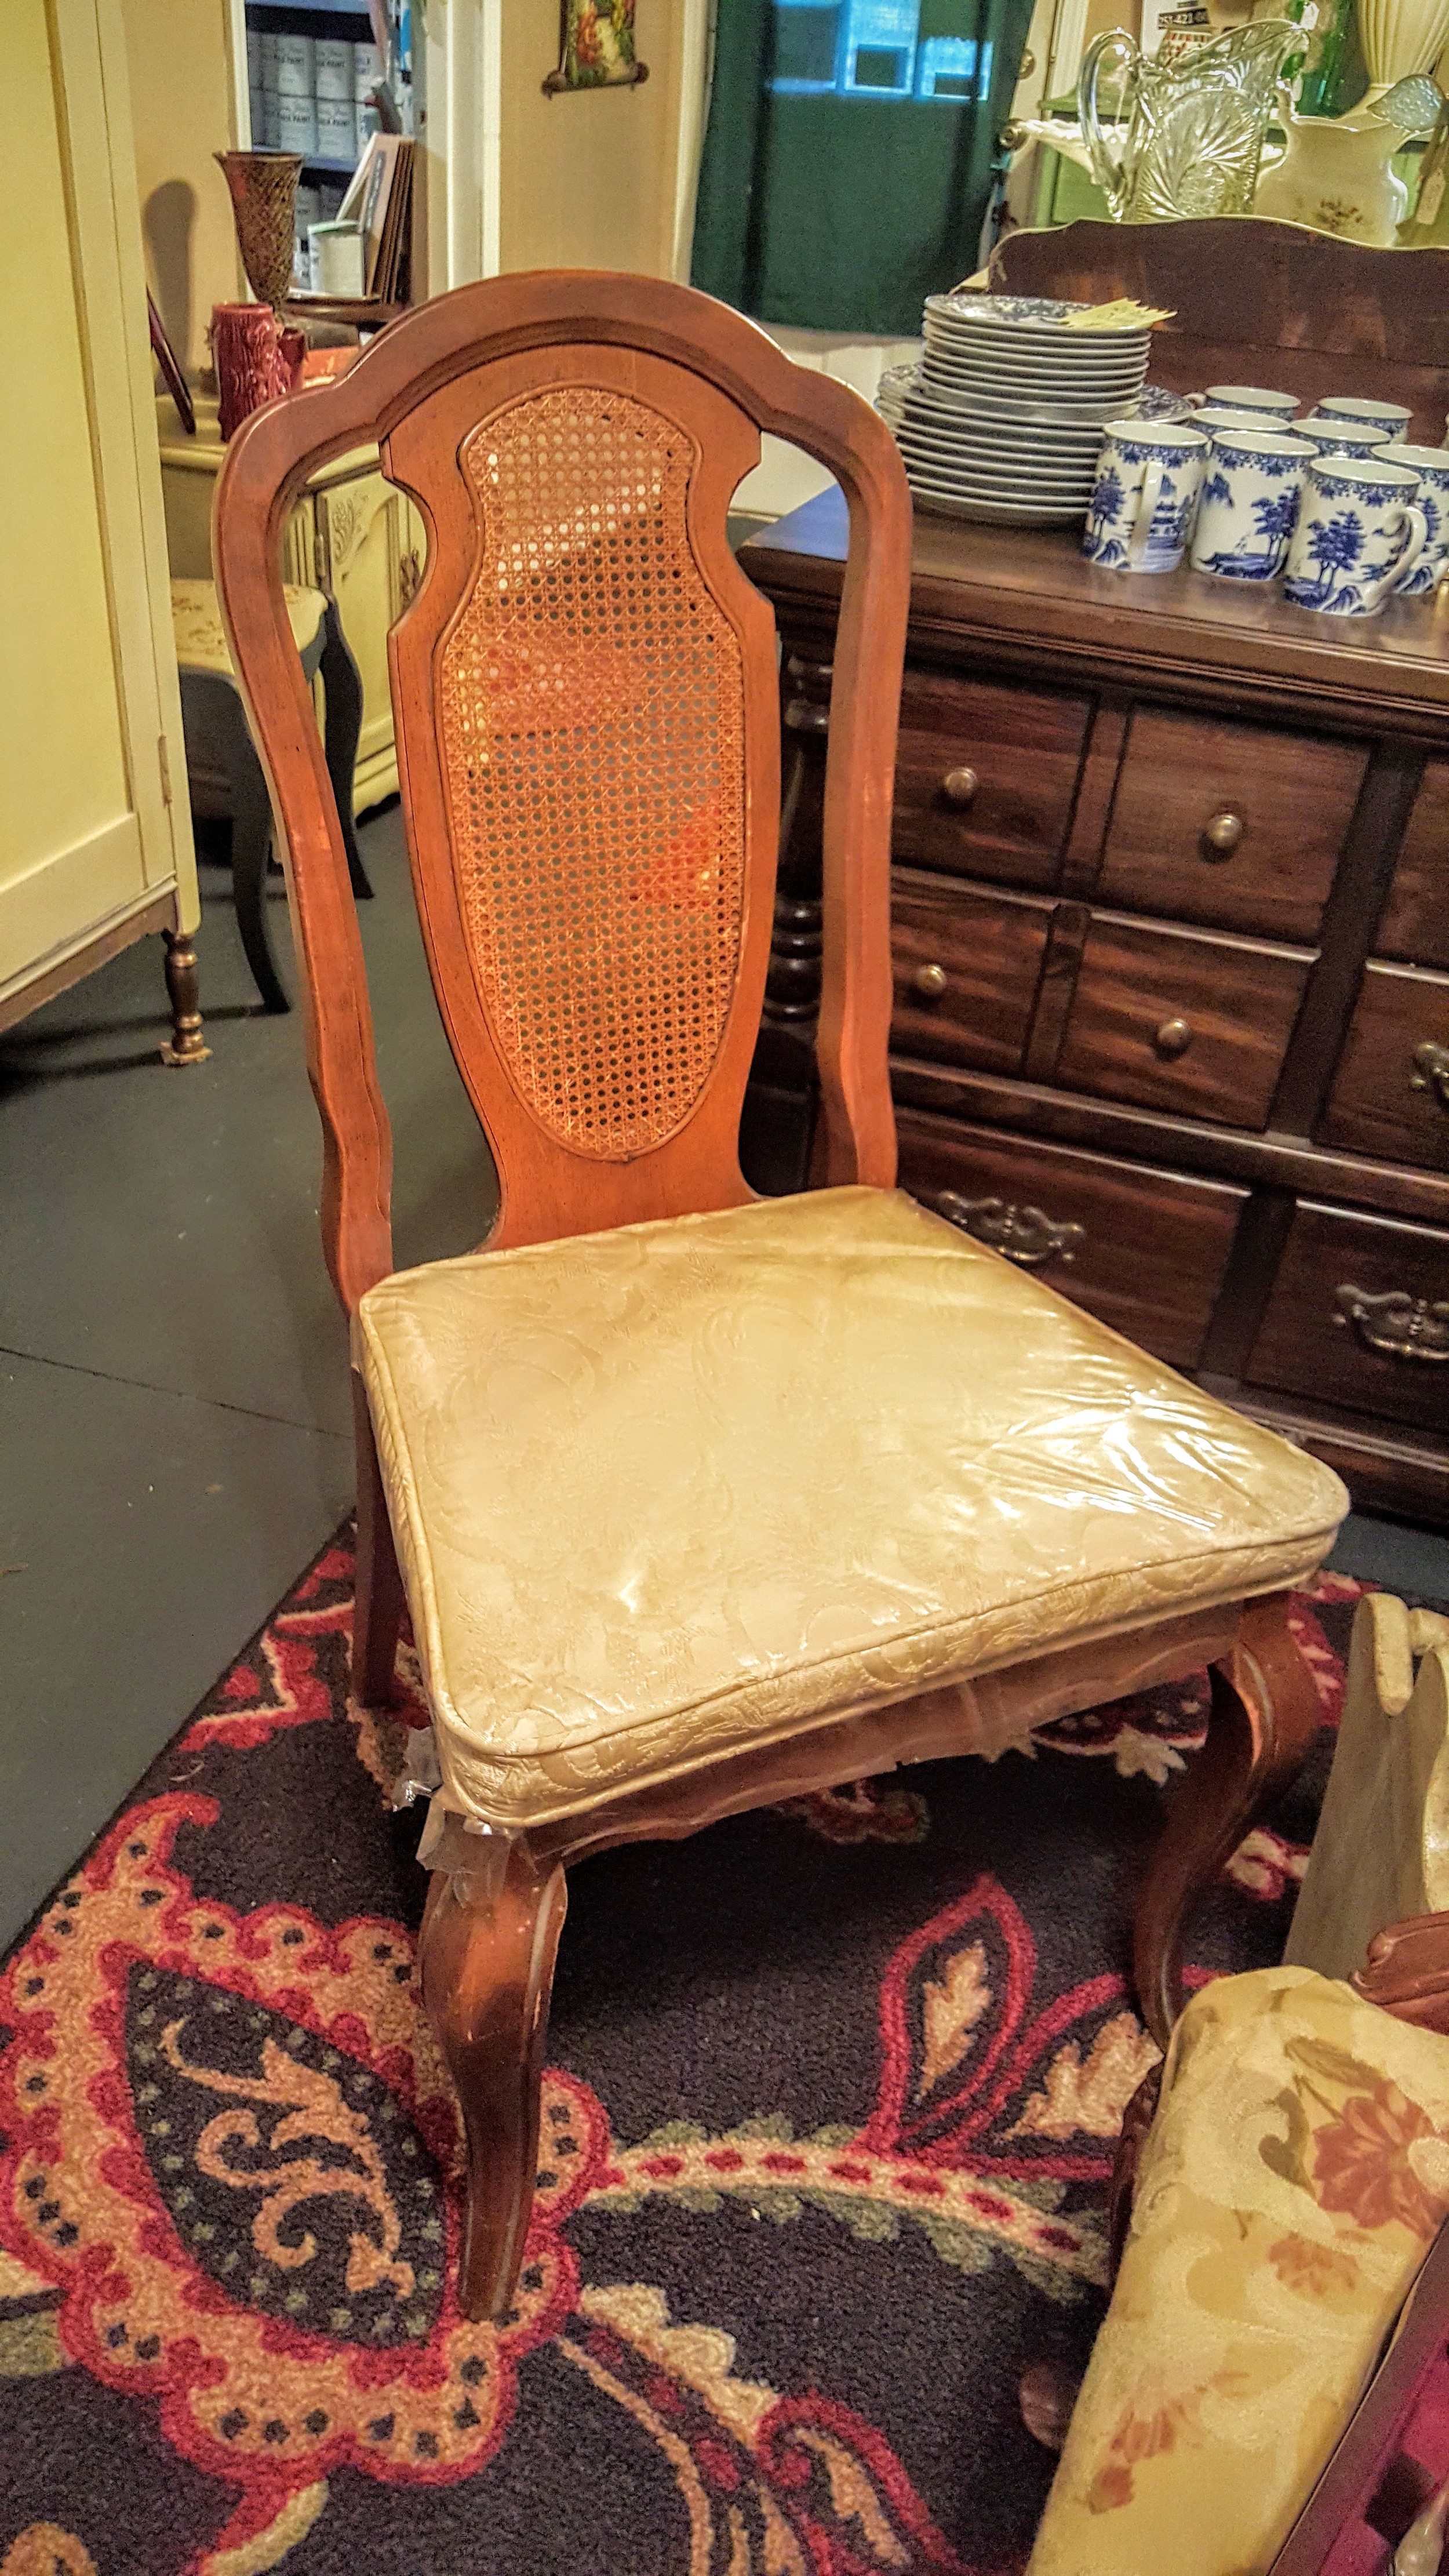
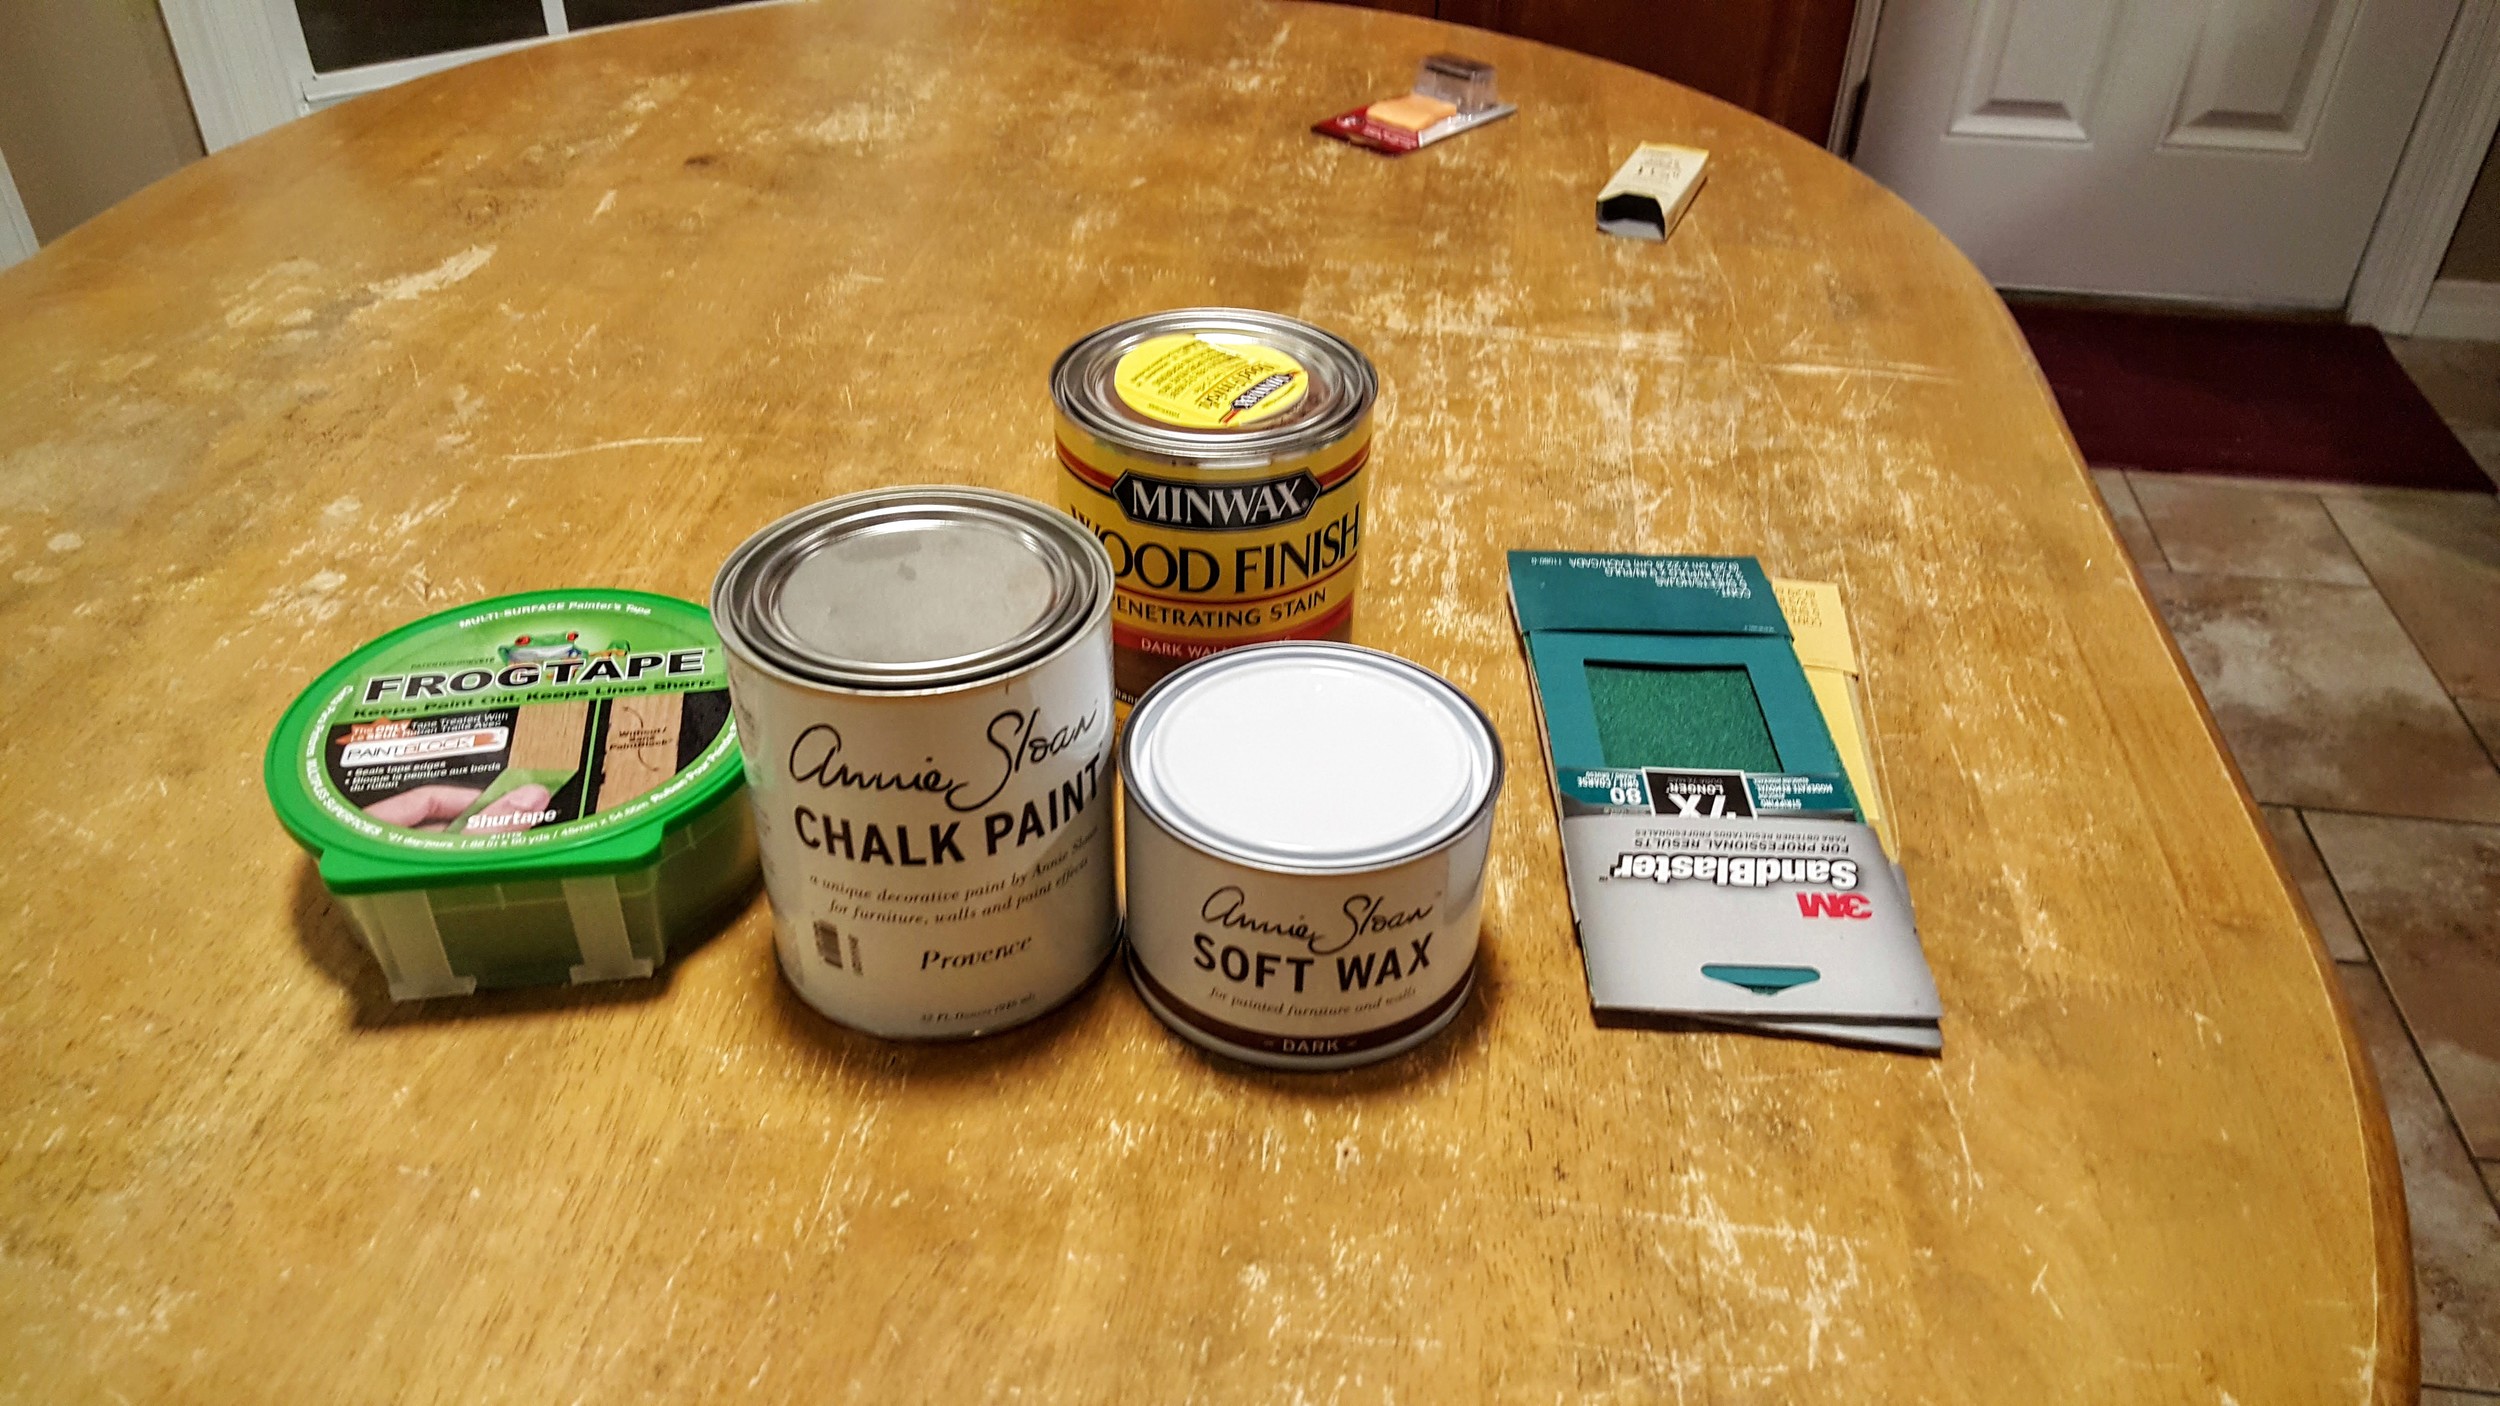
Since I was painting them with Annie Sloan chalk paint, I didn't need to sand or prime them.  Just two coats of paint.

Next, I'm going to add clear wax to them and recover the cushions with that fabric.

I think they look pretty good with the table.

So...this project is almost complete.

The table and chairs cost me $150.  I had to buy the paint, dark wax, clear wax and stain.  A brush to put the wax on with and two yards of fabric to cover the chairs.

Yeah...I feel REALLY good about what I did here.  Imma mess around and pop a hip doing the electric slide 'cross these floors in joy!  LOL!  

Annie Sloan MIRACLE Chalk Painted Kitchen Table!!!!!!!

I fell down a rabbit hole recently on Pinterest regarding Annie Sloan chalk paint.  I got really excited and then Angela shared with me the china cabinet she did and that pretty much sealed the deal for me.  I wanted to do something with the paint.

Our dining table is in the dining room so we needed a kitchen table.  Of course I'd identified one.  For whatever reason, I didn't pull the plug on it immediately and The Robinator kept asking me when we were going to get a table.  I'd decided I wanted to use a bench against the bay windows so the view wasn't obstructed and well...I just kept dragging my feet because I couldn't find exactly what I wanted.  I wanted it to be fun but still neutral.  Crazy I know.

This is what I liked:

But I wasn't crazy about the white.  The walls on the main level are taupe with white trim.  Too much white will make it BLAH...in my opinion.

The Annie Sloan pics on Pinterest made me feel like...YAAAAAAASSSSSSSSS!!!!!!!!!!!  I WANT THAT!!!!!!!!!  Pinterest Annie Sloan Table

Okay...so I needed a table.  

The Robinator was a good sport and went with me to a place that sold old furniture.  We were walking around when I found a table with crap stacked on top of it.  It looked horrid but it was REAL wood.  I asked the owner how much and when she said $50 I agreed INSTANTLY.

We brought it home but my shoulder was hurting so badly...he wouldn't let me start.  But I went to the place where they sold Annie Sloan chalk paint and picked out the color, Provence. I figured it would give me the pop of color I was looking for while still remaining relatively neutral.  

I decided I wanted to stain the top so I chose Minwax Dark Walnut as the stain for the tabletop.

I woke up this morning chomping at the bit to get it done but my shoulder was still messed up.  Because he's kinda awesomely fantastic...The Robinator sanded it for me and then I got to work.

These are the steps:

1.  Clean with Clorox cleaner and damp towel.

2.  Let dry.

3.  Sand top only (going to stain the top) with coarse sand paper.

4.  Wipe off dust.

5.  Sand again if needed.

6.  Wipe off dust.

7.  Sand with fine sand paper.

8.  Wipe off dust.

9.  Wipe down with damp towel.

10.  Let dry.

11. Stain.

12.  Let sit for 15 minutes.

13.  Wipe dry with old, soft t-shirt.

14.  Stain again if you'd like it darker.  (I didn't.)

15.  Paint rest of table with chalk paint.

16.  Let dry for an hour.

17.  Paint again.

18.  After 5 hours, add Annie Sloan dark wax to top.

19.  Wipe off excess wax.

I didn't buy the clear wax for the painted part because I didn't think I'd like it but I think I now want it so I'll go get it tomorrow and add it.

The table looks awesome.sauce.

In my opinion.

Would you try something like this?  I now want to paint and stain whatever I can find.  LOL!  I have identified the next piece I'm going to do and I am super-dooper excited about it!  I've found the chairs I want to use but not the bench so I might have to get it made. 

I want to use coordinating seat cushions and Sheffield valances in the space so that will be cool!  Buying new furniture made out of real wood can set you back a grip since the days of MDF being easy and much cheaper options.  I don't like MDF.  I'm a grownup.  I want my furniture to be made out of real wood.  So...either I'm going to have to upcycle old pieces or  spend ridiculous (to me) amounts of money to get good quality products.  With a little elbow grease and some vision...I'm pretty excited about the prospects ahead of me now that I know I can do this.  I know what my next two projects are going to be and Shelly has me penciled in to do something for her, but my project after that is a guest bedroom where I want to do two twin beds with an American flag motif.  

I'm all excited and whatnot and so is The Robinator.  Dude keeps passing by the table marveling that we only paid $50 for it.  LOL!  I love that.  

GOBBLE.GOBBLE!!!!!!!!


Painted Bathroom Cabinet

I am in mad get-house-ready for holiday mode.  We have a full bath on the main level that will be used as a powder room because the bedroom it "goes" with is now my office.  So...no showers or baths will be going on in that bathroom.

The cabinet was this dark brown stained blah of a thing and well...I wasn't happy with it.  

Because of this, the bathroom has straight up been in a disarray since we moved in.

Today was d-day for that bathroom now powder room and I did a few things that make me very, very happy!  GO ME!

The first thing was to try and decorate the tub/shower combo as well as possible.  It will probably never be used since there are other bathrooms for that purpose upstairs  so I was debating what kind of shower curtain I should use.  While debating with myself, I was about to put away some curtains I don't have any use for.  Because they had grommets like a shower curtain I thought...HMMMMMMMMM...

And I put them on the shower curtain rod.

Me likey.

Since there won't be any showering in this bathroom, I elected to not put a rug in there.  This might change.  I put a rug in there and stepped away.  When I returned I didn't like it but maybe it just wasn't the right rug.

The cabinet?  UGH.  That thing was horrid.  The medicine cabinet too.  Just regular wood stained medium darkish brown.

So I lightly sanded it, wiped it down, primed it and then painted it with Benjamin Moore Chelsea Gray

I REALLY like it!

I did the medicine cabinet too and changed out the knobs with some knobs I found at TJ Maxx 4 or $6.99.  GO.ME.AGAIN!

I really, really, really like the color and I deliberately didn't do more than one coat on the medicine cabinet so it could have that distressed/shabby look to the real wood.

I put up some other stuff and I'm looking for something to put on the wall above the shower so I'm really excited about how I was able to change the look of it for little or nothing.  

Have you ever painted cabinets before?  Do you still like them?  What color did you paint them?

I LOVE, LOVE, LOVE DIY HOME IMPROVEMENT THINGYS!!!!!!!!!!!

Update Old Wood Furniture!

I have been wanting to do one of those Pinterest wood furniture makeovers for a while now.  I mean...every single time I see one I think to myself...I COULD DO THAT!  Then I go looking for something and I can't find anything because there is just so much stuff in the places which sell old furniture.

I was shopping for upholstery fabric the other day and passed several old furniture stores.  I stopped in and found this little table.  It's real wood and kinda cute.  I like it.  The top is all messed up from being used without a coaster and it looks like someone stained it once already.

I only paid $25 for it so, as The Robinator so eloquently put it, "Won't be too bad if you mess it up then."  LOL!  Dude has faith in me clearly.  LOL!

I'm on the fence as to if I should stain it or if I should paint it.  Pinterest people are really raving over this paint:  Annie Sloan Chalk Paint 

It's cool looking...but the paint costs more than the table.  LOL!  GO ME!  It's going to end up living in a room which I'm pulling inspiration from this picture to plan out:

I'm loving the natural elements of the color scheme here.  Amber, off-white, muted greens, wheat, and dark browns.

Whatcha thinking?  Should I paint it or stain it?  Have you updated any old pieces of furniture?  Any tips?  Where do you find your pieces?  

How to Deep Clean an Area Rug!

I needed to deep clean the area rugs on the main level and didn't want to pay someone a few hundred dollars to do it.  I scoured the internet to see what other people did and then figured out how to do it on my own.  

GO ME!  It's easy enough to do...just time consuming!

Before I headed out to rent a powerwasher (I rented an electric one because I didn't want to deal with gas.) from Home Depot ($35 per day), I vacuumed the rugs and sprinkled them with baking soda letting them sit for a couple of hours.

One thing I learned was that everyone had their own version of solution to use.  Because of Jaru, I wanted to use a stain buster and a deodorizer in my solution so I seriously just mixed stuff up to include Oxy Clean, vinegar, LA Awesome, and Dr. Bronner's peppermint liquid soap (finally finished using that bottle up after realizing I couldn't used it for bubble bath after that tragic disaster...LOL!:  "Like Mother...NOT Like Daughter."). 

Make sure you do this on a day when you are going to get a couple of follow up days without rain.  I did this on Friday and the rugs weren't completely dry until Sunday.

It should be noted that the rugs I was cleaning were 100% wool pile so they weren't super expensive rugs.  If I had super expensive rugs I would definitely let a professional do them.  It should also be noted that I didn't have a problem with replacing these rugs if I screwed them up so I scrubbed them down something serious.  I would test an area first with your cleaning solution to make sure it didn't discolor a rug you wanted to make sure you didn't ruin.  

I made a quick video showing the process and I'm happy to say my rugs came out wonderfully clean and clean smelling!  GO ME!  Check me out getting my rug scrub on!

Question:  How do you deep clean YOUR rugs?  What solution do you use?  Do you make your own, or do you buy one?

Mingo Collage2.jpg