Hurricane Barry was a BUST!

Most folks get a day off because of a hurricane and relax. MOST FOLKS. Not me. Never me. I intended to try...but got sidetracked by stuff. I had on soft pants all day but didn't chill out until way late.

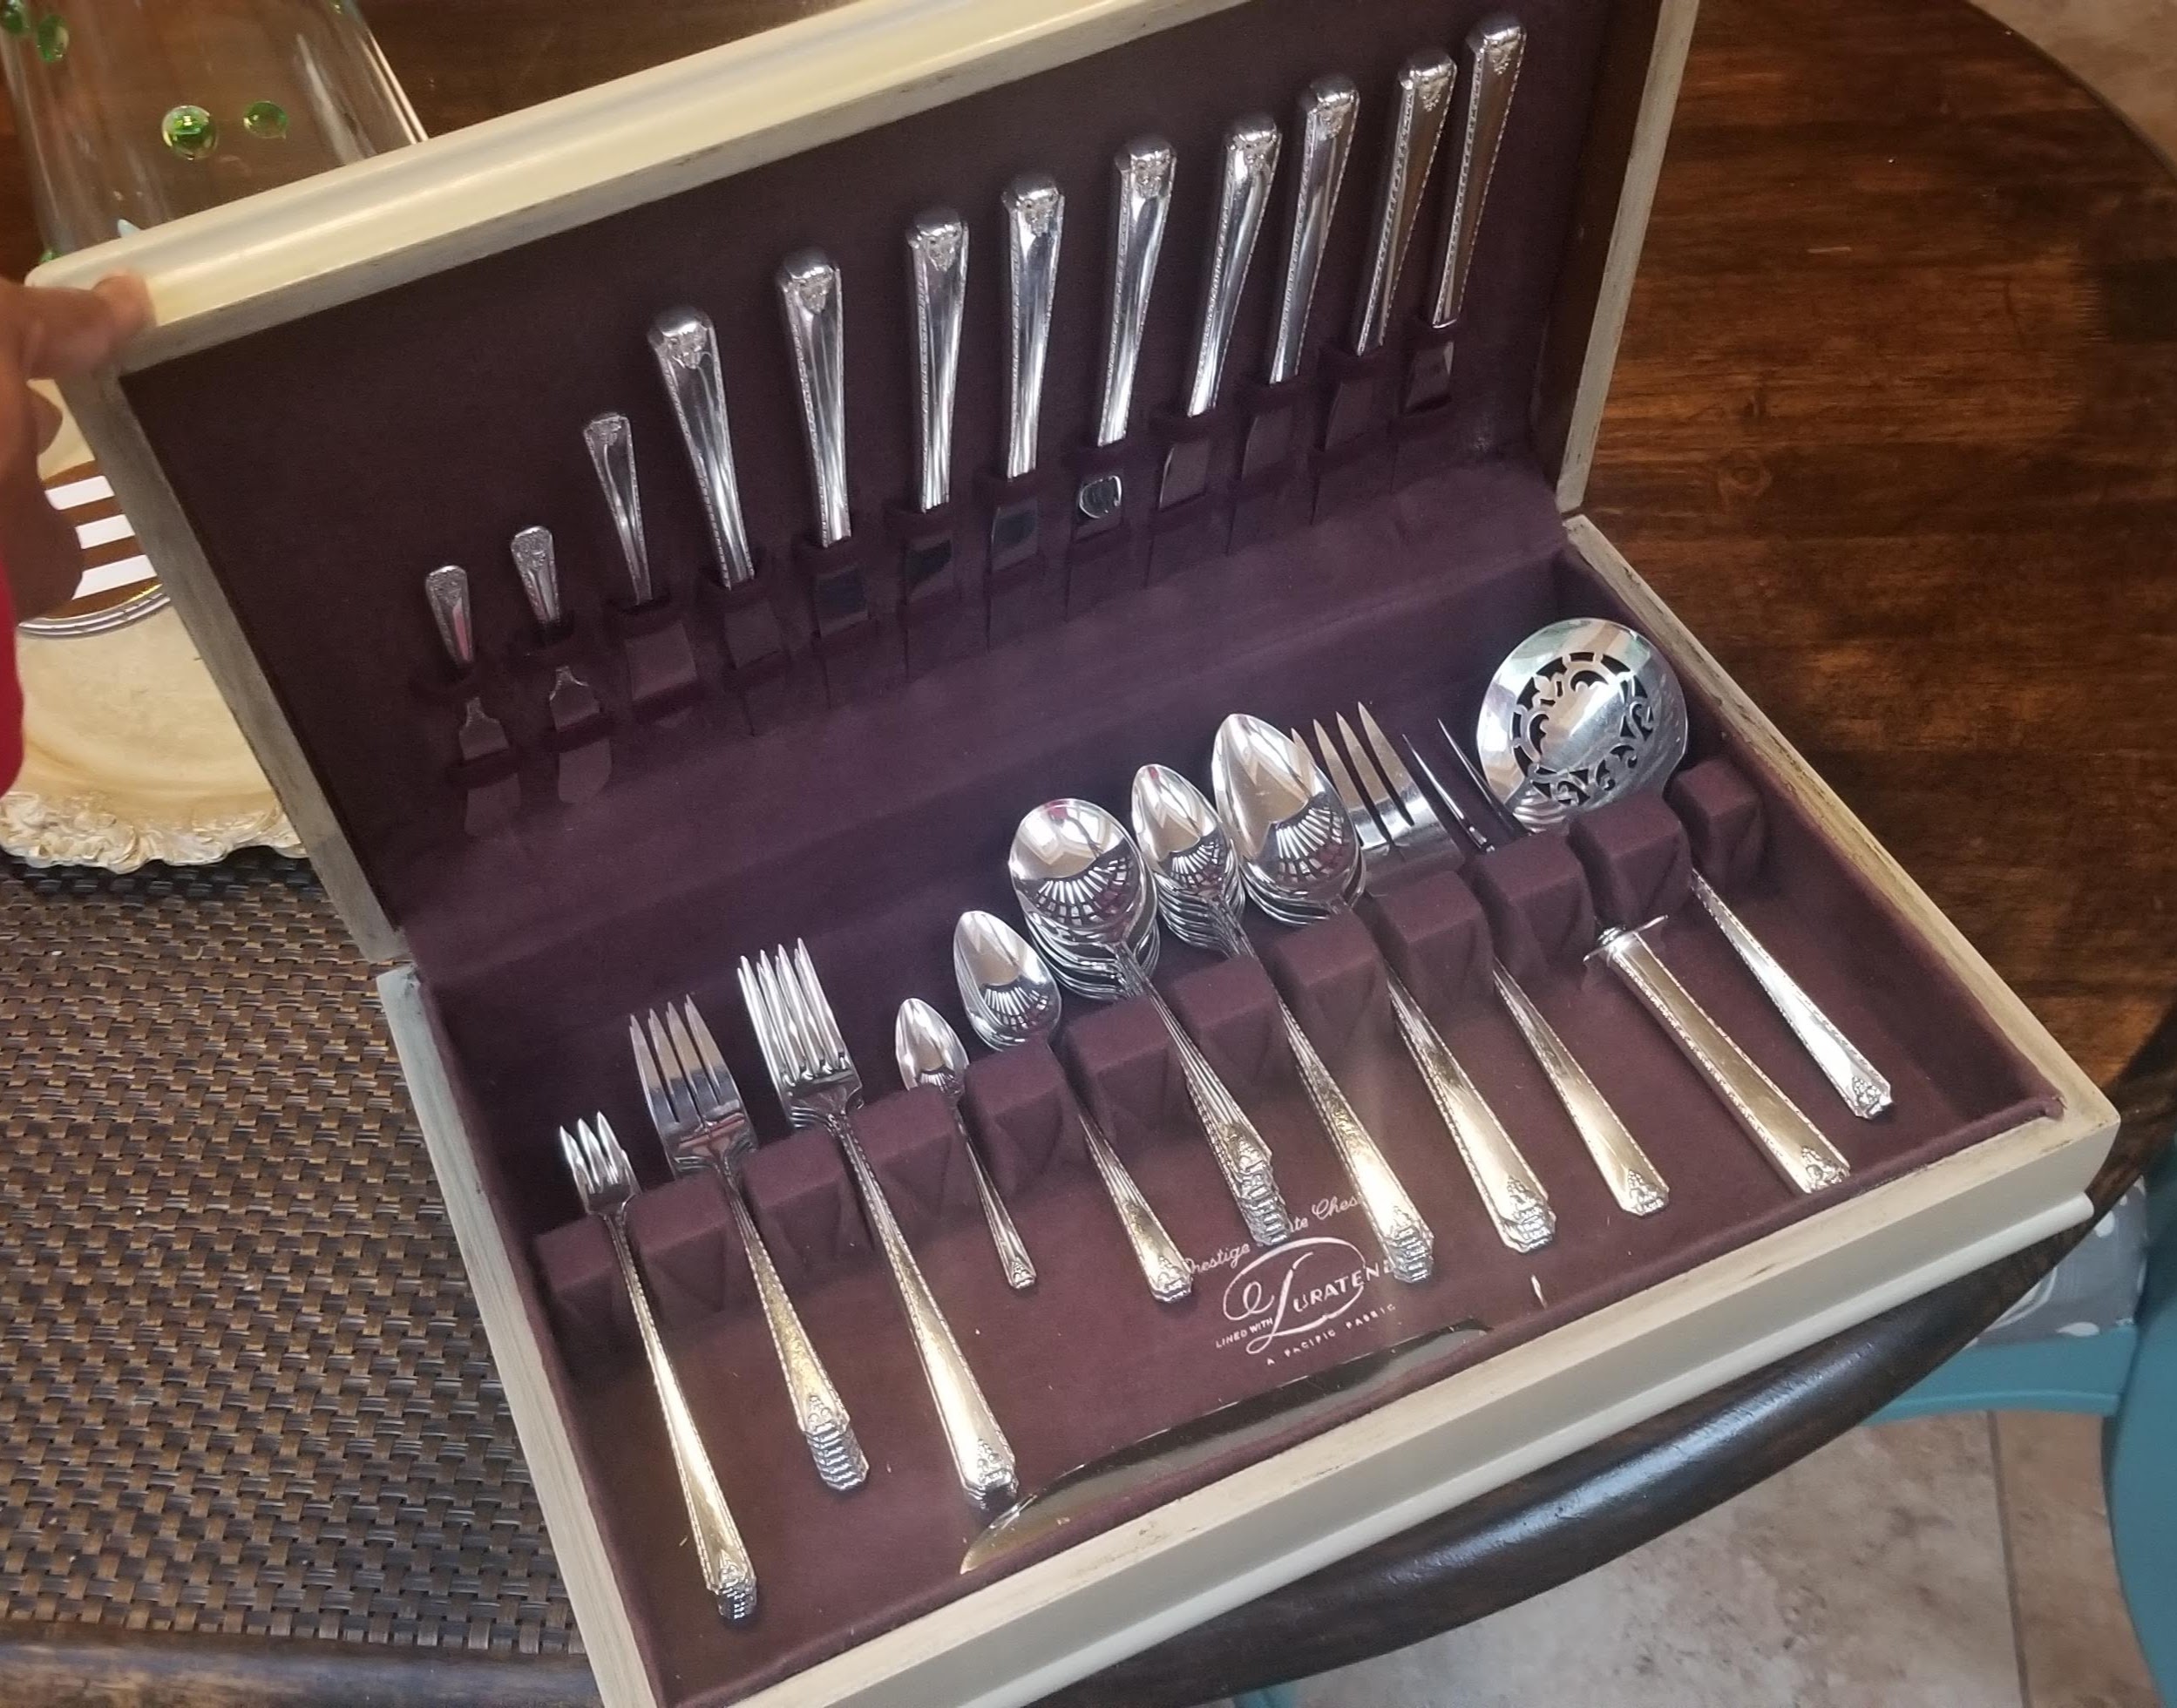
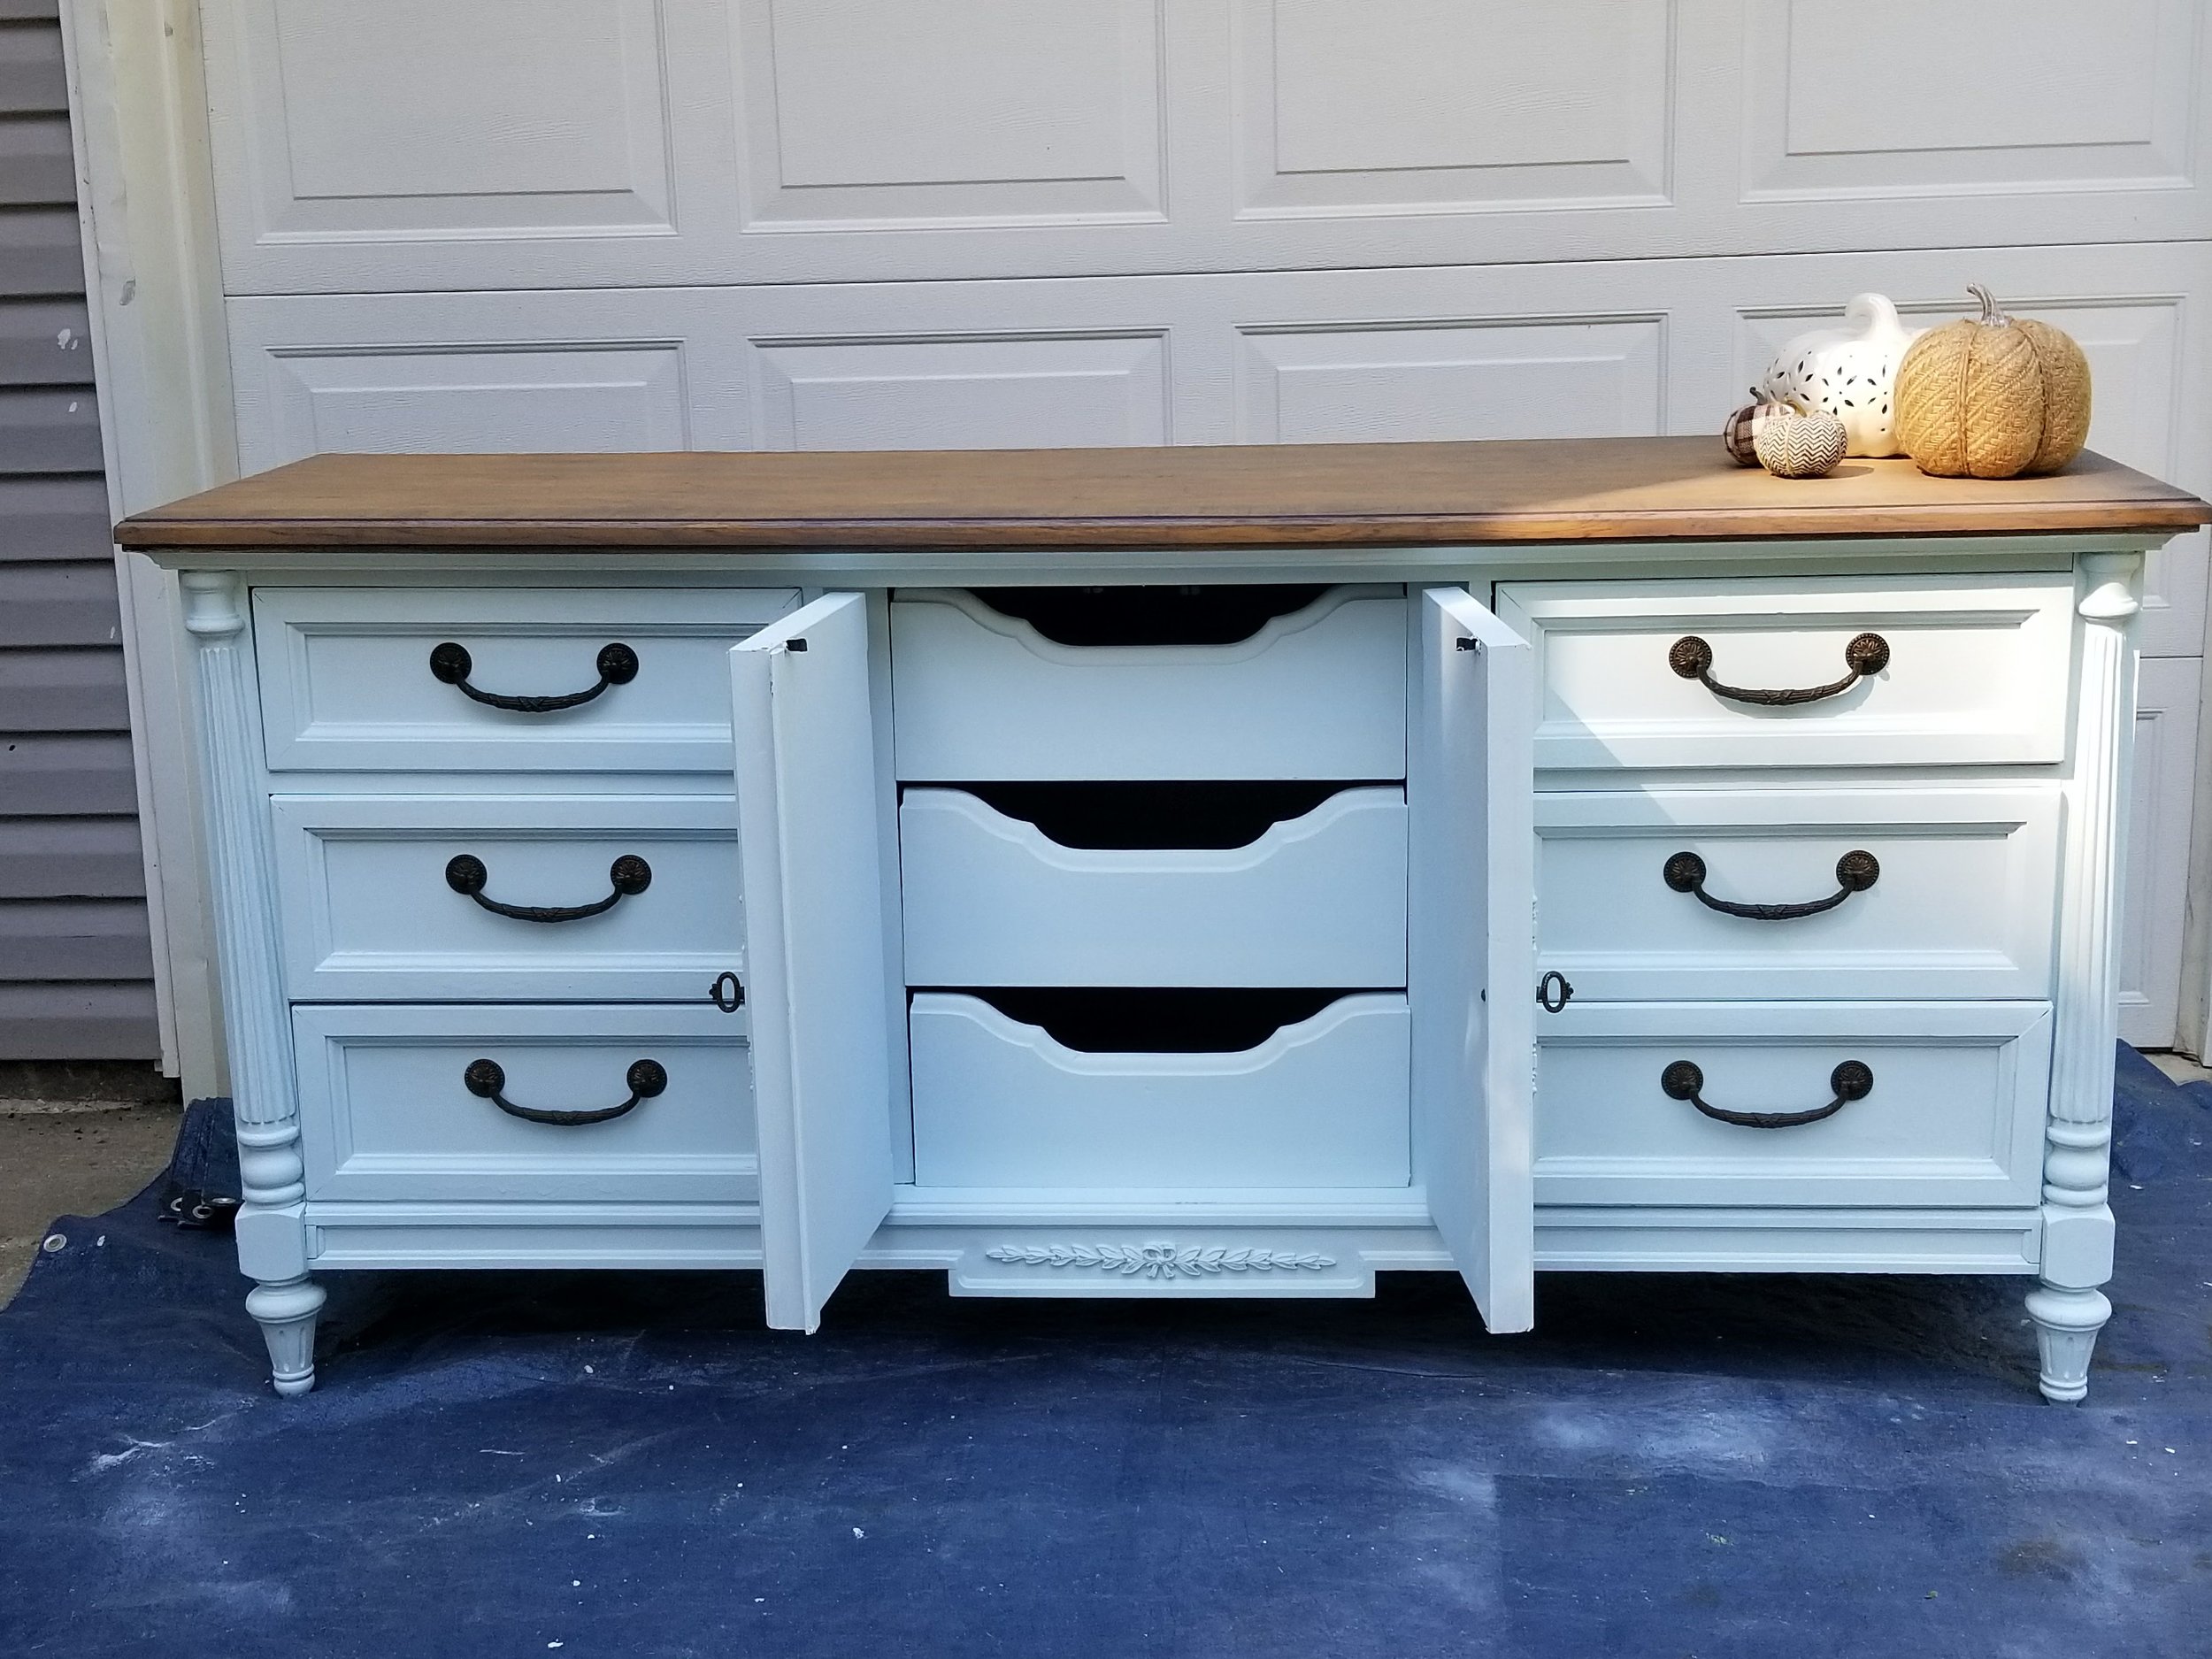
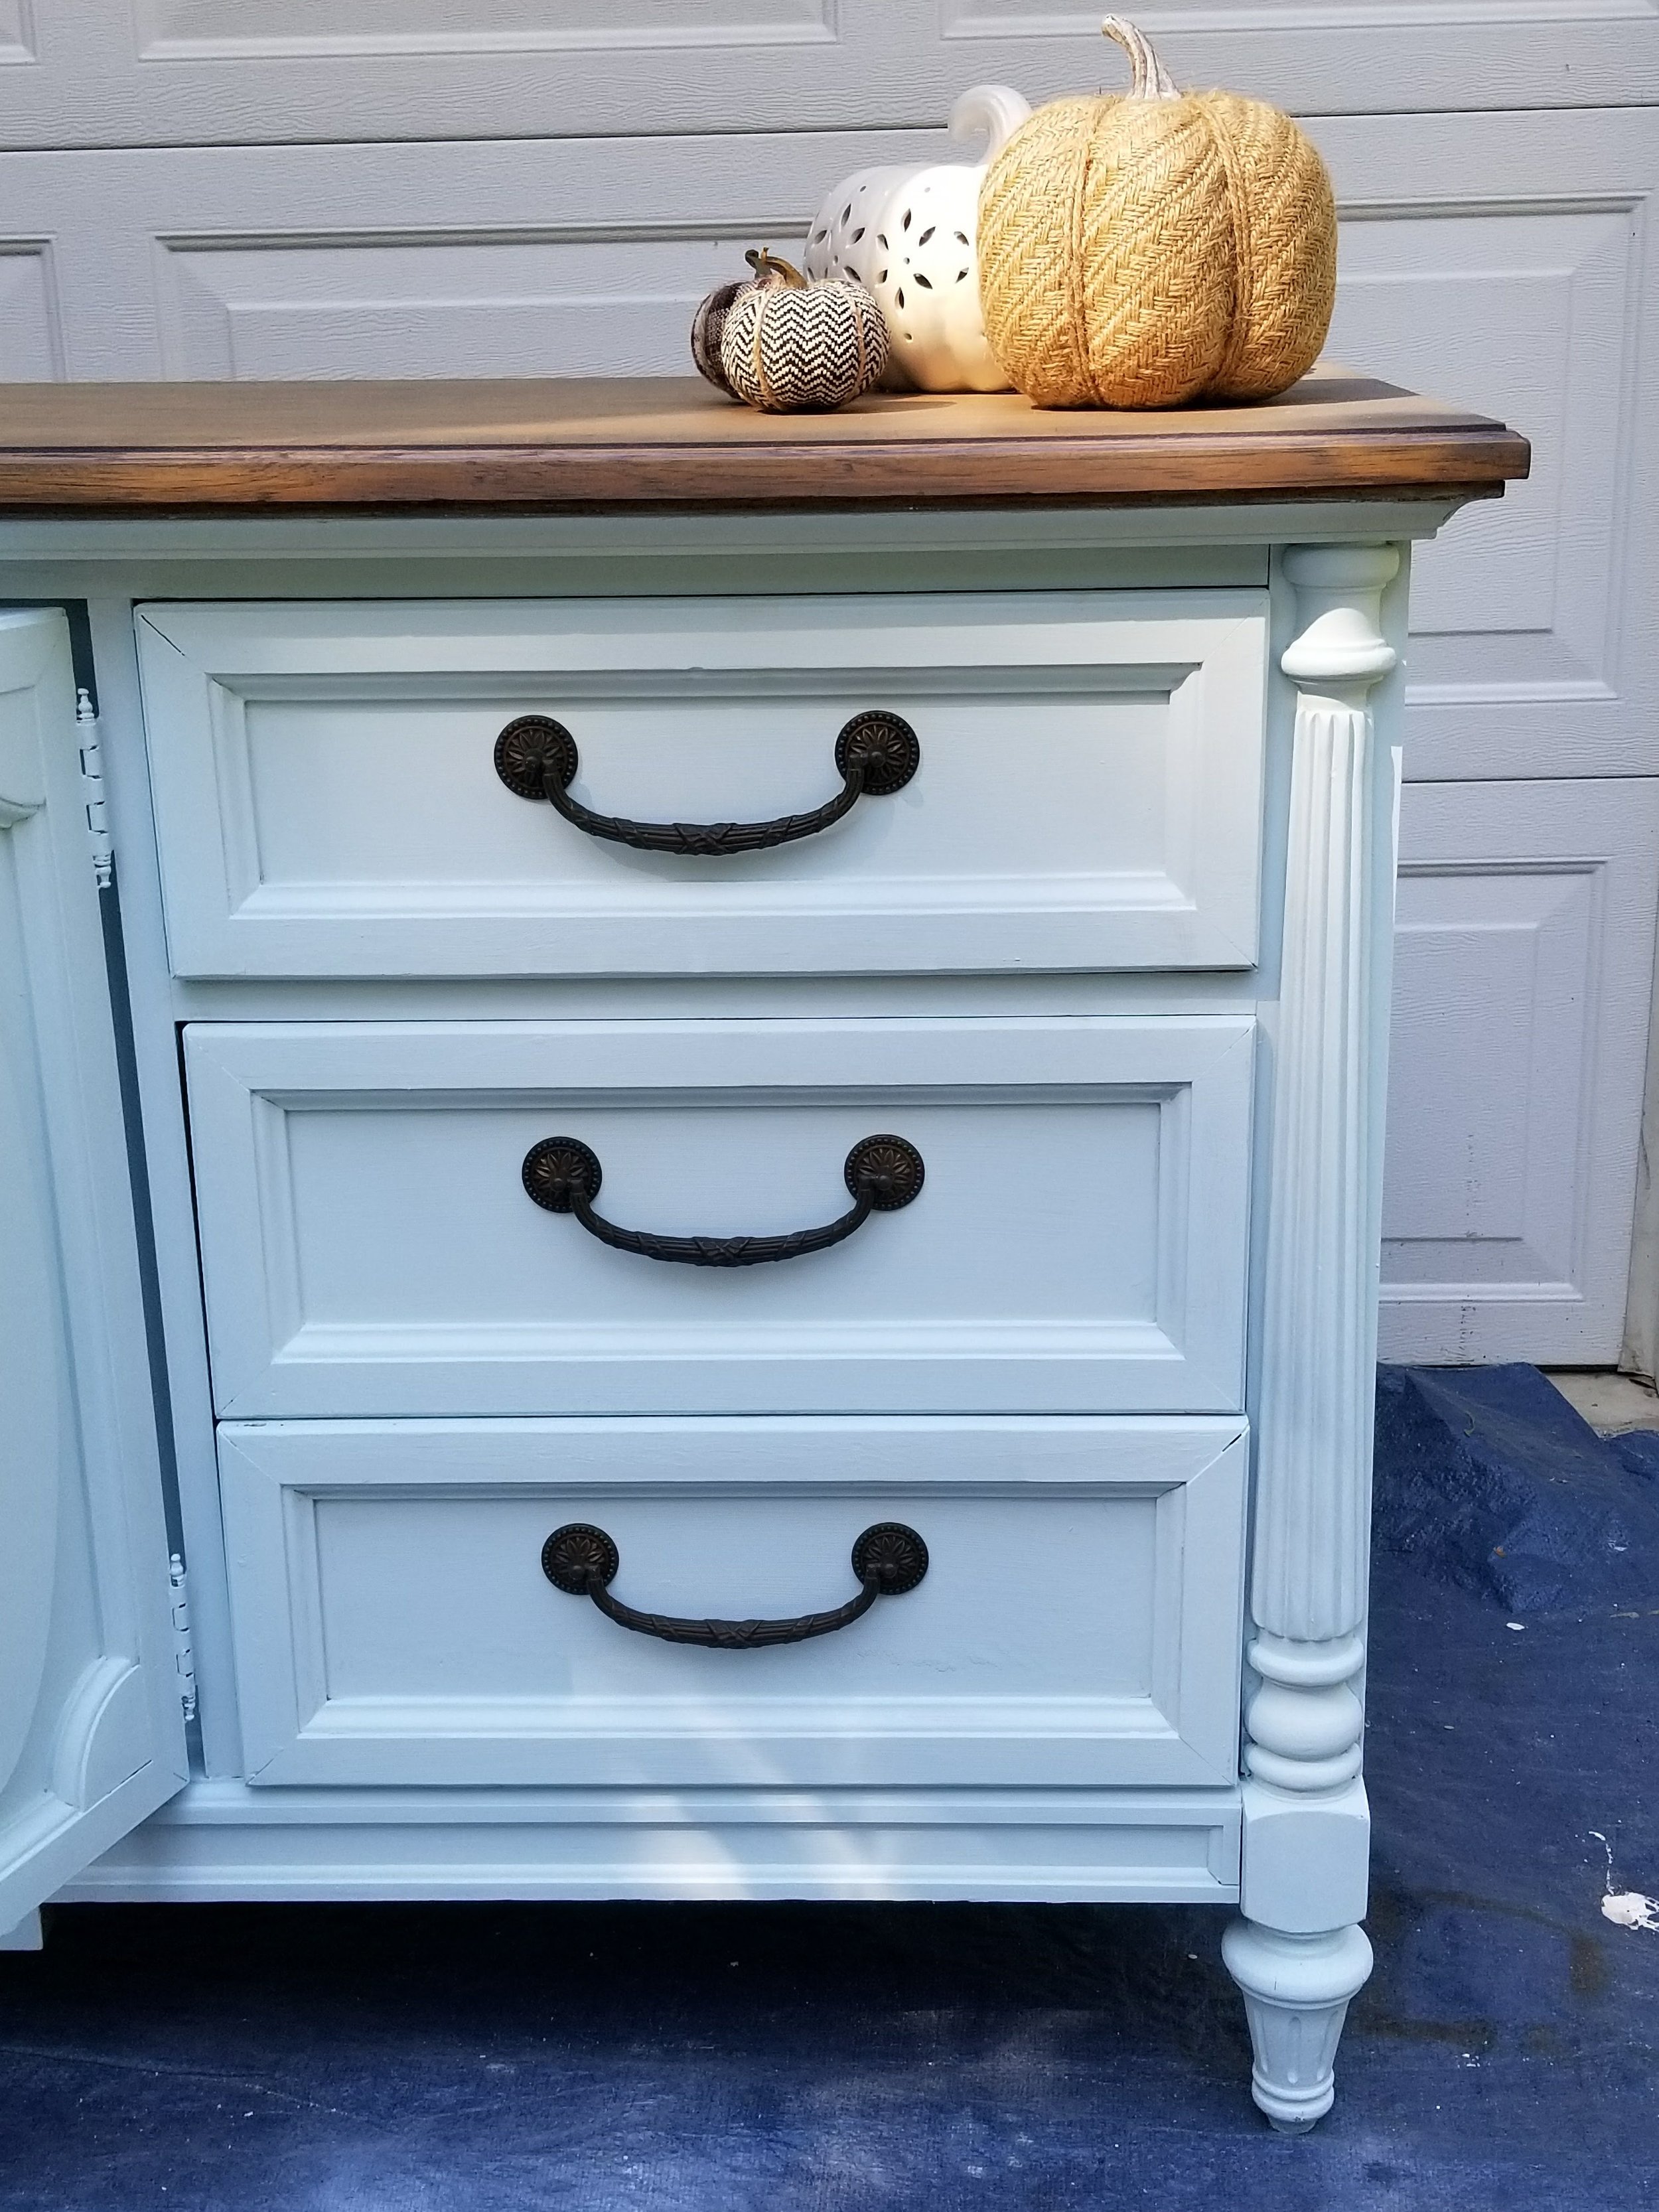
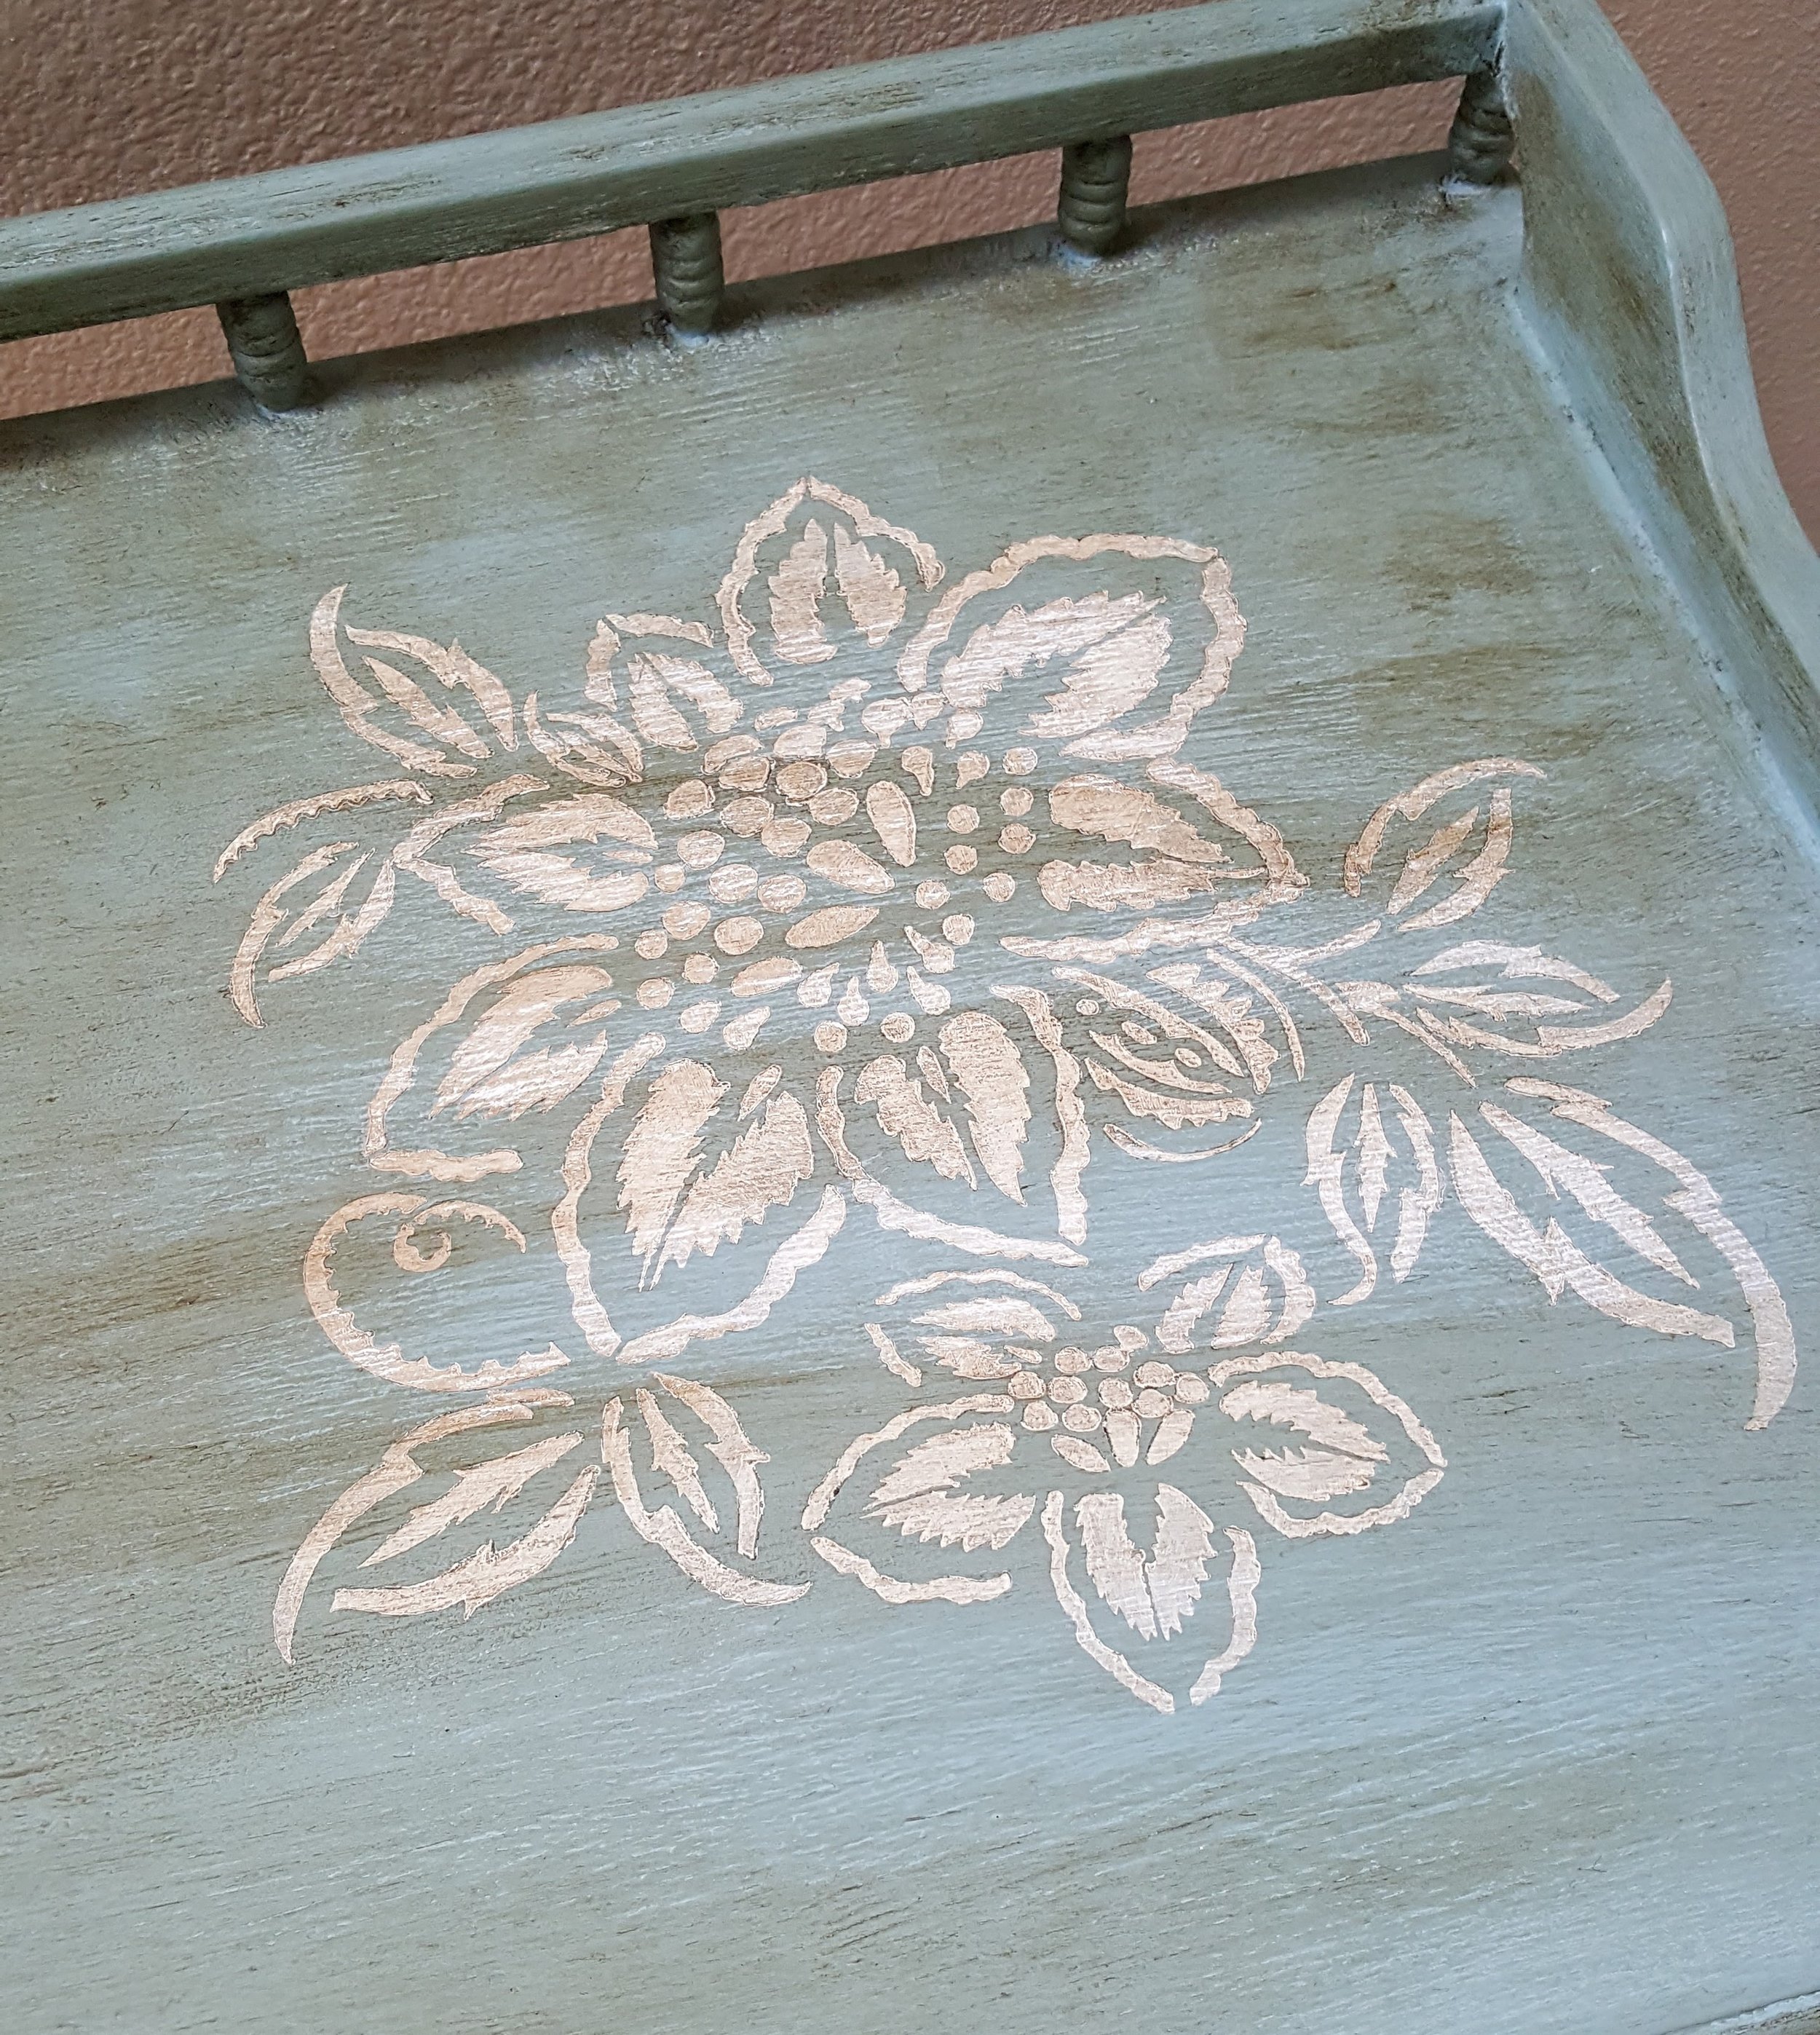
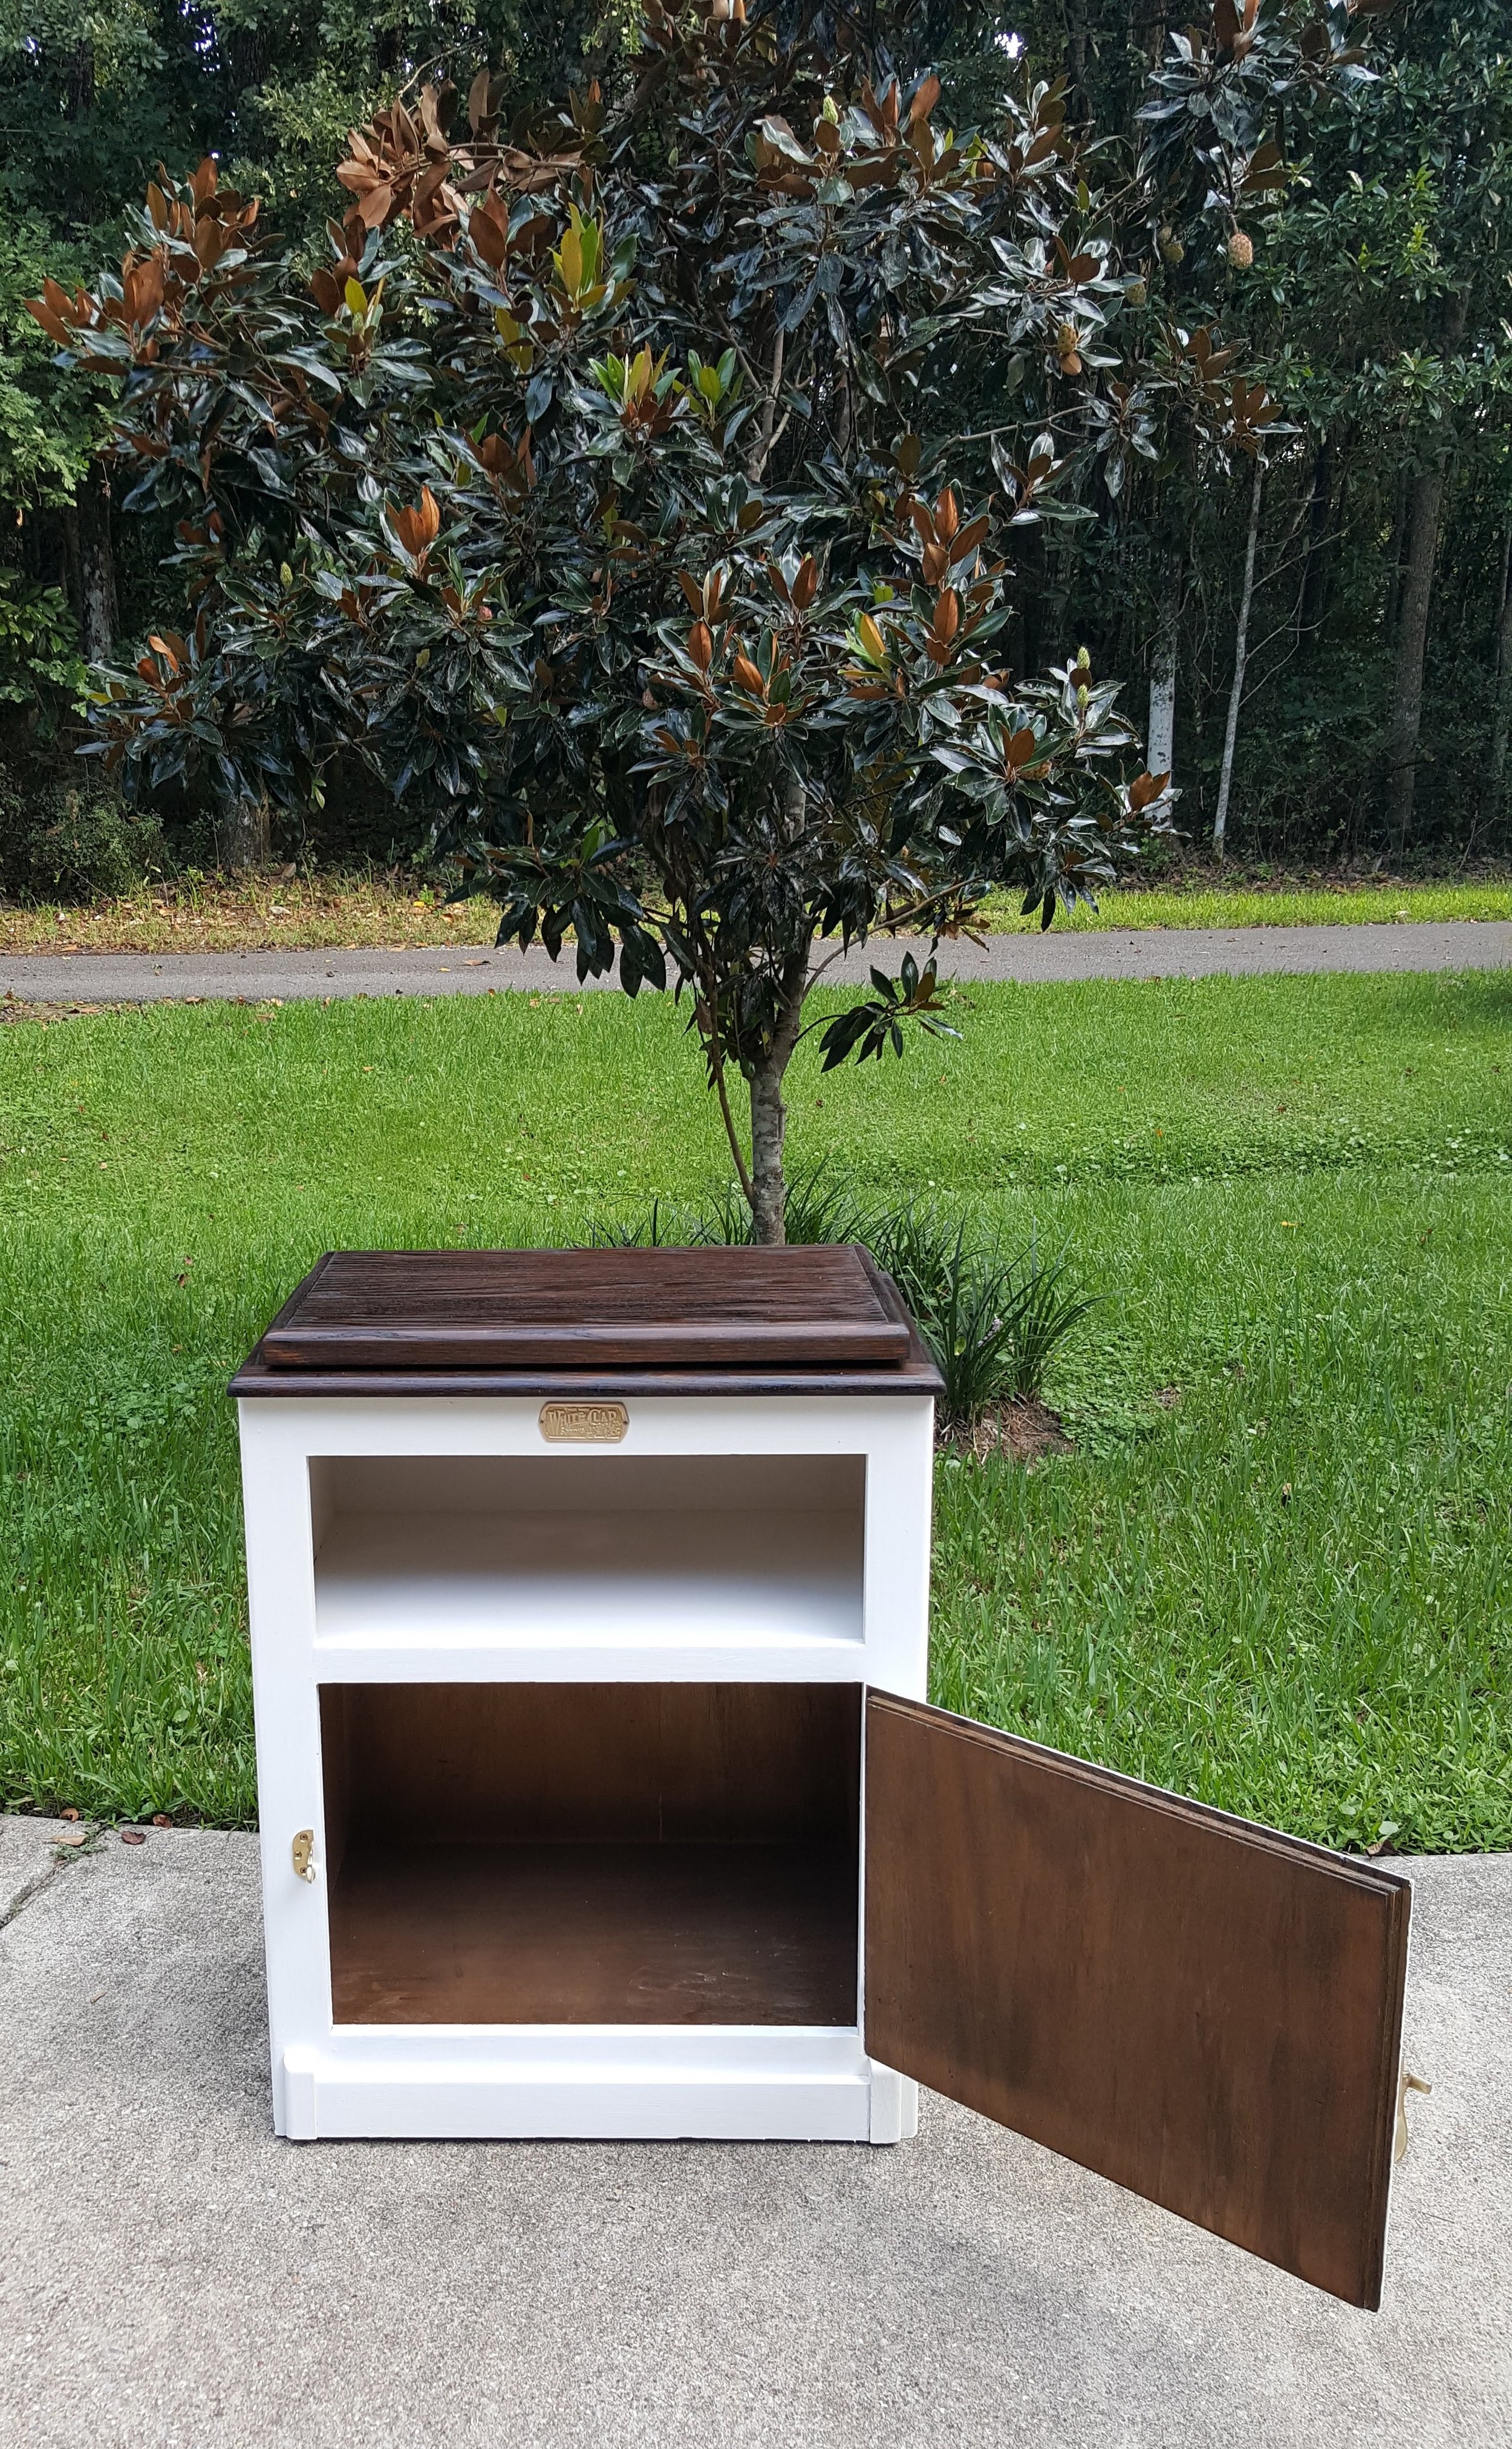
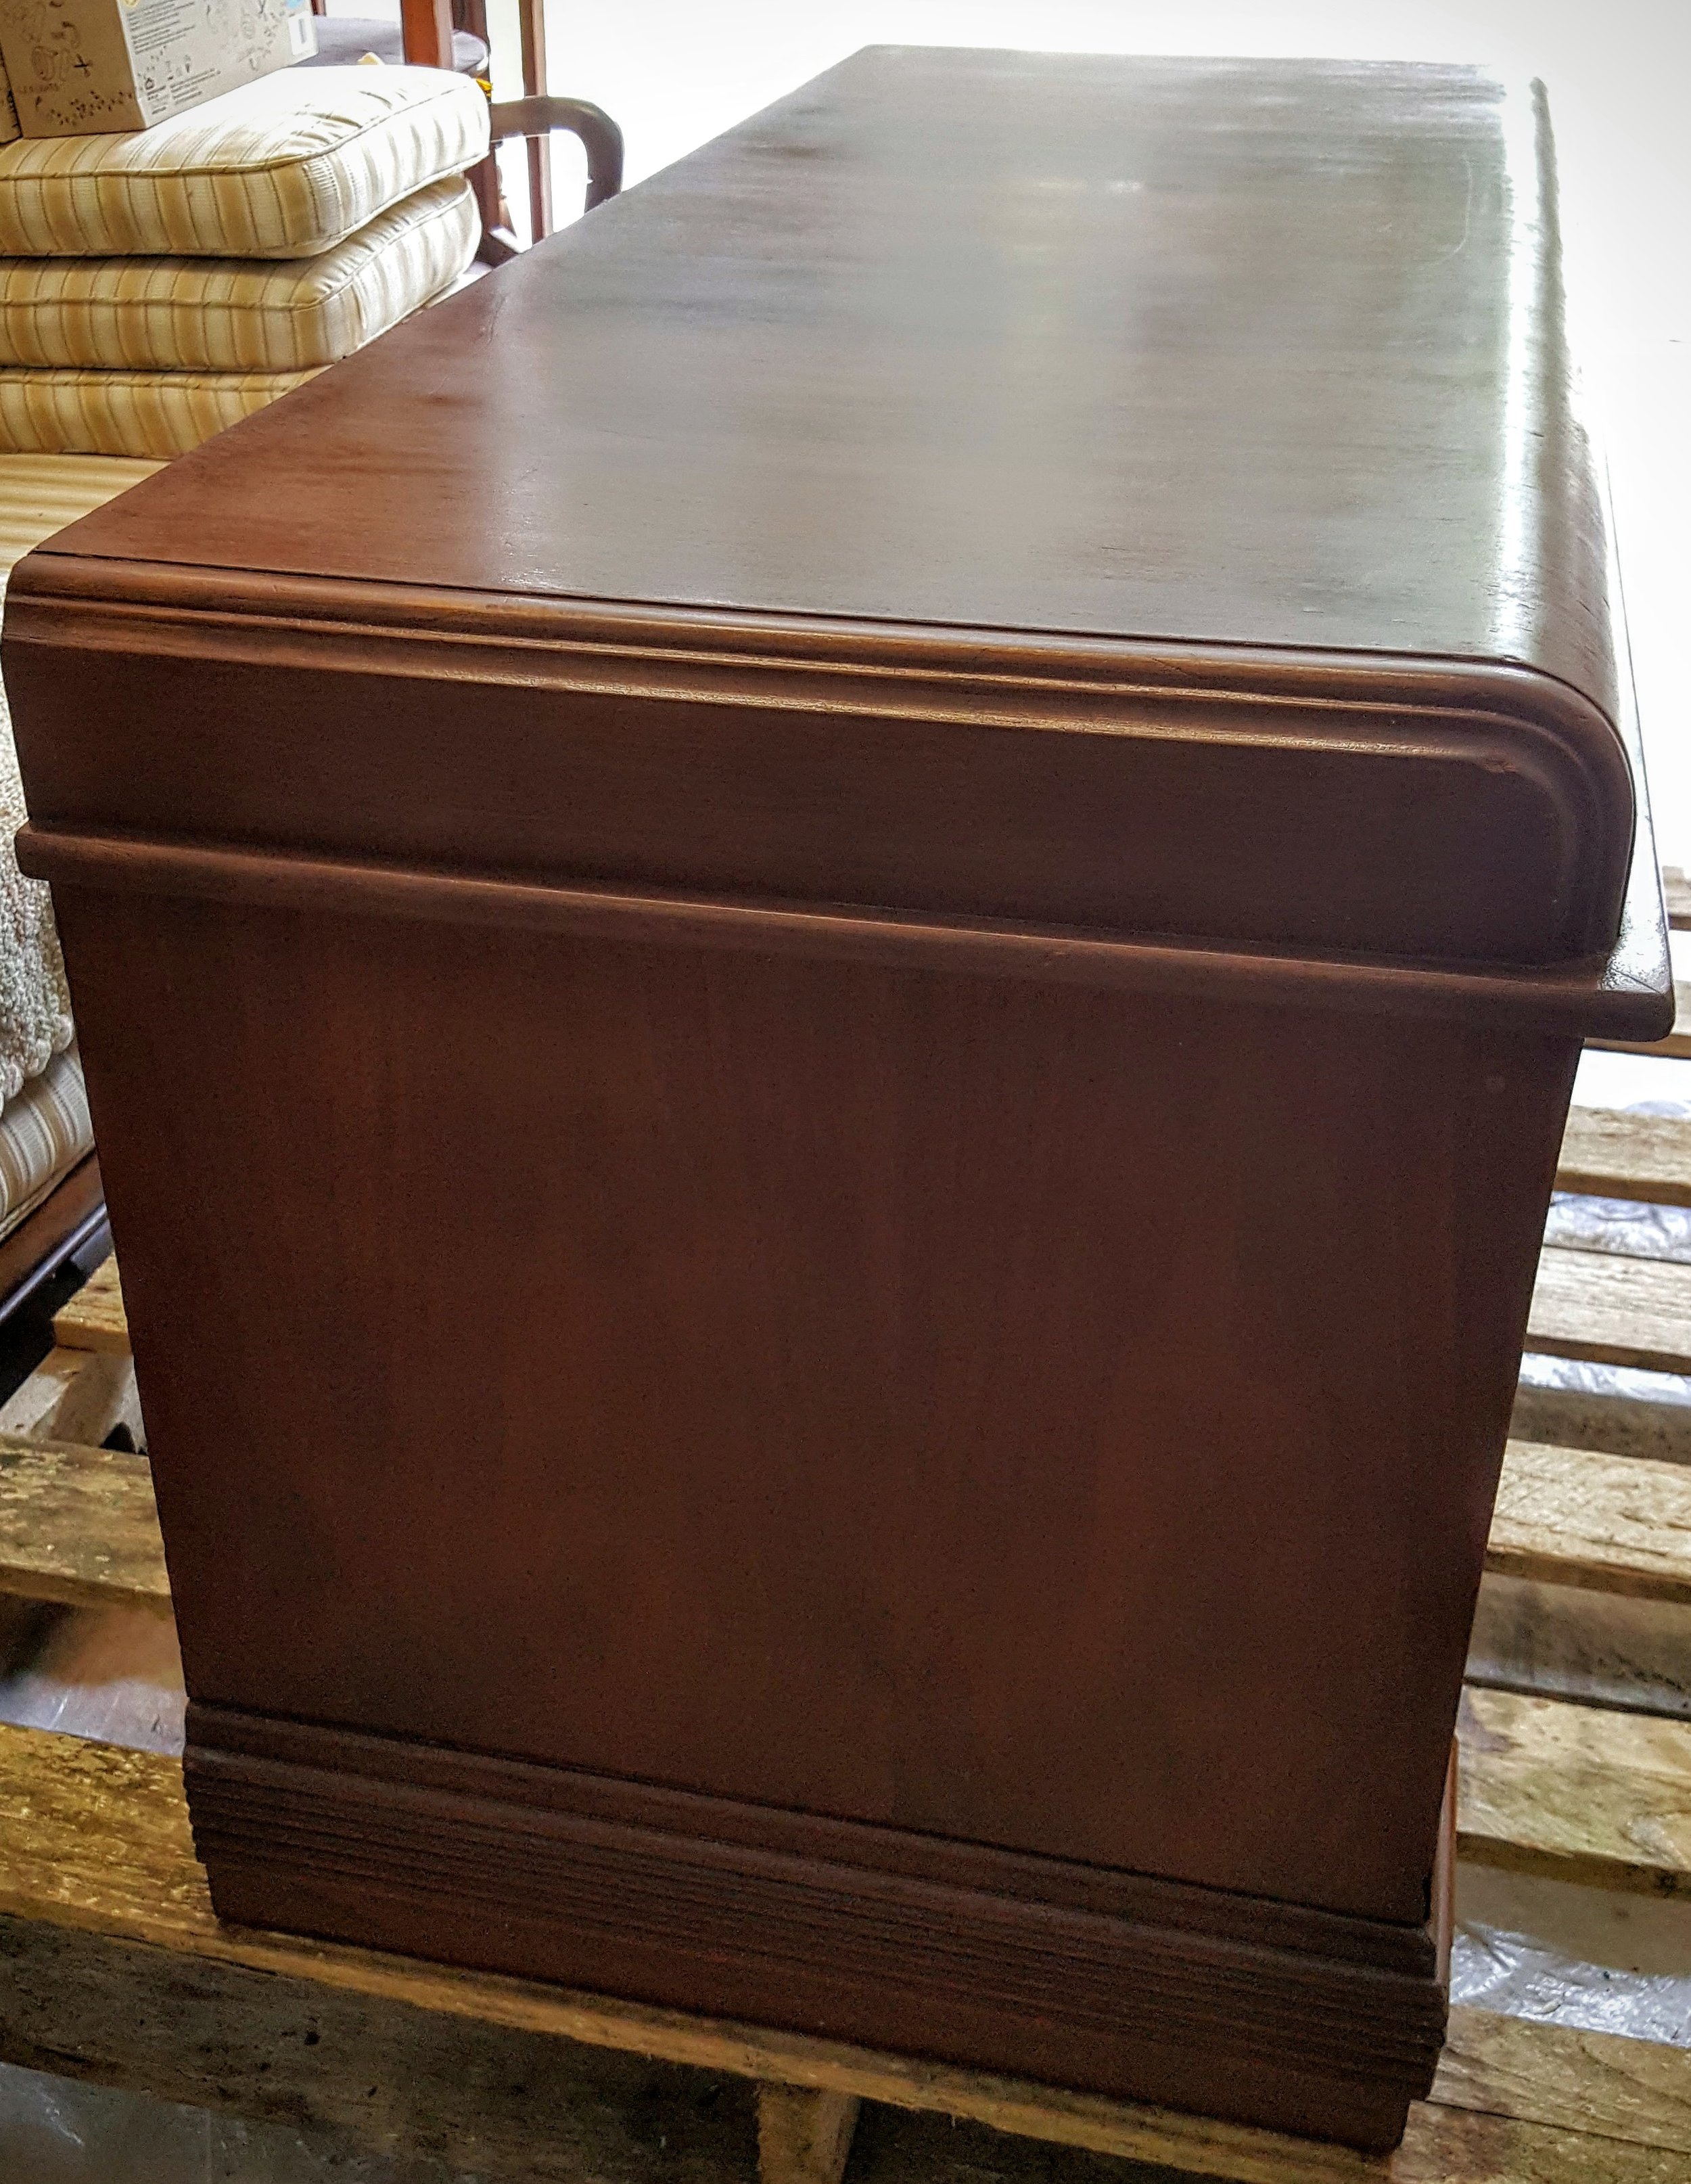
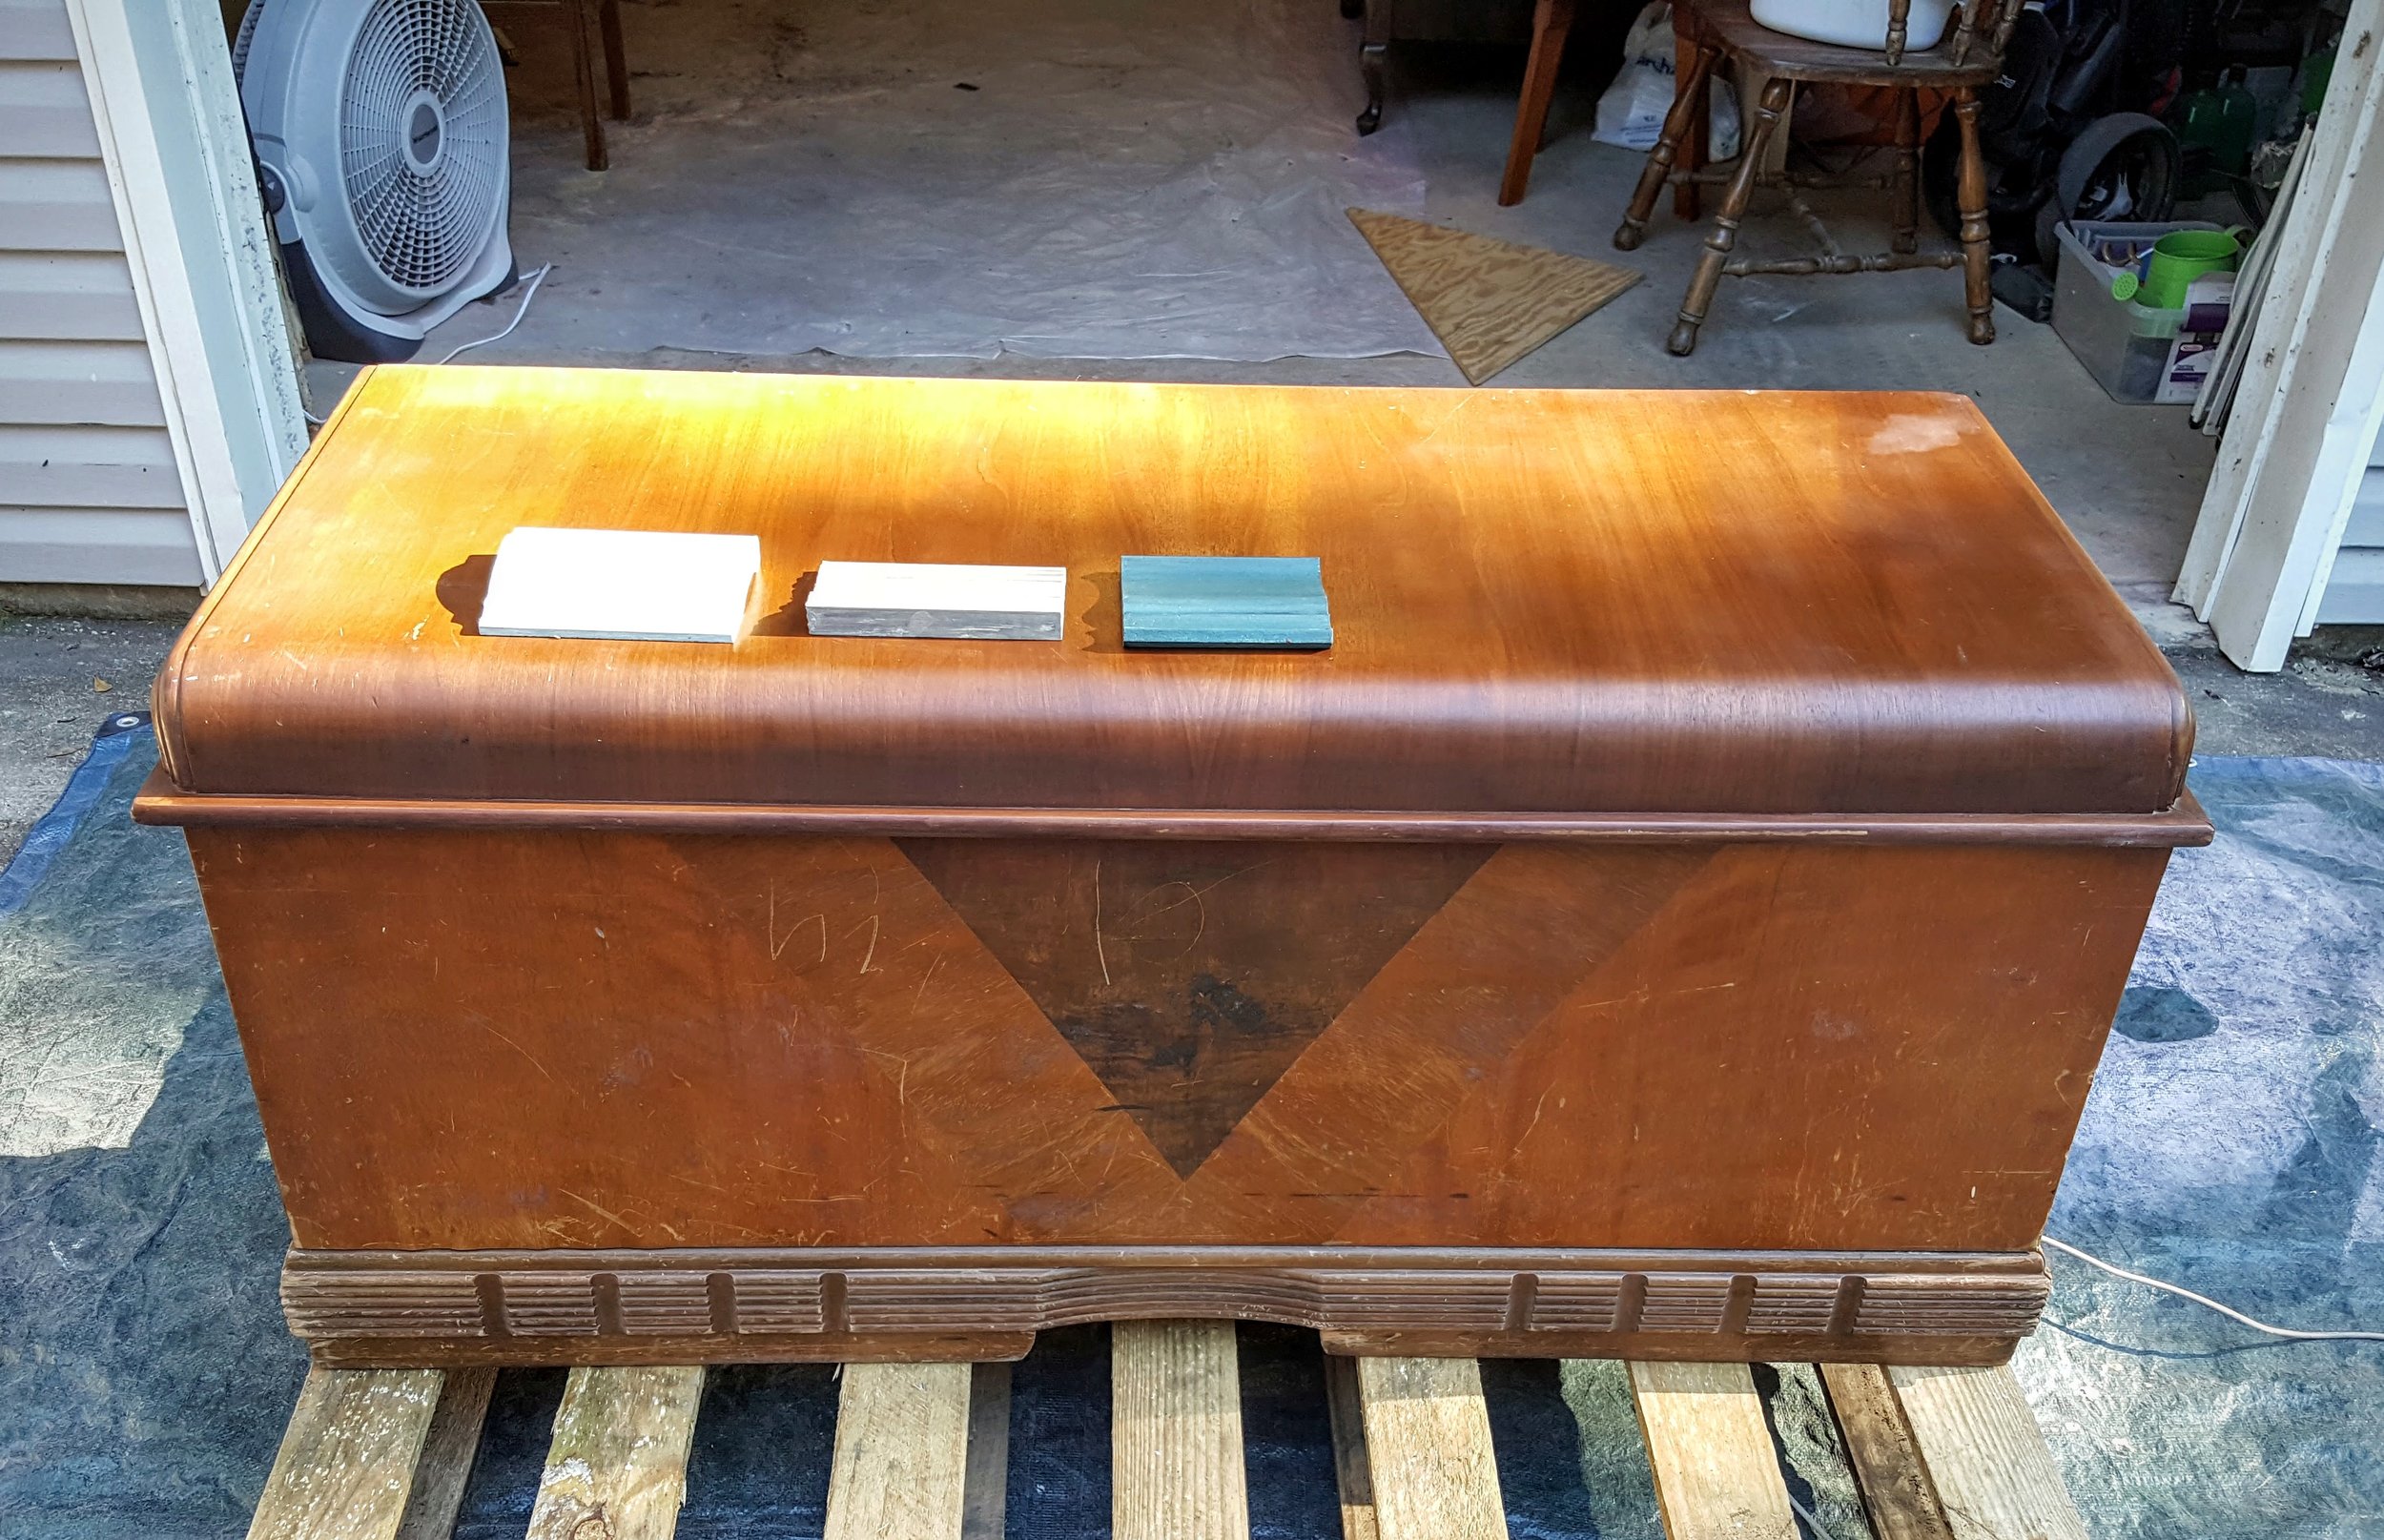
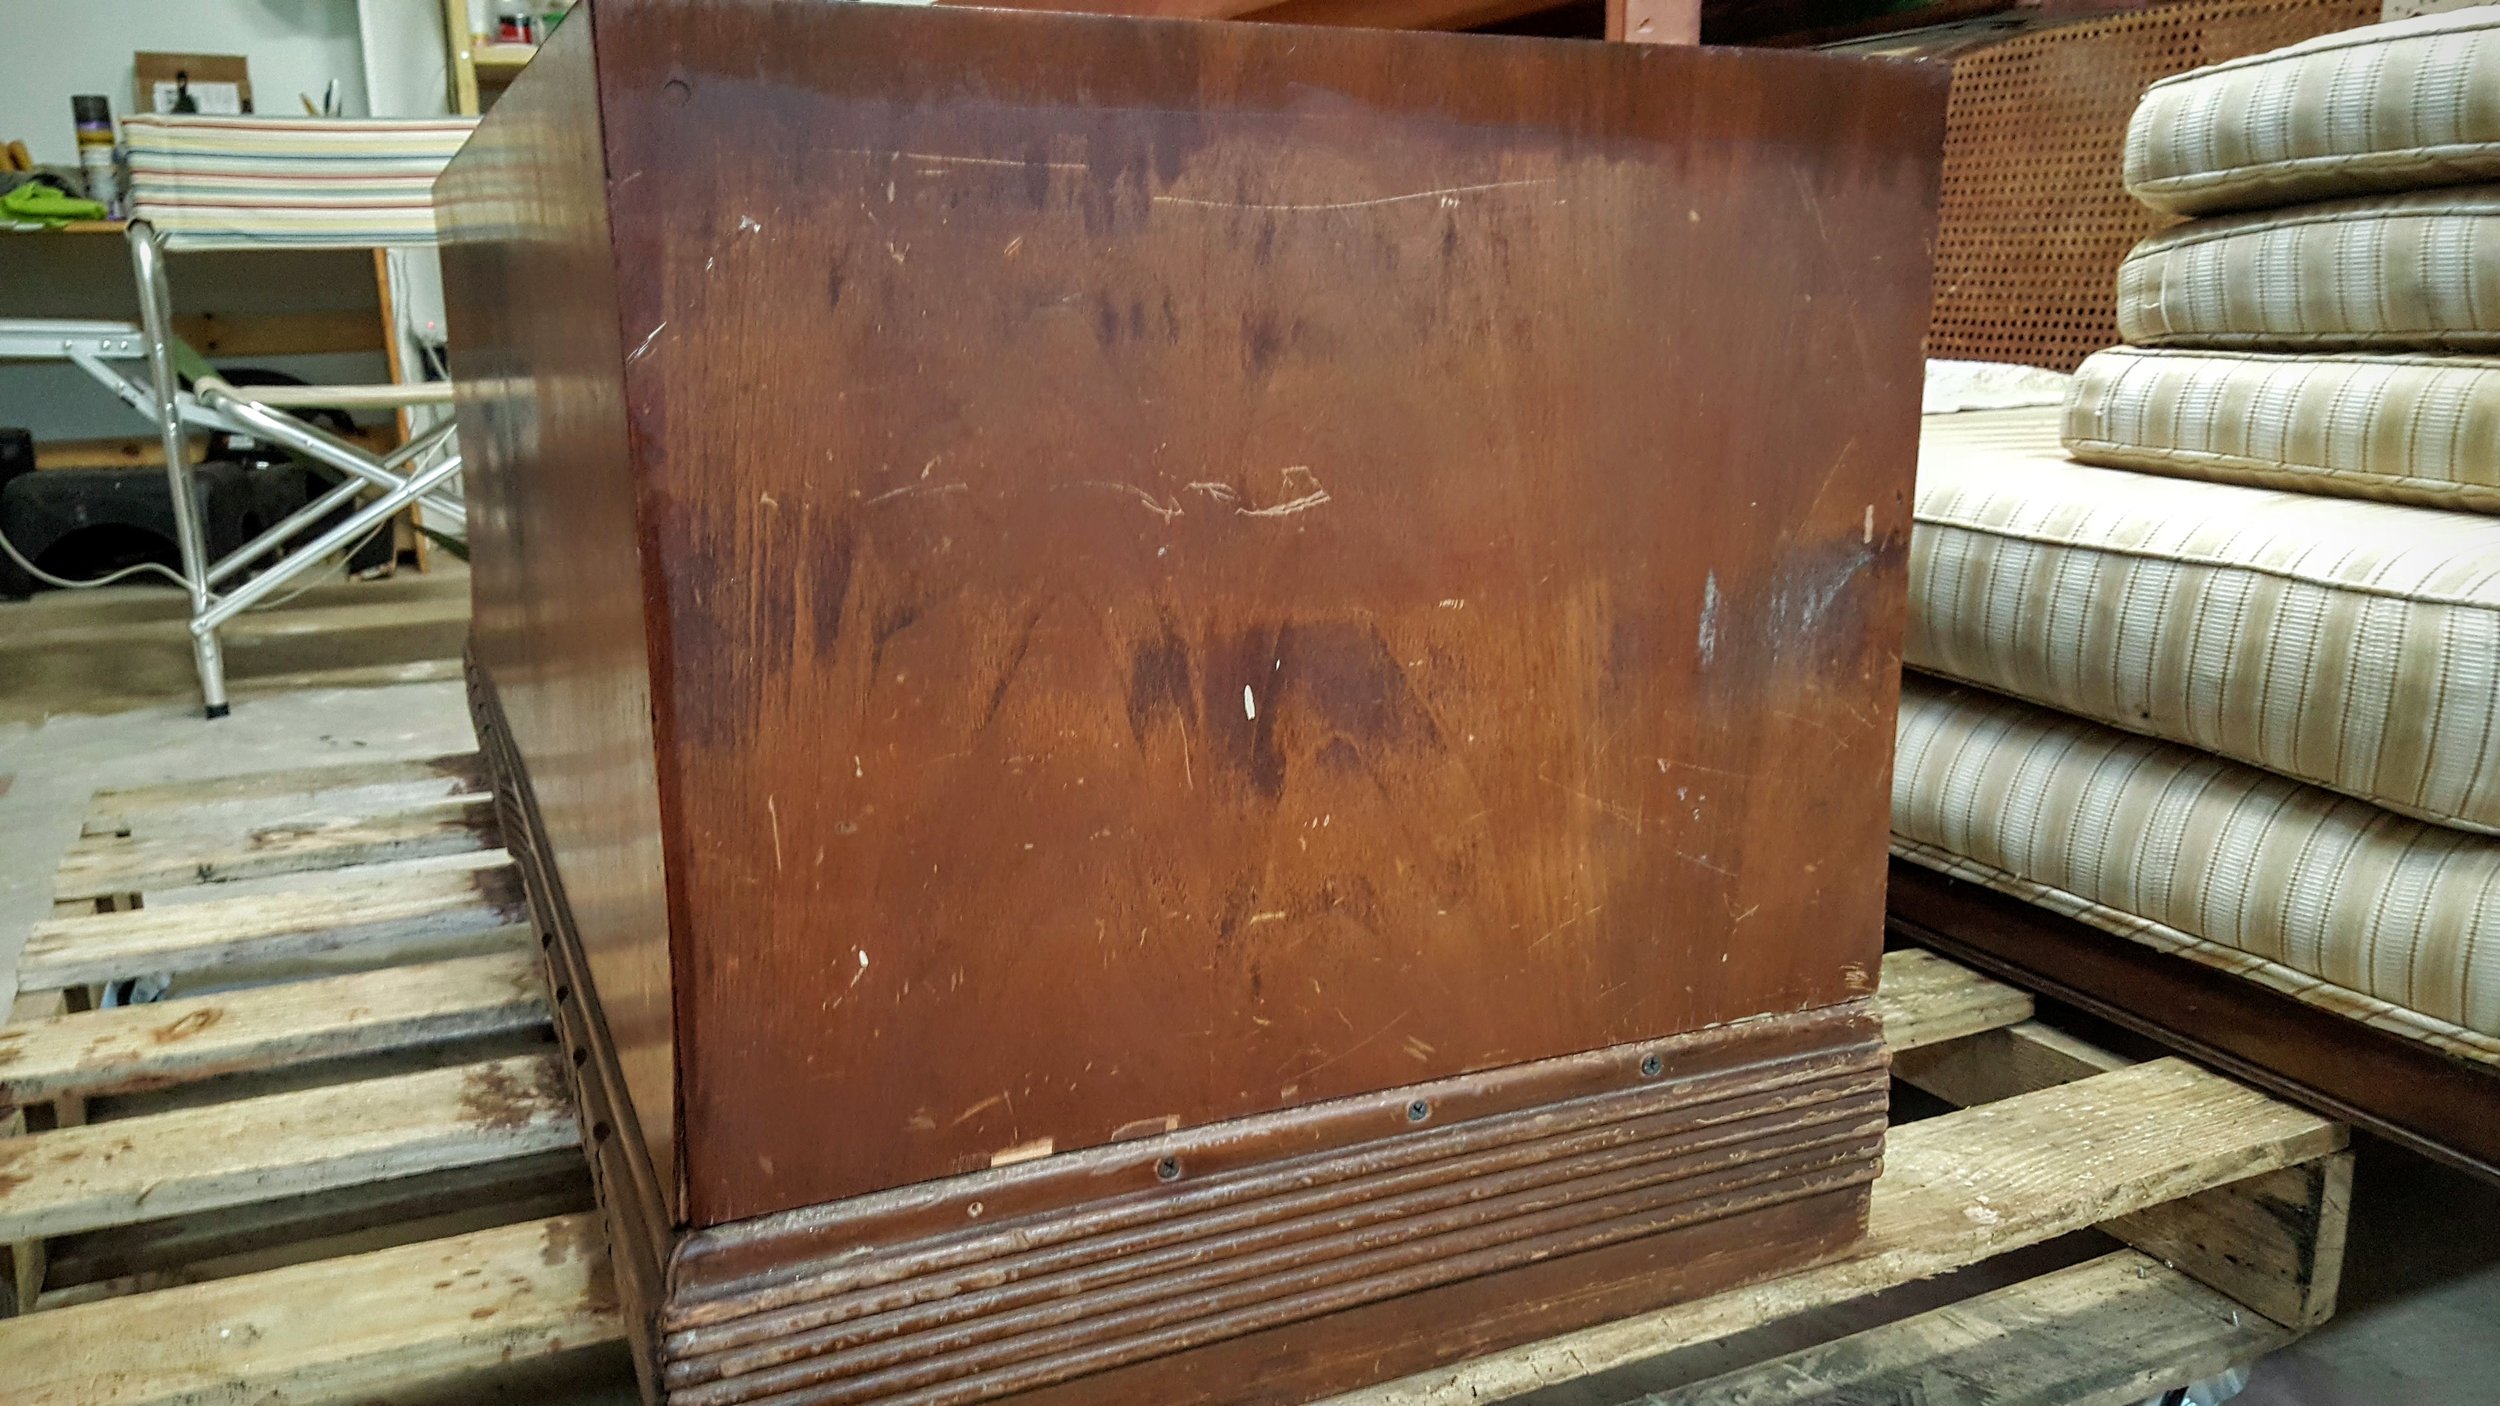
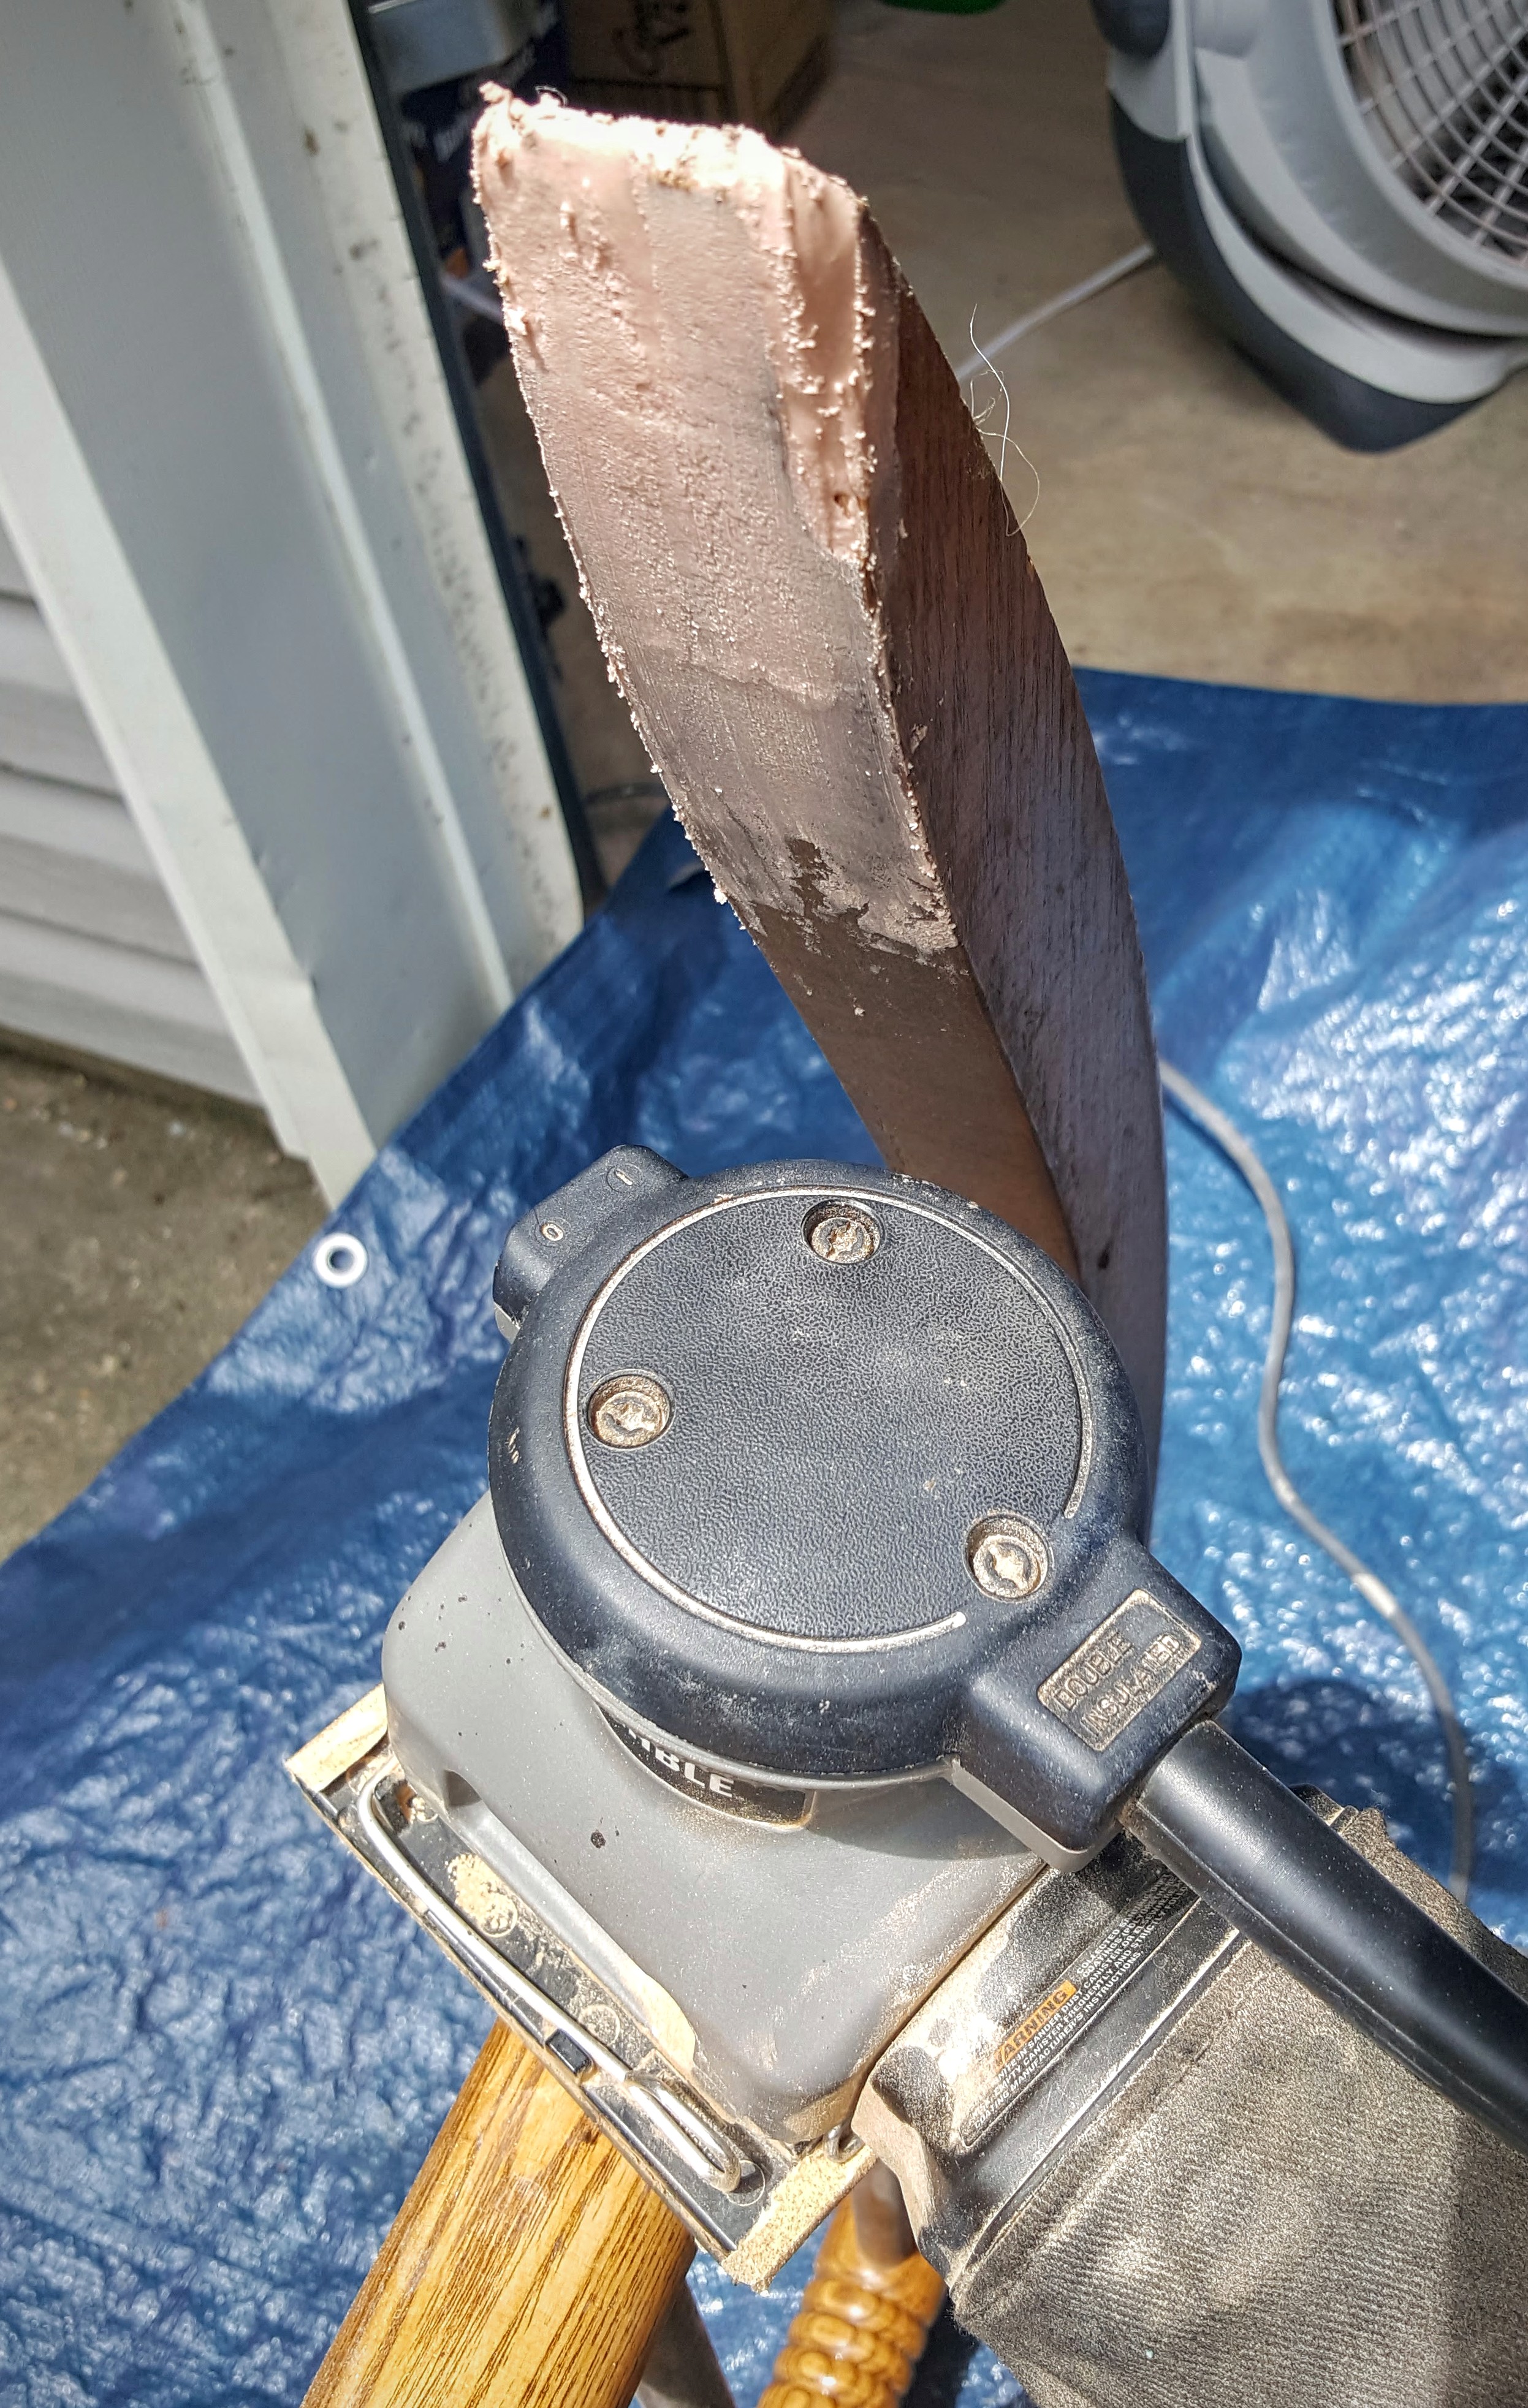
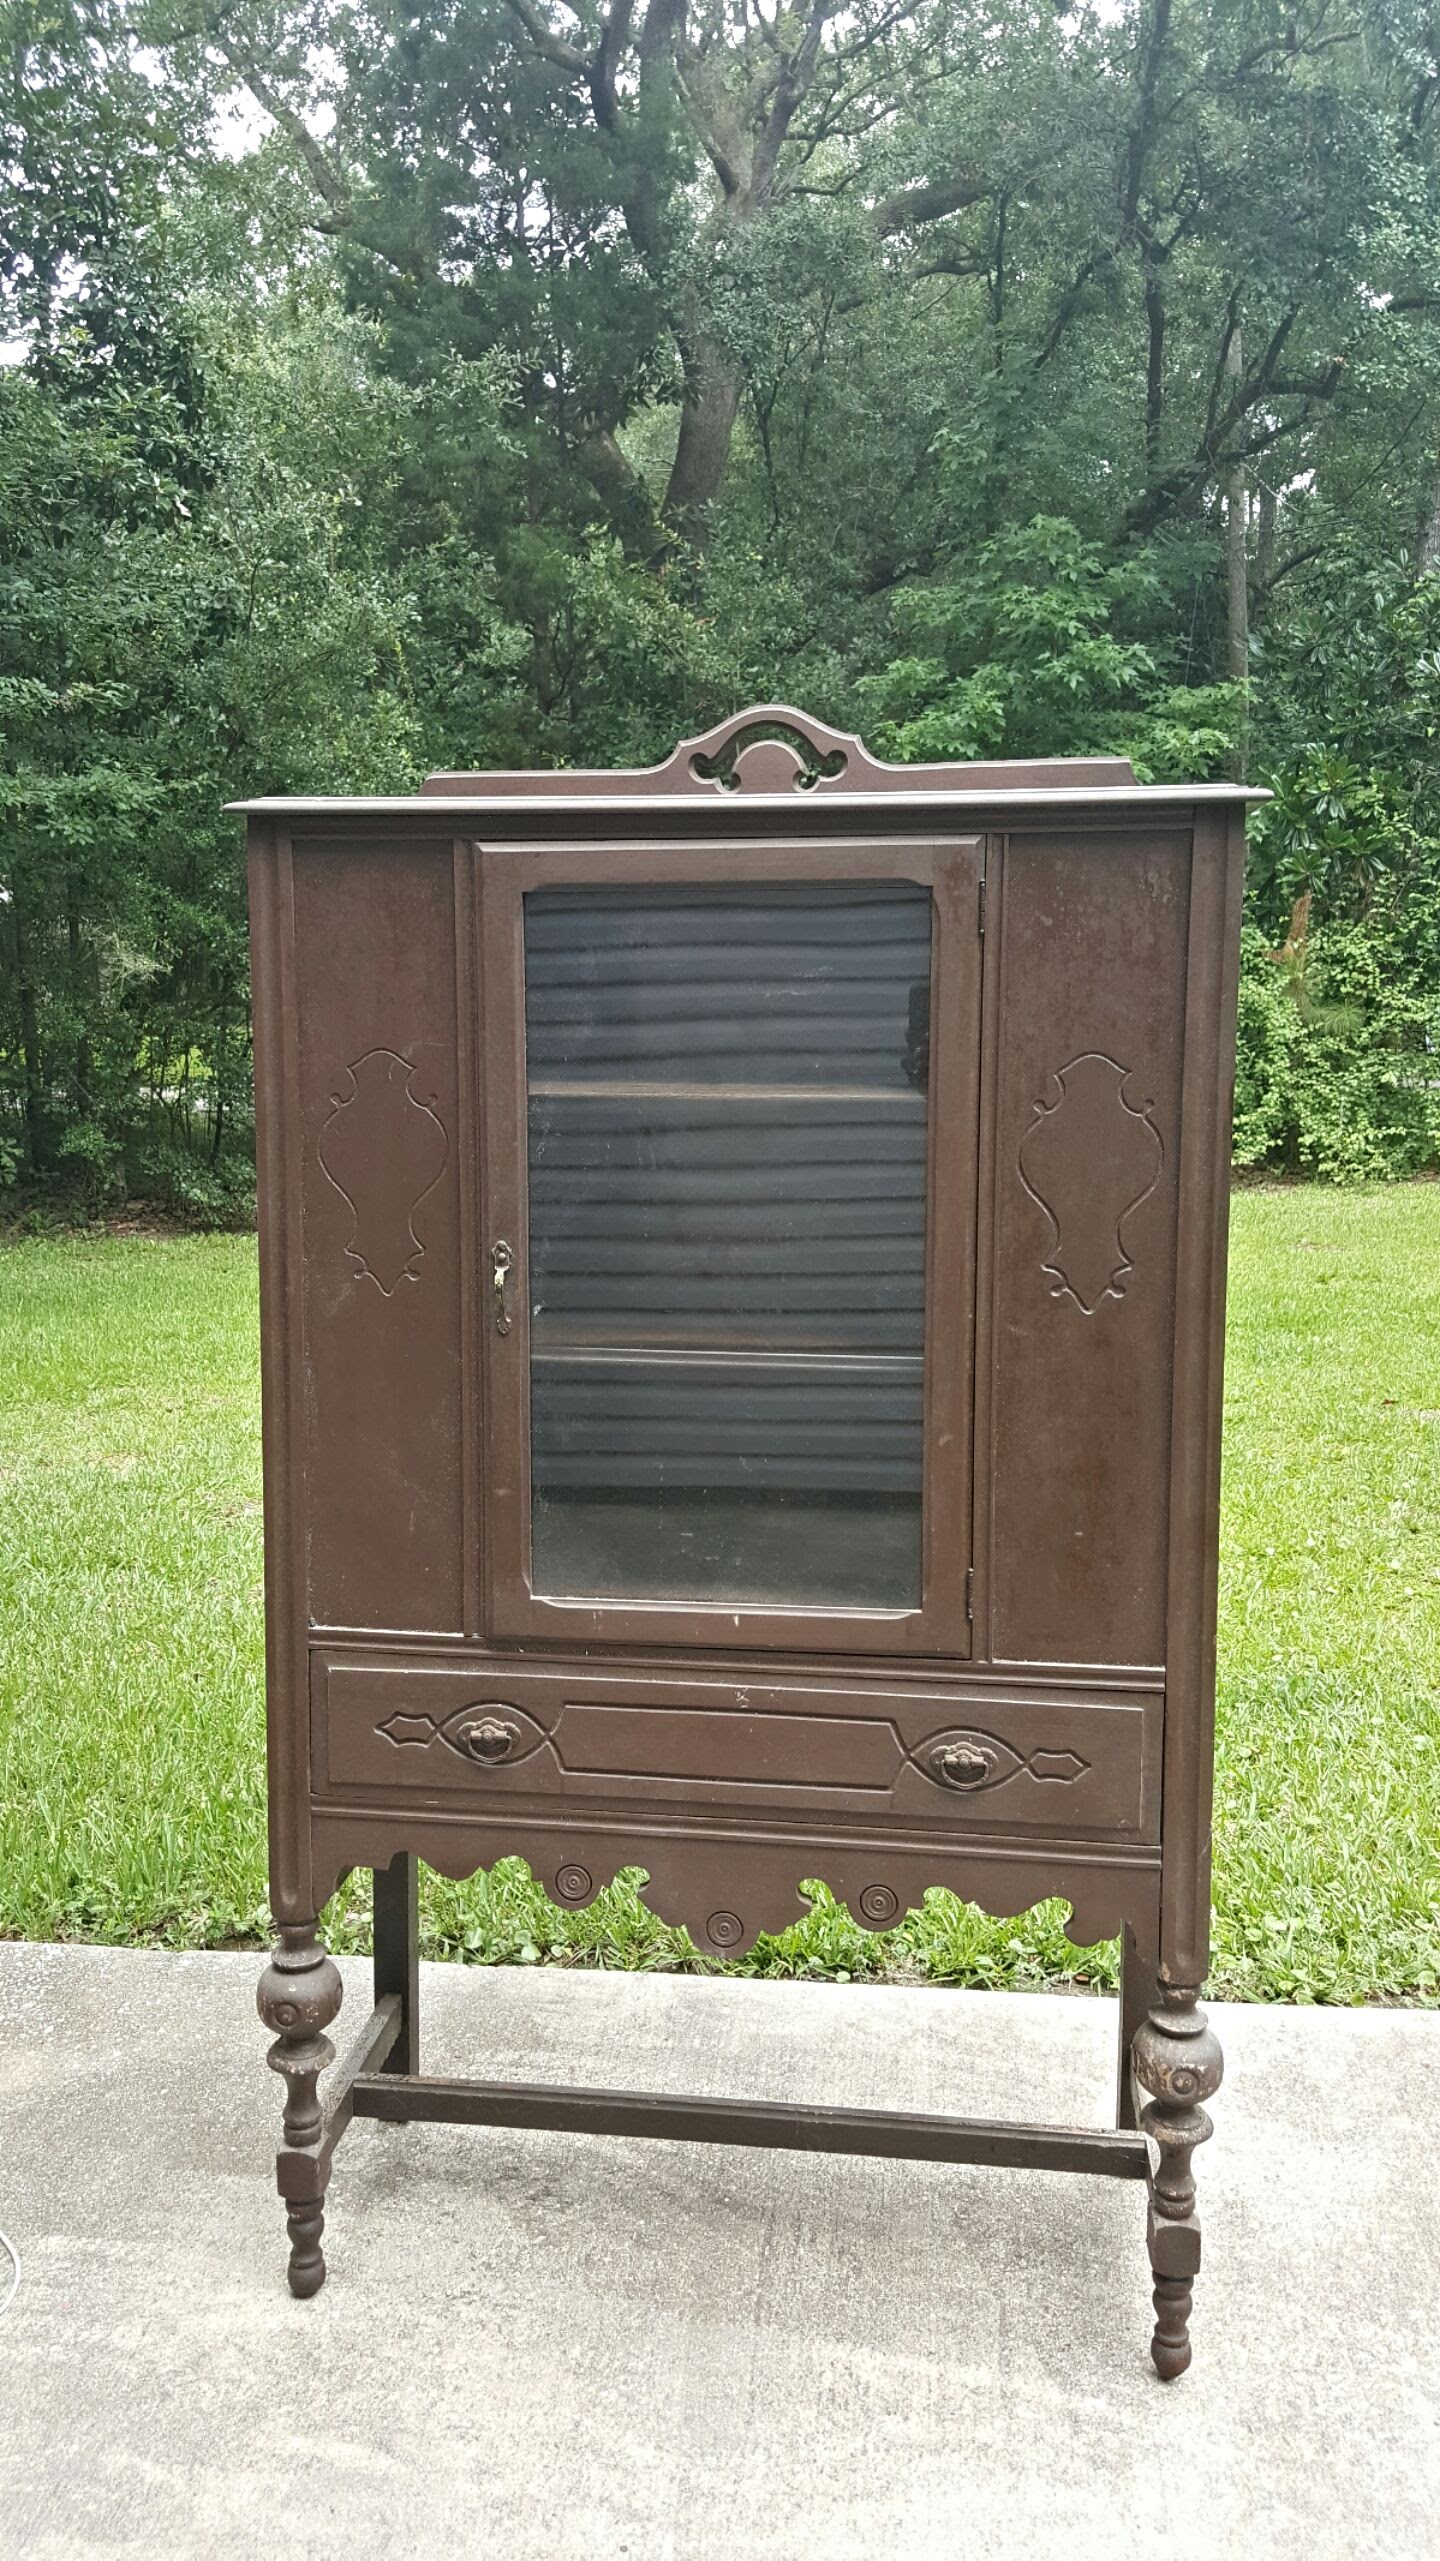
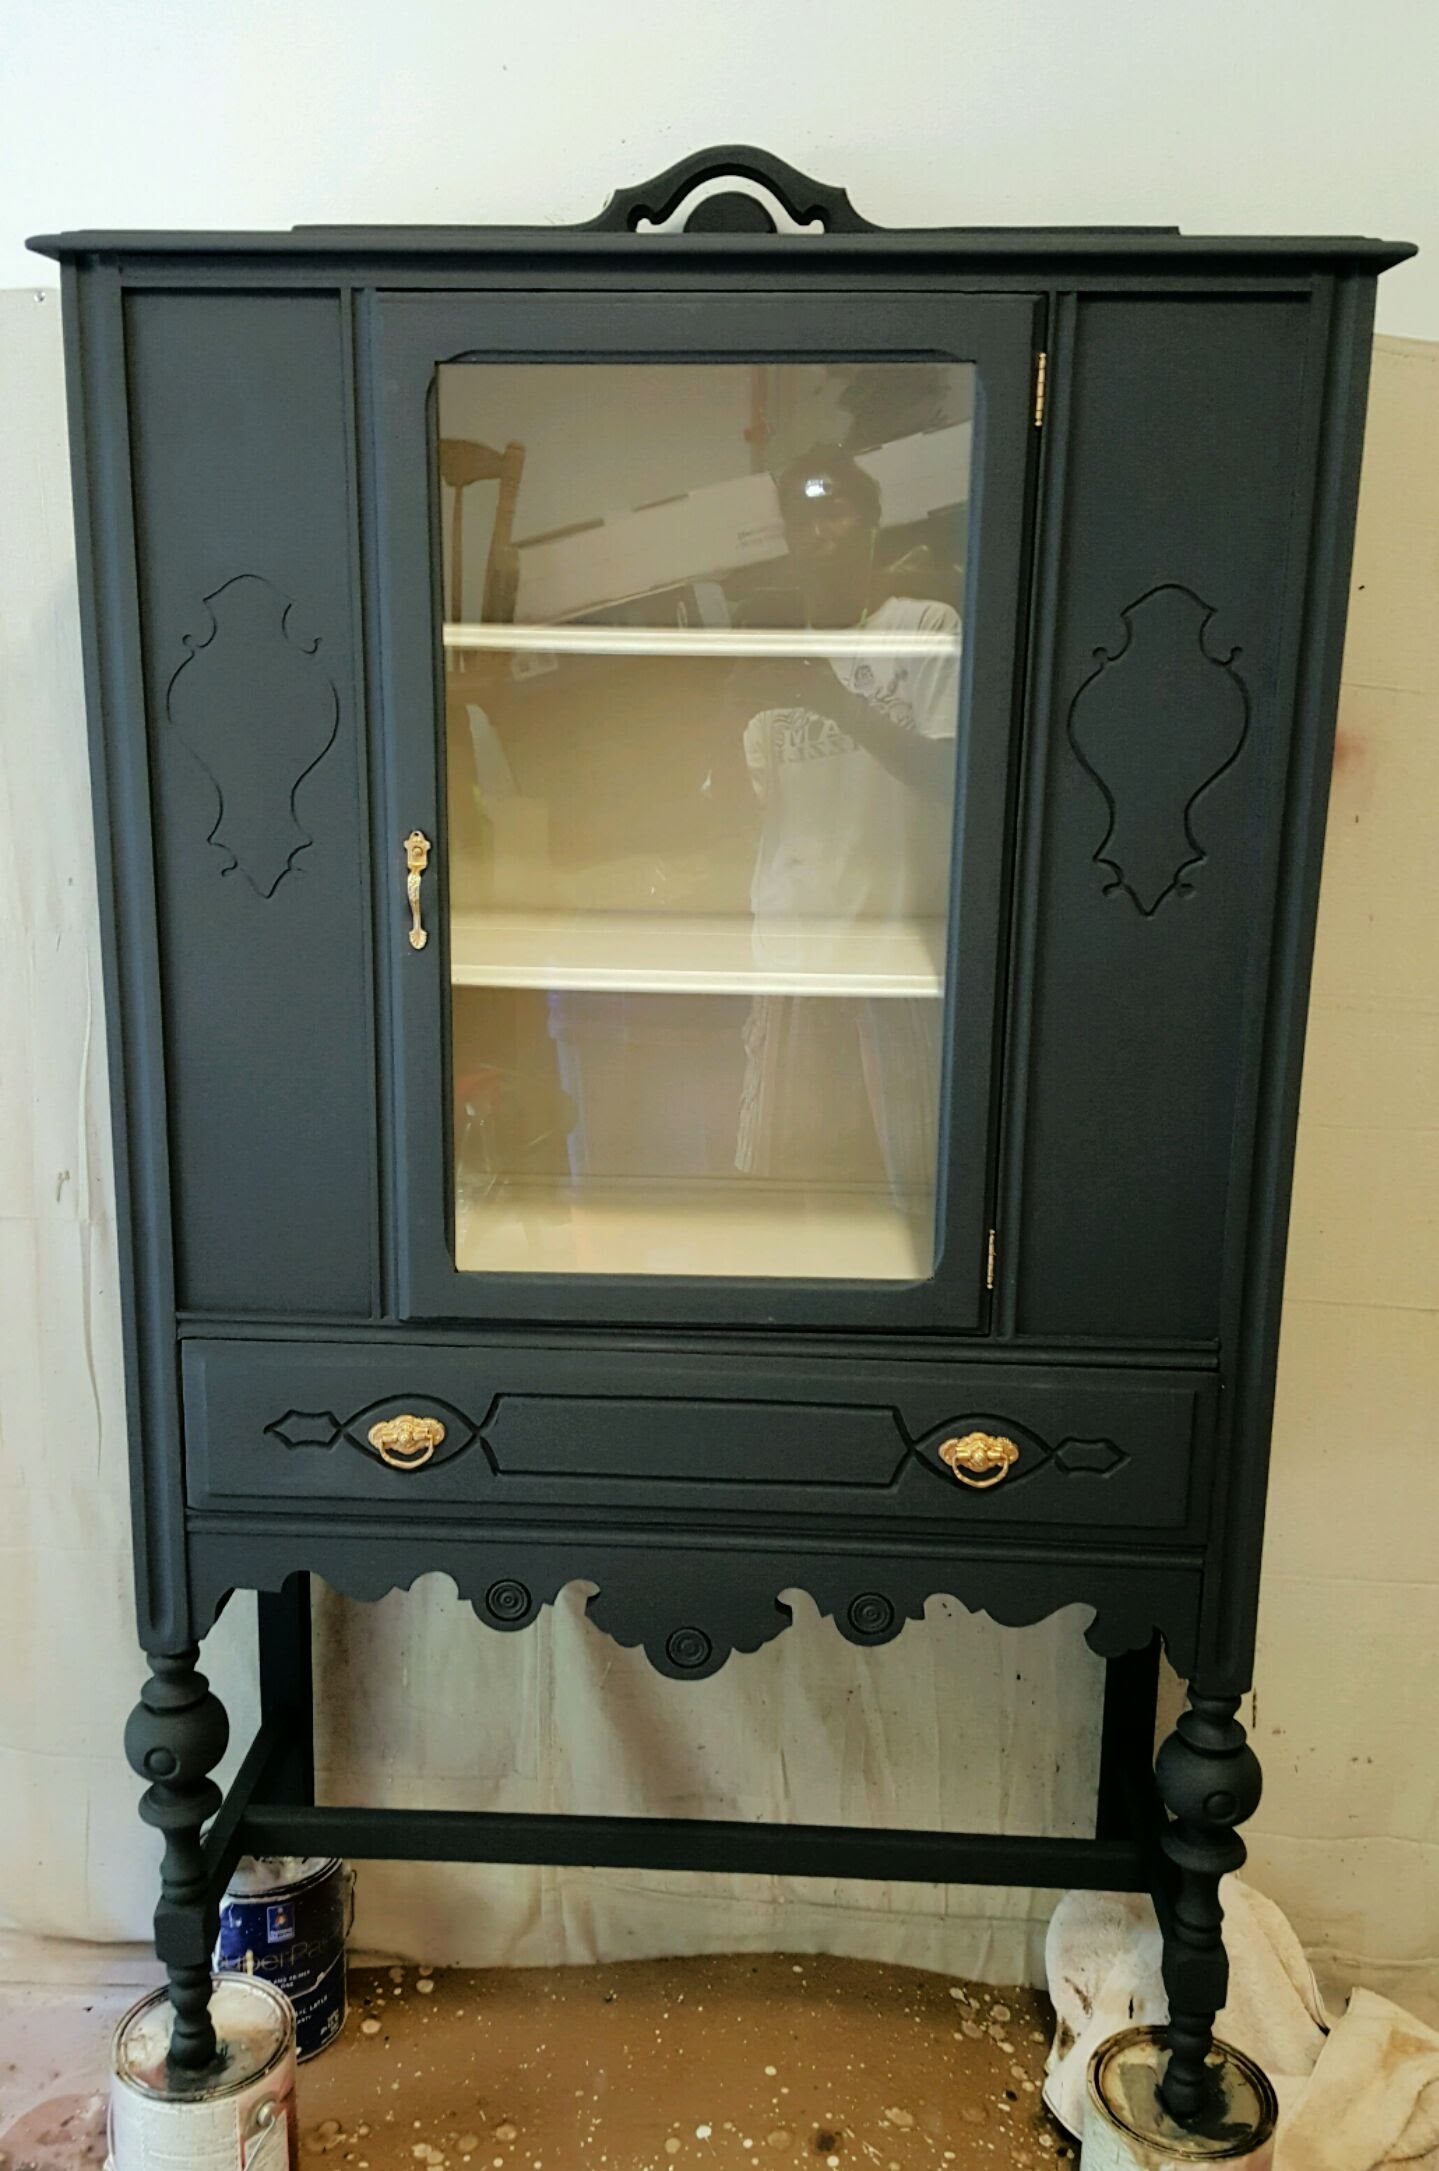
I updated my flatware chest and painted a wood bookshelf I paid $5 for that was in my garage because I found a can of General Finishes Milk Paint on a shelf that I'd forgotten I'd brought home forever ago because I wanted to do something in that color for personal use. The flatware chest update made my flatware look shinier. LOL! I should have BEEN done that.

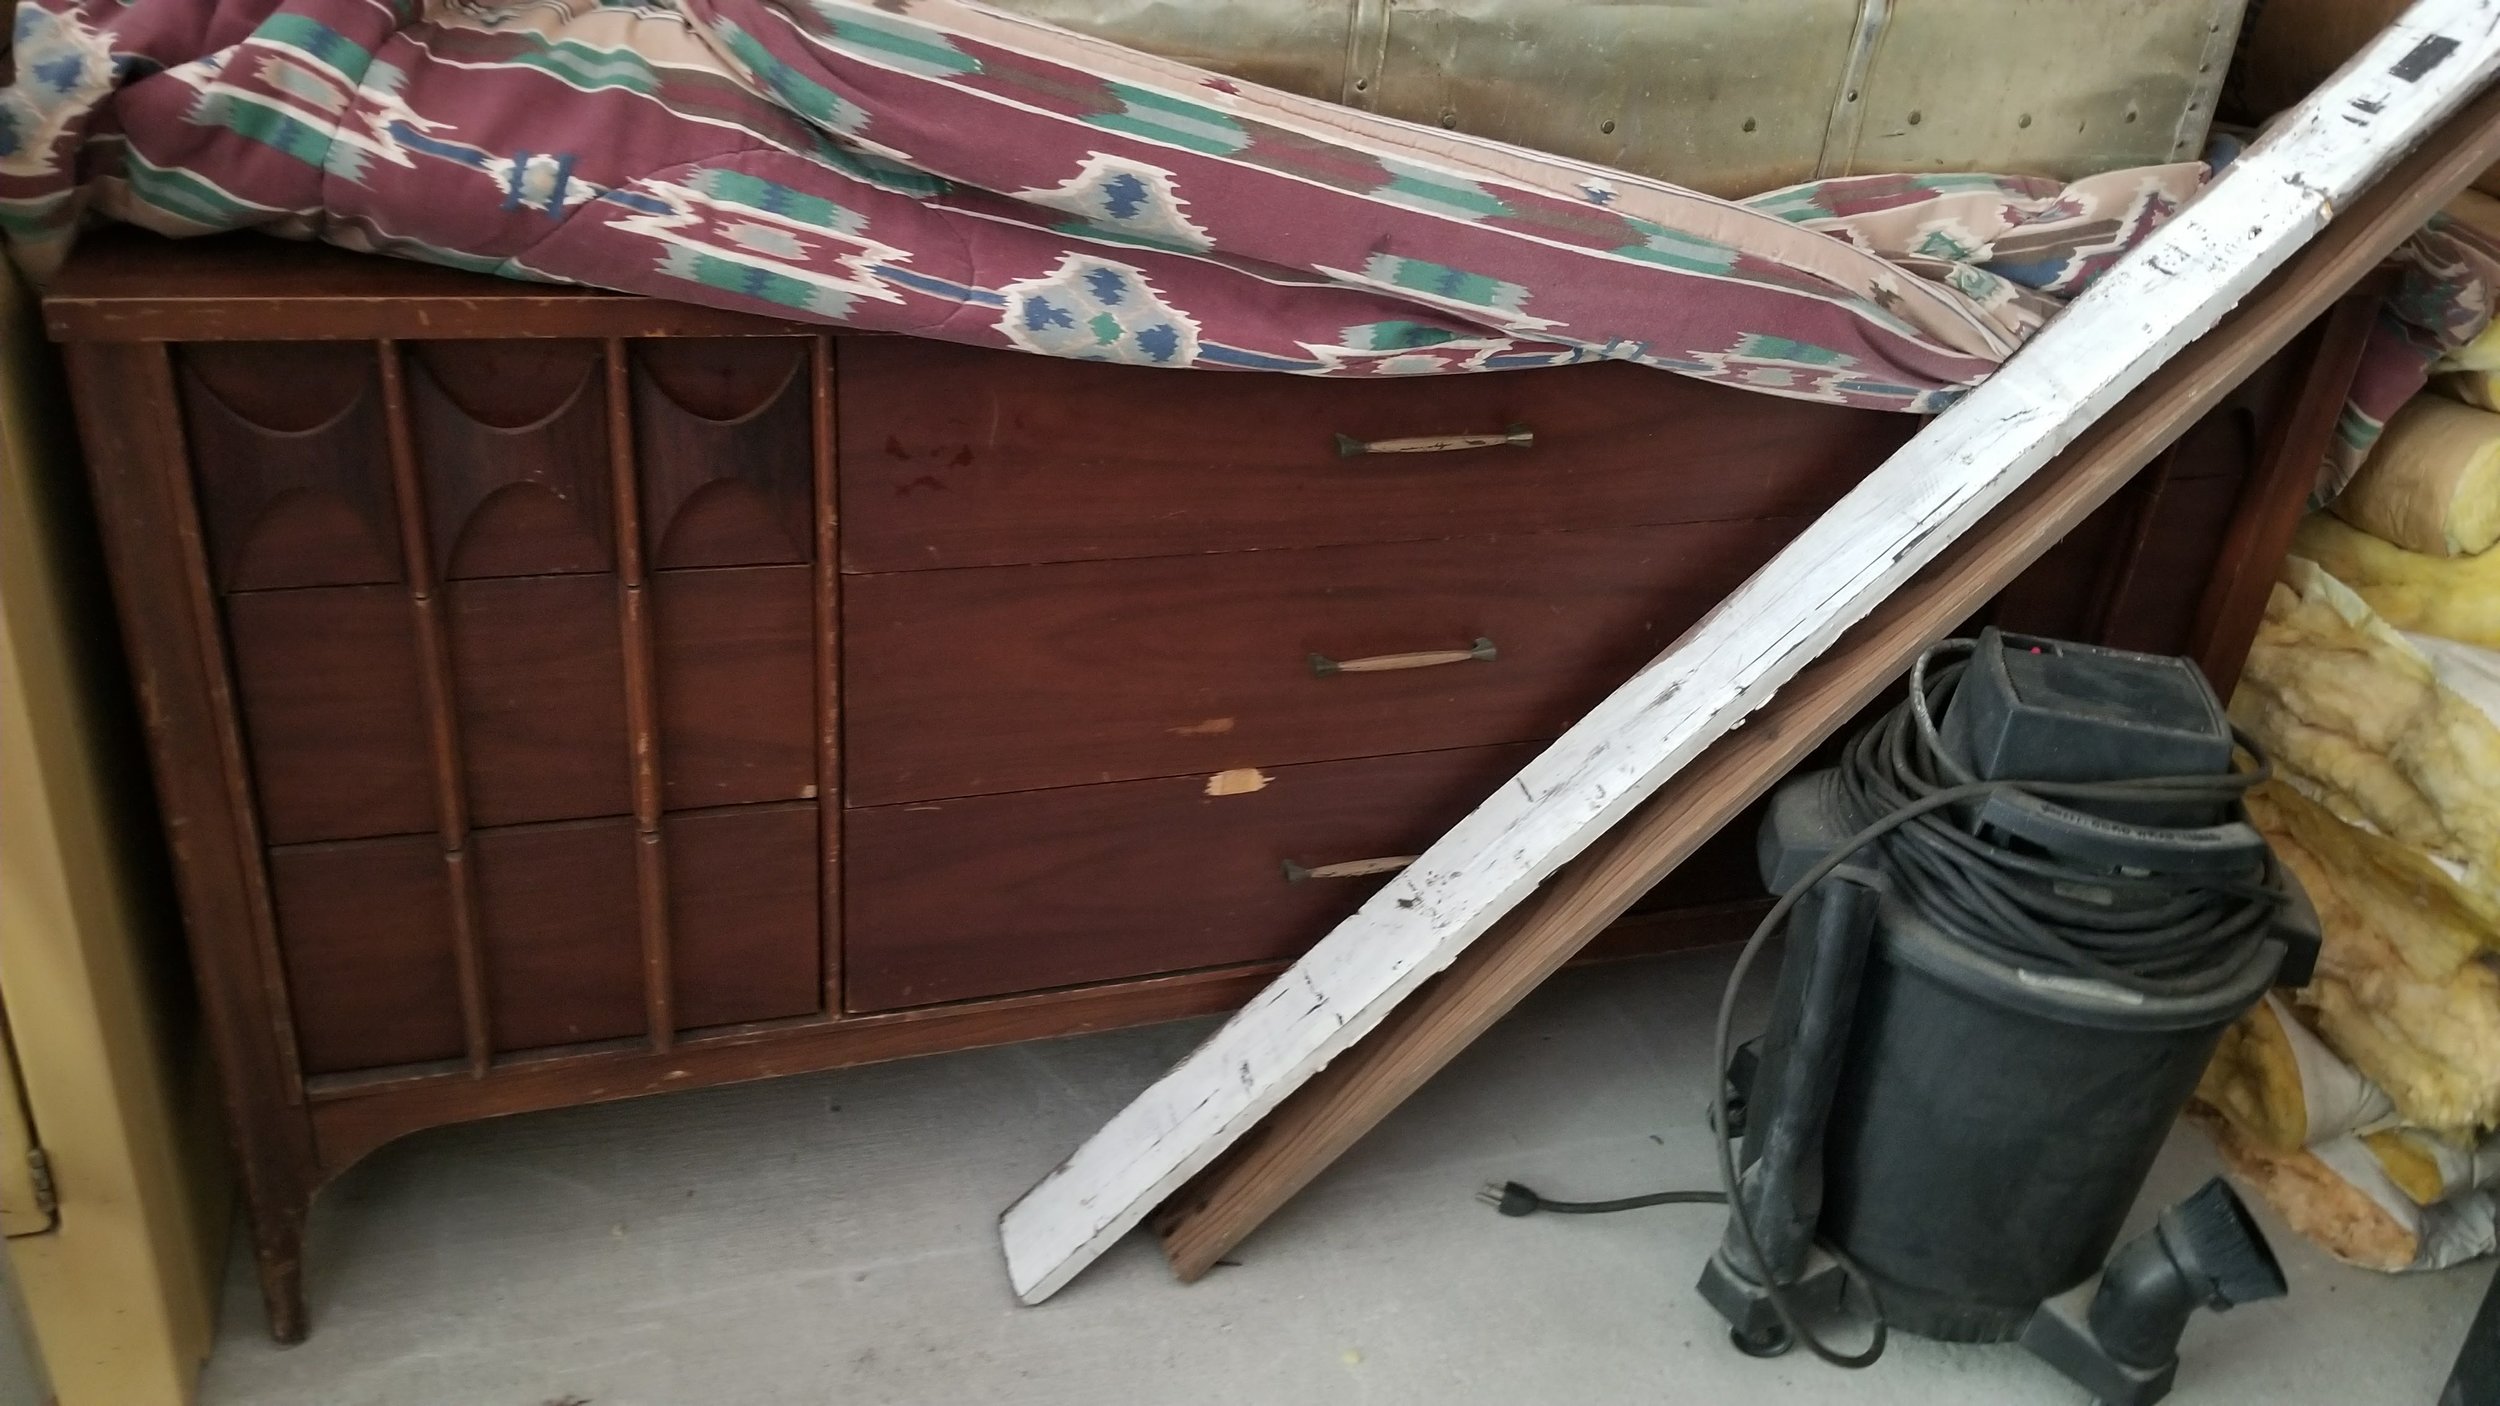
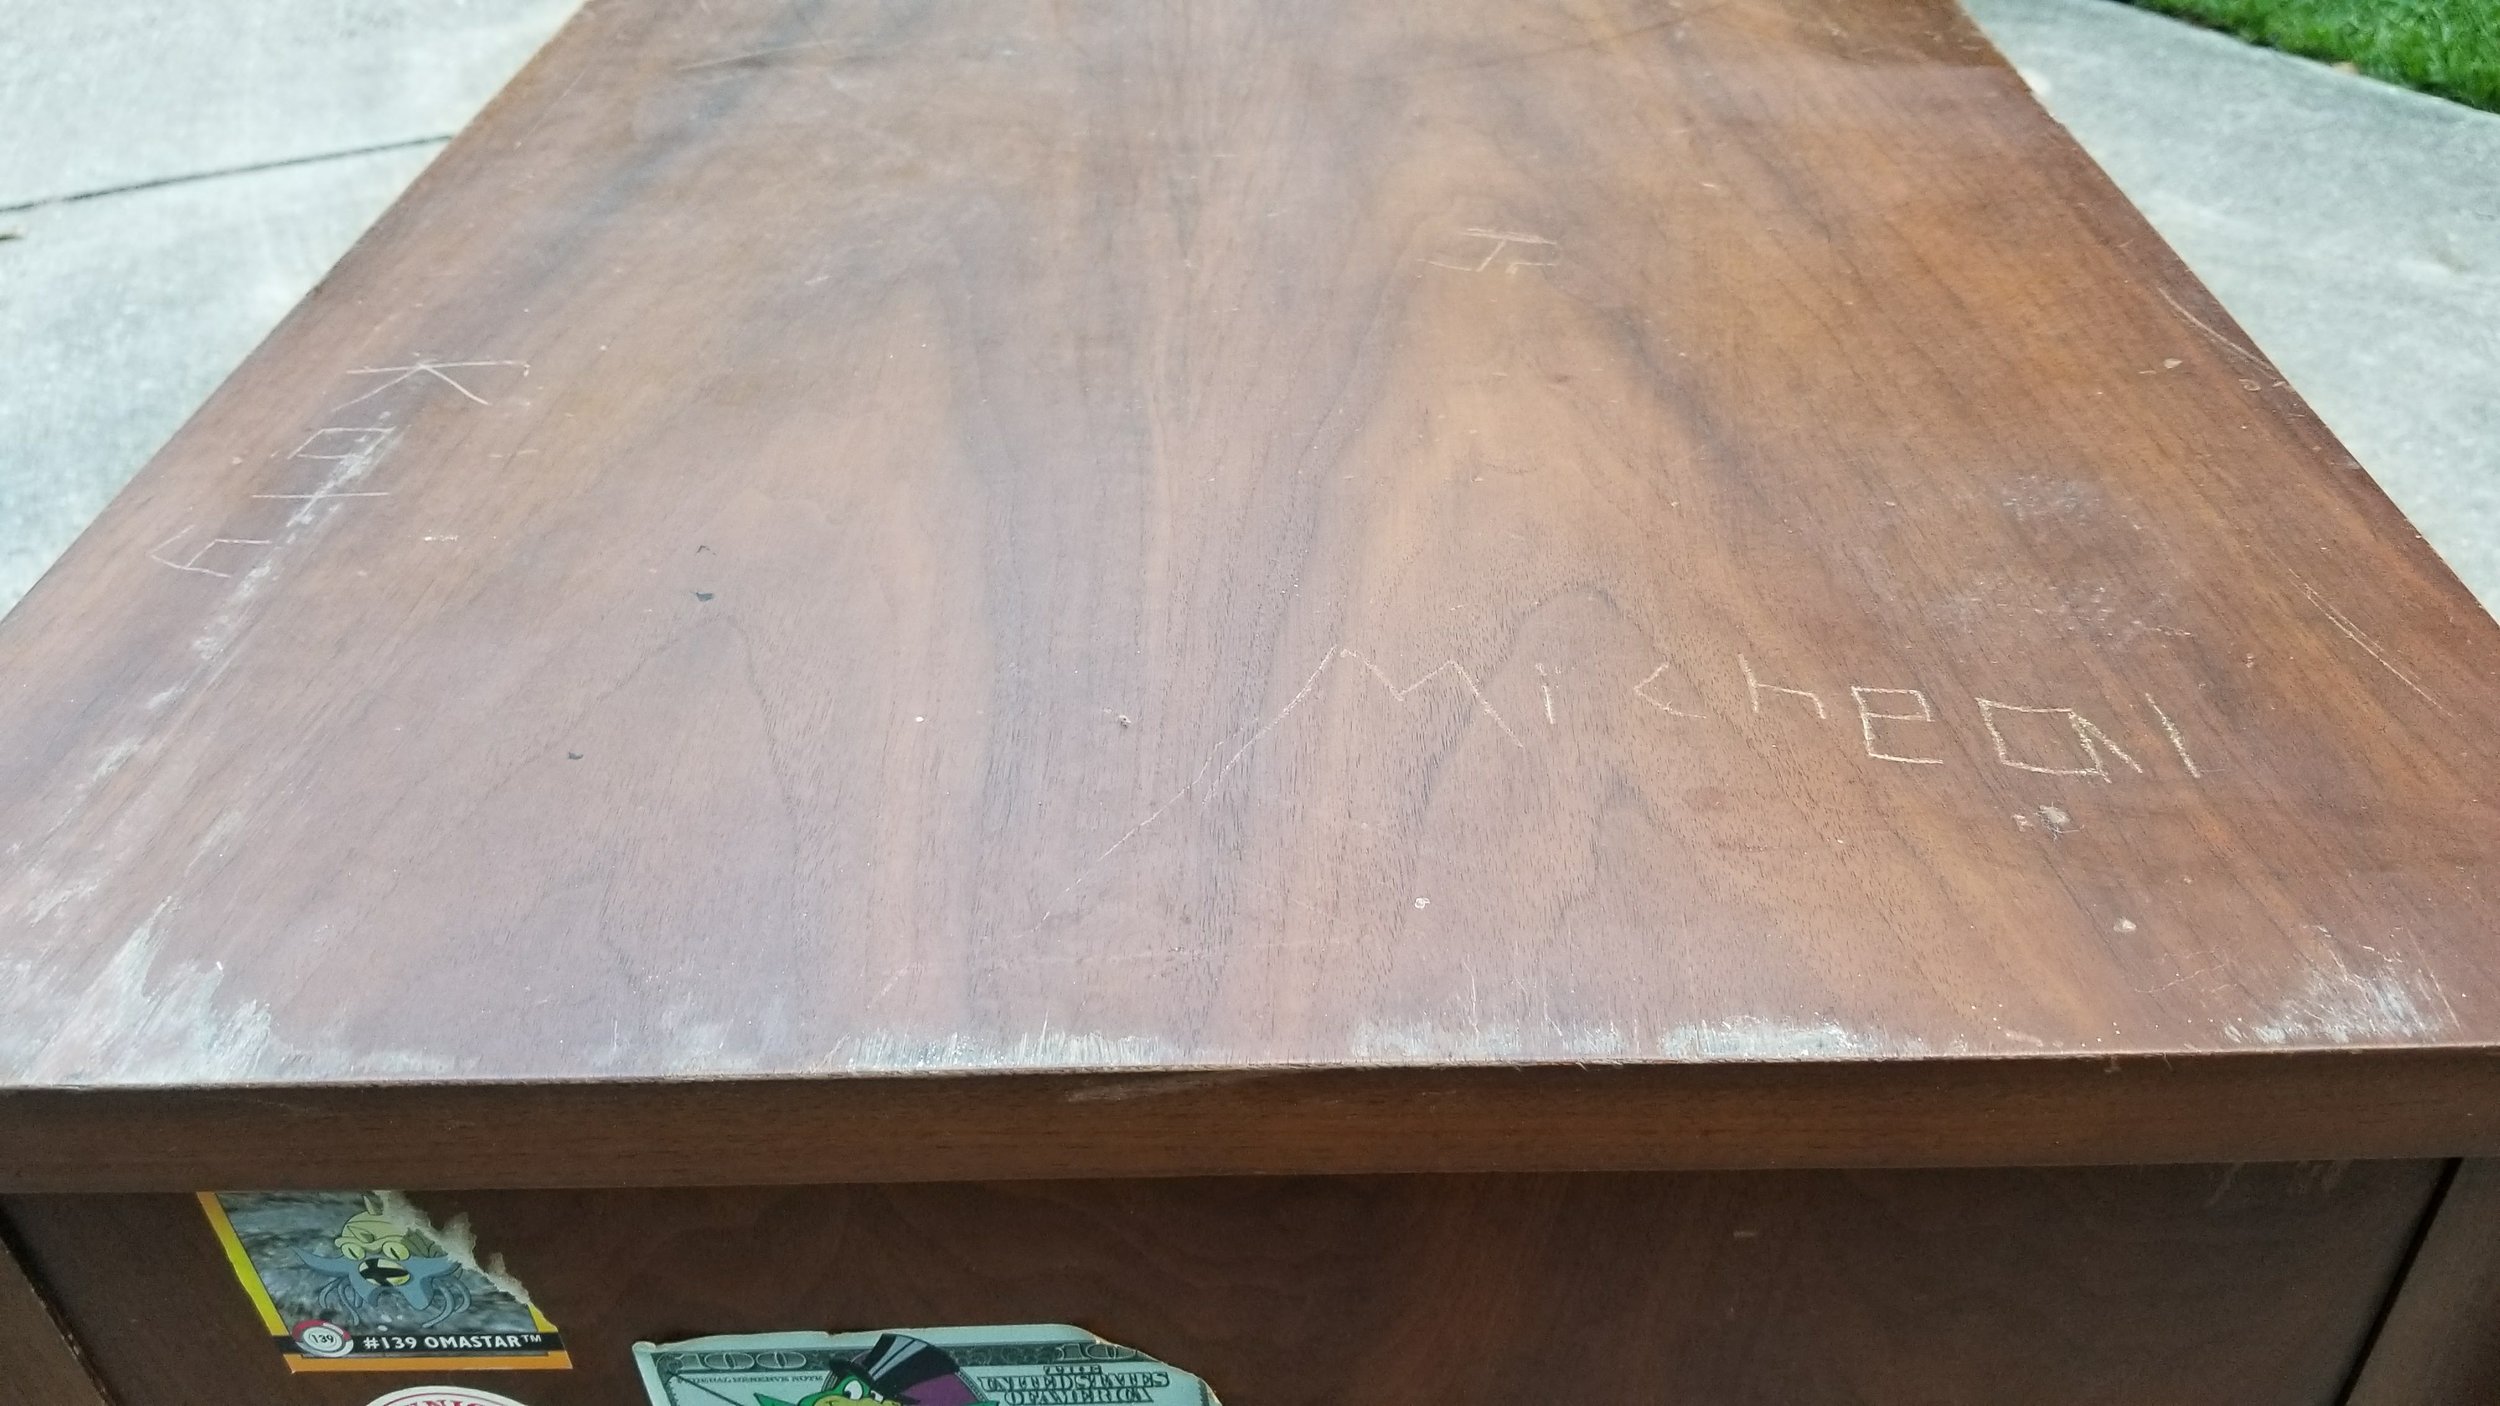
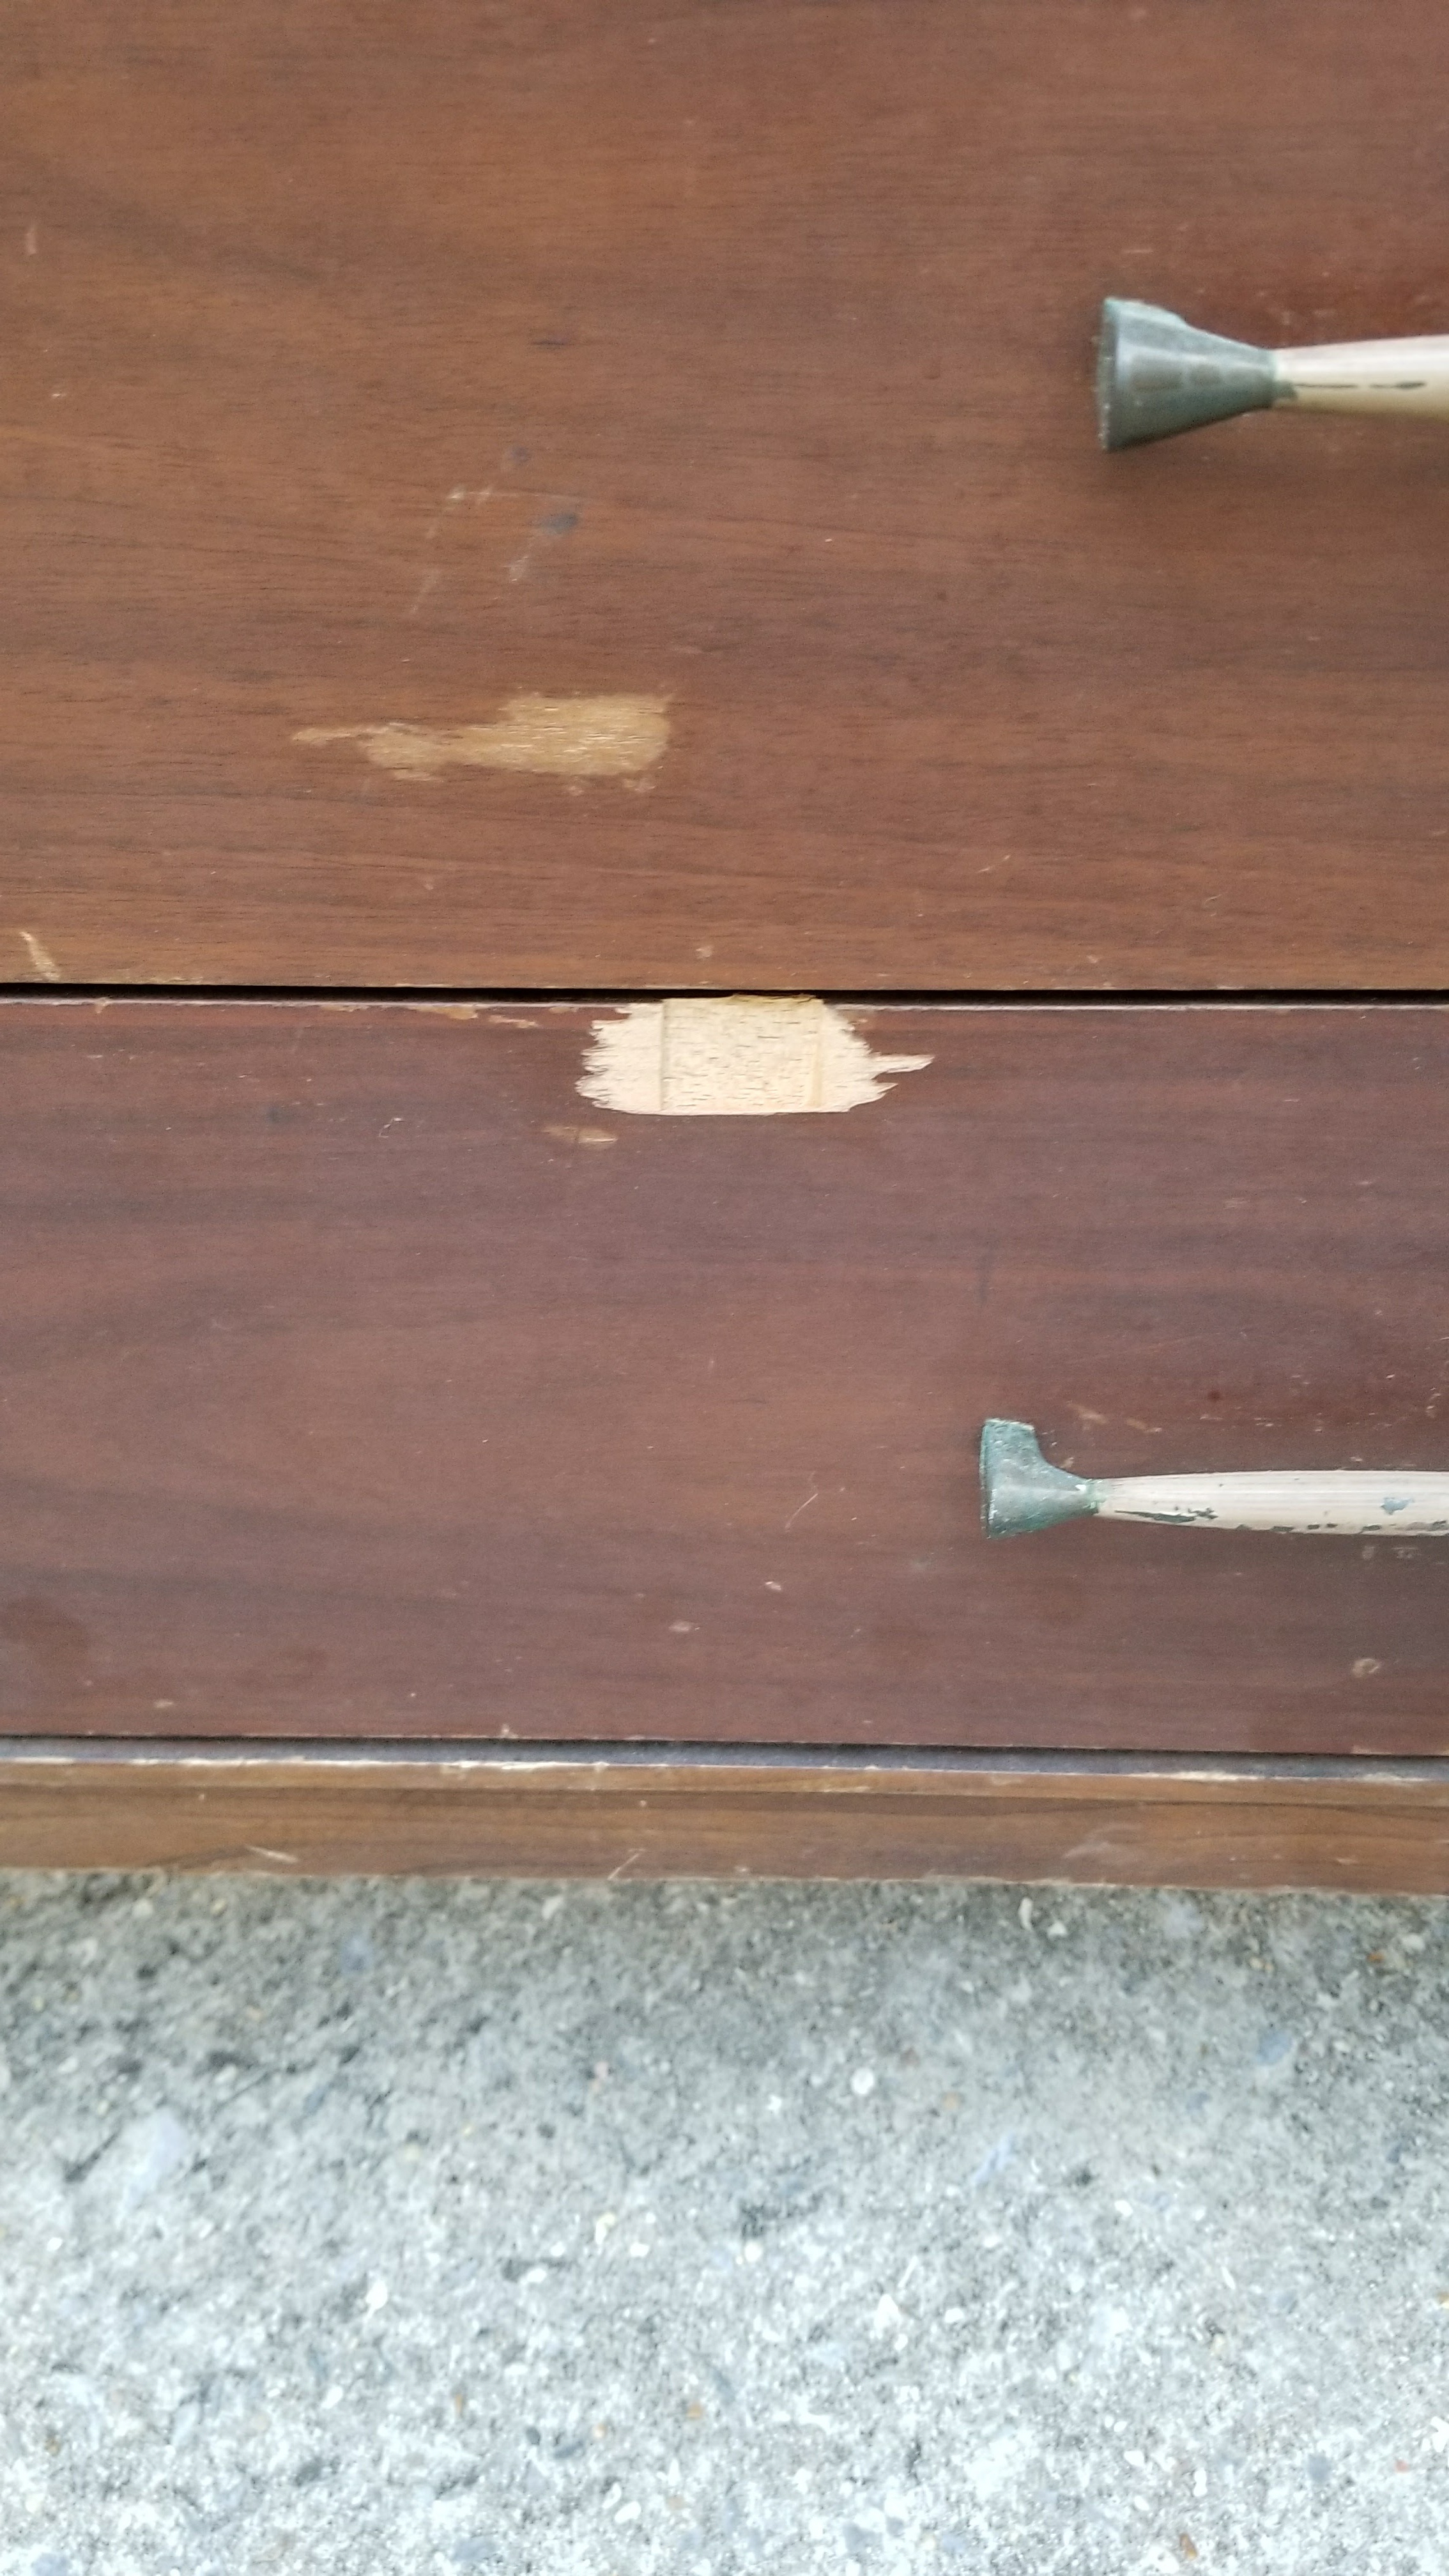
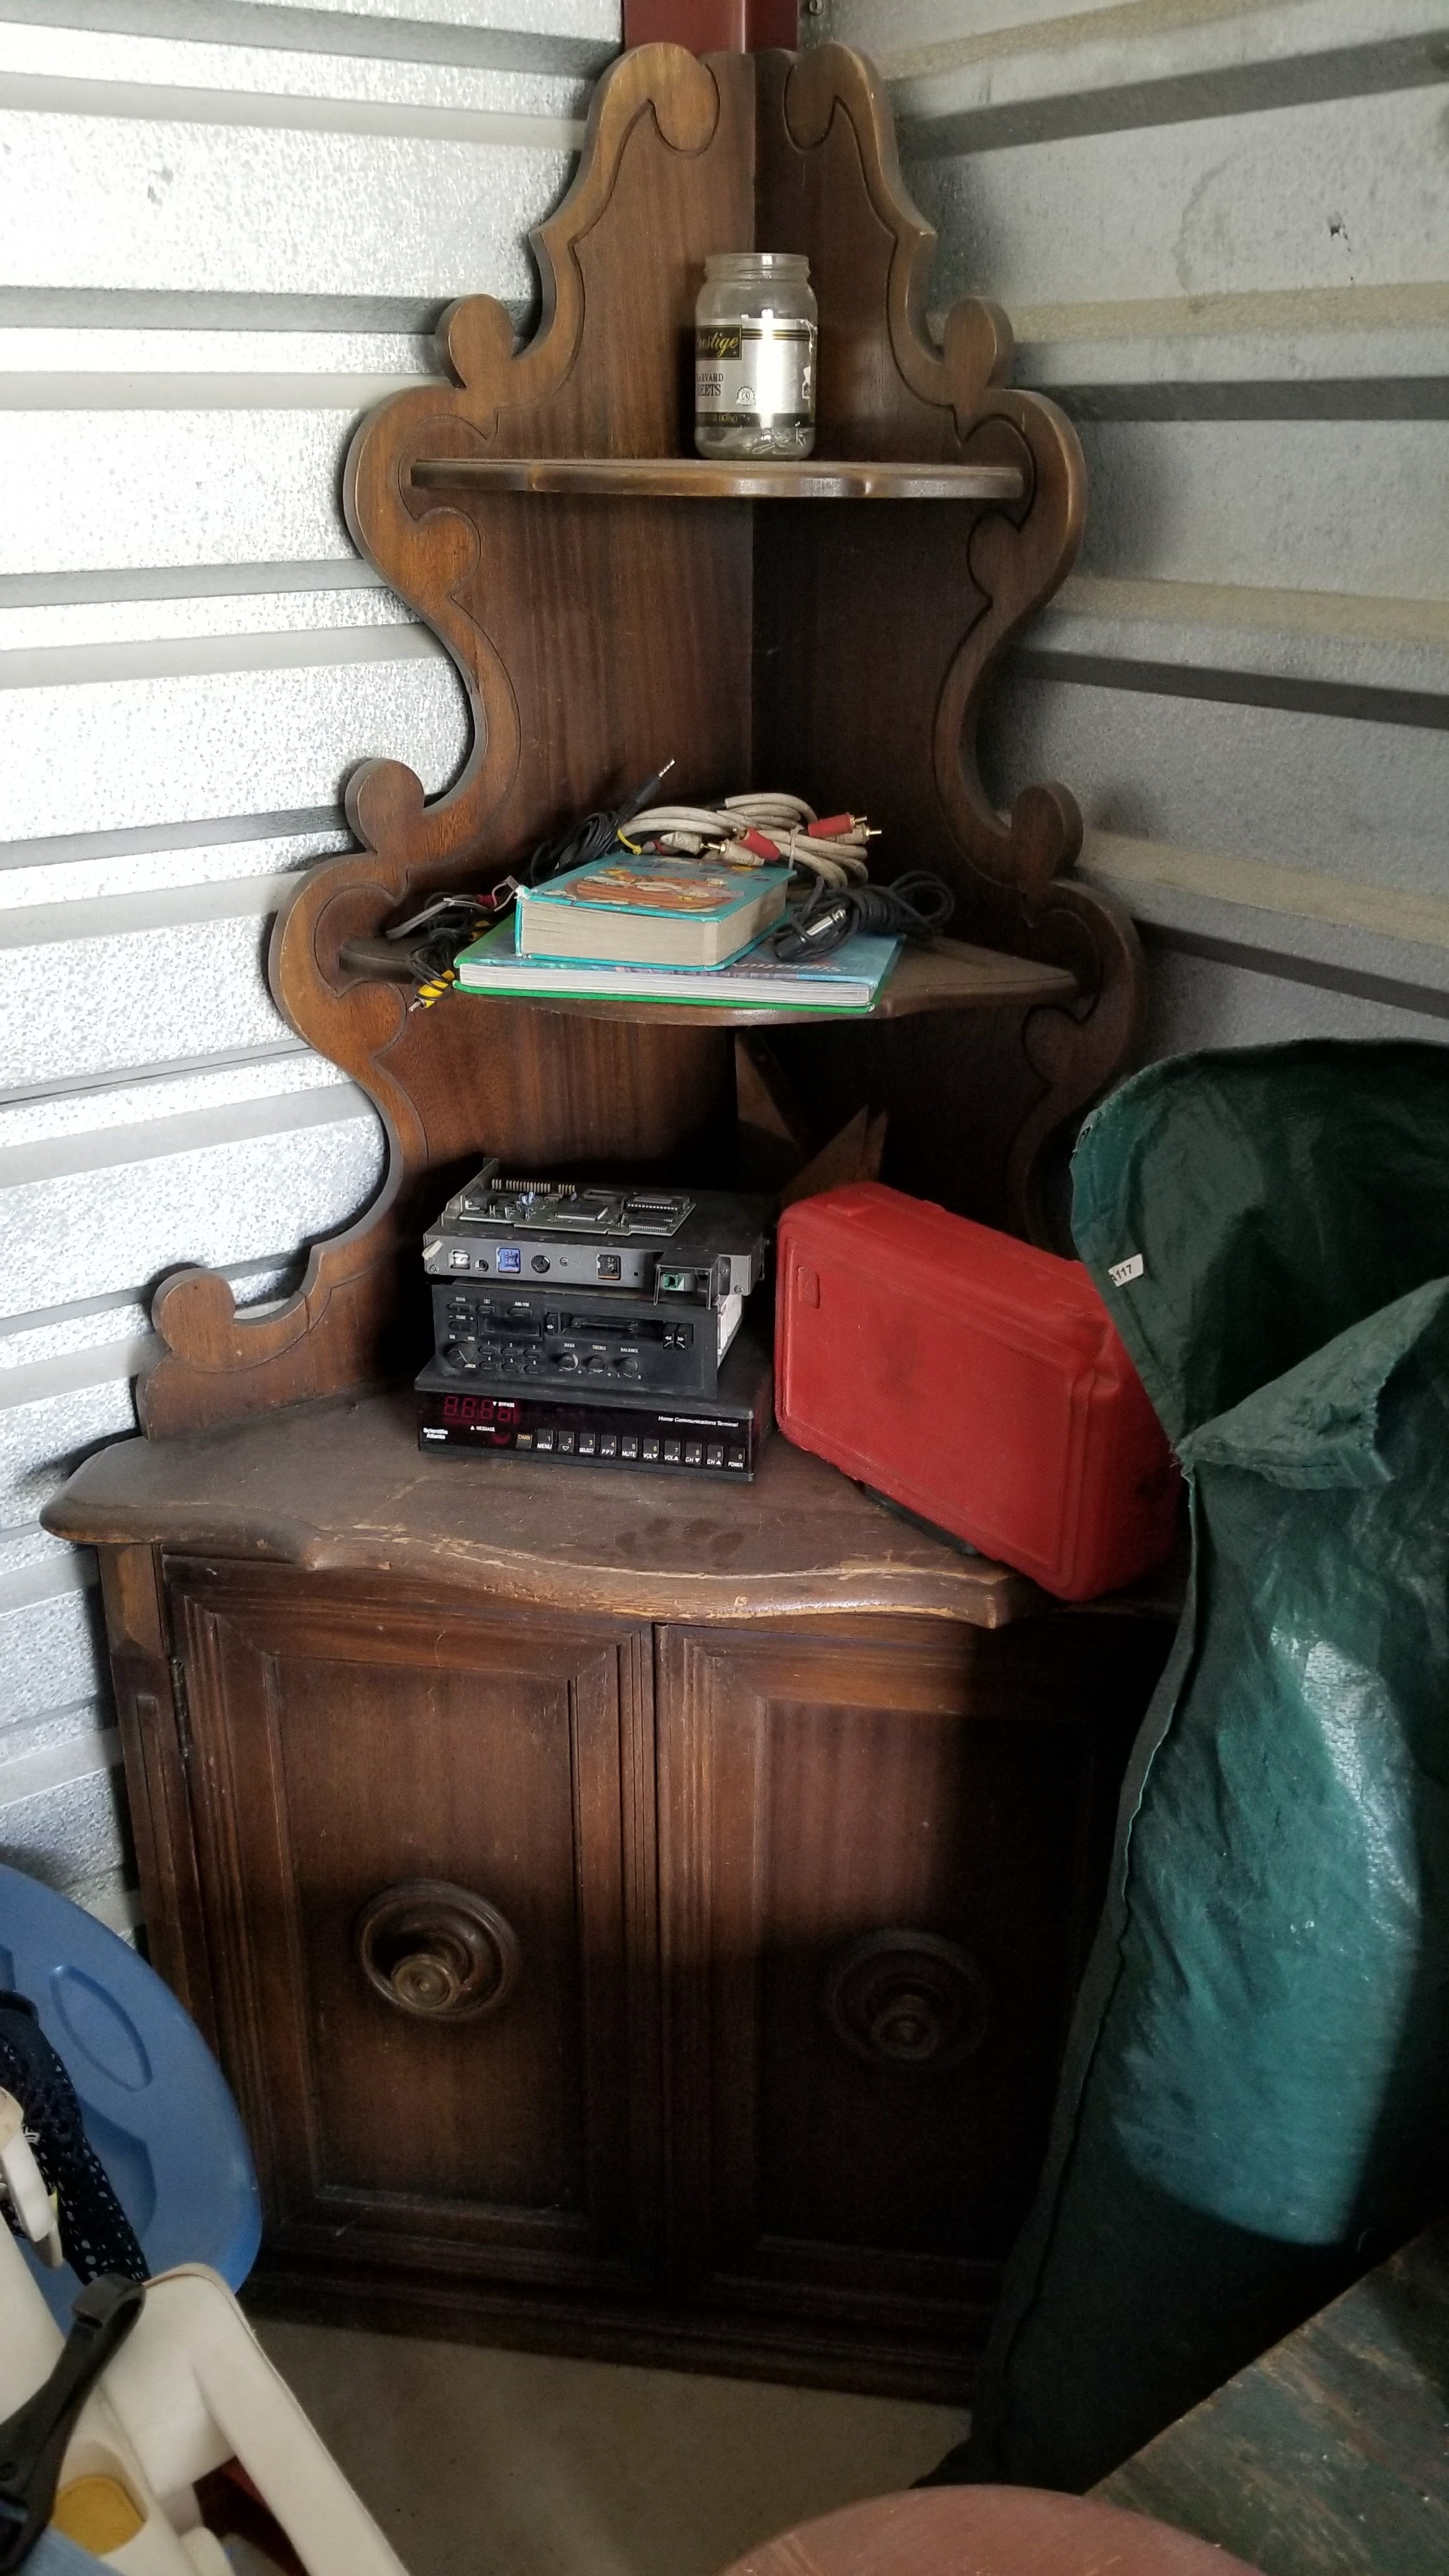
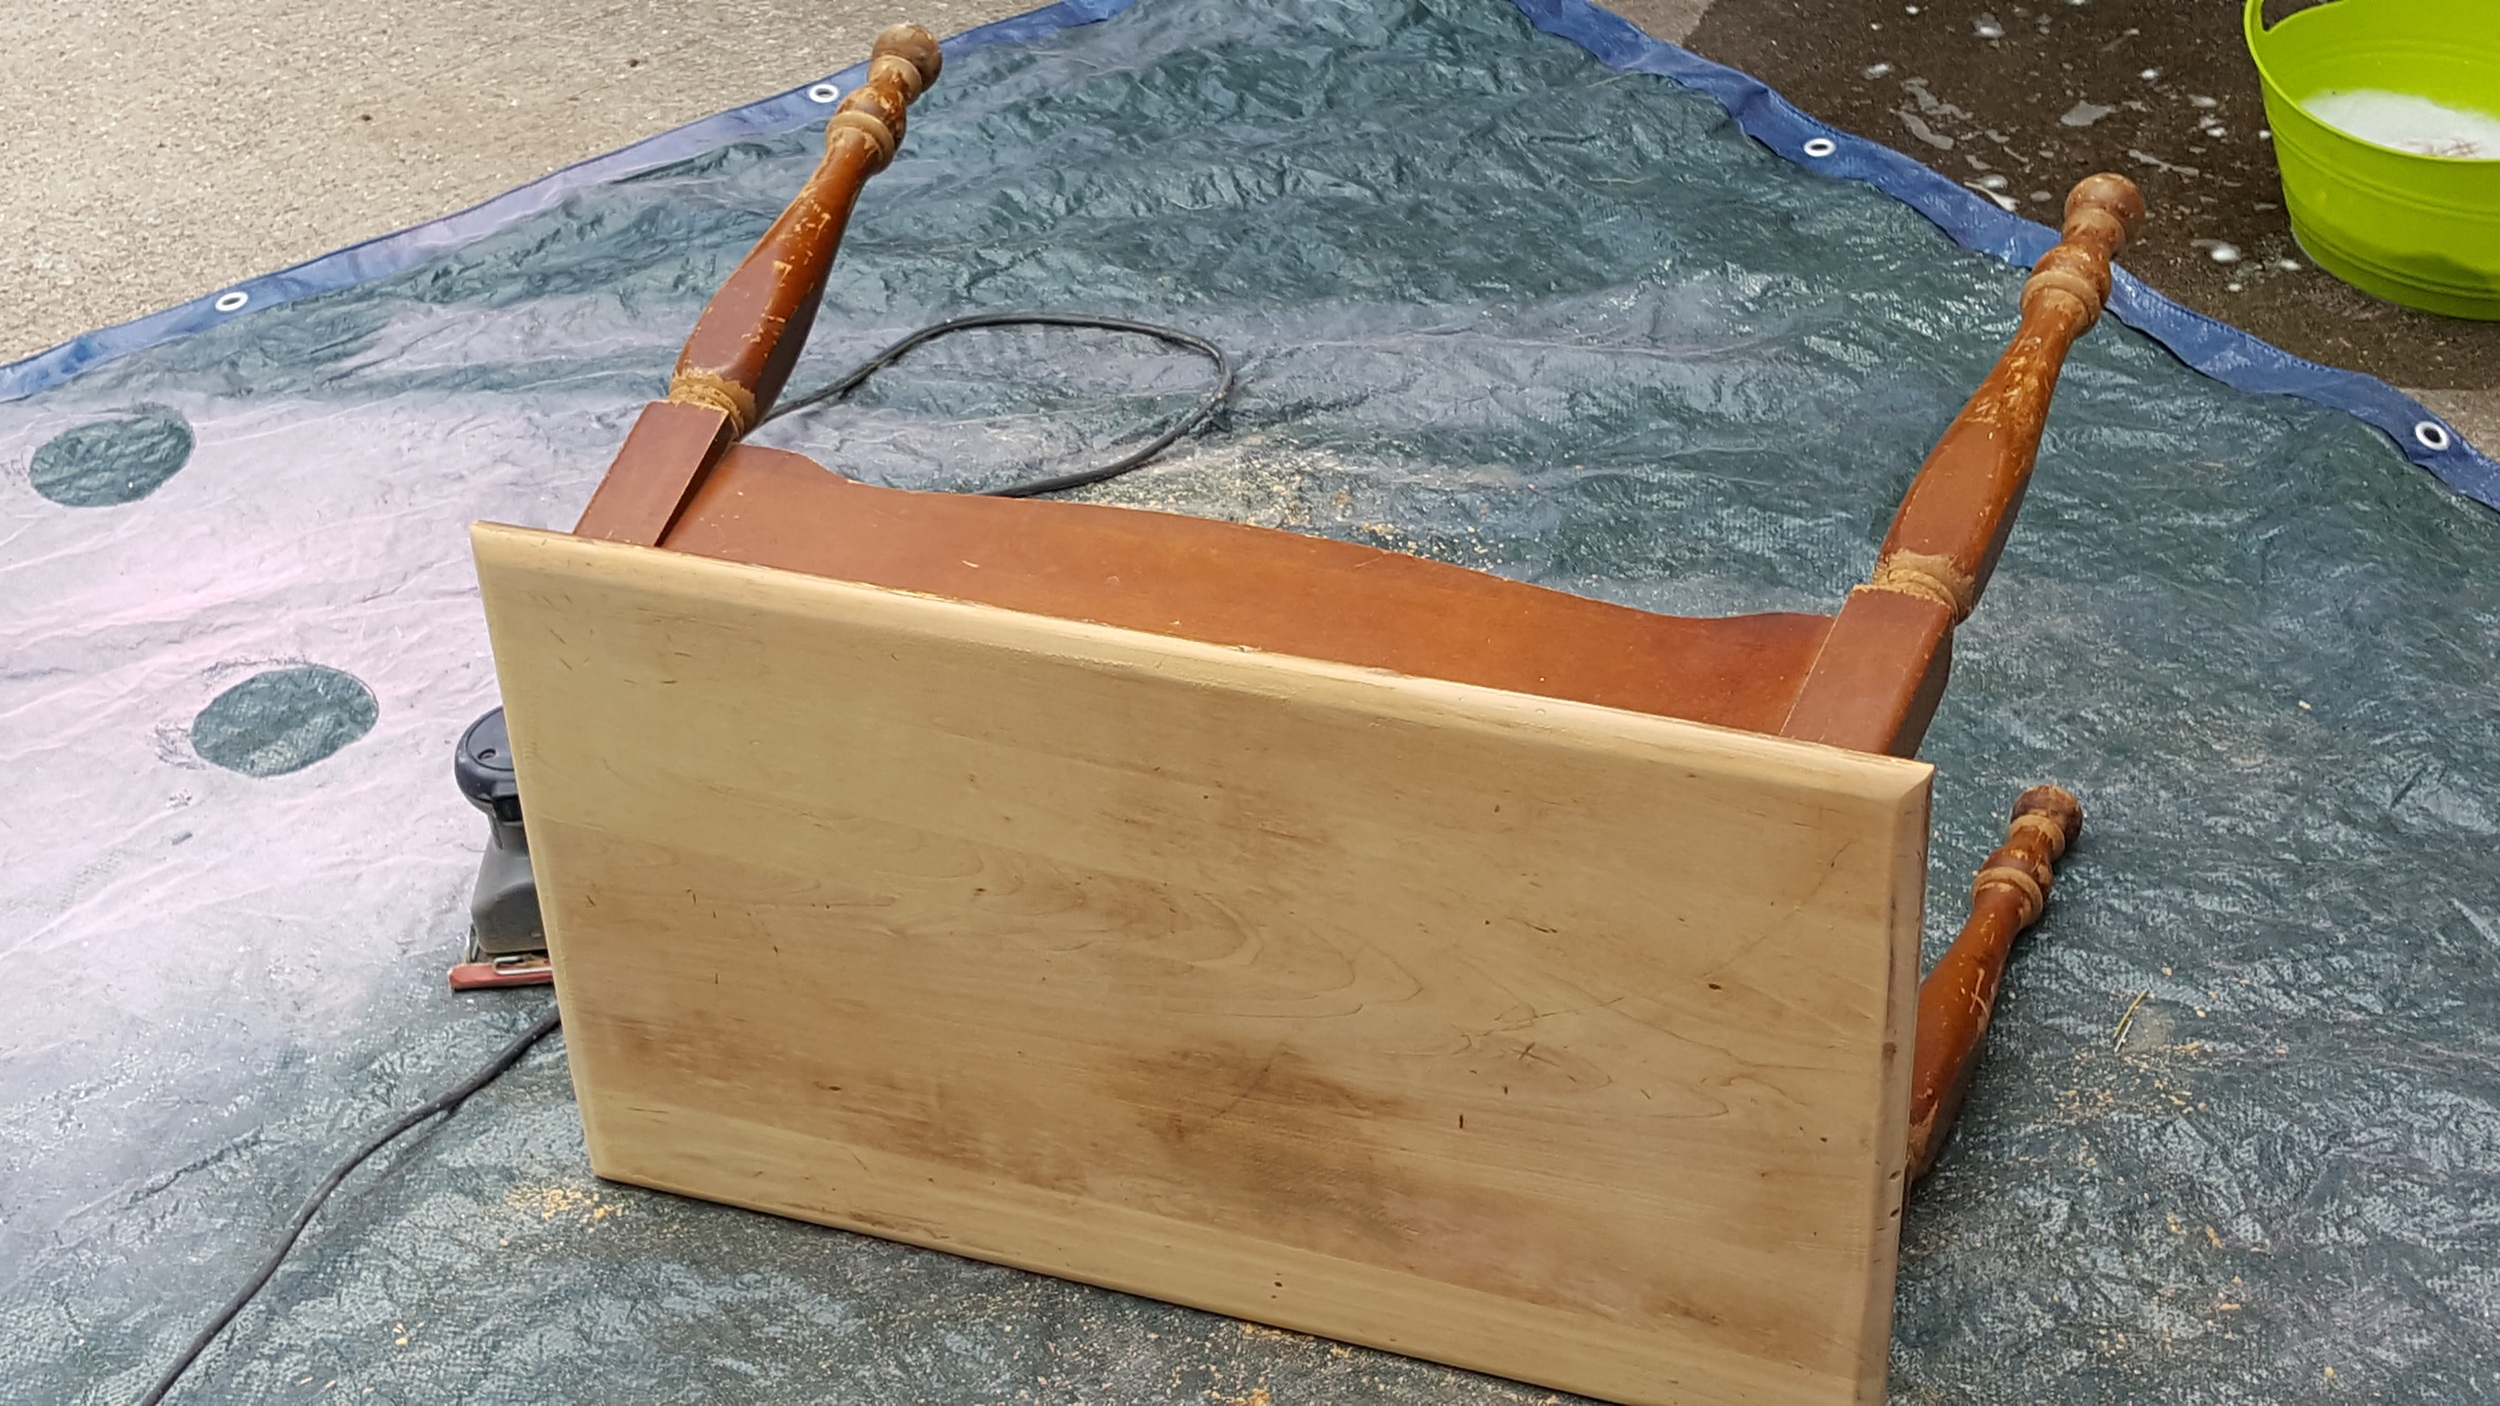
If you EVER see a solid wood bookcase for $5 and don't bring that sucker home and refinish or update it...you're crazy. For real, seriously, crazy. Solid wood. $5. No brainer.

So yeah...I hurricane cleaned and did a few projects and now I'm finally tired enough to relax. Cuz that's how I get down. LOL!

Kent Coffey Perspecta - Refinishing Part 2

BEFORE

BEFORE

AFTER APPLYING WATCO PAINT AND POLY REMOVER

AFTER APPLYING WATCO PAINT AND POLY REMOVER

As you can see...there has been progress!!!!!!!!

I started with drawer #9 since it had the most damage.  I used Watco Paint and Poly Remover to strip it and then, after wiping off the stripping residue, I used .0000 steel wool to wipe it down with mineral spirits.

Next, I hand sanded it with 150 and then 220 sandpaper.  This is as good as it gets for now.  I'm going to sand it using my electric hand sander and 220 sandpaper when I sand the rest of it down tomorrow.  That should make even more of a difference.

The entire piece has been stripped. 

Katy's name is almost gone even before sanding the top as is Michael's name. 

On the bottom, it didn't strip as well as it should have and I'm certain it is because I had it vertical when applying the remover.  I'll go over the bottom again with it horizontal the next time I work on it.  

Know what I hate doing?  Stripping a piece of furniture.  It's just a messy mess that messes with my delicate sensibilities as it relates to messy messes.  UGH!

After that?  Sanding with 150 and then 220 grit sandpaper.

Remember...this is my goal:

Screen+Shot+2017-10-22+at+12.59.56+PM.png

Must have patience grasshopper.

Missed Part 1?  Kent Coffey Perspect Part 1


Kroehler MCM Piece: I 100% love learning something new!

20170311_200310.jpg

The amount of damage on this piece is ridiculous.  I tried very, very hard to figure out a way to not paint this but the water damage done to it is going to make that impossible.  So I plan to do a version of this with paint and stain trying to keep as much of the details as possible.

The bottom two drawers have water damage that can only be painted.  The top drawer, however, I decided to replace the veneer for a fresh stain since it wasn't too bad.

20171021_180840.jpg

I removed the old veneer.

Then I cut new veneer and glued it on.

20171022_101836 (1).jpg

I cannot wait to finish this piece since I'm going to have some fun with it.  Now that I know how to do this...I think I'm going to take this refinishing hobby to whole new levels!

Kent Coffey Perspecta Ongoing Refinishing Project

Screen Shot 2017-10-22 at 12.59.56 PM.png


The very first time I saw a Kent Coffey Perspecta piece, I was in mid-century modern heaven on Pinterest flipping through pictures.  Of all the different furniture periods and styles, I've come to love these pieces the most.  They aren't just functional pieces of furniture...they are art just as surely as if someone intended to hang them in a museum for us to gather around and admire in awe. Okay...that was flowerly as hell...but I'm totally telling you the truth of how I feel about MCM pieces.  And I've begun hoarding them in my garage and studying books, blogs, YouTube videos, etc. about how to refinish them as close to the original state as possible.  See...these pieces are now over 60 years old, so they have been through a lot.  But, in yet another testament to how amazingly well-made they are...they are heavy and solid still...after 60 plus years. If you find one of these in top condition like in the picture above, you're looking at a price tag of about $1600 or so.  I wasn't trying to pay that much for one, but I kept my eyes open prepared to pay a few hundred for one in need of some work.  

And then, one day it happened that I stumbled across one while doing one of my regular runs to find a new project. 

20171005_133431.jpg

I flipped that blanket up and stumbled backward.  I dug this out from under stuff and asked for a price.  I honestly didn't care what the price was, however...I was getting it.  And it was going to be mine, mine, mine until I die and my heirs get rid of my stuff. 

By myself, I hoisted that sucker up on the back of my truck and brought it home.  When Robby helped me unload it he asked who helped me load it on the truck and I told him, nobody.  All I had was a dolly and a blanket.  I laid the blanket in the truck halfway and then flipped the piece onto the dolly.  I rolled it to the back of the truck, leaned it against the blanket and pushed it using the blanket to slide easier allowing the dolly to fall and take out my shin.  LOL!  By the time I made it home I was hot, dirty and sore with fresh knicks on my left shin but, after an Aleve, I was happier than a televangelist counting up pledges for the week.

Here is my baby once we got her off the truck:

20171005_170937 (1).jpg

And here is more of the damage that needs to be dealt with.

So you see...I have my work cut out with this piece since there is no way in hell I'm putting paint on her.  I want her to look just like the picture up top and I am determined to figure it out.  I want to use this in the family room as a television stand so I can look at her every night.  I can't WAIT to be finished.  I'm reading and bookmarking stuff daily and last night I bought some products a master refinisher used in a series of videos I've been watching.  My research is almost complete and I think I'll be ready in a week or so to start working on it.

Wish me luck.  I'll keep yall posted with my progress.  Just be patient with me because I'm going to take my time so I don't mess it up.  I want it to be PERFECT!

I think I'm going to name her after one of my long gone Elders, my great-Aunt Eola.  Aunt Eola was an educator her entire life and carried herself regally at all times.  Even if you popped by her home early in the morning and she was still in her robe with her hair in pin curls.  She was a tiny, Creole woman with glasses and gray hair.  Dainty and yet strong.  I remember she came to our home once and my father hit my mother.  My Aunt Eola swung on him and left all of us in COMPLETE AND TOTAL SHOCK.  She might have been 4ft. 9inches tall and she just JUMPED HIS AZZ. Strong, sturdy and beautiful. 

Yup...Eola it is!  Ms. Eola.  

That Gumbo Life Shop

I hung a headboard on a wall today.  

Why, you ask?

I'm not taking any questions.  Just go with it.  It works.

Mahogany Ornate Corner Hutch - Refinished

20171006_100622.jpg

When I first saw this piece, the legs were busted off it and it was in a corner mad and uncomfortable.  

I love anything with curves and this one had 'em big time.  I drug it home, cleaned it up, repaired it, painted it and now I'm in true love with it.  I left the back of it in the original state so someone can tell it's mahogany and note how old and well-made it is.  

The Eating Holidays are Coming!!!!

Buffet 4.jpg

It's that time of year again when I want to completely redo everything to get ready for the holidays.  I just get into the thought process that people are coming so I need to be ready.  LOL!  Not like people aren't always visiting year 'round mind you.  Year 'round is okay for what it looks like...but when them SAME people come for the holidays it has to be mo'betta.  Don't ask for a rationale behind this way of thinking because there is none.  Seriously.  None.

But I know you probably feel me and are looking around your dining room to see what you need to do too.  LOL!  Cuz that's how we roll.

This starts with me bringing home this piece.  It was soooooooo heavy and we just loaded that sucker up any way we could.  Just slid it all cross the back of the truck.  We got it home and maneuvered it to the garage where it stayed while I worked on it.  It was a challenge because whenever I needed to move it, I couldn't without The Robinator and his schedule made that hard to be consistent.  But I finally finished it.

I stripped the top layer of the finish off and then lightly sanded it.  Then I put two coats of Minwax weathered grey stain on the top of it.  For the base, I painted it with Dixie Belle's Haint Blue.    It's the loveliest neutral color with just the tiniest bit of blue in it.  So much so that you only see it as blue in perfect lighting conditions.  LOL!  I'm talking blinds closed and ceiling light on.  Any other times it looks white.

Buffet 5.jpg

Because I'm going for a rustic farmhouse look in there, I distressed it lightly.  I only did that after we decided to keep it because it was too heavy to take it to my shop.  I mean...this thing is crazy heavy and we're just not built for moving stuff that can't get scratched up.  We're more of the college students you find on Craigslist kinda movers where we just pray for the best and get the worst possible outcome.  Who knew I needed so much additional storage though?  I certainly didn't and now, I have much more.  I have a whole drawer dedicated to linen napkins so I'm not scrambling looking for 8 that match and end up having to use two sets of 4.  *sigh*  And who knew I had enough small placecard holders and napkin rings to fill an entire drawer?  Not me that's for sure!  But I do.  LOL!  So yeah...next thing is to find a rug I can live with, get some cushions made for those two barrel back chairs and some kinda window treatments which don't make the room feel stuffy and I'll be ready for the eating holidays!

UPCYCLED! Coat, Hat and Umbrella Stand for Foyer

I found this stand and it was super rickety.  Like...SUPER.  But you know how I feel about real wood so I knew it would be alright.  I took it apart and cleaned it really well and then put it back together solidly minus the rings.  Then...I primed it and spray painted it in antique white.  I painted the rings gold.  

Wanna know how much I paid for it?  $5.  LOL!  Yup...you read that right.  $5.  

GO ME!!!!!!!

Depression Protection: Small Vintage Writing Desk Paired With Mirror

I found this small writing desk and thought how nice it would be in a guest bedroom where you don't have a lot of space for a real desk but would like to have something in there for your guests to do some work if they have to.  As I was working on it, I remembered a mirror I bought but didn't use in my mirror gallery.  The mirror was just hanging out in the garage behind some stuff so I pulled it out and coordinated the paint with the desk.  I chose Annie Sloan Duck Egg just to have a pop of color in the space it lands.

I have to say...it is super dooper cute now!

The desk has a small drawer for note cards and pens/pencils and a little pullout shelf in case you need a bit more space.  It's pretty perfect and now I'm wondering, as always, do I take it to my shop or do I put it in one of the guest bedrooms?  Hmmmmmmm...

LOL!

I used Howard Golden Oak Restor-A-Finish followed with Howard Feed-N-Wax on the top, drawer and shelf.  It makes it really pretty.  

I know you're saying to yourself...Monnie is always doing something and to that I say...I have to.  I absolutely, 100%, always have to be doing something and if I can't do what I truly WANT to do (make my own movies), then I guess it's cool having a hobby that can consume major blocks of time so you don't sink too far into yourself and get lost swimming around searching for shit you don't even know how to recognize.  I mean...I know that happens to some people and that it is just the way life goes but I'm pretty happy knowing that all I have to do is DO SOMETHING and I don't get too low in my the spirits.

And I do get low.  Very low.  Shit...how could I not sometimes?  

But only sometimes.  You can't let that mess become a habit.

Go do something okay?  DO.SOMETHING.  And it's perfectly okay if it's something you've never done before.  In fact...that's even better.  Having your brain consumed with a project and moving is a good thing.  When the noise gets to be too loud...go do something.  It is a for real solution.

Antique Victorian Oak Eastlake Spoon Carved Vanity Dresser Chest

This piece?  SWOON!  1800s.  Astonishing.  Look at the finish before I started working on it!  

How amazing is that transformation????????  I only used Howard's Wax-N-Feed once I'd done the repairs and sanded out the insides of the drawers, followed with a quick dry rub of stain.   I used Brasso on the drawer pulls and man...it is soooooooo gorgeous to me!  LOVE.IT!!!!!

Cavalier Cedar Chest - FINISHED!

Remember that cedar chest I bought and bragged about HERE?  

Well, I finally got around to it.  I was scared because it's so awesome and I didn't want to screw it up.  I found out about these AMAZING products and, with some 0000 steel wool and a whole lot of elbow grease after the repairs were done, it looks amazing.  

I tell you what...of all the crap I know how to do and do pretty well, this has got to be my favorite thing to do.  It is just so soothing to put on an audiobook and have at it!

Speaking of audiobooks, have you added the Overdrive app to your phone yet and synced it with your library card?  I'm telling you...it's the best thing ever.  That and Hoopla.  LOVE.THEM!

Oh yeah...the products I used?  

1.  Howard Restore-A-Finish, Cherry:  I applied this with the steel wool.  I just REALLY got into it and it worked so well! 

2.  Howard Wax-N-Feed:  This product is my new favorite thing in the EN.TIRE.WORLD!  All of my stuff will be waxed and fed by this stuff from now on at least once a year!  This stuff is amazing!   

How to fix chipped wood or veneer.

If you have nice pieces at your home with chips or broken veneer, you'll be surprised at how easy these things are to fix.  I've always wanted a porch rocker from Cracker Barrel but have never pulled the trigger.  I was at a consignment store and saw one and well...I had to have it. Solid wood?  Check.  And you know how I feel about solid wood.  HOOOOOOOOOTY HOOOOOOO!

I got a really good deal on it because one of the rockers had a chipped end and needed some fixing so hey...I can fix stuff.  LOL!

This stuff is pretty cool in that it brought me back to my childhood when I mixed it up.  It smelled exactly like the stuff my daddy used to use to fix our boat and, I guess that's exactly what it was.  Lightweight Body Filler.  Has that ever happened to you?  A smell takes you back?  It is a weird and cool experience huh?

If you're using this, you'll need one thing for sure, Bondo spreaders.  These are the only things which the hardened body filler won't stick to permanently.  Whatever you mix it with and on/in will be ruined forever so yeah...whip out a paper plate or bowl and a plastic spoon.

After mixing it up, glob it on whatever you're fixing pretty good and then use the spreader to smooth it evenly.  It will dry pretty quickly so please make sure you work fast.  Once it's dry...SAND IT SMOOTH.

Then...well...paint it and make it purdy.  You like purdy don'tcha?  Yeah...you do.  I painted the rocker in Annie Sloan English Yellow with a bit of a stenciled detail in Annie Sloan Pure White.  Yes.  It makes me happy.  :)

Now that I have a rocker...maybe I'll take up knitting.  LOL!  

Refinished and Painted Vintage Windsor Wood Arm Chair

This might be my favorite piece yet.  It is so solid and fun now that it has been restored to awesomesauceness.  Yup.  That's a word.  Look it up.  Didn't find it?  Oh...my bad.  :)

This lil dude was busted and disgusted.  The bottom was broken and there was a ton of just...GRIMEY GRIME on the arms.  Dried on grimey grime.  Just gross.  But...as we've covered before...solid wood can be sanded and cleaned up so well so I repaired it with wood glue, contact cement and wood filler and then got out my palm sander to remove all the grime off it.

Then I painted it but it was just regular and I wanted it to be fun.  This will probably end up in the kids' guest room once I find the perfect size desk so, of course, I wanted it to be neat and indestructible too.  LOL!  I used some of my stencils and did a rustic French numbering stencil on the seat using chalkboard paint but it looked too "new" and I didn't like it.  To combat this I mixed one part paint to two parts water in a wide mouth jug and shook it up really well and then applied to the seat wiping it off almost immediately with blue shop towels for a white washed look.

The feet on it were rusted and non-removable so I taped the legs up and hit them with some gold paint.  To finish it, I sprayed it down well with Minwax polycrylic three times.  Should be good to go.

And now it's so cute...I might not want a kid sitting in it.  Indestructible or not.  So there.  LOL!  


Solid Oak Round End Table Refinished in Annie Sloan Country Grey with Stained Top

I'm totally beginning to have a thing for round coffee tables and end tables.  Not plain ones mind you...but some with a bit of oomph.  What is oomph you ask?  Hell if I know...I just know it when I see it.  

When I found this table it had a busted leg.  Totally ew.  Turns out, broken wood pegs are relatively simple to fix though.  You take a drill and drill through the broken peg until the hole is completely cleaned out.  Then?  Add some wood glue and bang in a new wood peg.  You can get a pack of like 10 of them for under $2.  Crazy huh?  When I think of all the things I've encountered with a busted wooden peg and it could have been fixed for like TWENTY CENTS???????  

LAWD... SHAME! SHAME! SHAME!

So...this was pretty basic.  Like...seriously.  When you use Annie Sloan chalk paint you don't have to sand it so I only sanded the top because I wanted to stain it and to stain something...ya gotta remove the current finish so the wood can absorb the Minwax Dark Walnut stain.  There was just no way I was painting over that gorgeous inlaid top.  It was just so neat to me that it was laid in quarters like that.  The beading along the side was a detail I wanted to make pop so after painting the base in Annie Sloan Country Grey (my favorite color it seems)  and under the top, I rubbed dark wax under the top.  As a protectant, I really like General Finishes High Performance Top Coat in satin.  I think I did two coats on the top.  Anything vertical I've learned to use a polyacrylic spray so that's what I did there.  The piece came out so lovely and man is this thing SOLID!  It won't move unless you actually move it.  A simple bump won't sent it sprawling into the wall to make a knick in your paint.  WHOOOOOHOOOOOOOOO!

You'll find that round end tables are pretty versatile for the space you're looking to fill too.  Squares and rectangles are pretty...um...finite.  I guess that's a good way to put it.  If not...pick some words, put them together and VIOLA!  Hopefully you know what I'm trying to say.  LOL!

Refinished Nightstand Between Twin Beds in Kids' Guest Room

20160713_142026 (1).jpg

When looking for pieces to refinish, do yourself a favor and choose REAL WOOD pieces only.  Don't get cute and get stuck with some particle board you won't be able to do anything with except paint.  Nothing wrong with painting, of course, but the great thing about real wood is that if you screw up...you can start over.  No problem.  If you don't like it...you can start over.  No problem.  

This piece had something I hate.  A non-working "drawer."  Like...there was a drawer pull on it and a fake line to simulate a drawer but it was just a side.  I was looking for a nightstand to put between the kids' guest bedroom.  It has twin beds and not enough room for two end tables so I needed to be pretty specific with size.  Also...I didn't want it to be too tall.  Initially, I was going to use a bookcase but struggled with lamp placement.  Since it's a guest room, something with a drawer isn't necessary and I've since put a low basket with a liner under it to hold books.  

Still working on the room for now, of course.  I'm planning to do a light colored wall behind the beds and decorate it with stars.  Why?  I like stars.  Duh.  LOL!  Funny because my nephew is currently visiting and he has his own ideas of design and implemented them accordingly.  *sigh*  He's quite proud of his handiwork.  What say you?  Think he has a future in interior decor?

The piece was scratched up like crazy so I removed the hardware on the faux dresser and covered the holes and the lines with wood filler that can be painted.  Then...I sanded the top really well to get as many of the scratches off the top as possible.  

I wanted a "front" so I used contact cement to add a pair of latex appliques to it.  I didn't decide this until I'd already put a coat of paint on it.  Next time, I'll know to make the decision BEFORE I've started.  Will make it a lot easier.  I added a bit of gold Rub N' Buff to the appliques so that they would stand out a bit.  I did the same to the bottom ring on the legs.

I put three coats of General Finishes High Performance top coat on the top to make it virtually indestructible and a dark wax along the base and legs for more of a shiny patina.  

I paid $5 for this table so yeah...even if one of the nephews Hulk smashes another one on top of it...I'm good.  LOL!

Plant Stand Makeover in Annie Sloan Provence and Dark Wax

This was tragic in the beginning. TRA-GIC!

I thought it was going to be a simple job of stripping and then painting but noooooooooooooo!  It had been painted and then covered with contact paper and then?  PAINTED AGAIN!  I didn't get anywhere with an entire can of Citristrip because of the stupid contact paper.  Once I got the top coats of paint off, then I had to pull off the contact paper and THEN I had to strip that paint off.  Seriously...I almost gave up on this thing thinking that a plant stand just really isn't worth all this trouble so I left it alone for a few days and worked on something else.  Then I thought about how gorgeous my trailing begonia would look on it so I stripped it, sanded it and painted it.  Then?  I got jiggy with it and used my stencils to put a few designs on it.  After that, I used 100 grit sandpaper to distress all the edges of the wood and went over it with dark wax.   

And now?  Me happy!  Had I known about all of the layers of paint and the contact paper in the middle?  Yeah...Idda passed.  I never want to do that again.  

Isn't it purdy?

Vintage French Provincial Nightstand in Pink and Berry!

First time I saw this...it was scary.

And now...it's all lovely and ish.  Perfect for a Princess' bedroom.  Isn't it gorg?

Antique China Hutch in Annie Sloan Graphite and French Linen

When I found this piece...it looked tragic.  It was covered in brown paint with faux wood grain contact paper on the shelves.  I bought it because I liked the details and well...I was also looking for a nice piece to use Annie Sloan Graphite on.  It is such a rich color that I figured it could be used to make anything look elegant.

When I got it home...I was curious as to what kind of wood it was made out of so I decided to strip it.  You don't need to strip paint to use Annie Sloan paint mind you...I just wanted to see it in  it's original state.  So I did it...and was shocked to find that the beautiful wood underneath the horrible paint was none other than rare mahogany.

Wow.

I honestly sat there and stared at it for a long time and then I moved around a bit just so I could make SURE I was doing the right thing by painting it.  Then...I decided that hey...no matter what...I could always strip the paint off again if I wanted to right?  RIGHT.

So I took the hardware and door off.  Then I collapsed the shelves and got to painting.  Since it was such a dark piece anyway...I knew I'd have to do a light color inside of it.  The hardware was pretty nice but I wanted it to seriously pop so I used a bit of Antique Gold Rub-N-Buff to make the color really stand out.

I put two coats of paint on it and then let it dry for a full day.  Next, I used General Finishes top coat for protection and now I'm sitting here debating whether I should wax it too.

This piece is so lovely to me that yeah...it might already be SOLD too.  :)