Minwax Polycrylic

The Eating Holidays are Coming!!!!

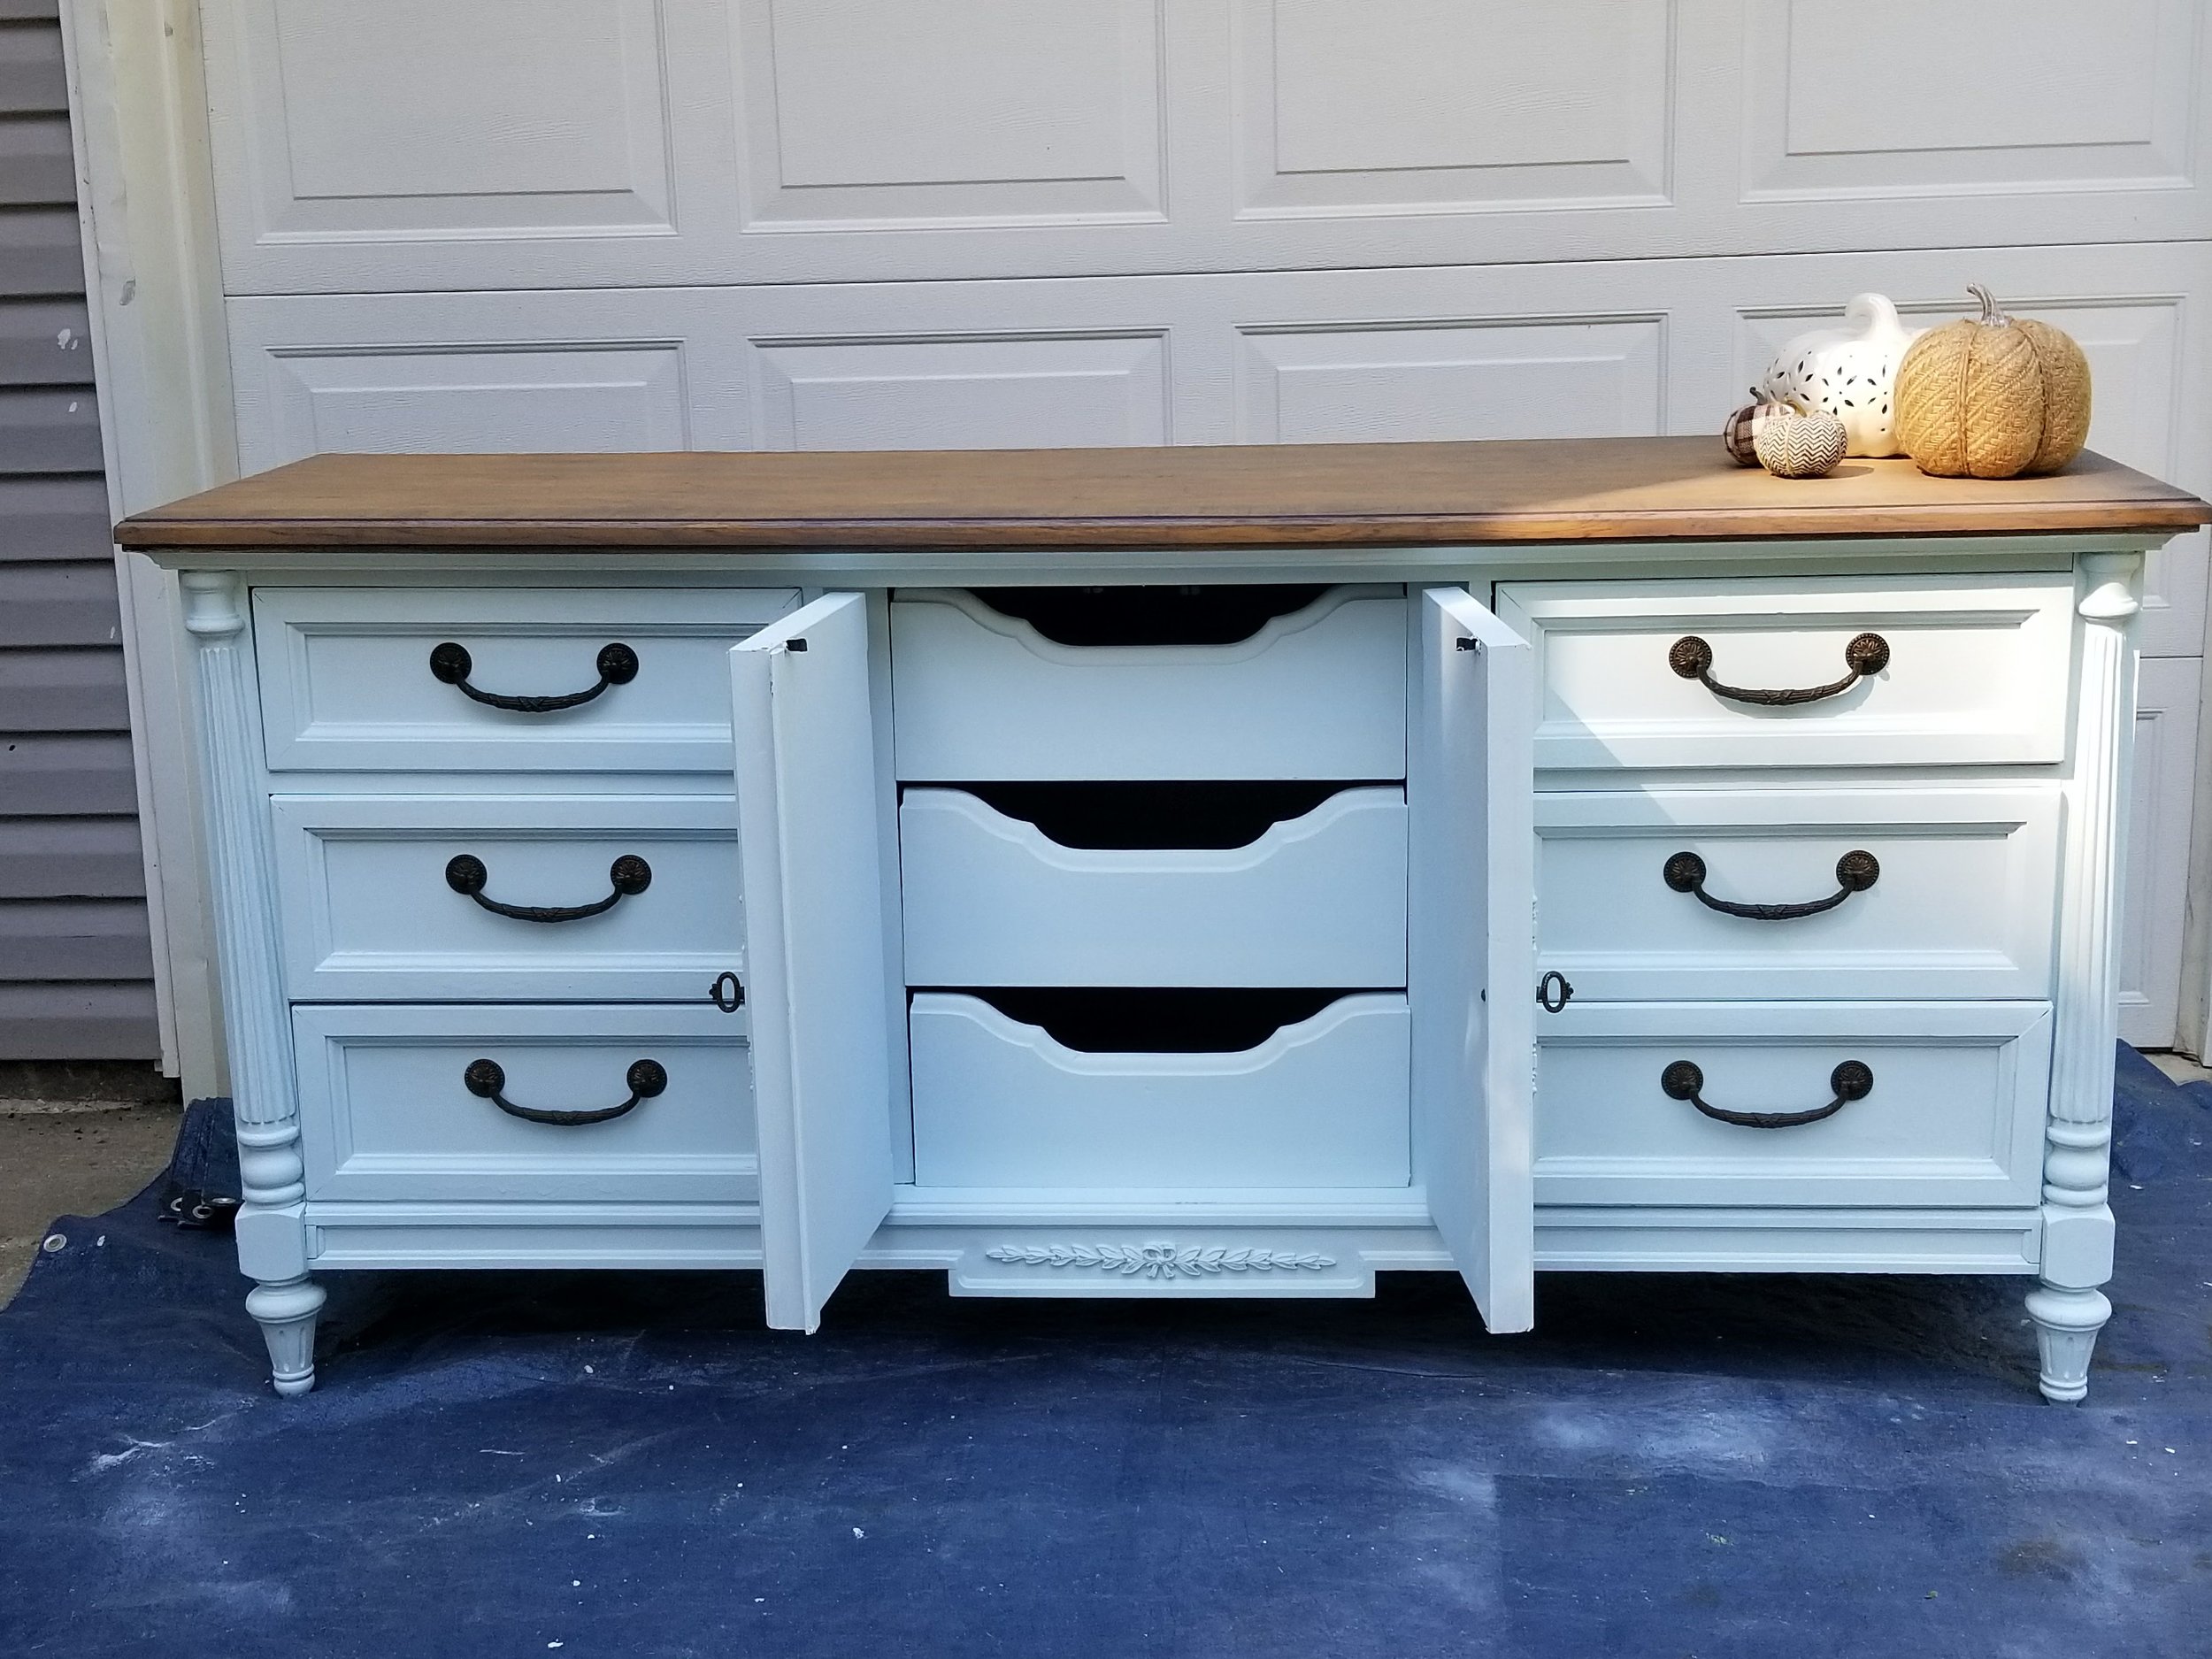
Buffet 4.jpg

It's that time of year again when I want to completely redo everything to get ready for the holidays.  I just get into the thought process that people are coming so I need to be ready.  LOL!  Not like people aren't always visiting year 'round mind you.  Year 'round is okay for what it looks like...but when them SAME people come for the holidays it has to be mo'betta.  Don't ask for a rationale behind this way of thinking because there is none.  Seriously.  None.

But I know you probably feel me and are looking around your dining room to see what you need to do too.  LOL!  Cuz that's how we roll.

This starts with me bringing home this piece.  It was soooooooo heavy and we just loaded that sucker up any way we could.  Just slid it all cross the back of the truck.  We got it home and maneuvered it to the garage where it stayed while I worked on it.  It was a challenge because whenever I needed to move it, I couldn't without The Robinator and his schedule made that hard to be consistent.  But I finally finished it.

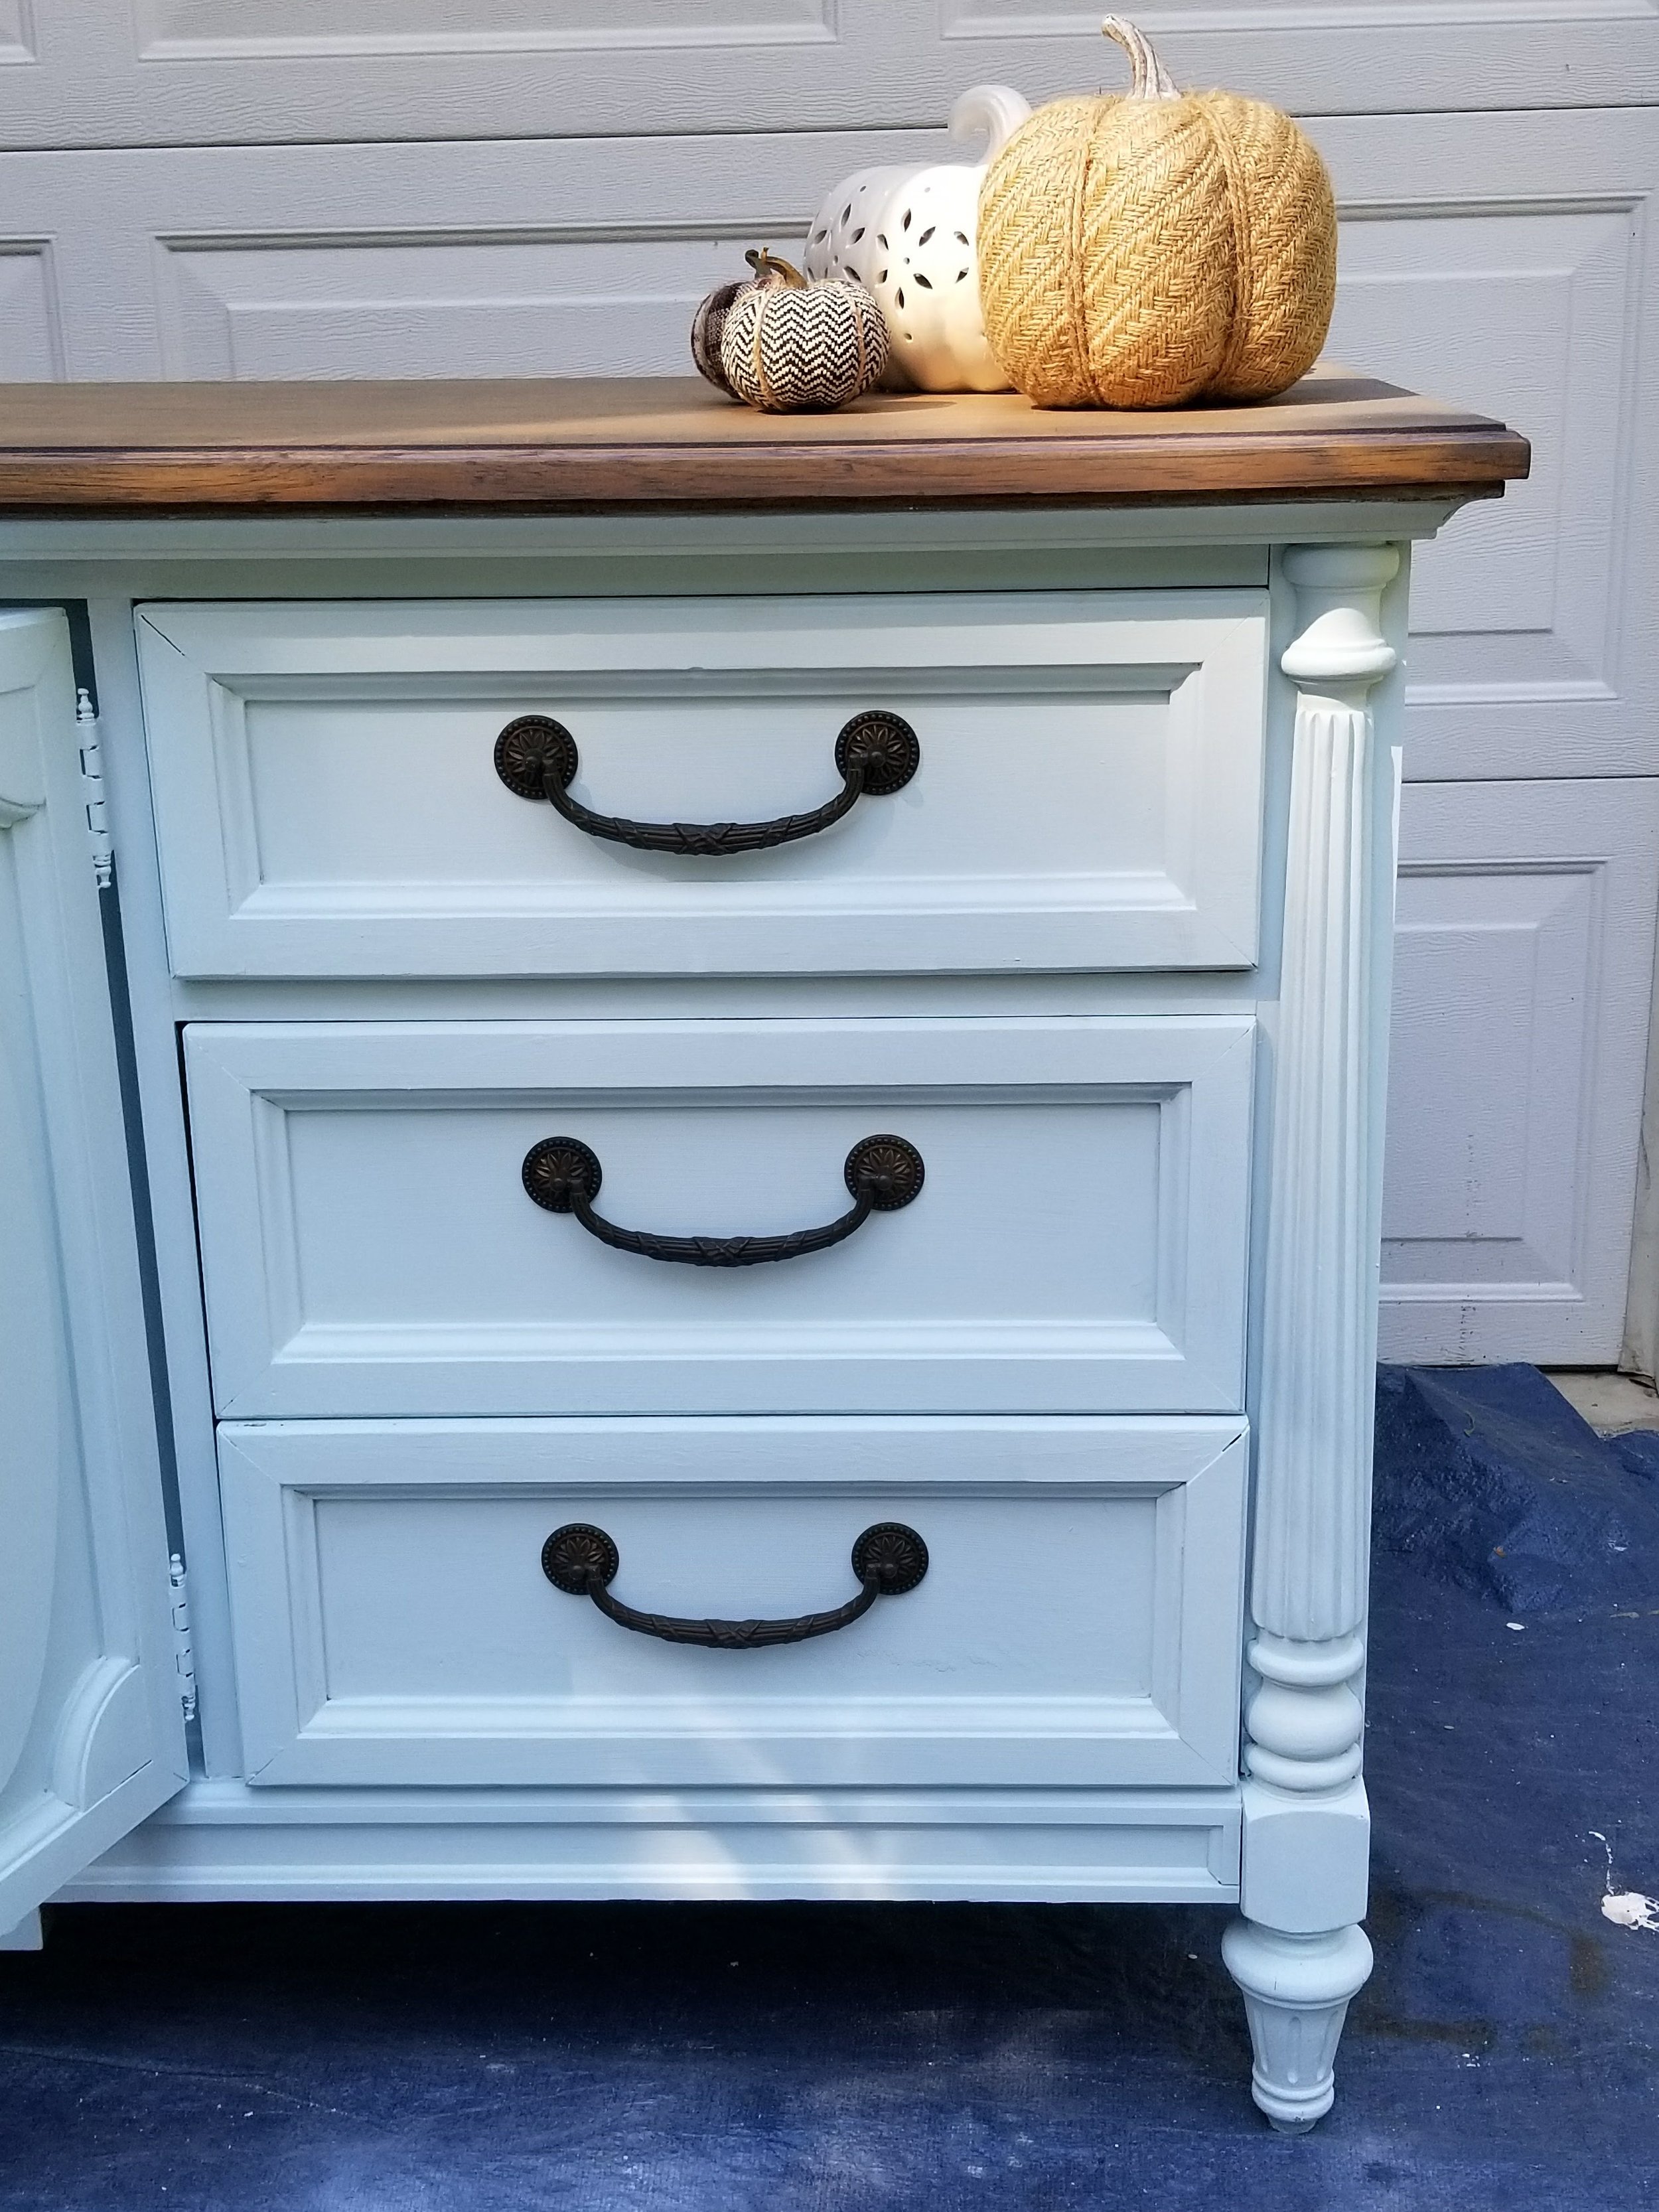
I stripped the top layer of the finish off and then lightly sanded it.  Then I put two coats of Minwax weathered grey stain on the top of it.  For the base, I painted it with Dixie Belle's Haint Blue.    It's the loveliest neutral color with just the tiniest bit of blue in it.  So much so that you only see it as blue in perfect lighting conditions.  LOL!  I'm talking blinds closed and ceiling light on.  Any other times it looks white.

Buffet 5.jpg

Because I'm going for a rustic farmhouse look in there, I distressed it lightly.  I only did that after we decided to keep it because it was too heavy to take it to my shop.  I mean...this thing is crazy heavy and we're just not built for moving stuff that can't get scratched up.  We're more of the college students you find on Craigslist kinda movers where we just pray for the best and get the worst possible outcome.  Who knew I needed so much additional storage though?  I certainly didn't and now, I have much more.  I have a whole drawer dedicated to linen napkins so I'm not scrambling looking for 8 that match and end up having to use two sets of 4.  *sigh*  And who knew I had enough small placecard holders and napkin rings to fill an entire drawer?  Not me that's for sure!  But I do.  LOL!  So yeah...next thing is to find a rug I can live with, get some cushions made for those two barrel back chairs and some kinda window treatments which don't make the room feel stuffy and I'll be ready for the eating holidays!

Solid Oak Round End Table Refinished in Annie Sloan Country Grey with Stained Top

I'm totally beginning to have a thing for round coffee tables and end tables.  Not plain ones mind you...but some with a bit of oomph.  What is oomph you ask?  Hell if I know...I just know it when I see it.  

When I found this table it had a busted leg.  Totally ew.  Turns out, broken wood pegs are relatively simple to fix though.  You take a drill and drill through the broken peg until the hole is completely cleaned out.  Then?  Add some wood glue and bang in a new wood peg.  You can get a pack of like 10 of them for under $2.  Crazy huh?  When I think of all the things I've encountered with a busted wooden peg and it could have been fixed for like TWENTY CENTS???????  

LAWD... SHAME! SHAME! SHAME!

So...this was pretty basic.  Like...seriously.  When you use Annie Sloan chalk paint you don't have to sand it so I only sanded the top because I wanted to stain it and to stain something...ya gotta remove the current finish so the wood can absorb the Minwax Dark Walnut stain.  There was just no way I was painting over that gorgeous inlaid top.  It was just so neat to me that it was laid in quarters like that.  The beading along the side was a detail I wanted to make pop so after painting the base in Annie Sloan Country Grey (my favorite color it seems)  and under the top, I rubbed dark wax under the top.  As a protectant, I really like General Finishes High Performance Top Coat in satin.  I think I did two coats on the top.  Anything vertical I've learned to use a polyacrylic spray so that's what I did there.  The piece came out so lovely and man is this thing SOLID!  It won't move unless you actually move it.  A simple bump won't sent it sprawling into the wall to make a knick in your paint.  WHOOOOOHOOOOOOOOO!

You'll find that round end tables are pretty versatile for the space you're looking to fill too.  Squares and rectangles are pretty...um...finite.  I guess that's a good way to put it.  If not...pick some words, put them together and VIOLA!  Hopefully you know what I'm trying to say.  LOL!

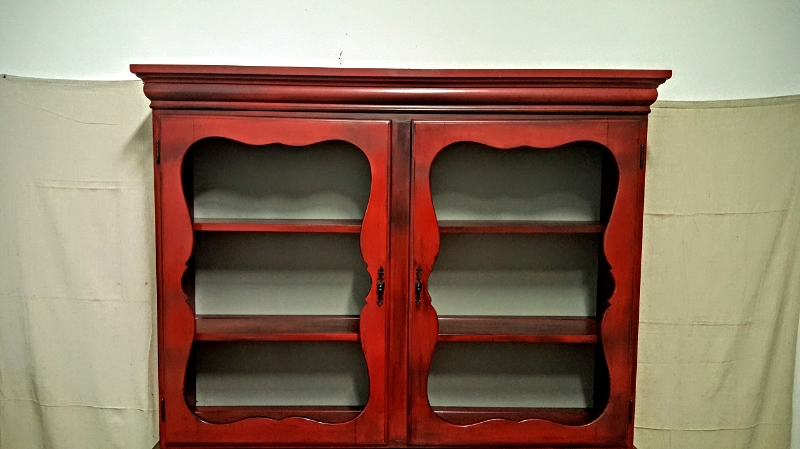
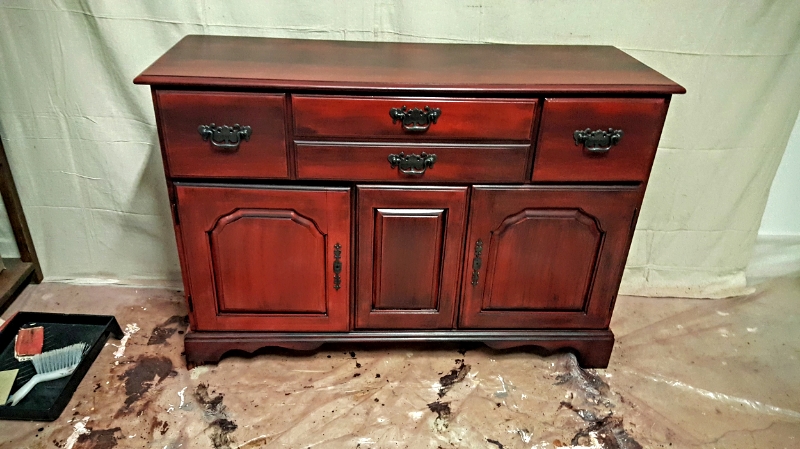
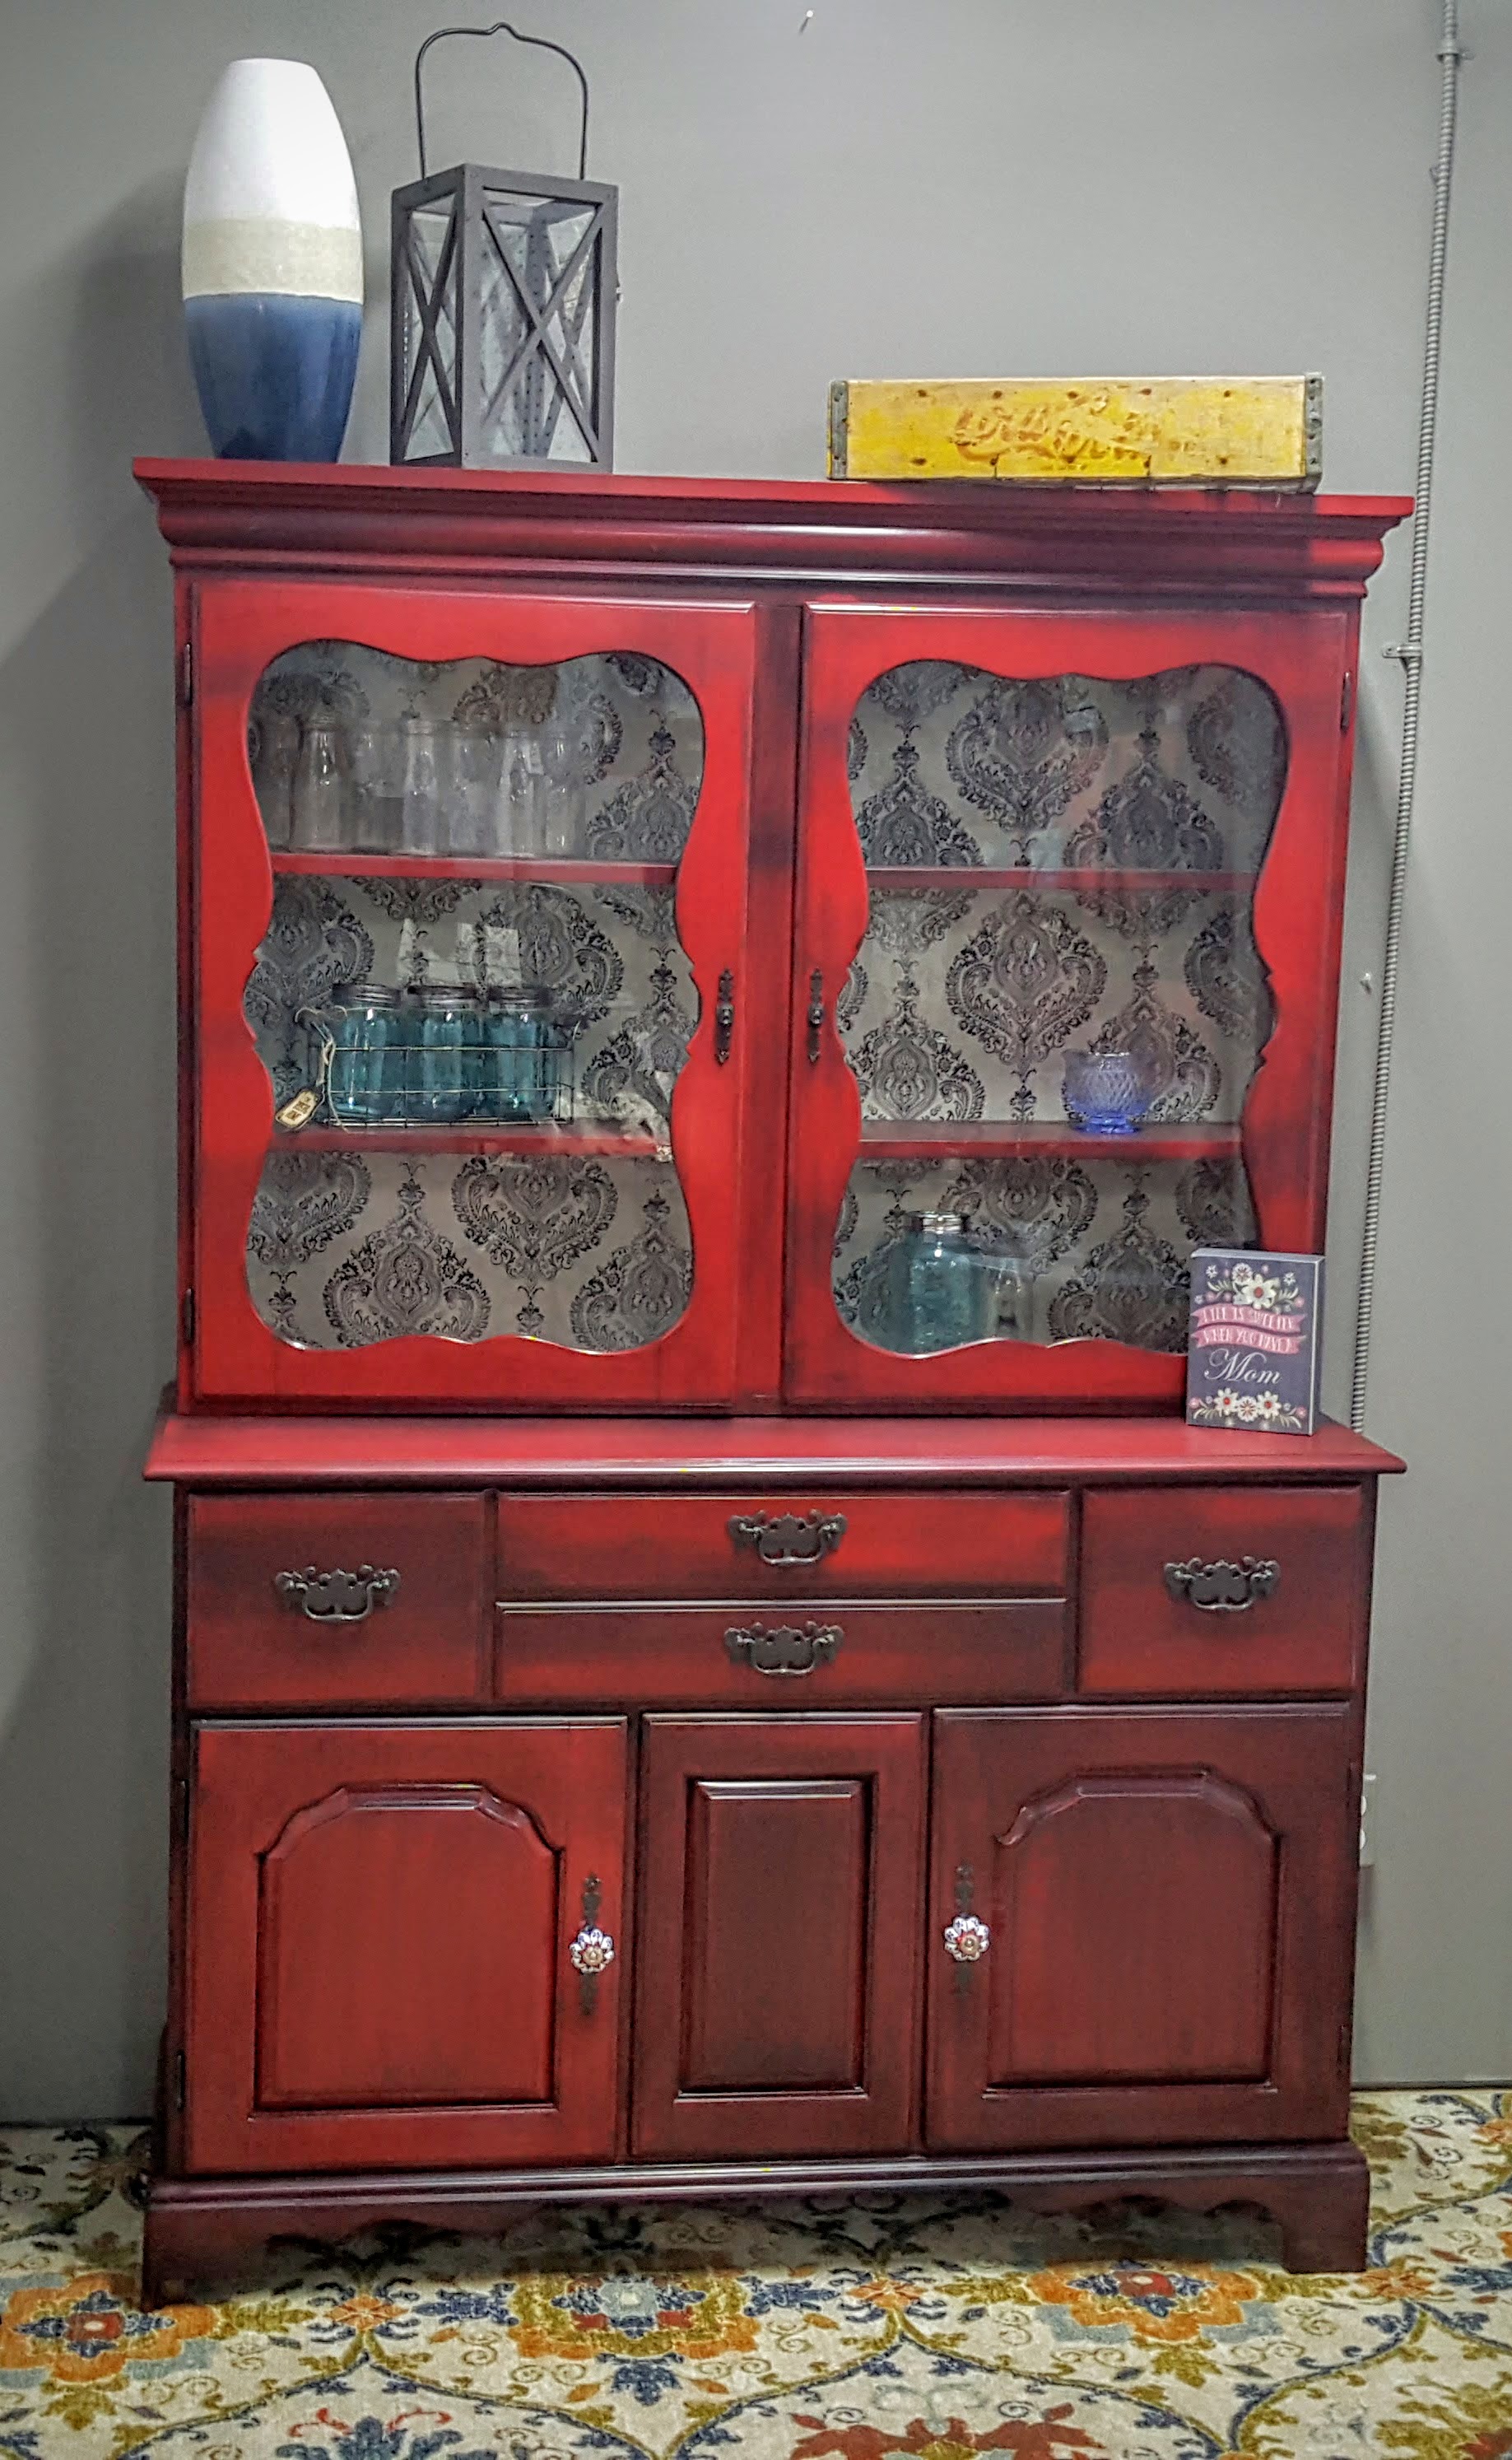
Spray Painted Vintage Temple-Stuart China Cabinet

MATERIALS USED:

Goo Gone Pro-Power

Porter Cable Palm Sander

Sandpaper

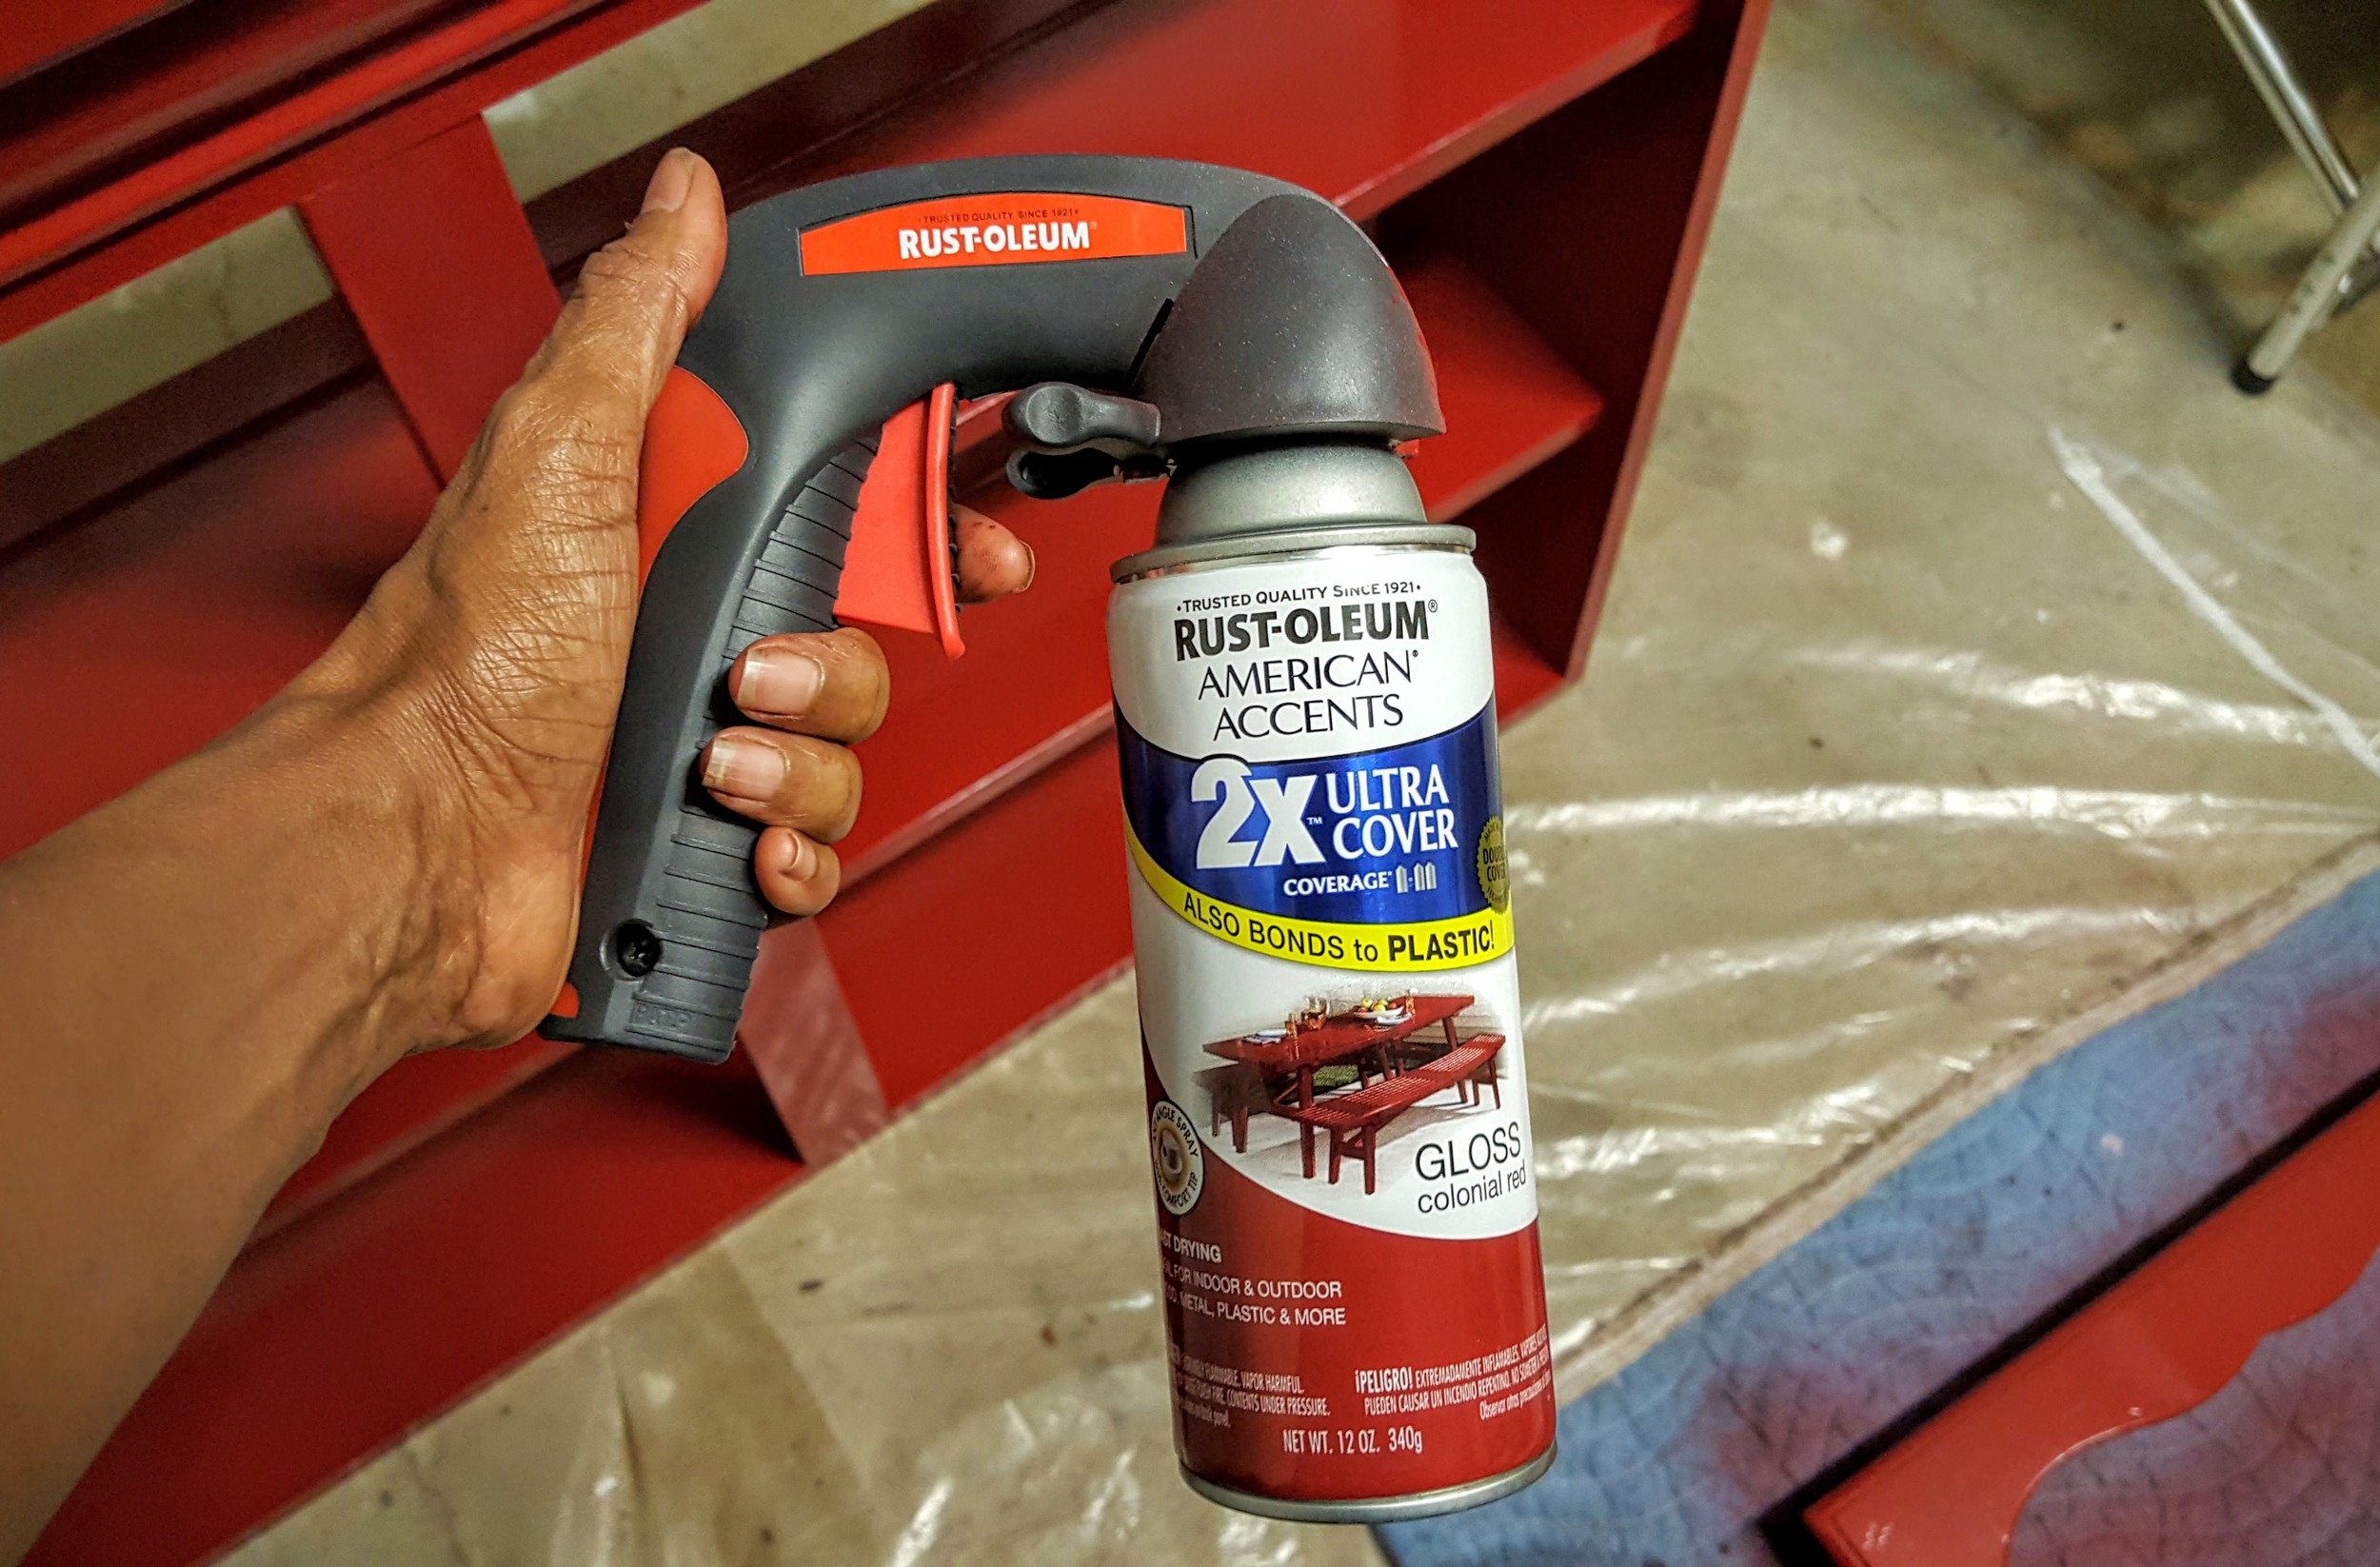
Rust-Oleum Comfort Grip Spray Paint Handle

Rust-Oleum 2x Red Primer (3 cans)

Rust-Oleum 2x Colonial Red Gloss Spray Paint (5 cans)

Rust-Oleum Hammered Black Metal Spray Paint (I've used one can for three projects so far on hardware.)

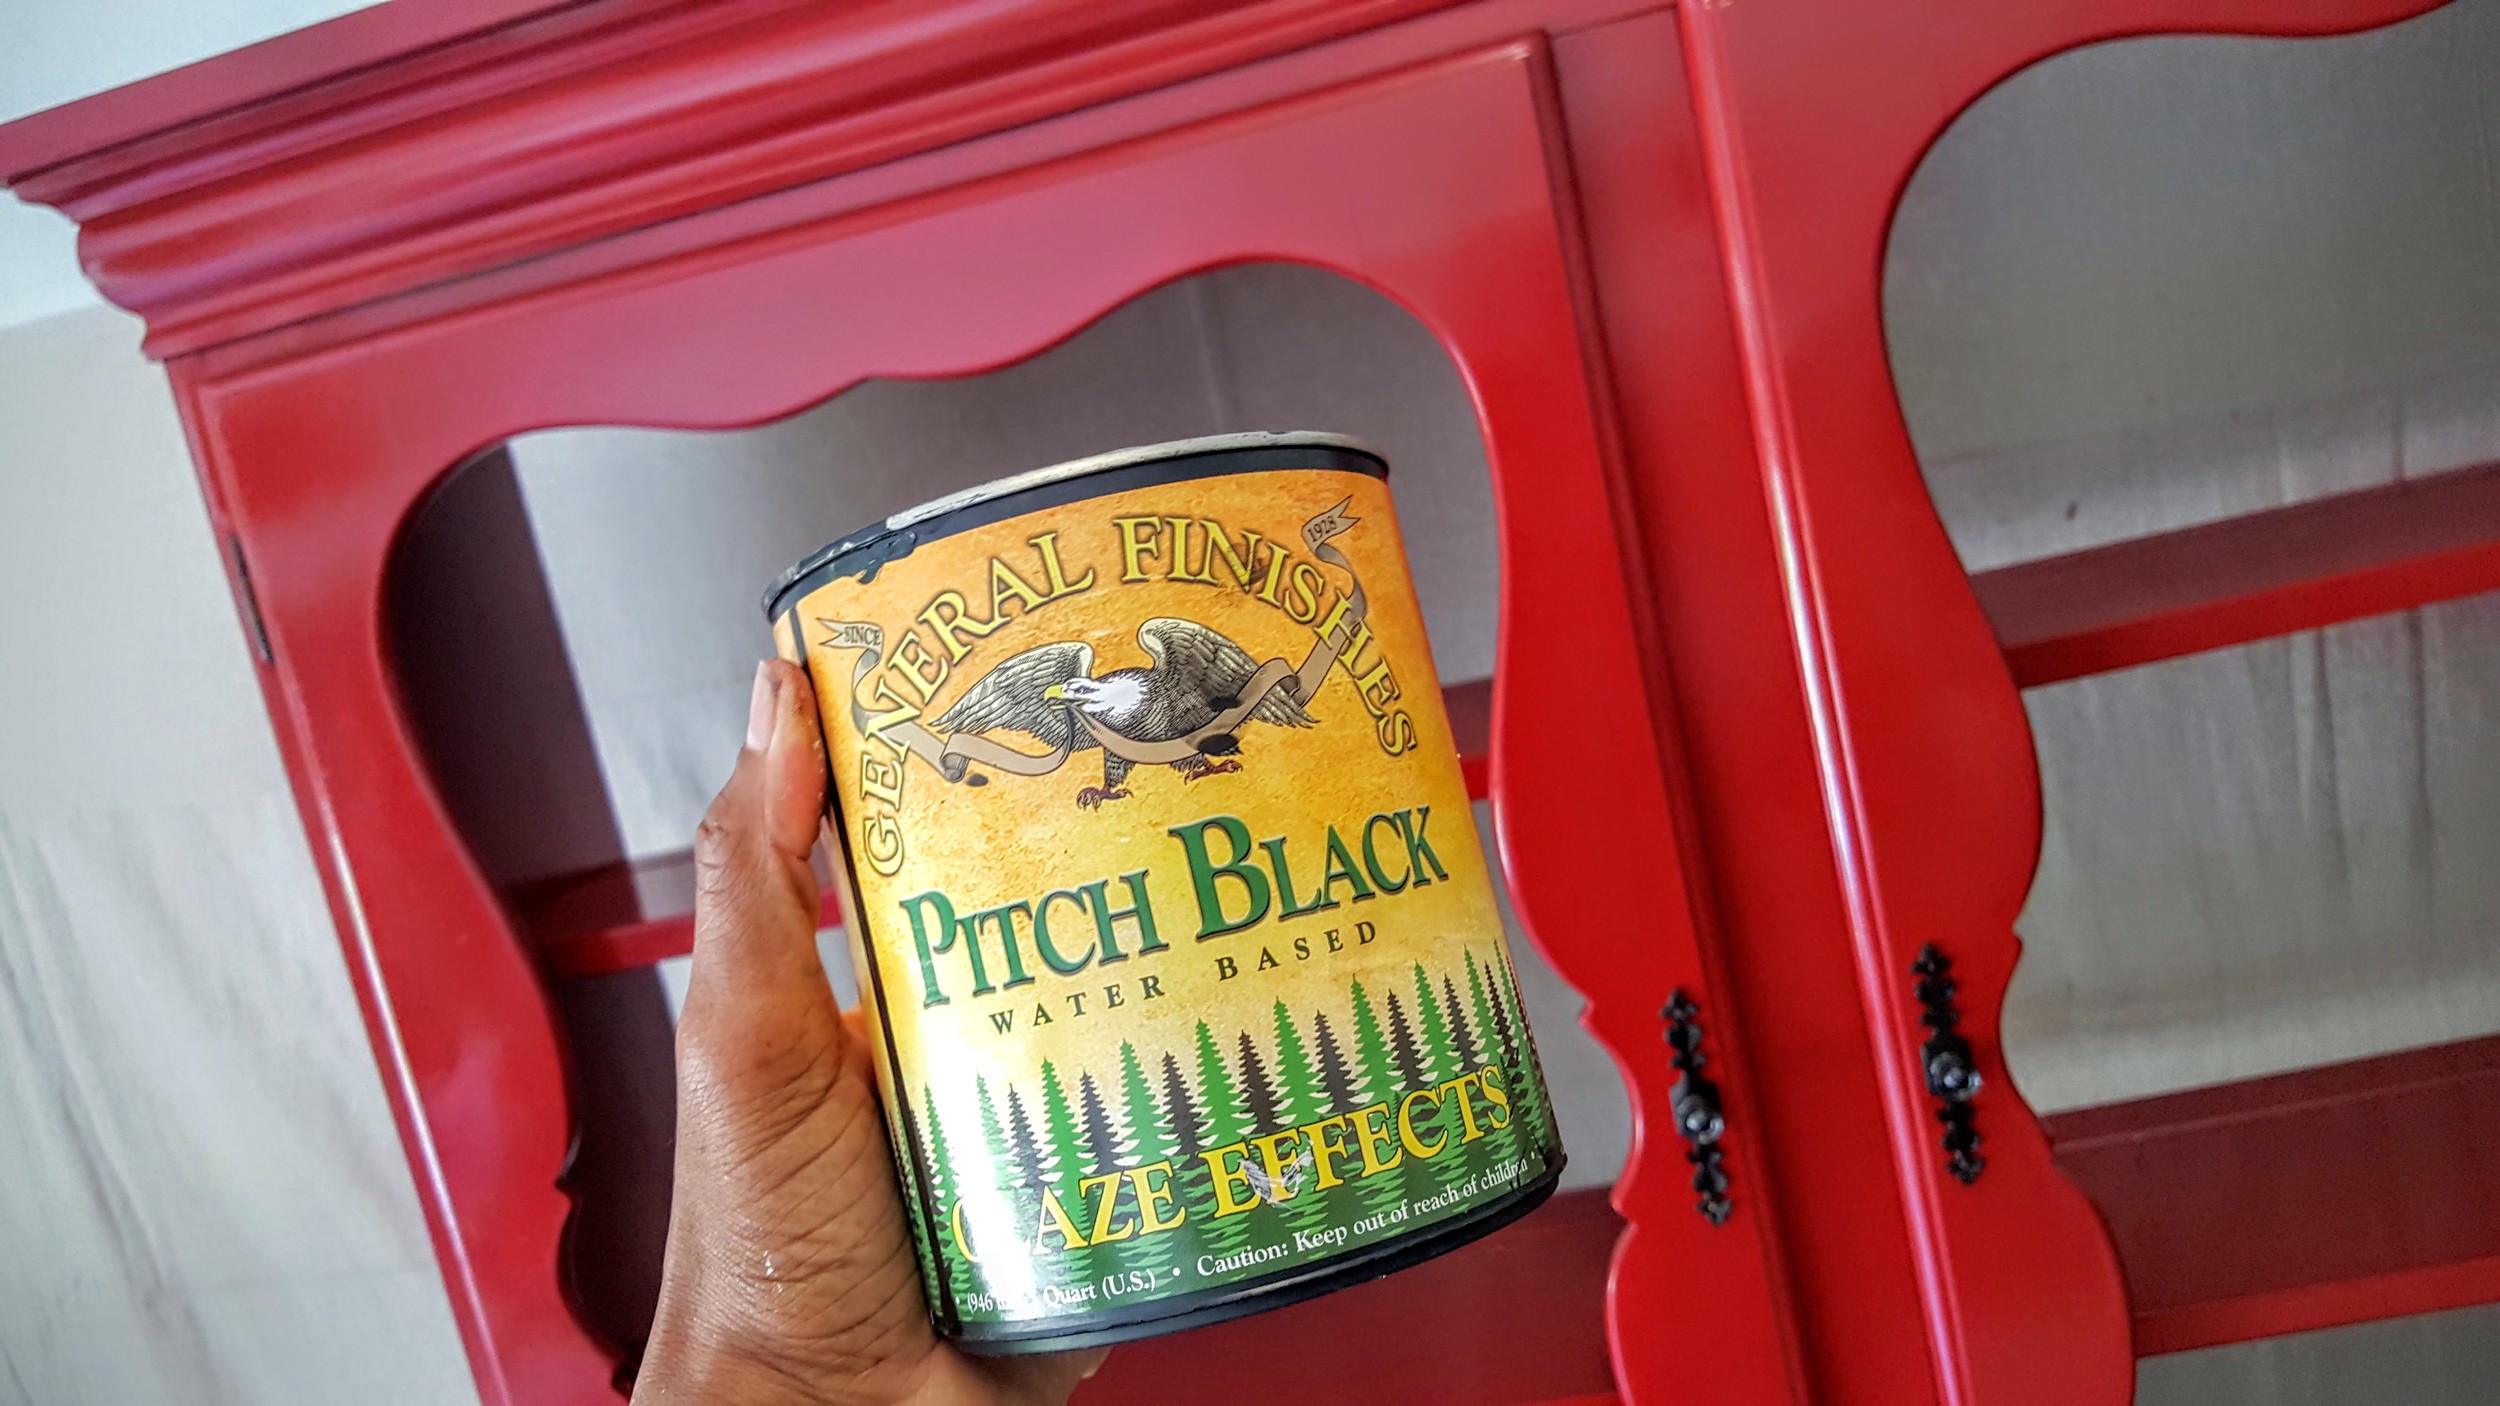
General Finishes Pitch Black Glaze

Minwax Polycrylic Spray

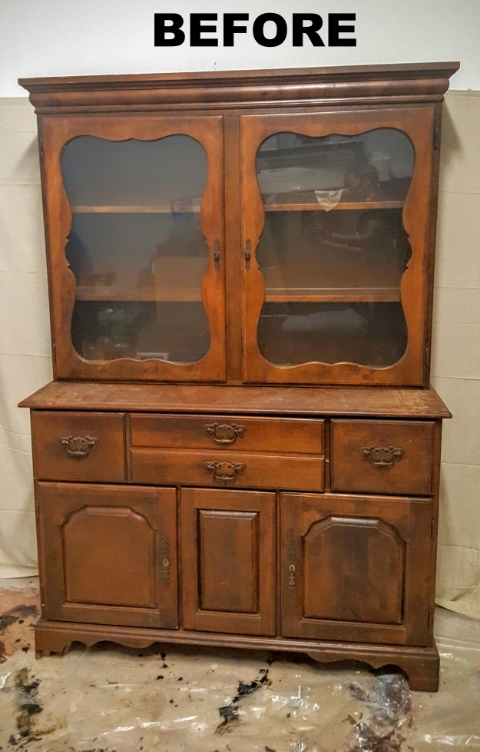
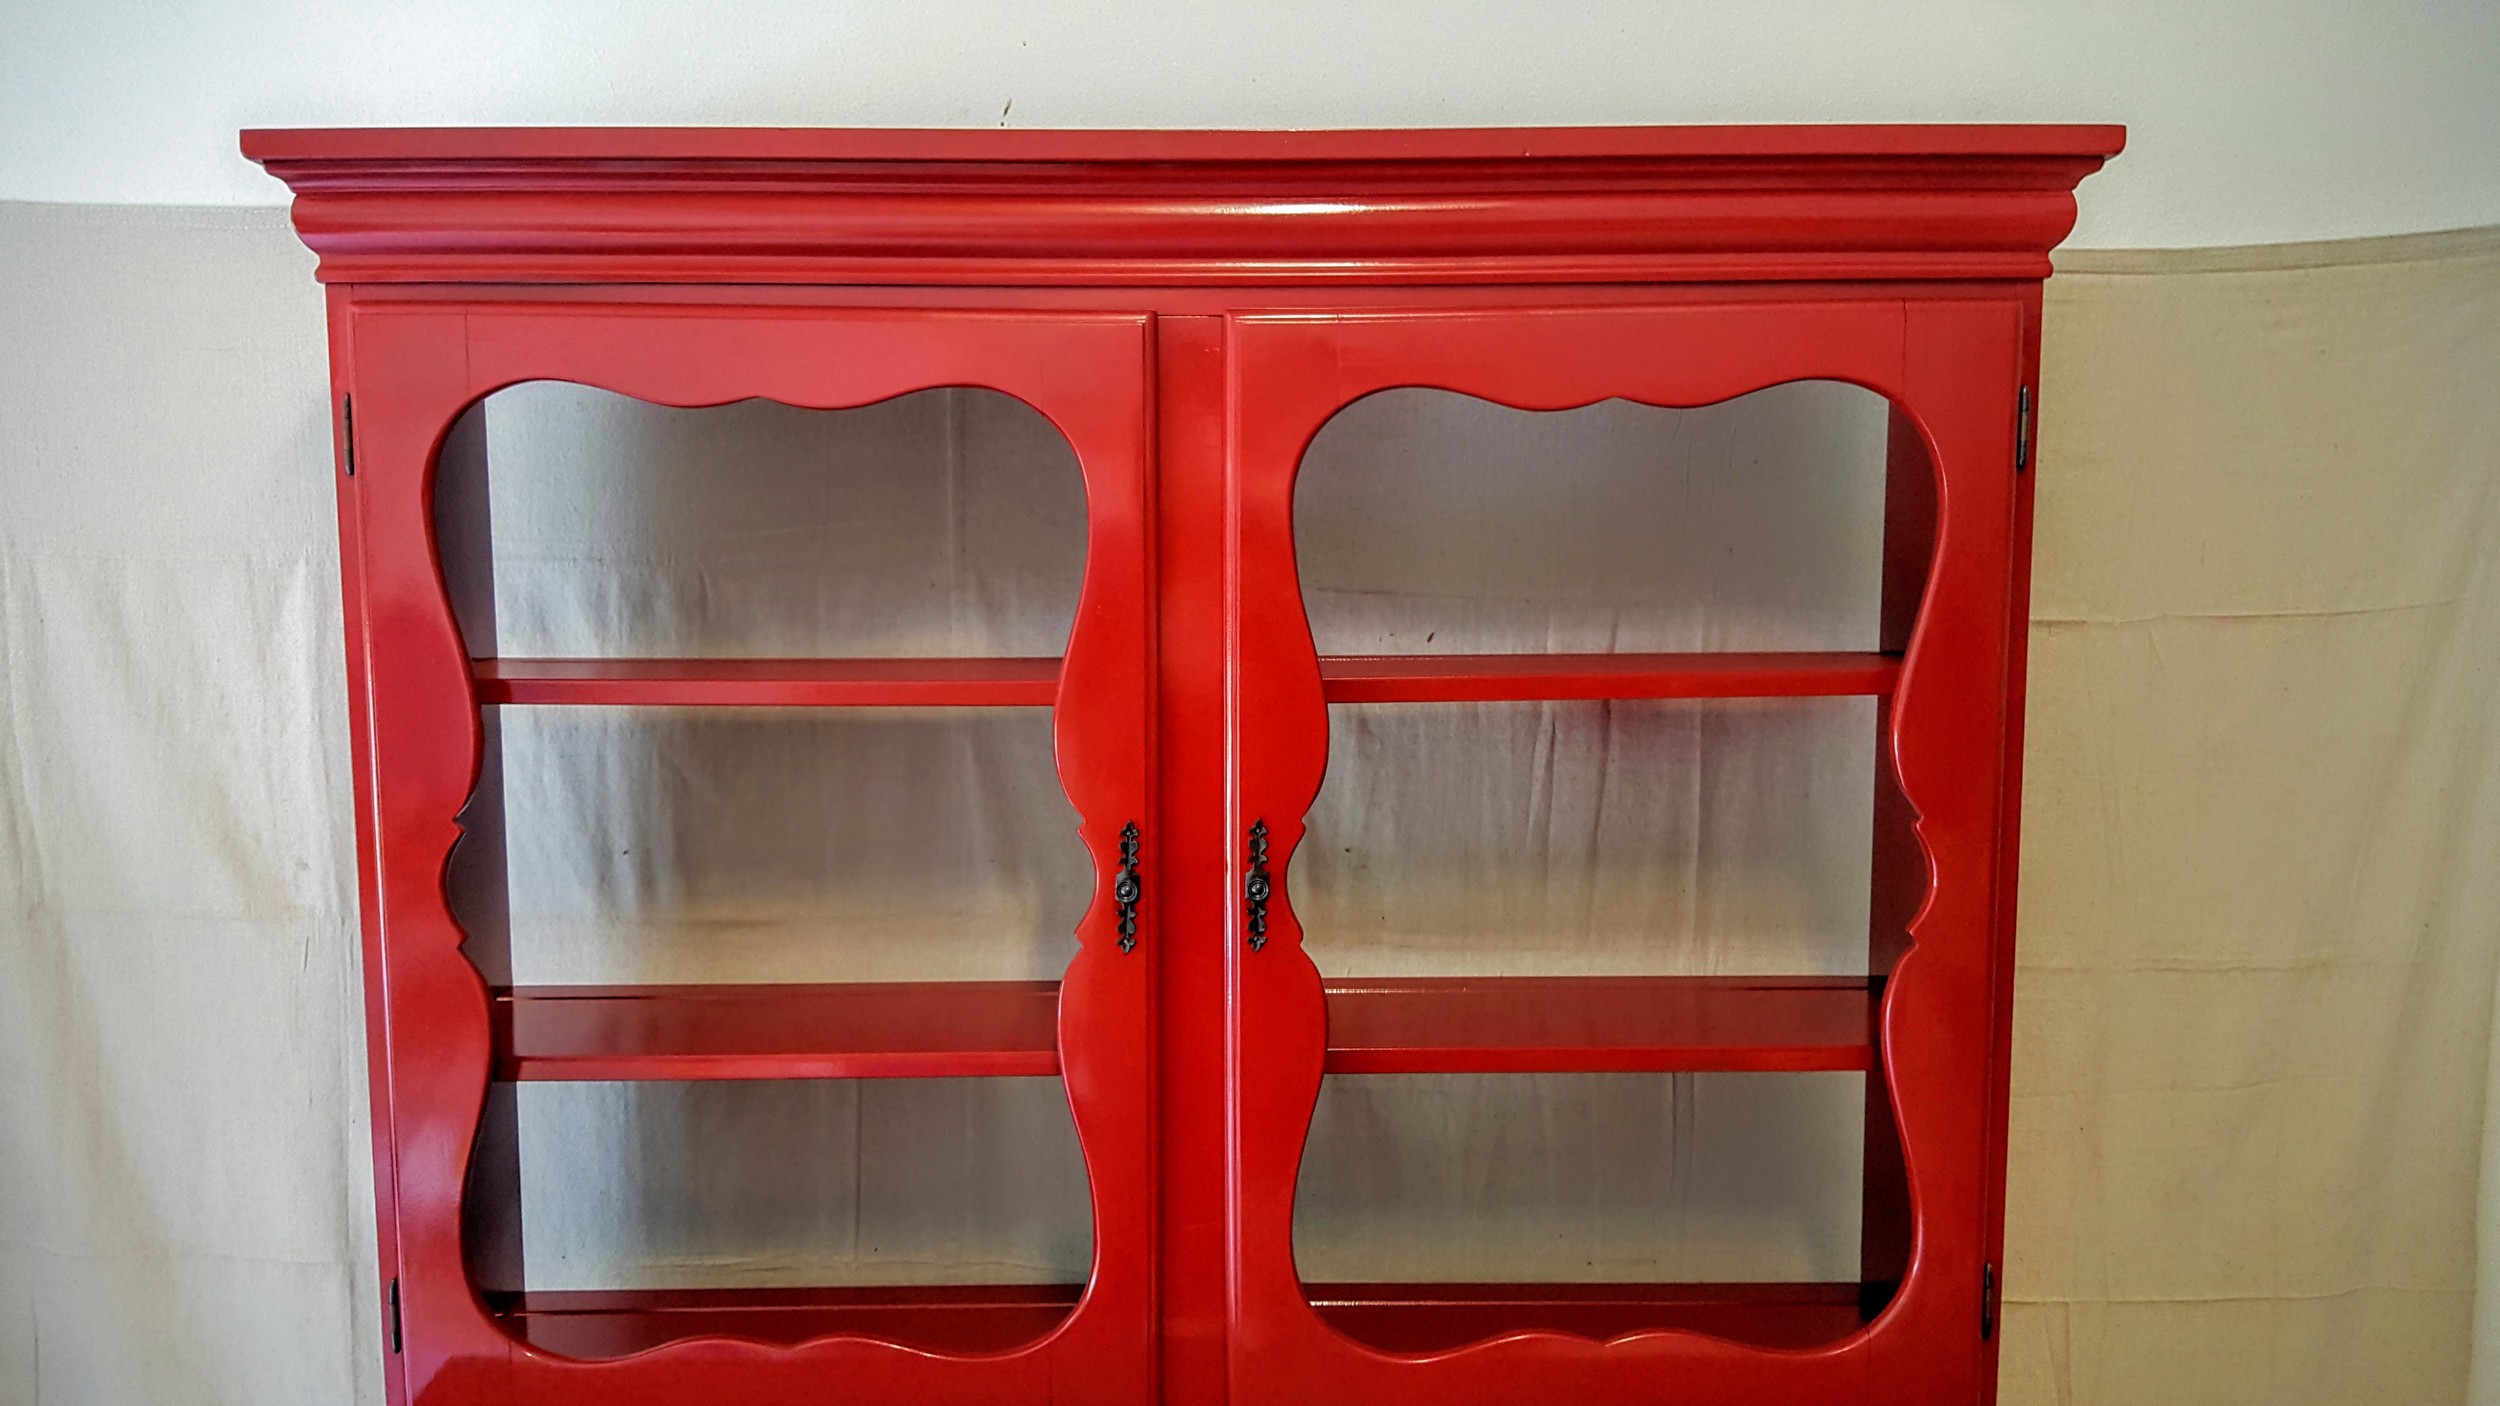
The before and after of this piece makes me super giddy.  I knew I wanted to go with a bold color from jump and I also knew that I wanted it to look smooth like a showroom piece at Ethan Allen so I decided to spray paint it!  

Steps to get a super smooth finish?

1.  Vacuum and wipe down with a bit of dish liquid in a bucket of water.  Don't wet it, mind you...but wipe it clean with a well-wrung towel.  Use Goo Gone to remove anything sticky, hard or icky. Then...let it dry completely. 

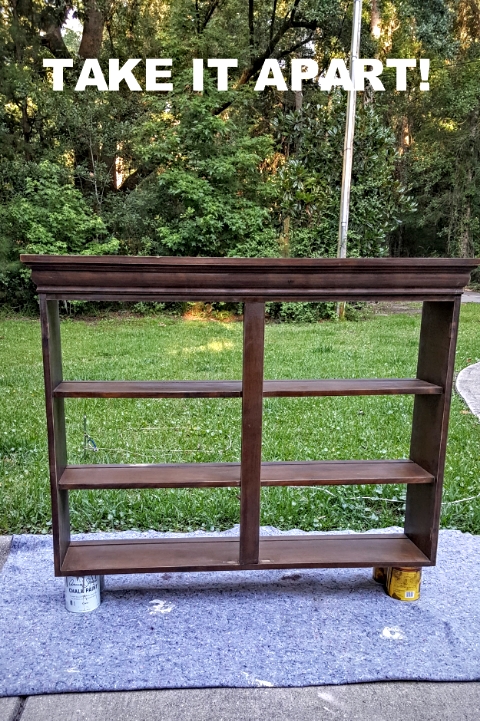
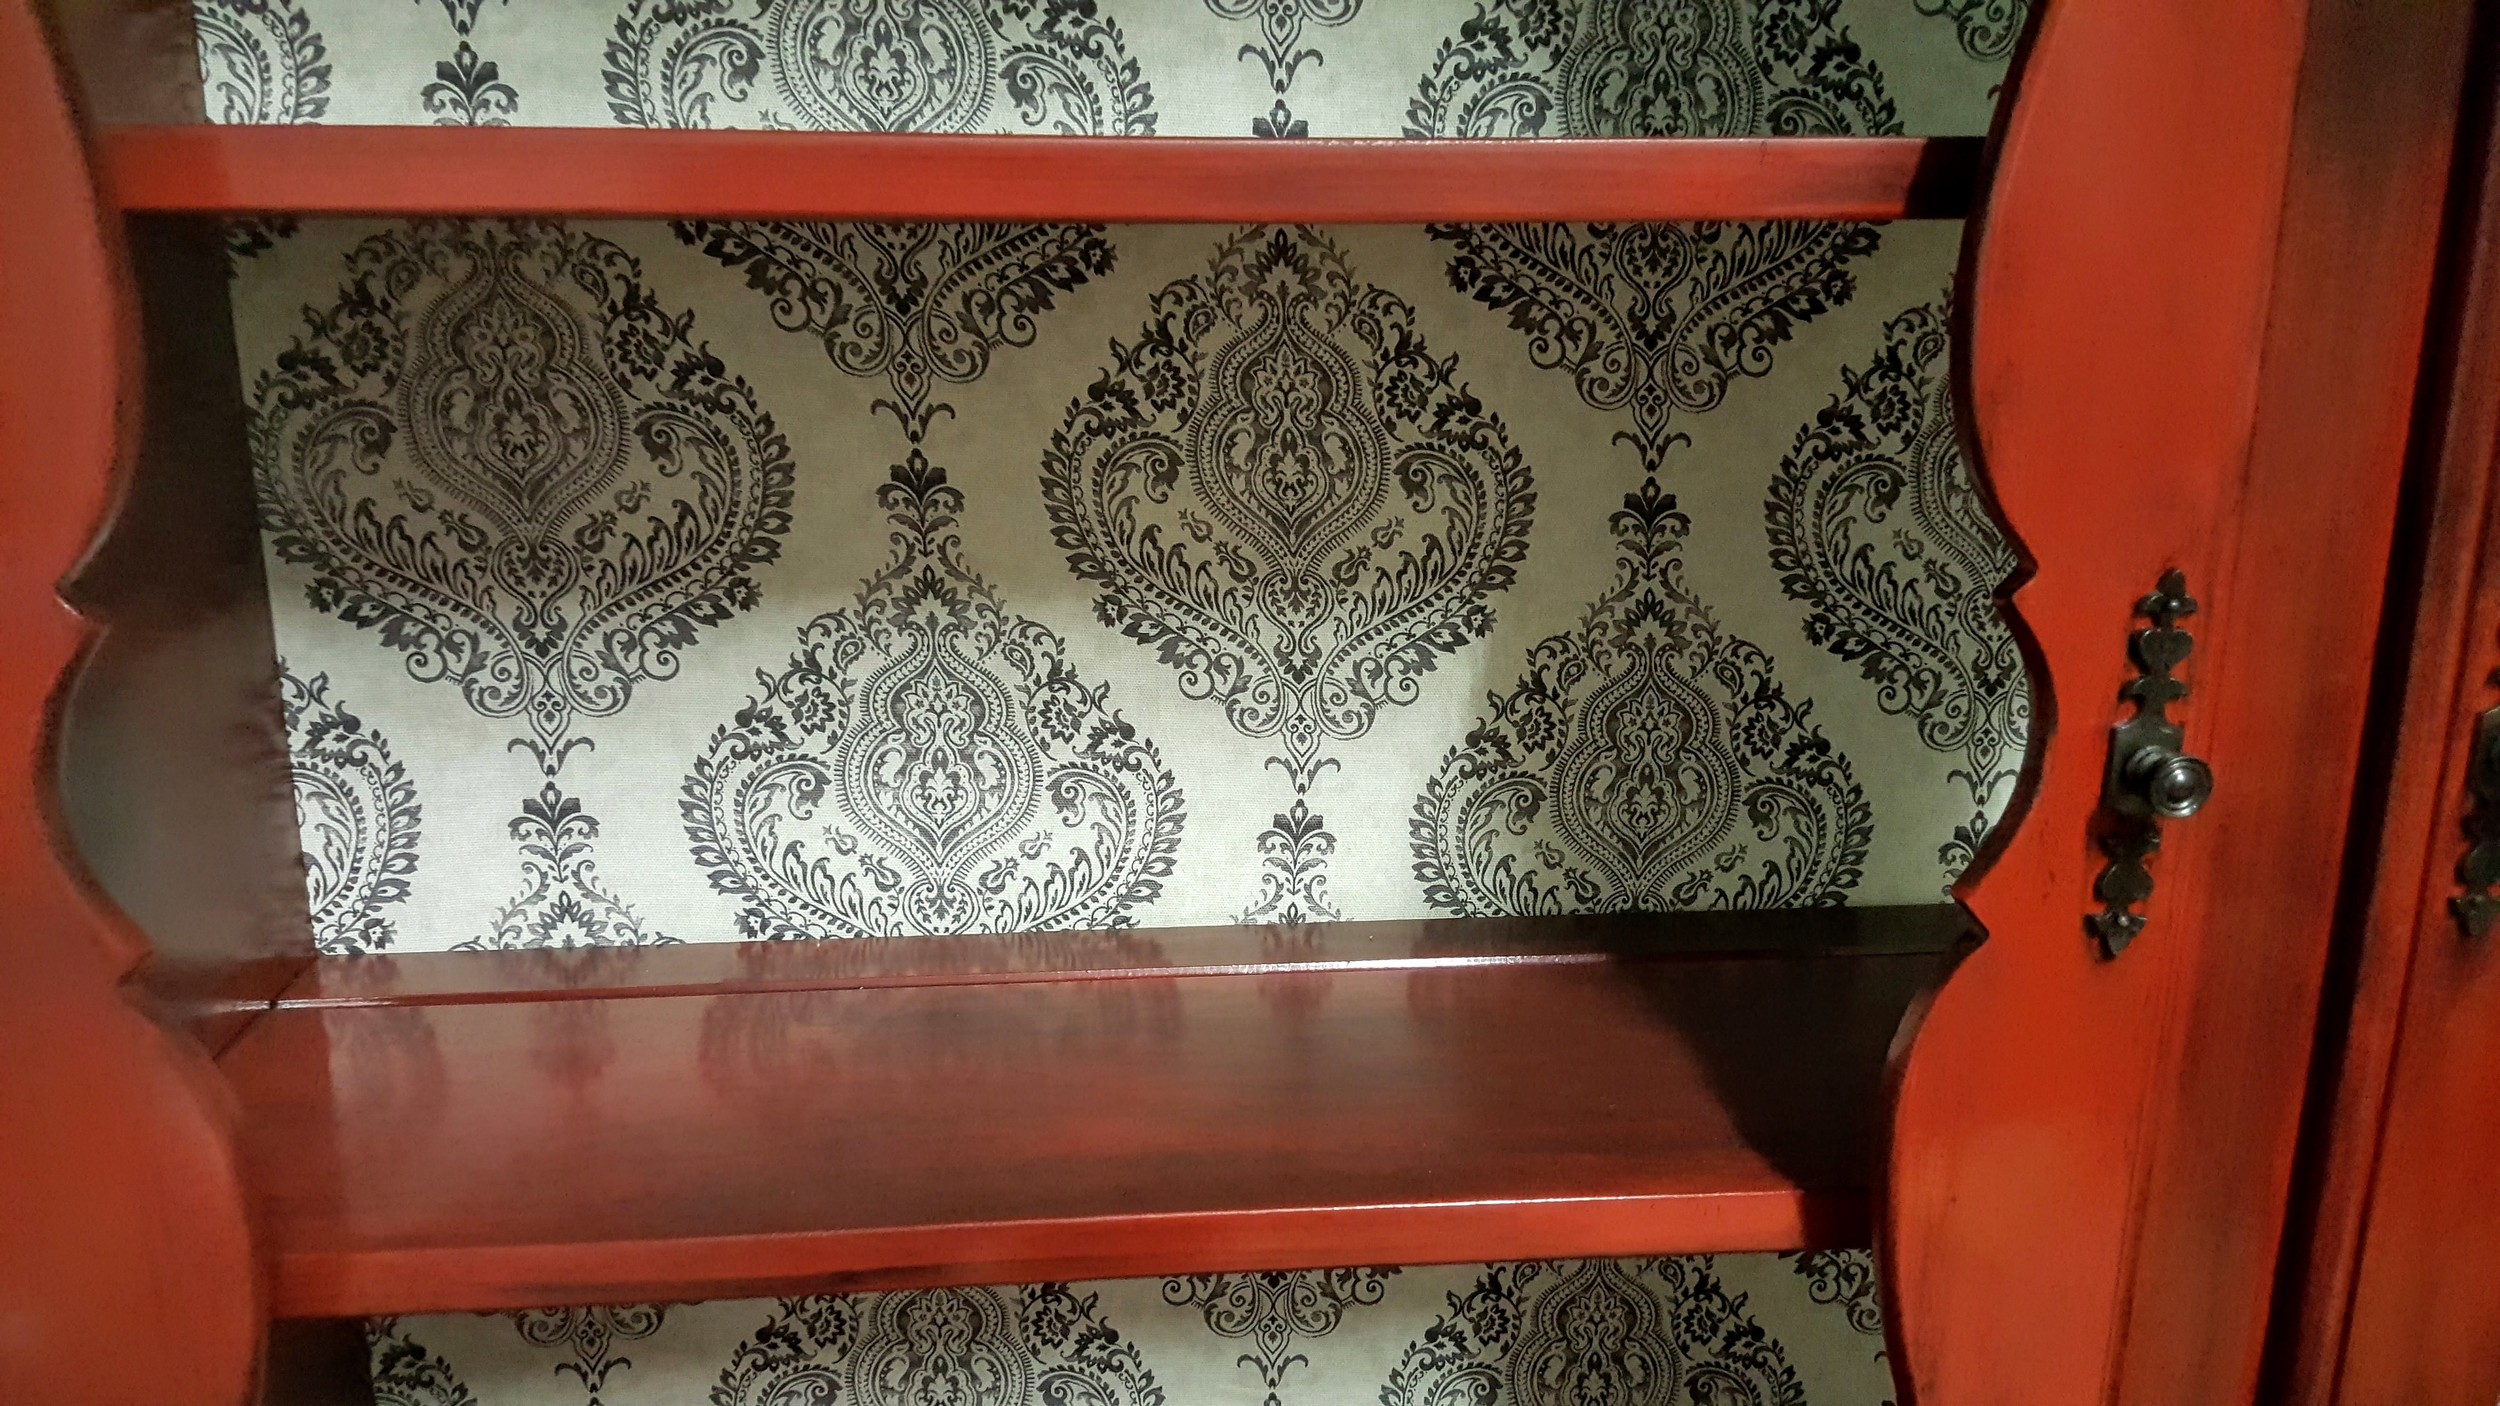
2.  Take it apart.  No...seriously...remove all screws, put hardware by type in Ziploc bags so you don't lose them and keep them together so you can get them ready to be painted too if you're using them.  Take the back off carefully using a hammer, pliers and a flat tool.  Either paint or add a piece of fabric using a spray adhesive as I did.  

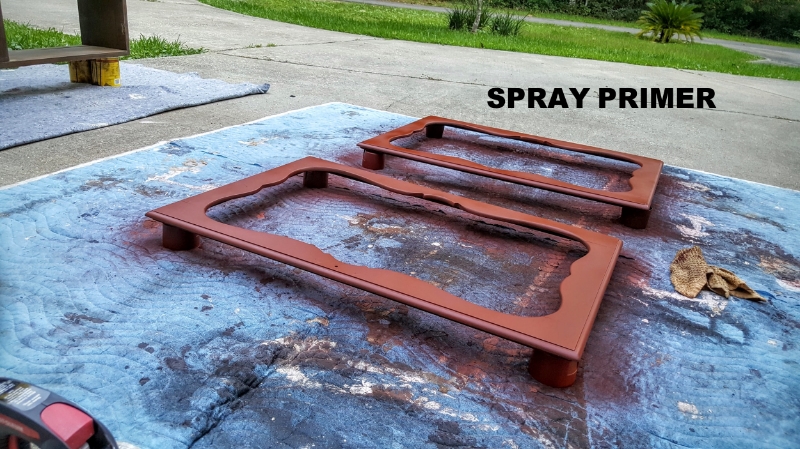
3.  Use paint cans and spray paint tops to sit pieces on and sand.  Wipe down with damp cloth and then prime after it dries.  (I used a spray primer for red paint.)

4.  One coat of primer on all pieces if you're using the same kind of 2x primer I used.

5.  Let dry COMPLETELY.  I didn't paint until the next day.

6.  Spray paint using the spray paint handle so your finger doesn't get in the way or get tired from depressing that lil' thingy.  You should have a good rhythm and method since you spray painted the primer on.  Hold the can back far enough where you can do light sprays without paint runs.  Just spray evenly and lightly.  Follow the directions and apply your second coat when the can says to.  LOL!  

7.  Remove rust with a rust remover, clean, dry and spray paint hardware.  Let dry completely.

8.  If you're going to add a glaze, as I did, do it the next day after the paint has dried completely and you've corrected any mistakes or paint drips.  (Sand, wipe clean, repaint.) Glaze one section at a time so your glaze doesn't dry on you making it too dark in some areas.  If you love the super shiny, super bright pop of color...don't glaze.  For example...if I were to do a dresser or end table for a little girl's room in a pretty pink or raspberry I wouldn't glaze it.  The color would just be so happy to me as is.  LOL!

9.  Let dry completely and add a coat of polycrylic to any part where you'd sit stuff on like shelves and the top of the bottom piece.  This is just an added layer of protection.  I actually used the spray polyurethane for the first time on this piece and I adore the satin finish it gave.  

10.  Put it back together.  Add the hardware.  Sit back and admire your handiwork with a smug smile knowing that BAAAAAAAAAABY!  YOU DID THAT!