China Cabinet

Spray Painted Vintage Temple-Stuart China Cabinet

MATERIALS USED:

Goo Gone Pro-Power

Porter Cable Palm Sander

Sandpaper

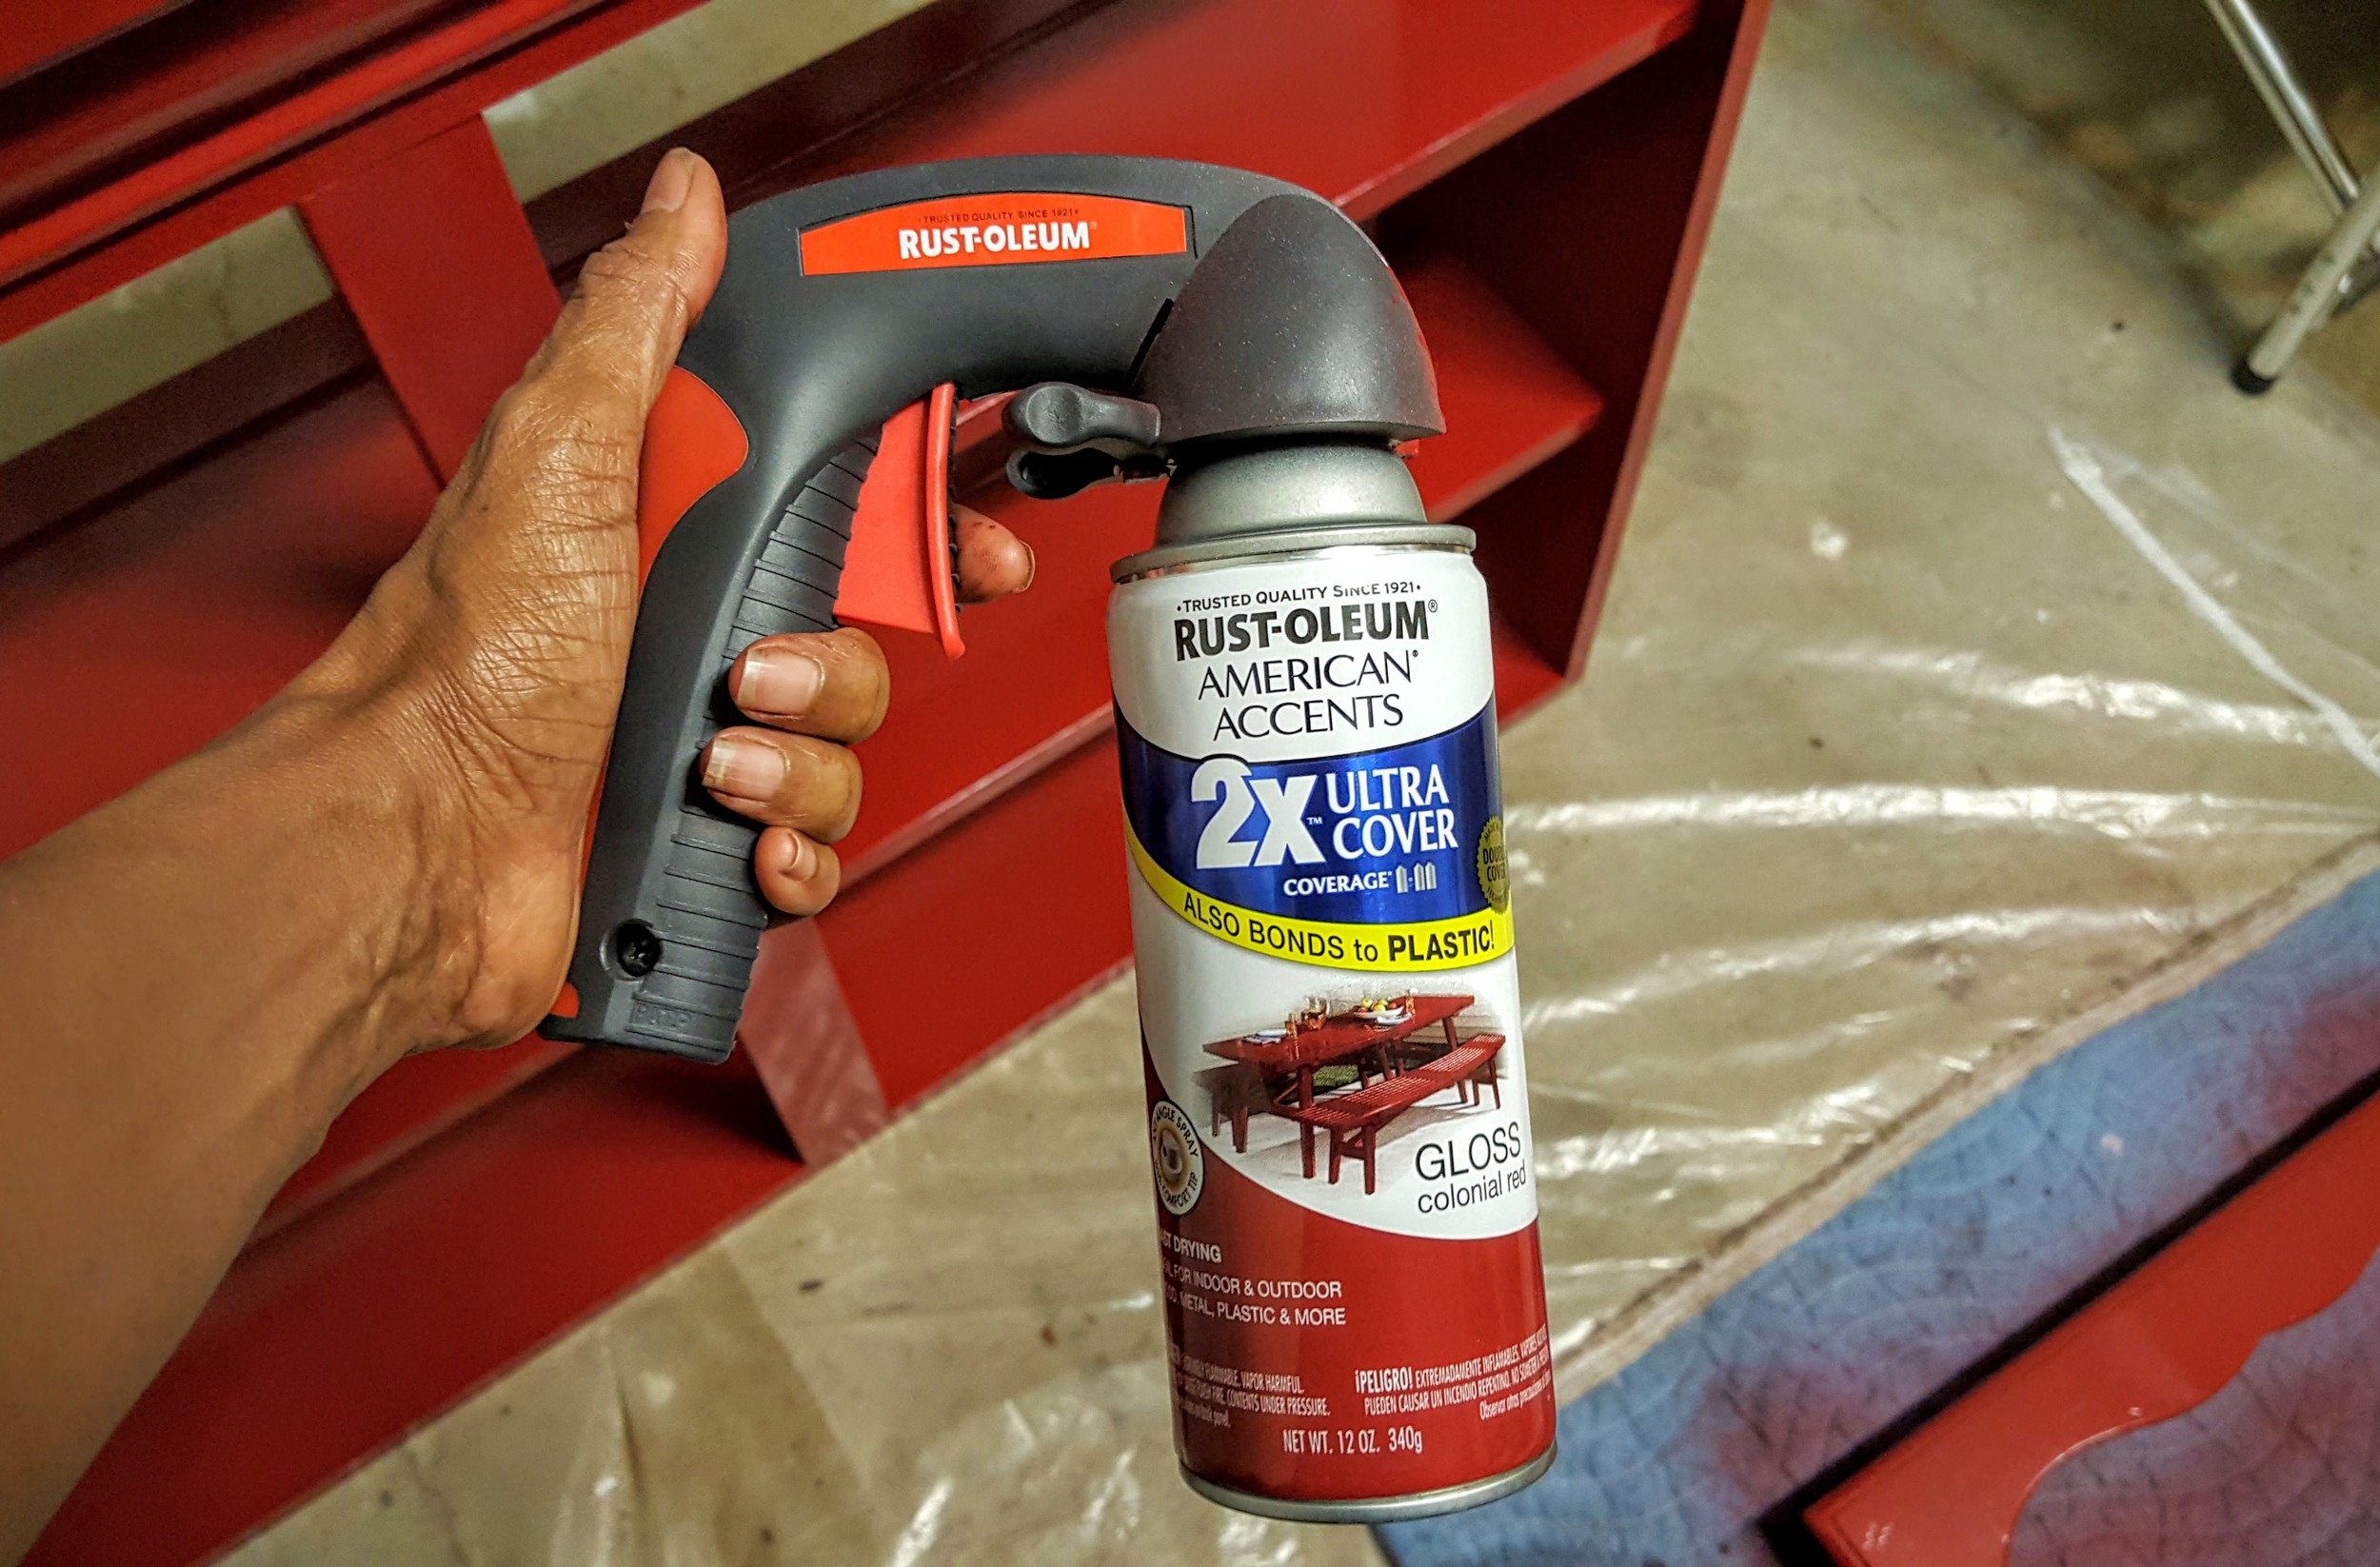
Rust-Oleum Comfort Grip Spray Paint Handle

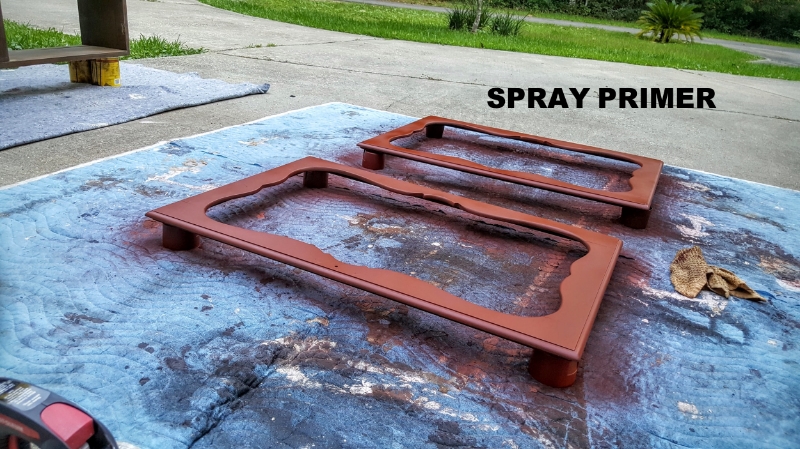
Rust-Oleum 2x Red Primer (3 cans)

Rust-Oleum 2x Colonial Red Gloss Spray Paint (5 cans)

Rust-Oleum Hammered Black Metal Spray Paint (I've used one can for three projects so far on hardware.)

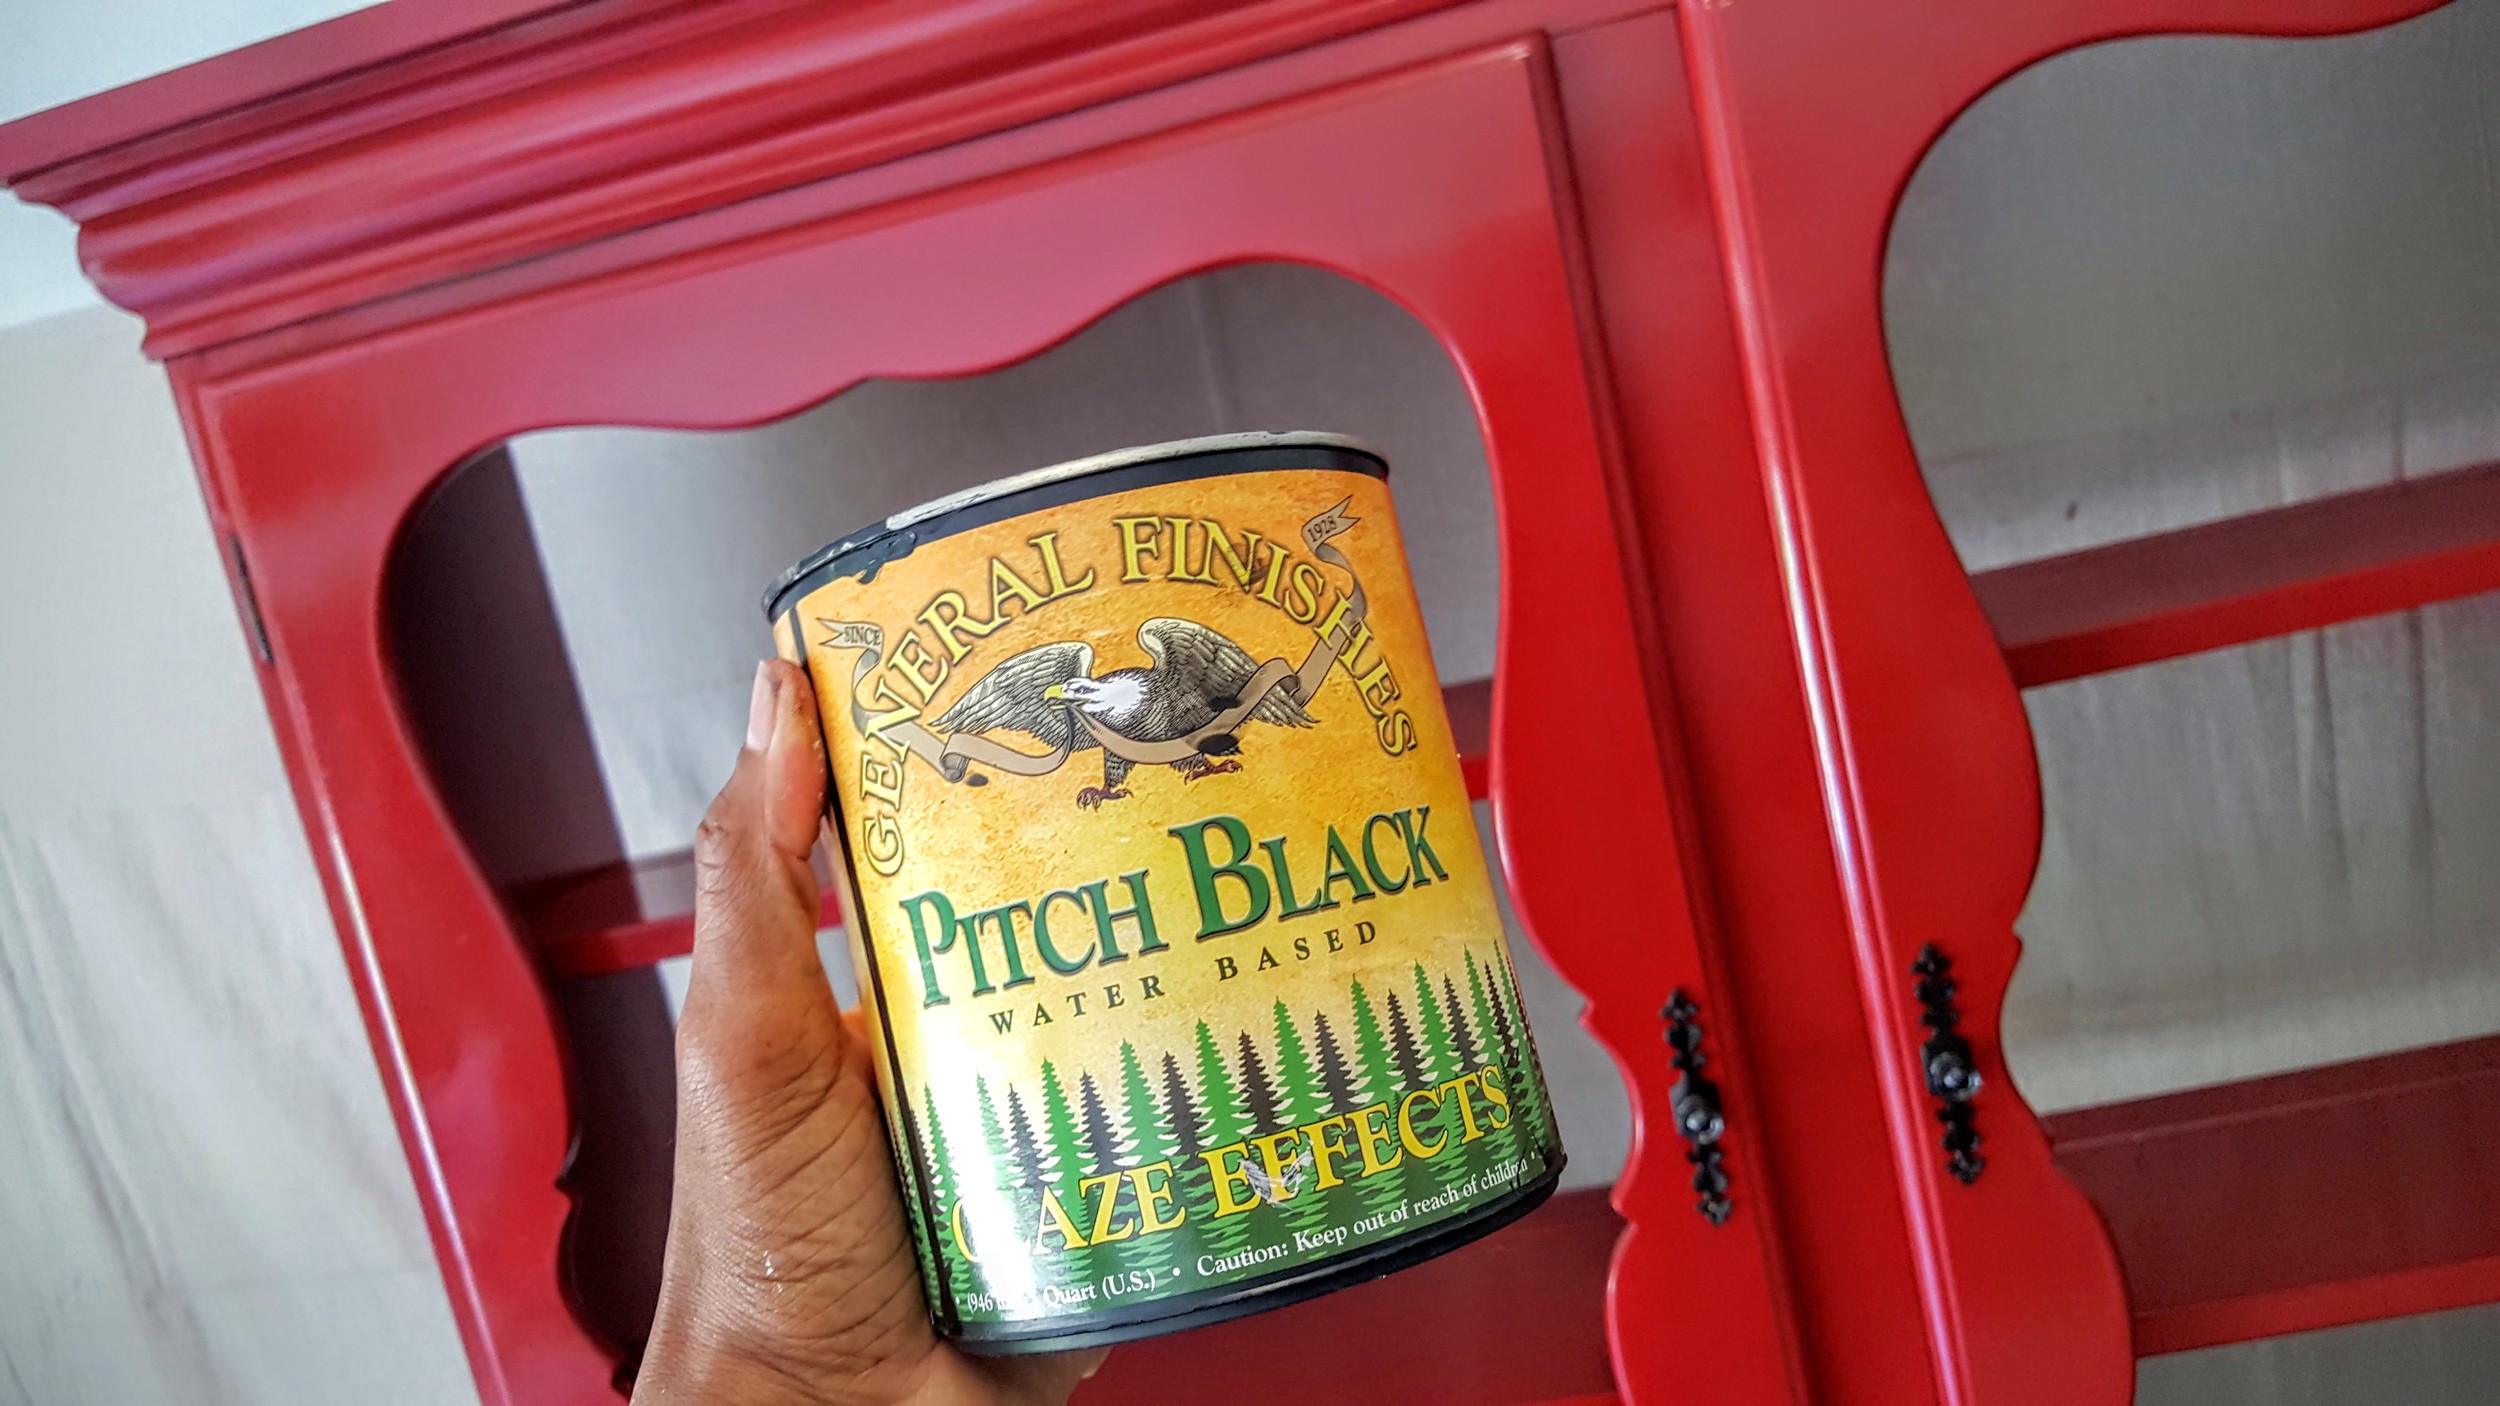
General Finishes Pitch Black Glaze

Minwax Polycrylic Spray

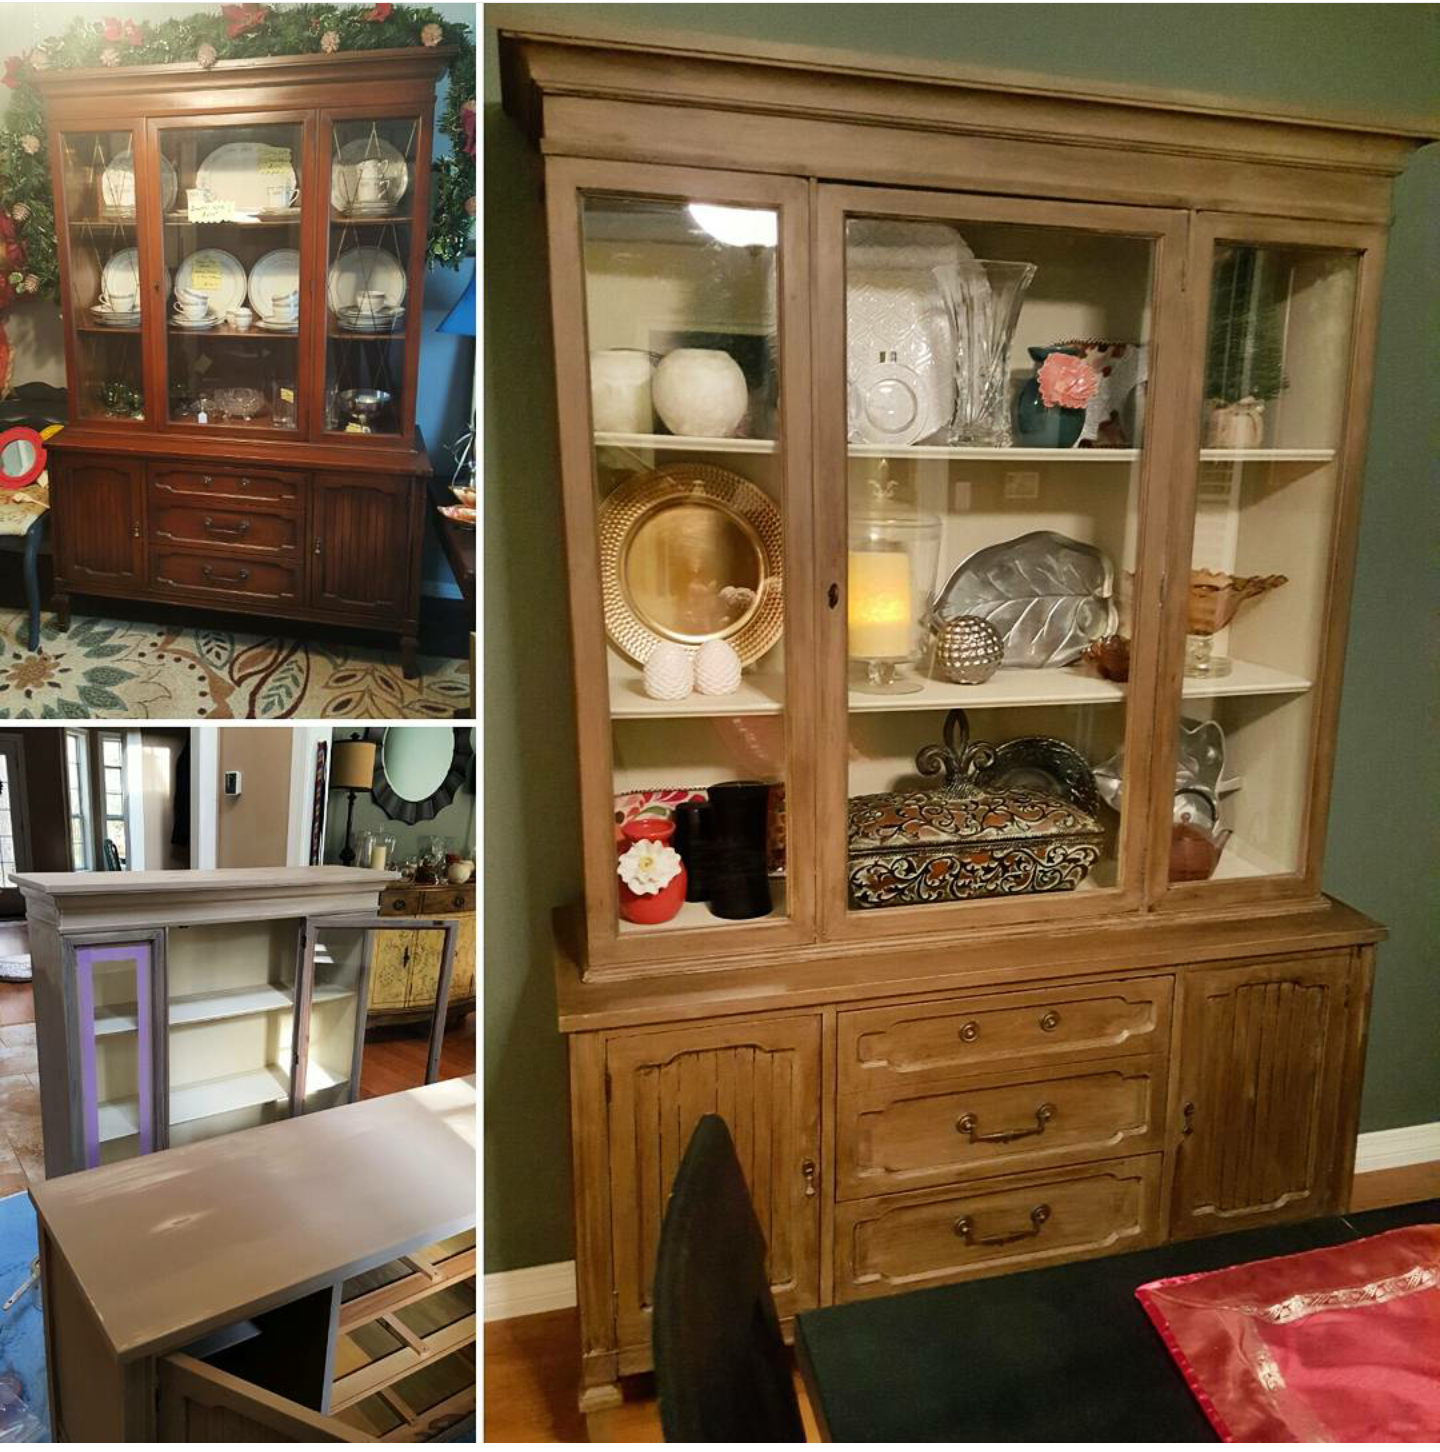
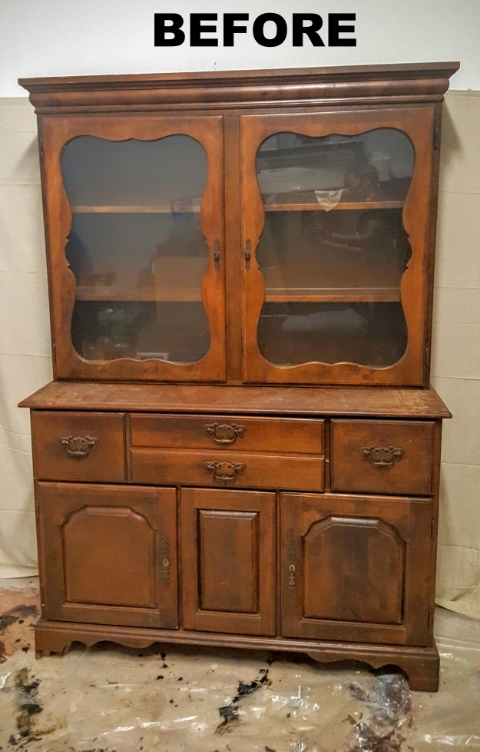
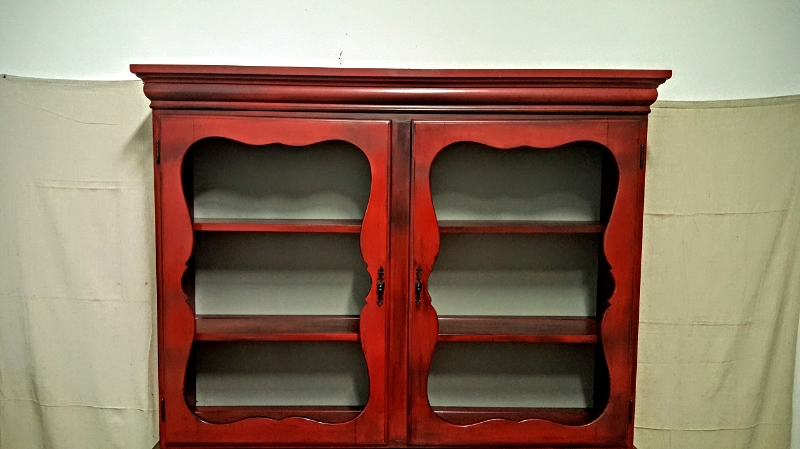
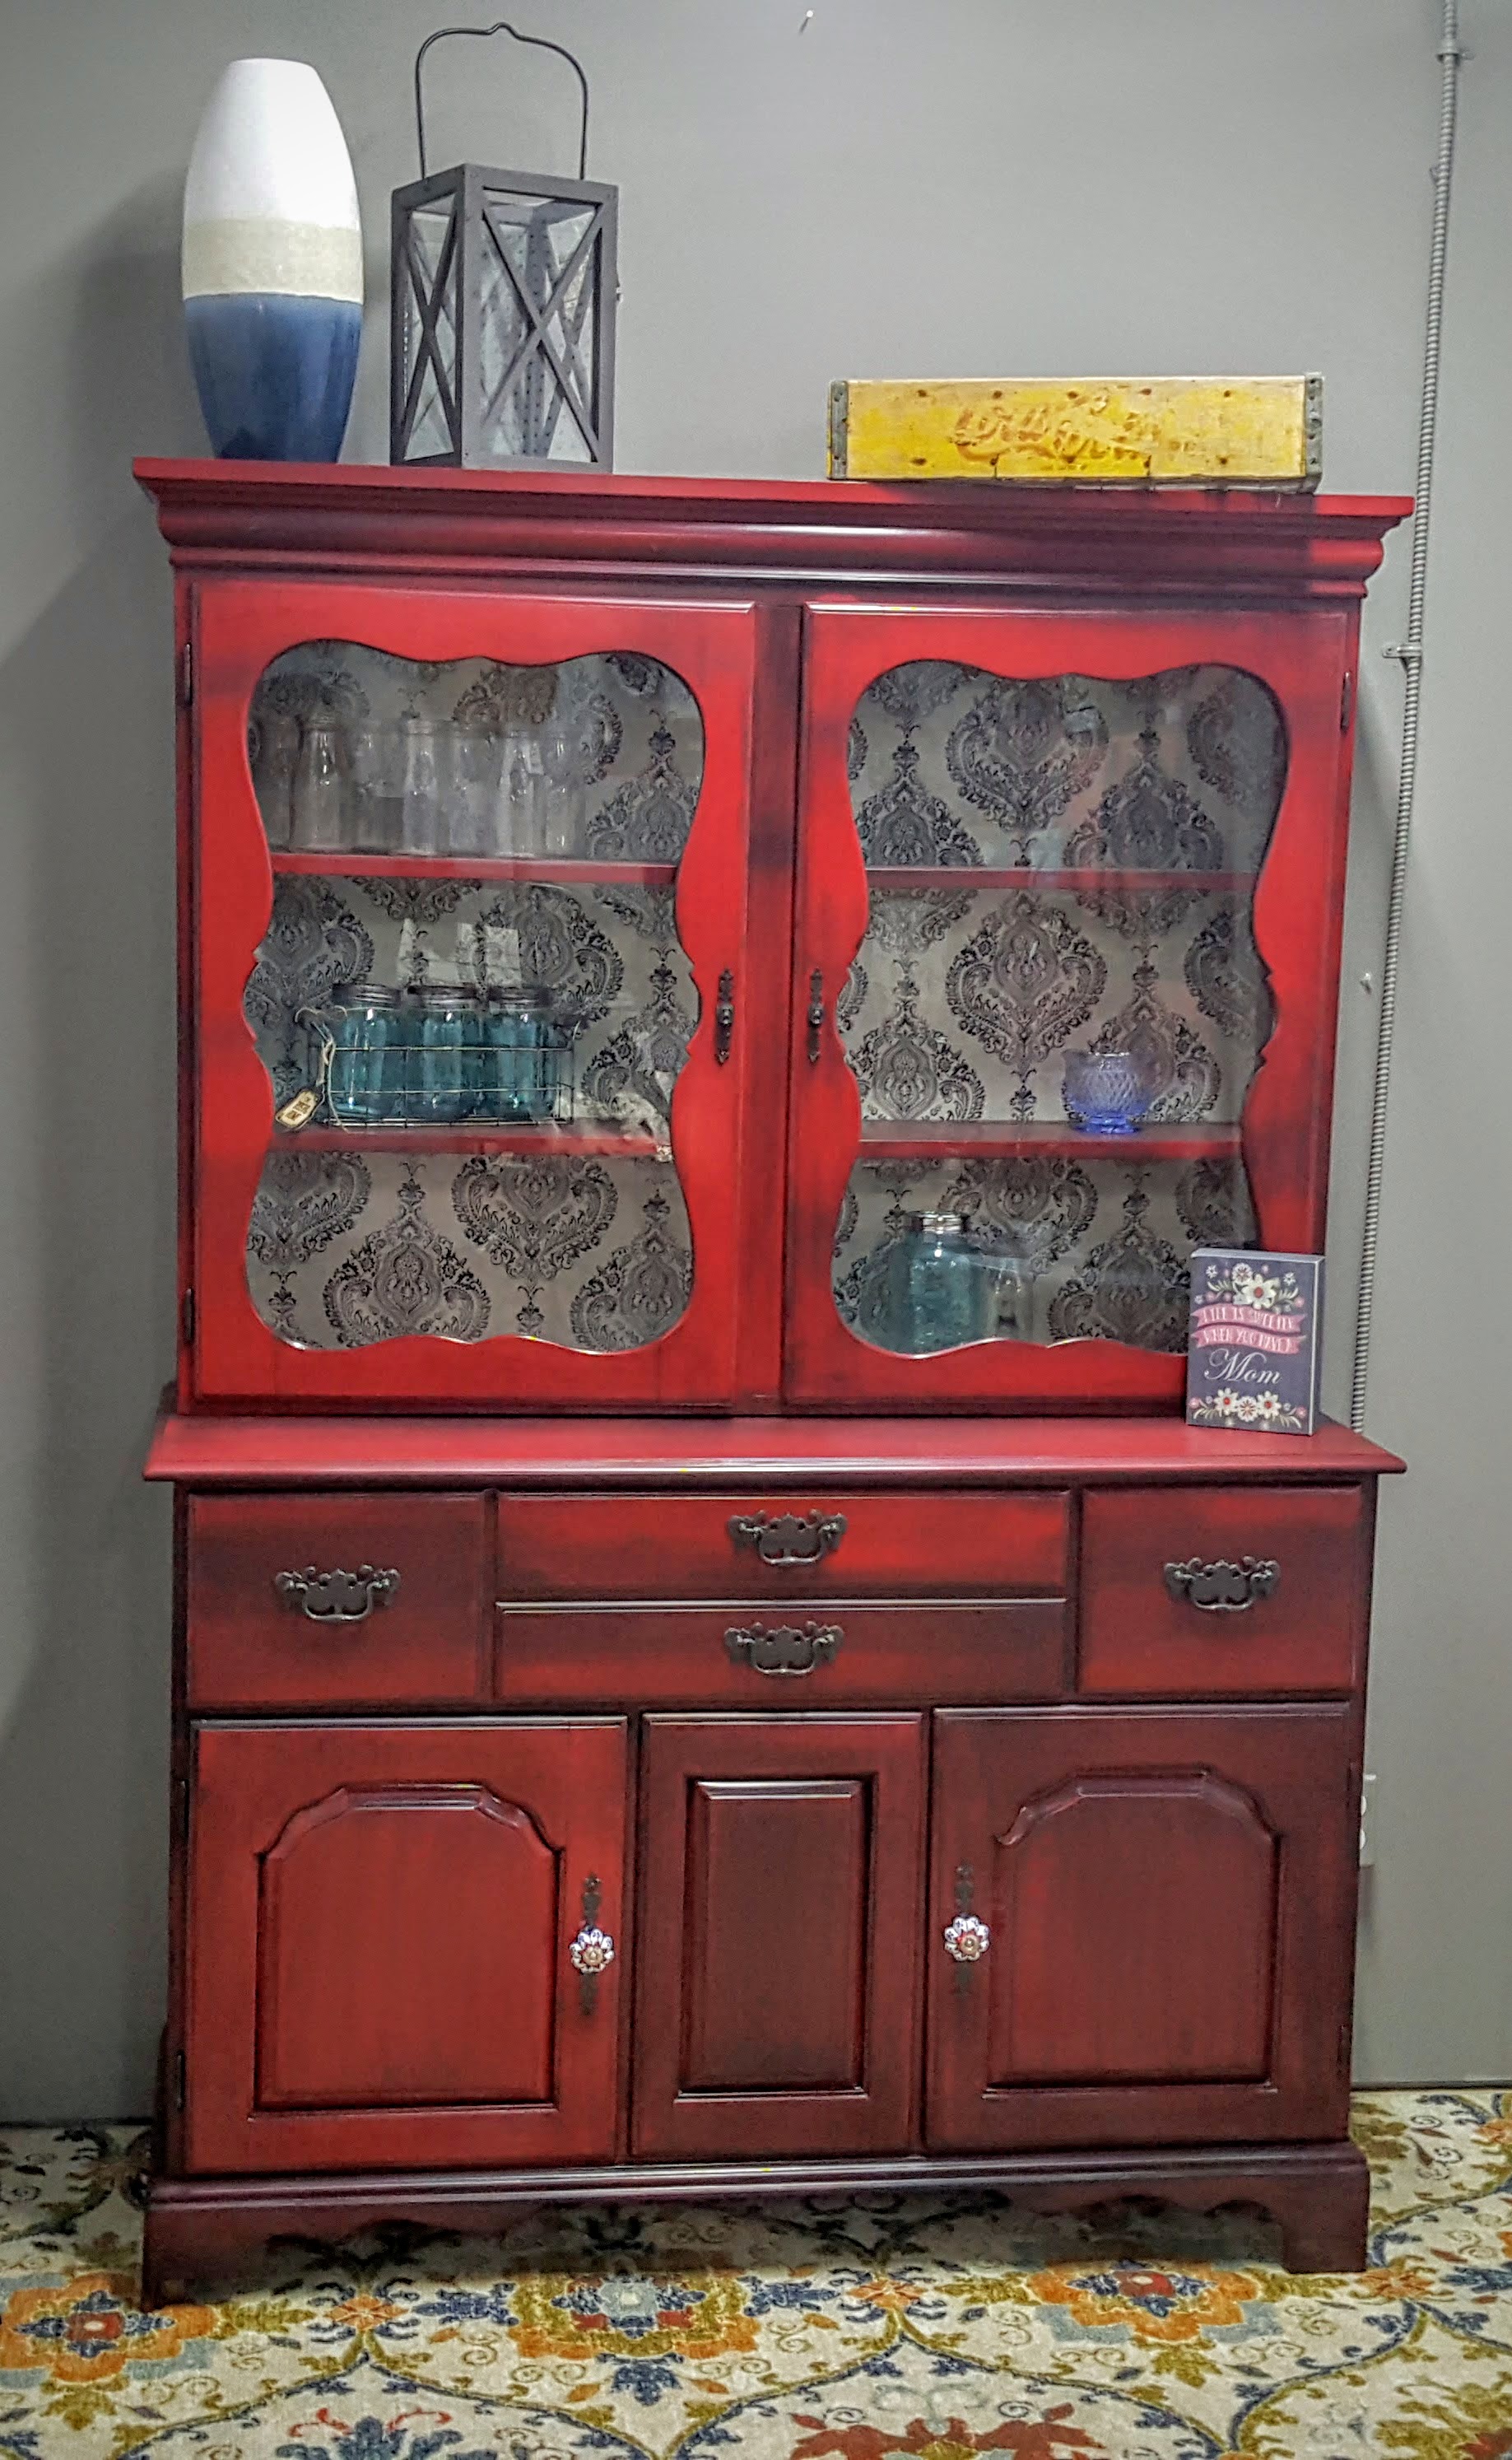
The before and after of this piece makes me super giddy.  I knew I wanted to go with a bold color from jump and I also knew that I wanted it to look smooth like a showroom piece at Ethan Allen so I decided to spray paint it!  

Steps to get a super smooth finish?

1.  Vacuum and wipe down with a bit of dish liquid in a bucket of water.  Don't wet it, mind you...but wipe it clean with a well-wrung towel.  Use Goo Gone to remove anything sticky, hard or icky. Then...let it dry completely. 

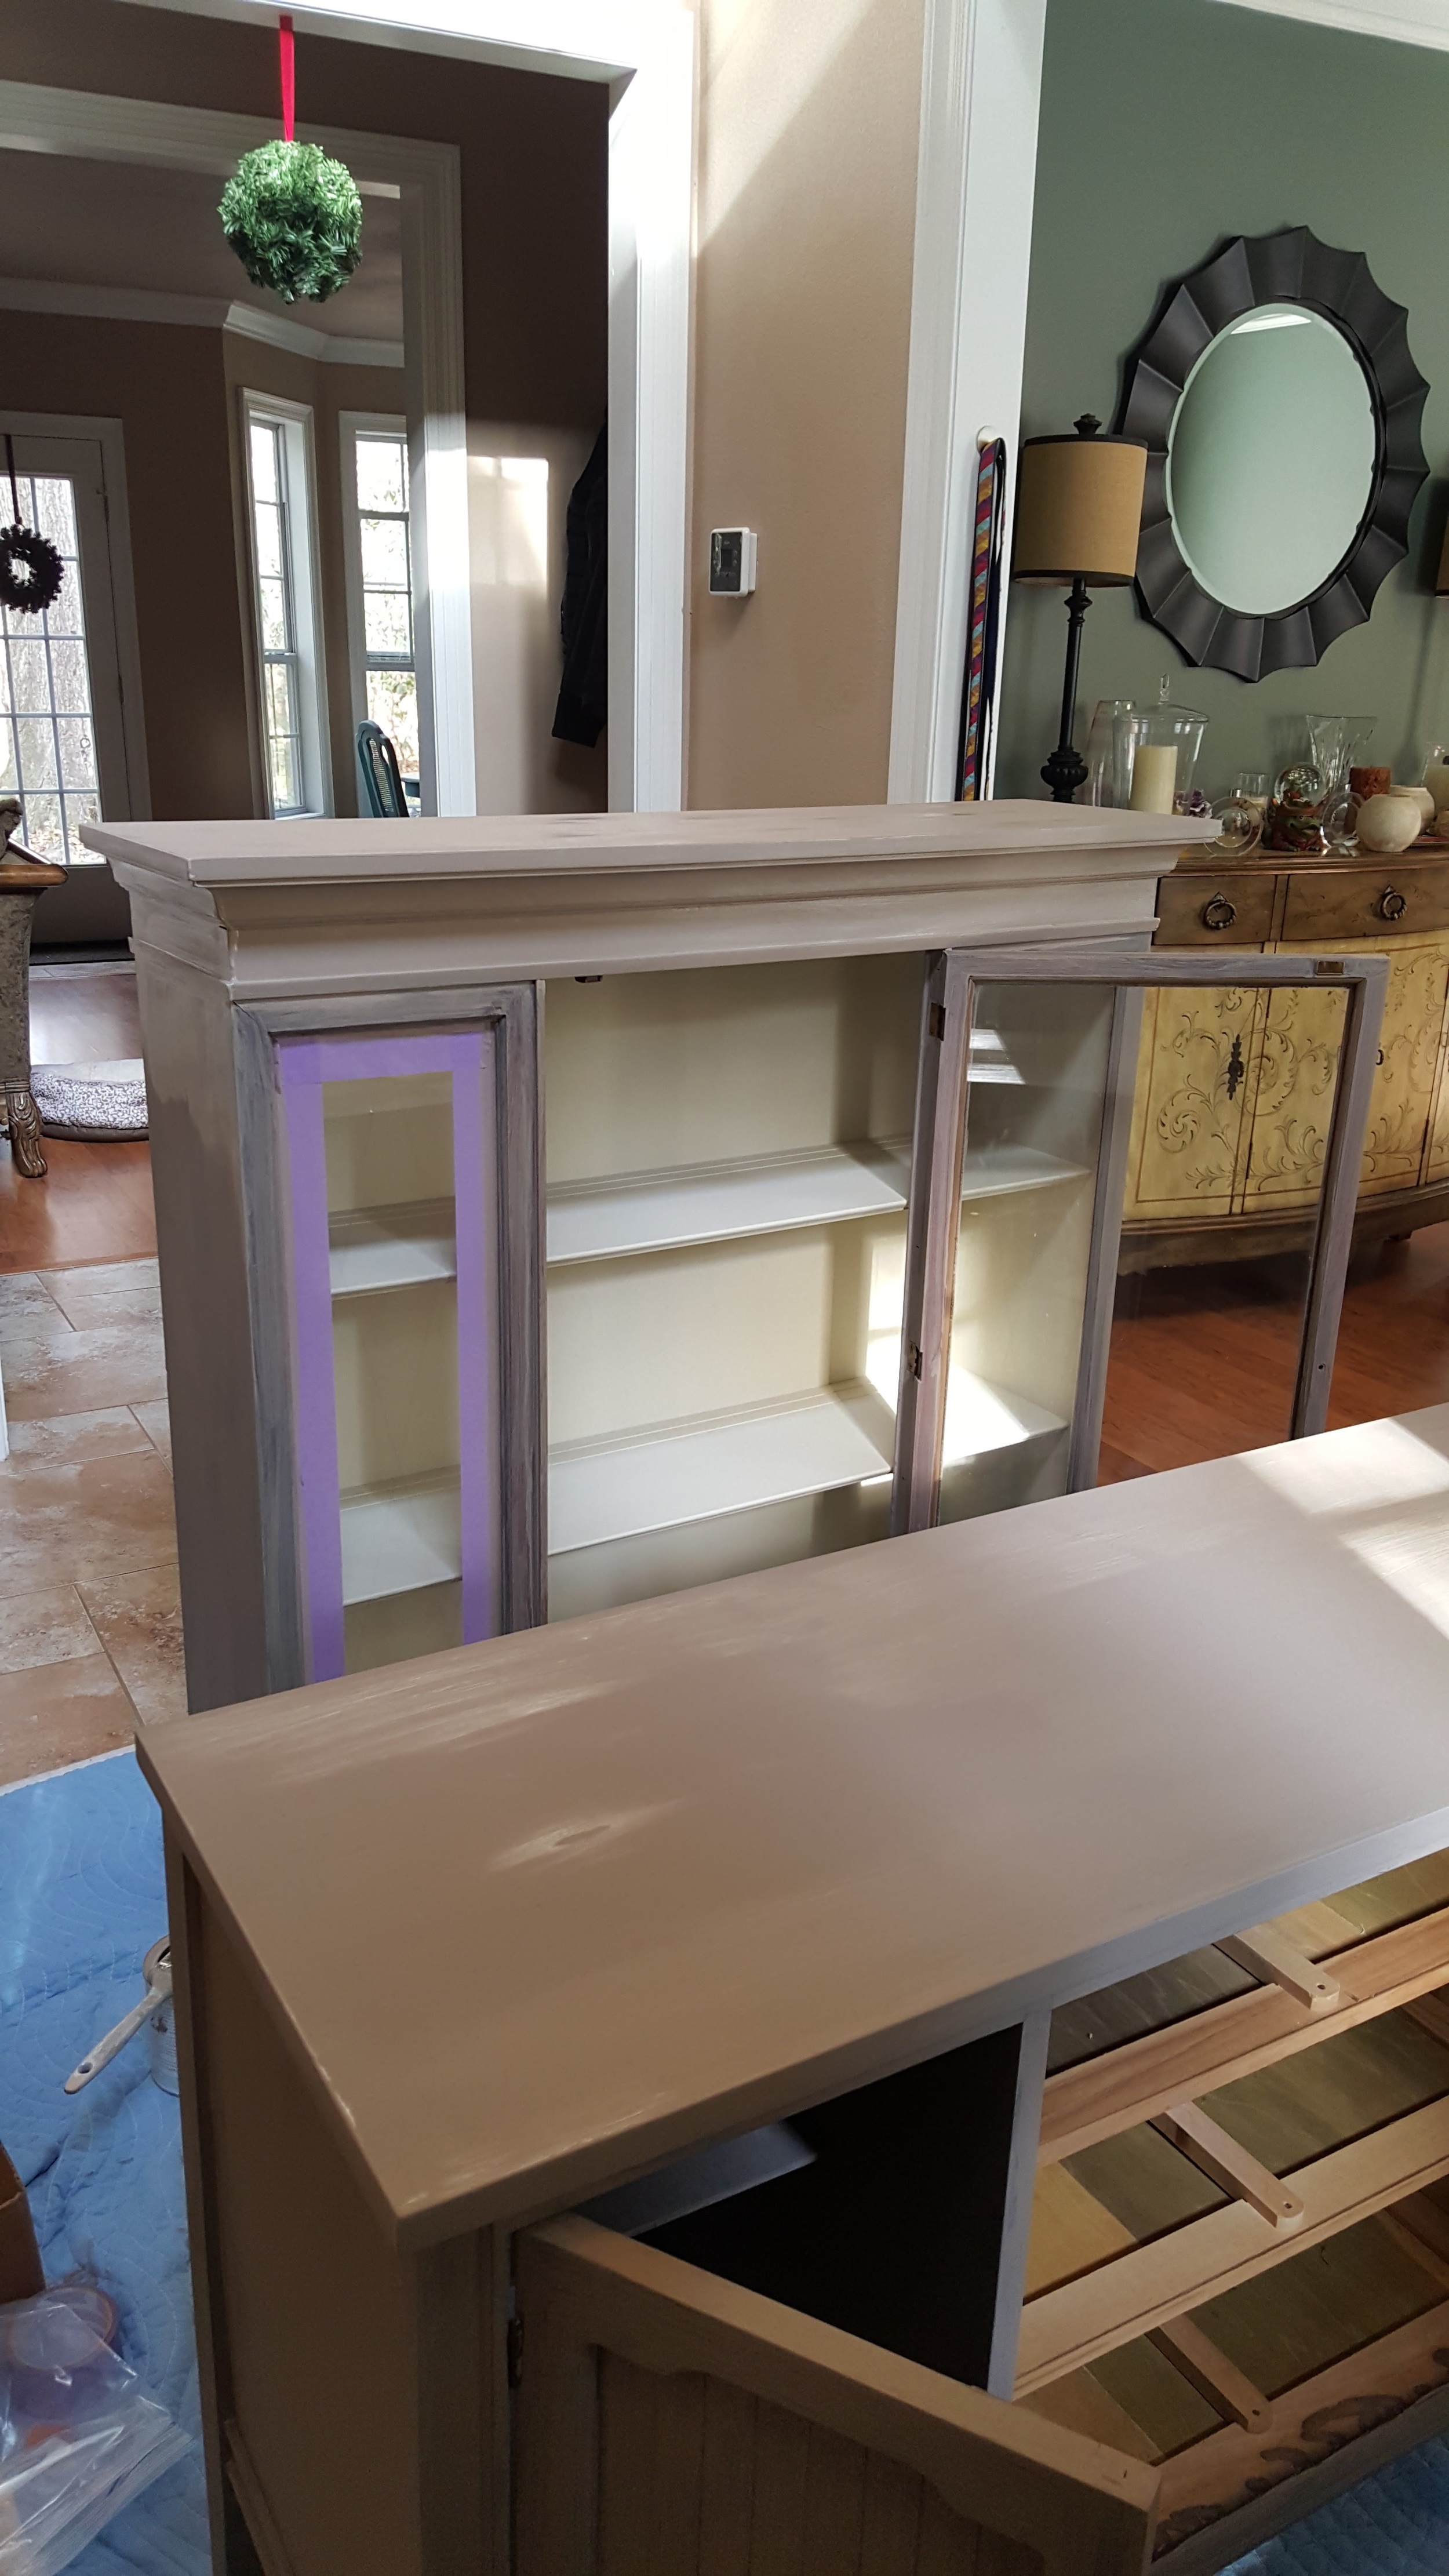
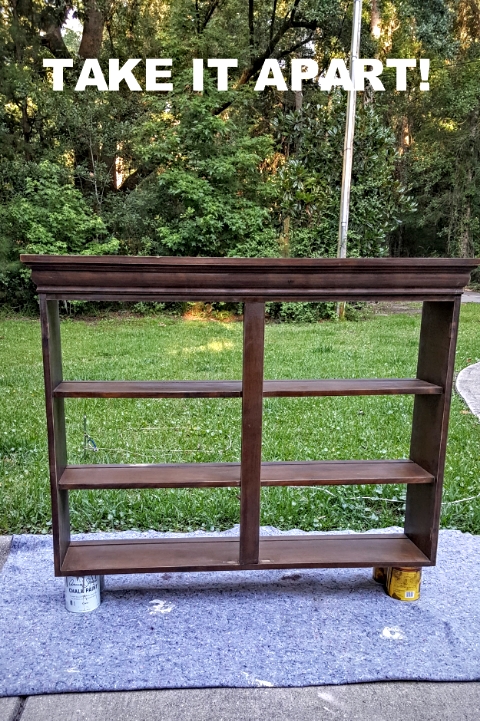
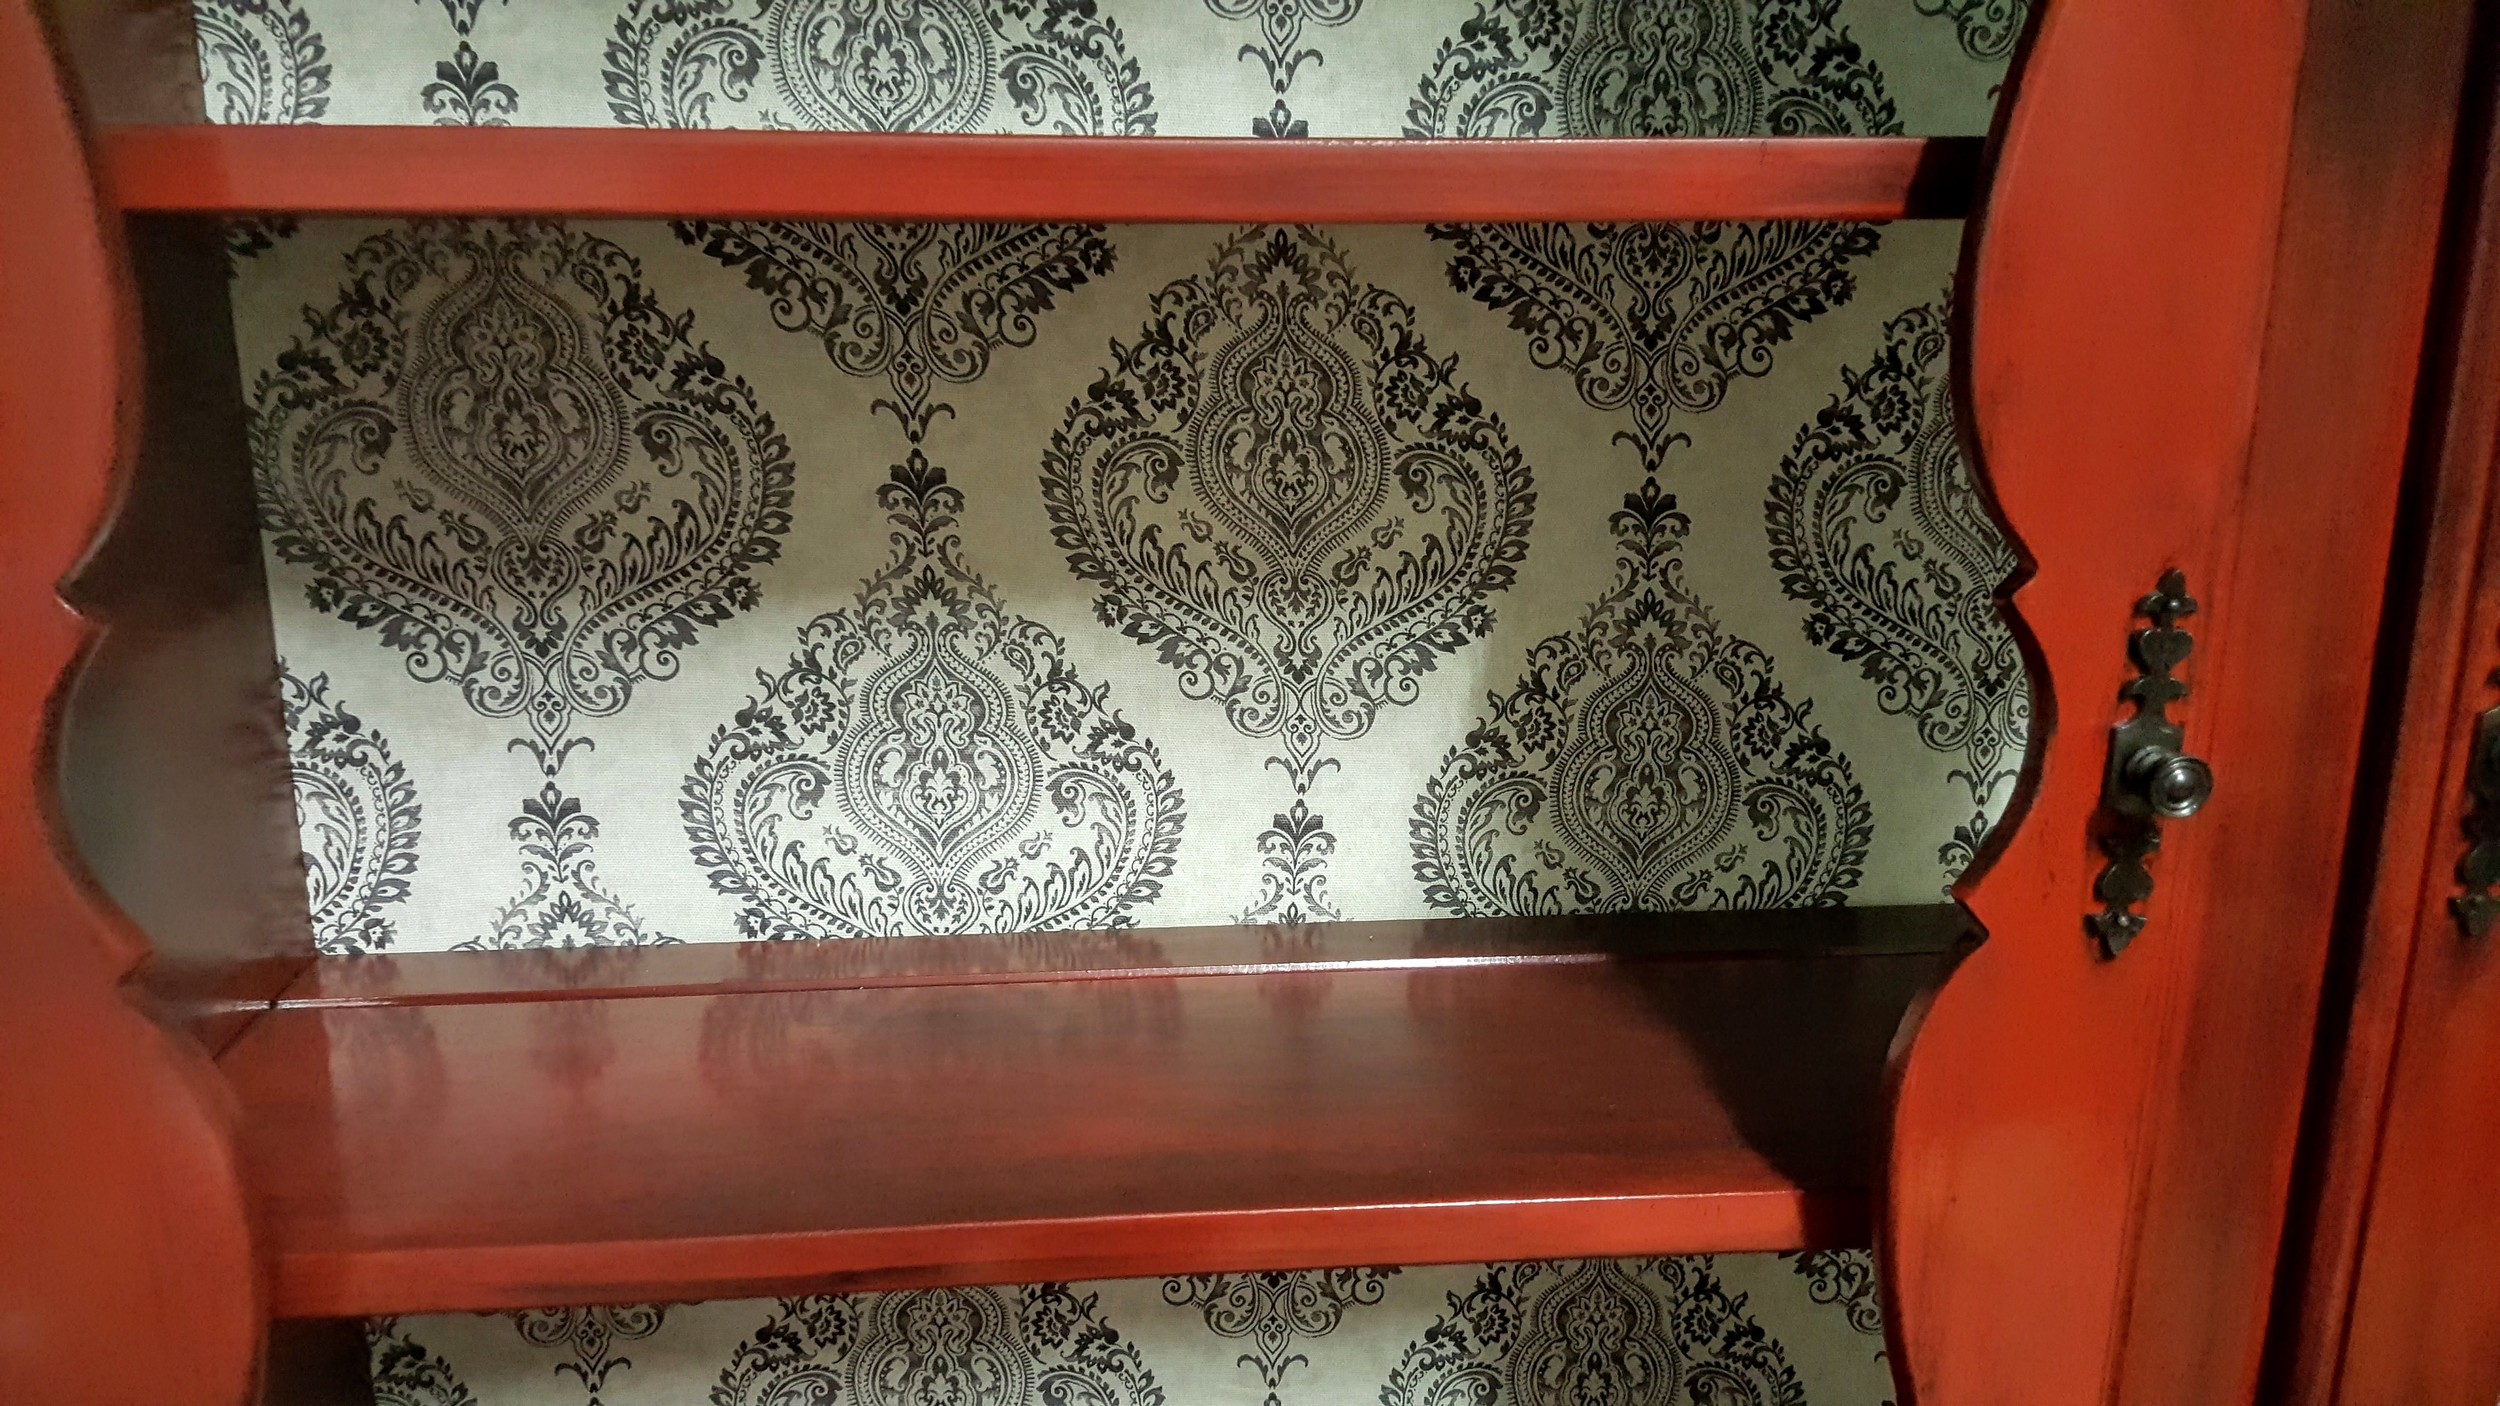
2.  Take it apart.  No...seriously...remove all screws, put hardware by type in Ziploc bags so you don't lose them and keep them together so you can get them ready to be painted too if you're using them.  Take the back off carefully using a hammer, pliers and a flat tool.  Either paint or add a piece of fabric using a spray adhesive as I did.  

3.  Use paint cans and spray paint tops to sit pieces on and sand.  Wipe down with damp cloth and then prime after it dries.  (I used a spray primer for red paint.)

4.  One coat of primer on all pieces if you're using the same kind of 2x primer I used.

5.  Let dry COMPLETELY.  I didn't paint until the next day.

6.  Spray paint using the spray paint handle so your finger doesn't get in the way or get tired from depressing that lil' thingy.  You should have a good rhythm and method since you spray painted the primer on.  Hold the can back far enough where you can do light sprays without paint runs.  Just spray evenly and lightly.  Follow the directions and apply your second coat when the can says to.  LOL!  

7.  Remove rust with a rust remover, clean, dry and spray paint hardware.  Let dry completely.

8.  If you're going to add a glaze, as I did, do it the next day after the paint has dried completely and you've corrected any mistakes or paint drips.  (Sand, wipe clean, repaint.) Glaze one section at a time so your glaze doesn't dry on you making it too dark in some areas.  If you love the super shiny, super bright pop of color...don't glaze.  For example...if I were to do a dresser or end table for a little girl's room in a pretty pink or raspberry I wouldn't glaze it.  The color would just be so happy to me as is.  LOL!

9.  Let dry completely and add a coat of polycrylic to any part where you'd sit stuff on like shelves and the top of the bottom piece.  This is just an added layer of protection.  I actually used the spray polyurethane for the first time on this piece and I adore the satin finish it gave.  

10.  Put it back together.  Add the hardware.  Sit back and admire your handiwork with a smug smile knowing that BAAAAAAAAAABY!  YOU DID THAT!

China Cabinet Upcycle - COMPLETE - #AnnieSloanChalkPaint

To start...I had to take off that old school gold leaf stuff.  I added about 20 drops of tea tree oil to some hot water, saturated a washcloth with it and then rubbed it all over the gold stuff squeezing as I went so there was water left sitting on top.  Then...I let it sit for about five minutes and, using the blade from a utility knife...scraped it off.  Easy.  SUPER easy.

Next, I painted the interior with two coats of Country Grey (followed by clear wax) and the exterior with two coats of Coco.  Since I was looking to coordinate with a painted chest we already have...I was trying to get a certain color so I followed the exterior with dark wax.

I plan on stenciling the interior back but probably not before Christmas.  I put some stuff in it to take a picture because I didn't want to pull out my china.  Then...I was like...well...I like my china where I keep my china (in the painted cabinet) and I feel like it's safer in there.  Now...safer from what I don't know.  This is how my brain works.  I have issues and I'm not working on them.

Still.

Before.  During. After.  

I like it.  It makes me happy.

And truly...that's all I want in life.  To do whatever makes me happy.

GO ME!

Sooooooooooo...have you decided to try a piece yet?  I'm thinking of painting our family room coffee table.  You know...since a little super cute puppy yall know teethed on it when we first got her.  LOL!

China Cabinet Upcycle - STEP 1 - #AnnieSloanChalkPaint

Whew...I just used a blanket to drag that thing out to the foyer because it has the best light in the house.  Don't tell Robby cuz that sucker AIN'T light.  LOL!  

I have been waiting on some stuff to arrive that I ordered to start getting this done right.  First thing is to remove that gold harlequin design from the glass.  I have a scraper and I'm going to use a mixture of tea tree oil and warm water to remove it.  I'm told it will take patience...Okay.

Next I'm going to paint the interior with Annie Sloan chalk paint in Country Grey.  Then...I'm going to either stencil a design in the back or figure out a way to add paper or vinyl to the back for a pop of contrast.  I don't want anything to fight with what I put in it...but I do want it to be interesting enough to draw the eye.

After that...I'm going to paint the exterior in Annie Sloan's Coco.  

I've removed one of the bail pulls from the drawer at the bottom so that I can find one like it online.  I haven't found one yet but hope to do so before I finish the painting.  I'm also thinking of painting the bottom two inches of the front legs a gold color.  

THIS will take a minute.  LOL!

HAPPY HUMP DAY!  Yall decorated for Christmas yet?????

New Projects!!!!!

Sooooooooo...

I'm taking this whole refinishing furniture thingy by the horns.  LOL!  I'm enjoying it so much!  Taking something well made but in need of modernization feels really good.  

Today I went out to my now new FAVORITE place in the world and returned with two really nice wood twin beds.  Headboard, footboard, rails, et al.  The price was ridiculously awesome and what made it even more awesome is that a family member decided to gift them to me for Christmas and called ahead to pay for them for me.  When I texted the family member to threaten to fight them they were all like...BRING IT!  And...SAY IT WITCHA CHEST!

I decided family shouldn't fight for Christmas and well...they'd prolly win anyway soooooo...

MERRY CHRISTMAS ME!!!!!!  GO ME!  IT'S MY CHRISTMAS!  GO ME!  IT'S MY CHRISTMAS!

THANK YOU THANK YOU THANK YOU!  I FEEL SO BLESSED THAT YOU LOVE ME SO!

So...I'm, of course, chomping at the bit to get them started.  I bought the paint I want to use on them and will probably do them tomorrow.  I'm putting them in a room that is navy blue and I want to make it super relaxing and still fun for guests who are kids.

Now...the thing I'm SUPER DOOPER excited about starting?  THIS!

Maaaaaaaaaan look!  I couldn't fit it in Deuce, of course so I couldn't bring it home.  The Robinator is in deadline mode so he might not be able to help me go get it until Saturday.

WILL I SURVIVE?????????????????????????

This will certainly be a test of patience as I have none when it comes to doing what I want to do when I want to do it.  So now...we wait.  And while we wait...we do the most searching out stuff online to help make it look like I want it to look.  I just ordered this:  AMACO Rub 'n Buff Wax Metallic Finish, Antique Gold, so I could get the brass handles to have a really awesome bright color.  The pull on the top drawer is missing so I need to either find a replace for that one or three to replace them all.  I hope to identify that before I go to bed.  LOL!

I have my Annie Sloan chalk paints already.  I know exactly how I want it to look.  Just gotta get it here and get started.

PATIENCE MONNIE!  PATIENCE!

So...yeah...

I can't do nuttin tonight though.  *sigh*