MATERIALS USED:
Sandpaper
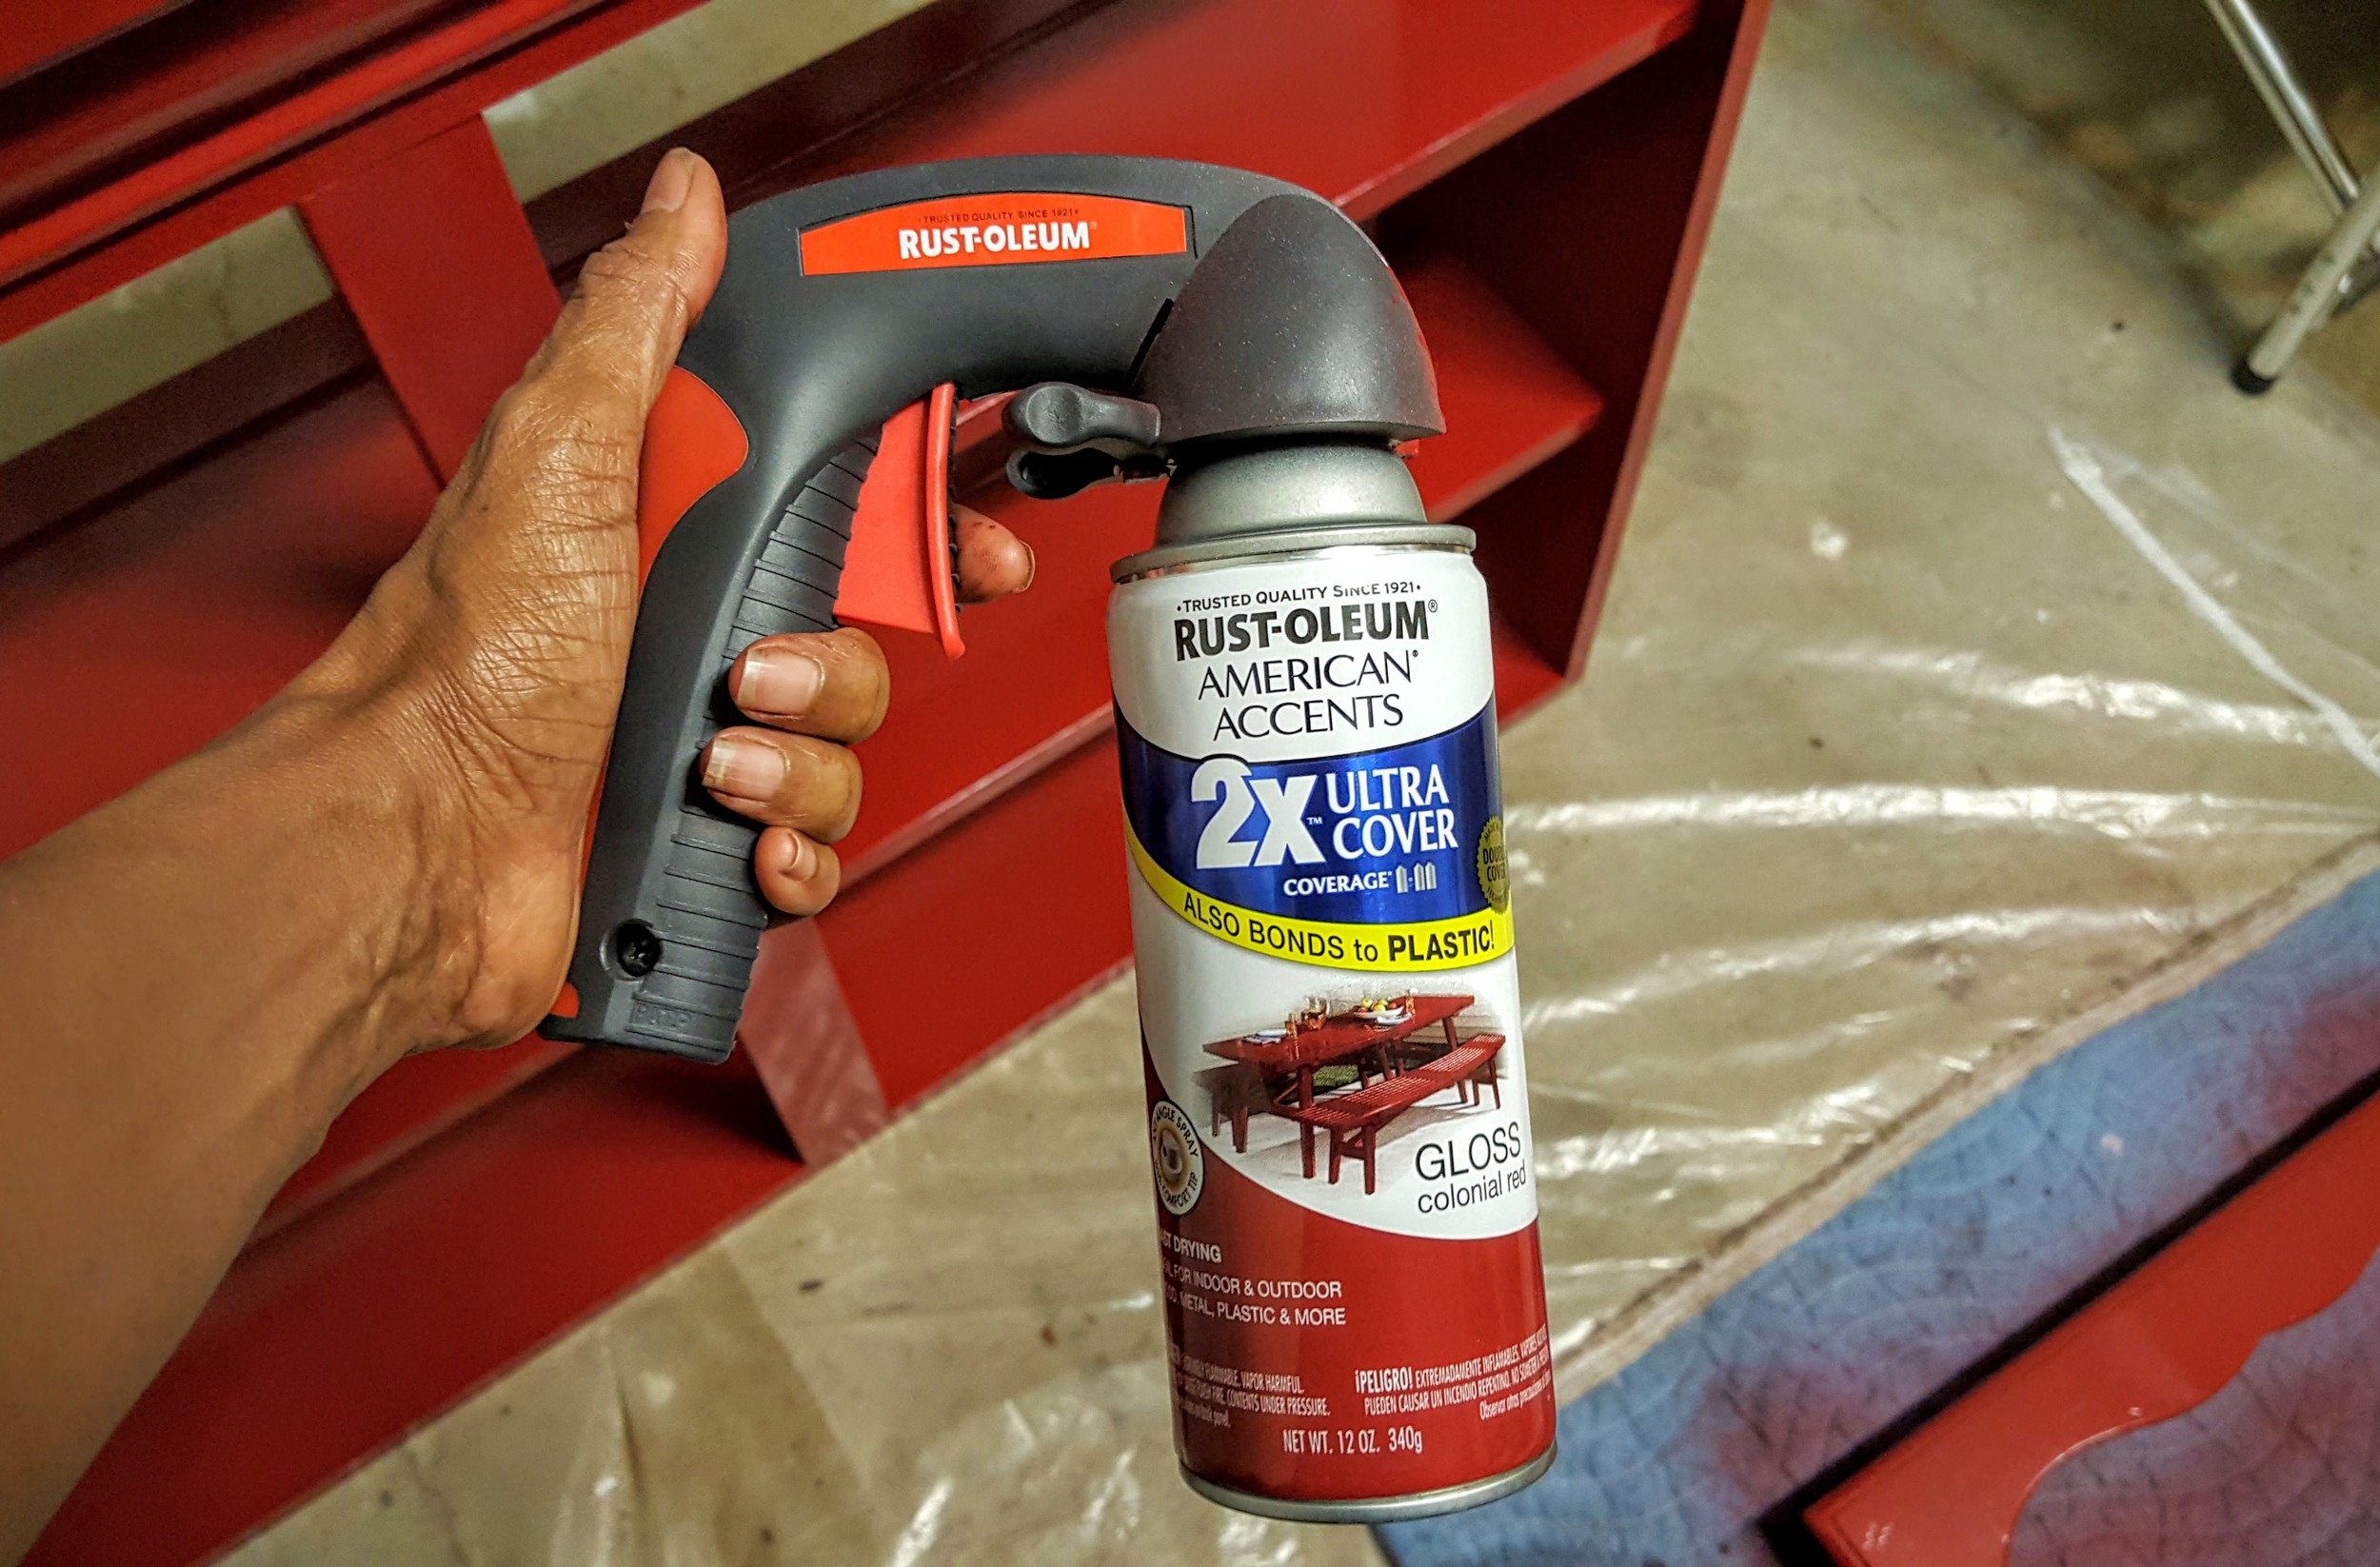
Rust-Oleum Comfort Grip Spray Paint Handle
Rust-Oleum 2x Red Primer (3 cans)
Rust-Oleum 2x Colonial Red Gloss Spray Paint (5 cans)
Rust-Oleum Hammered Black Metal Spray Paint (I've used one can for three projects so far on hardware.)
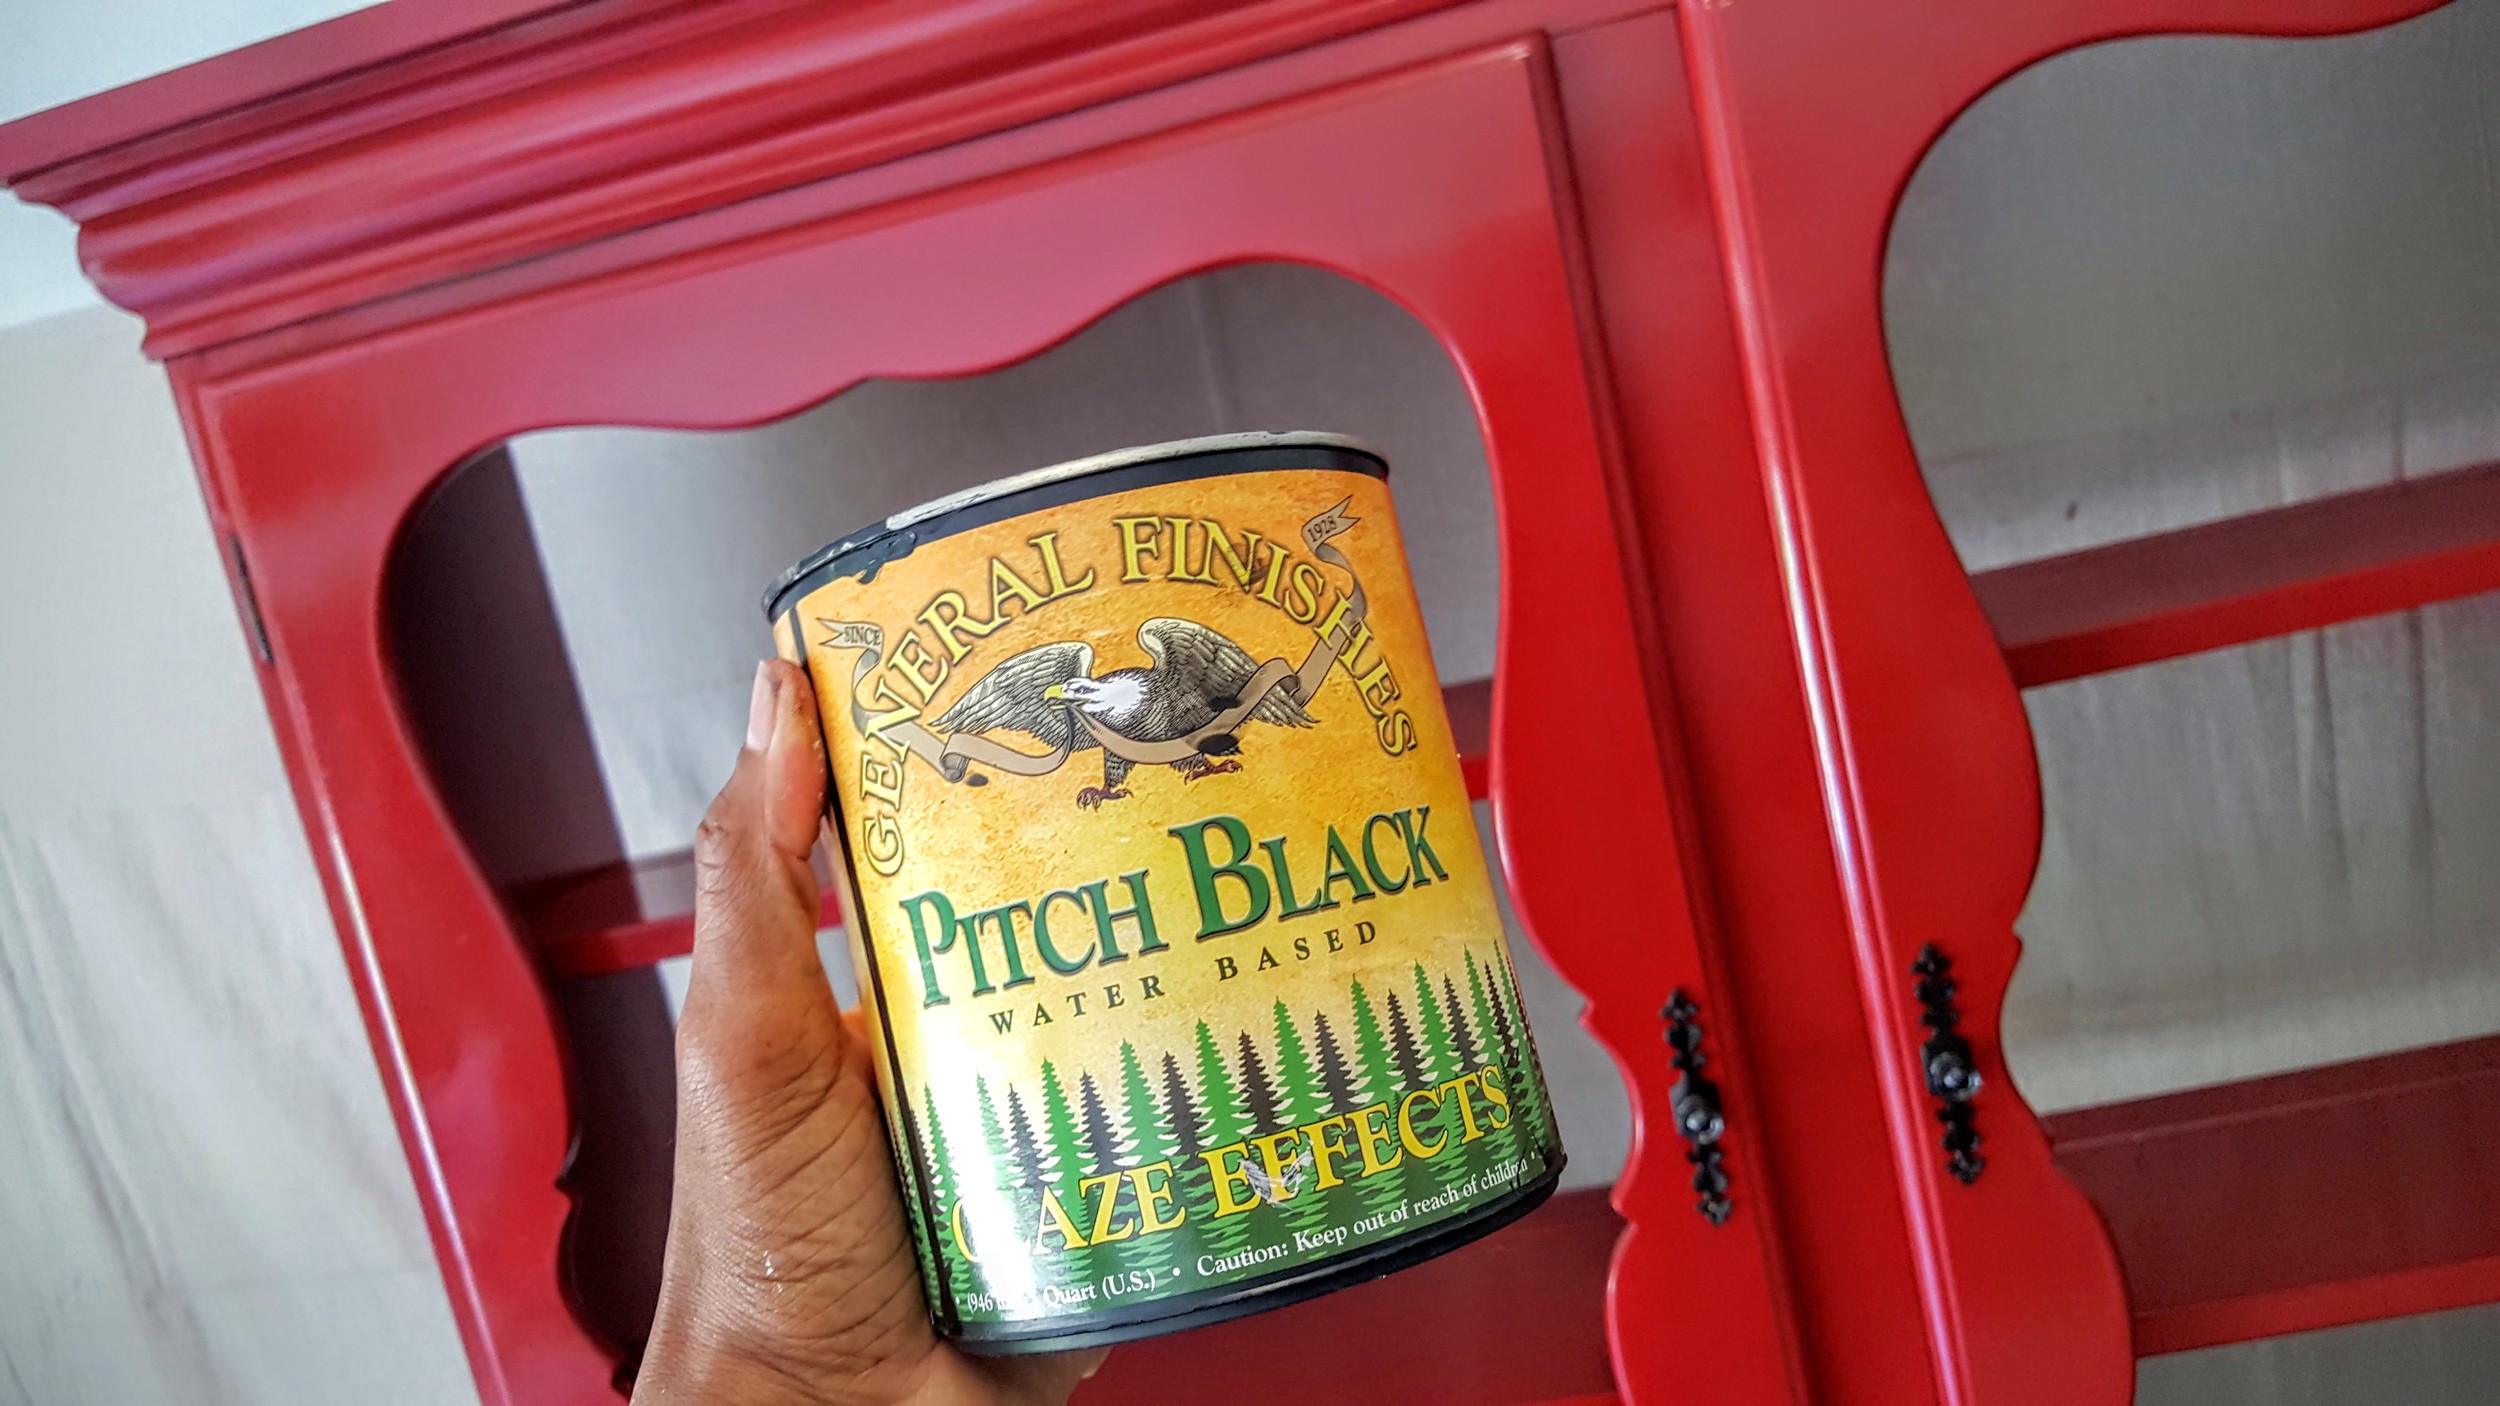
General Finishes Pitch Black Glaze
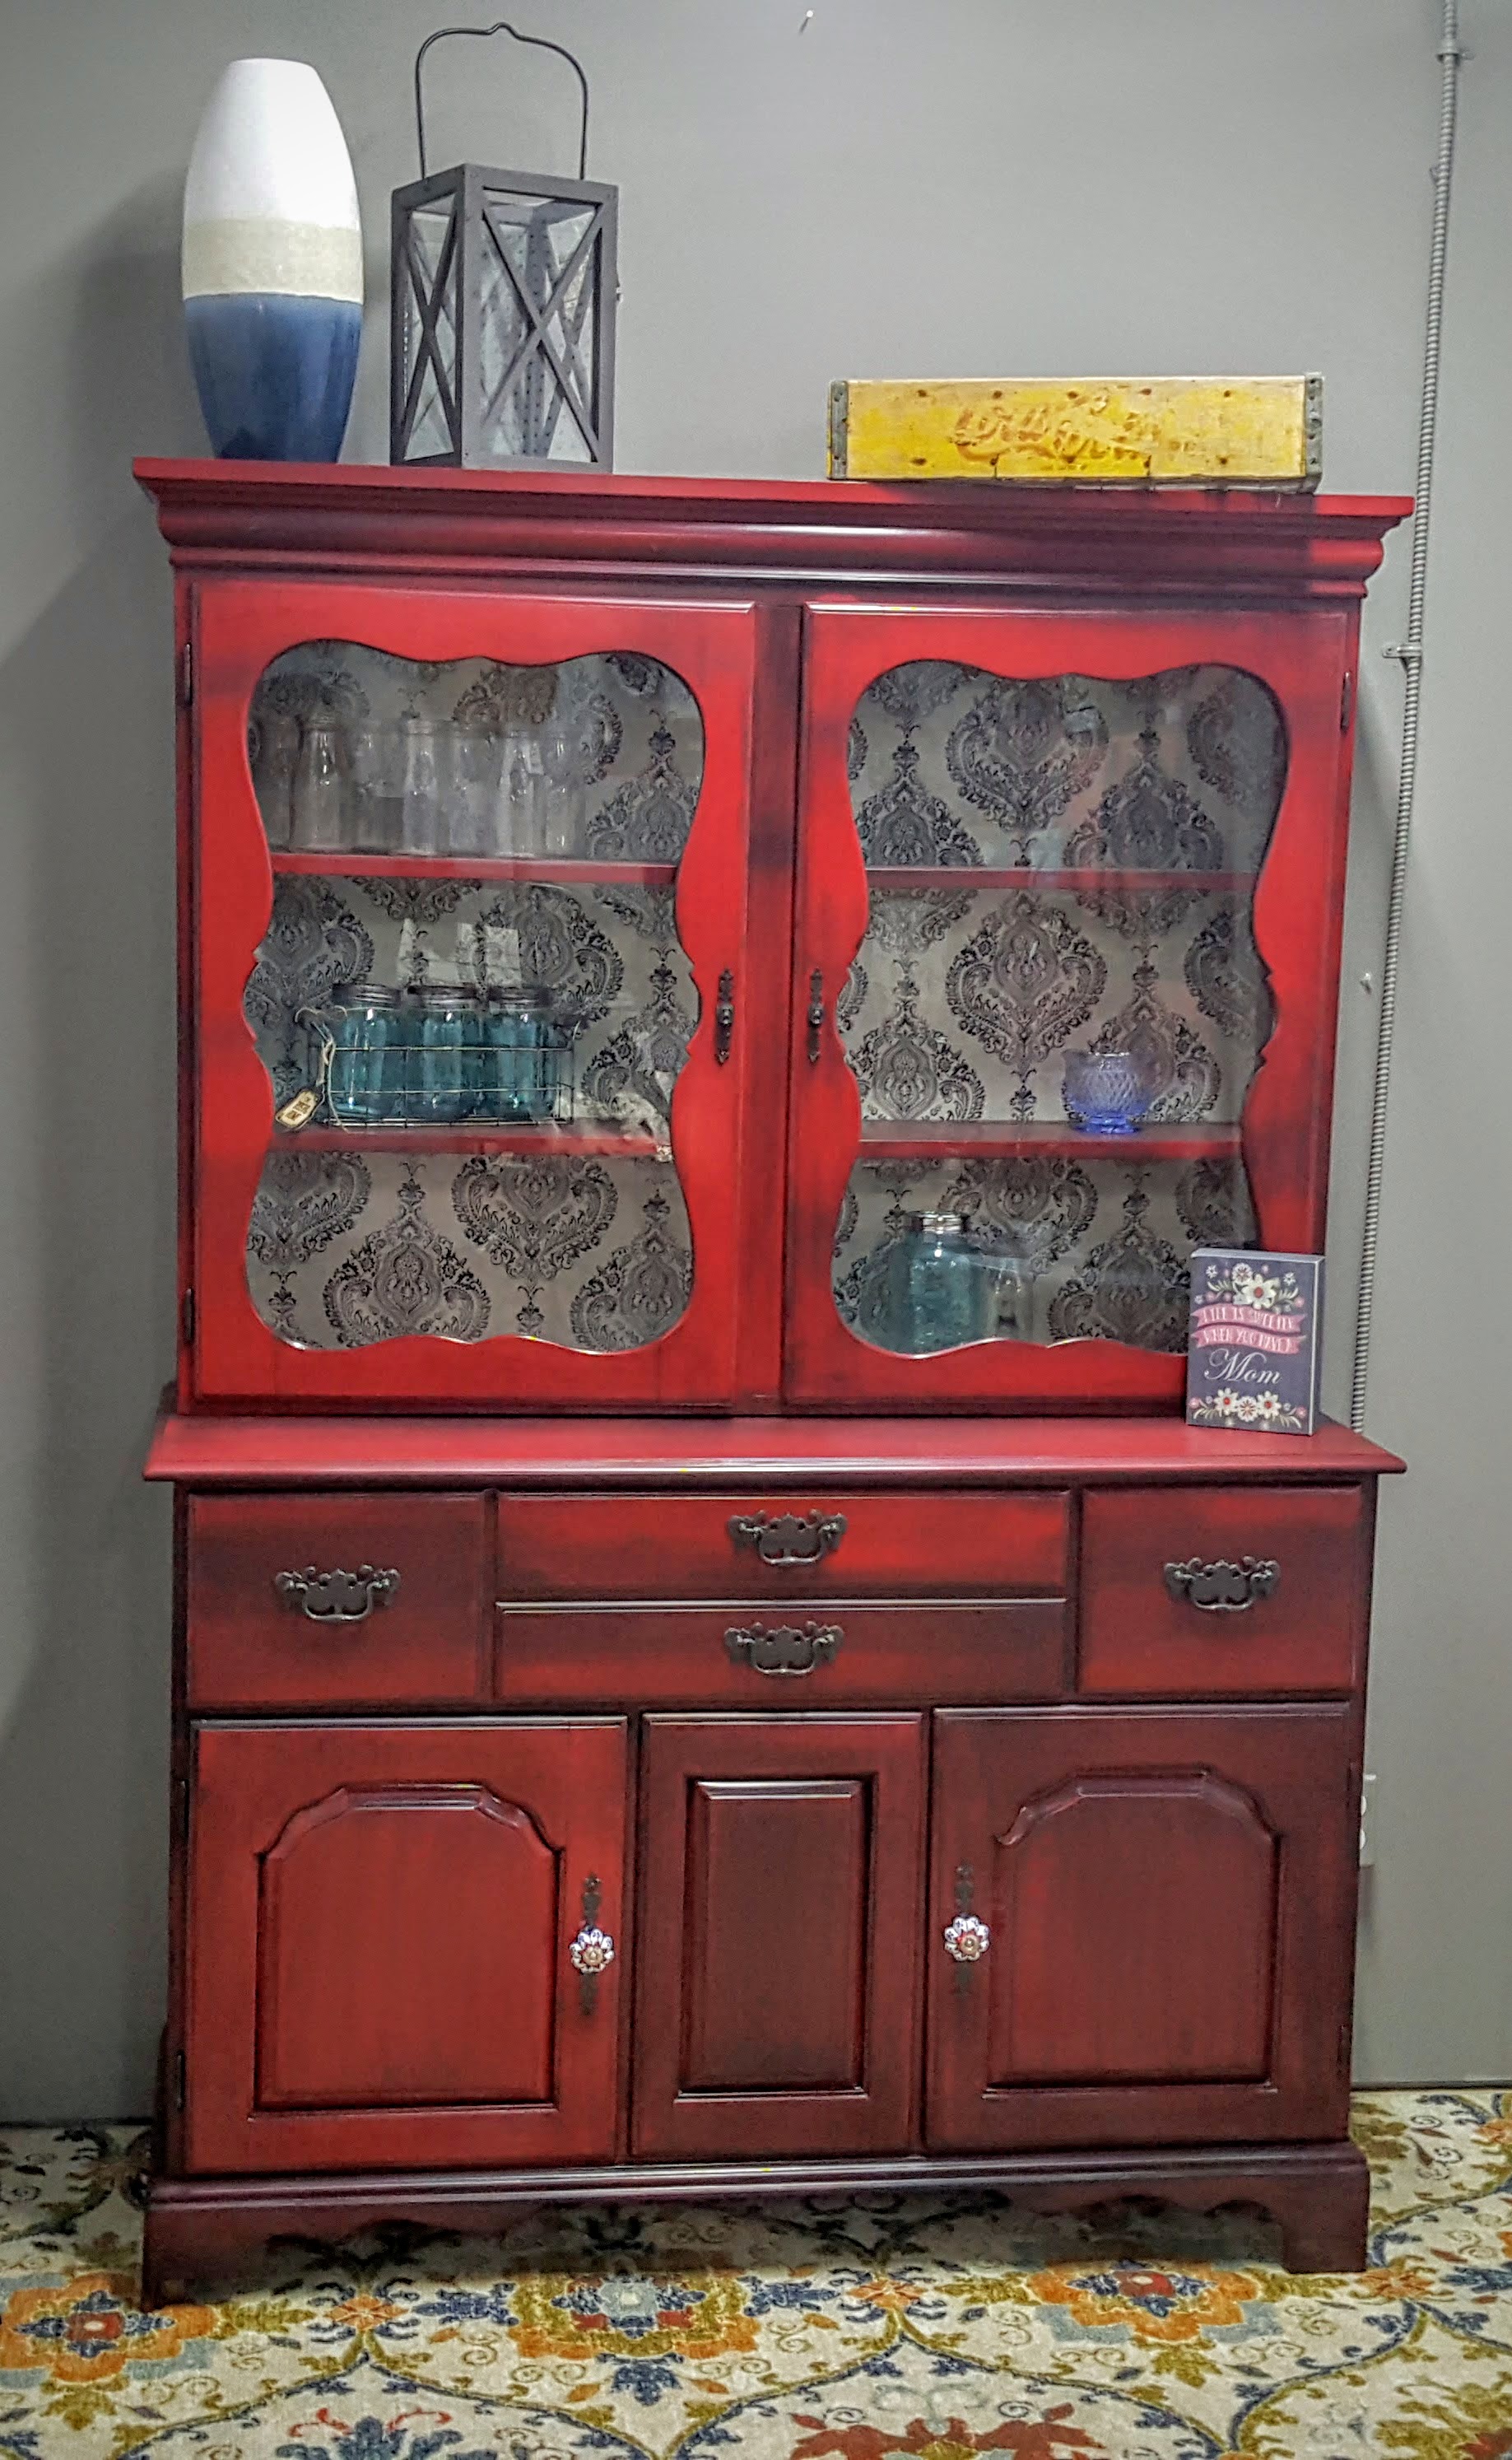
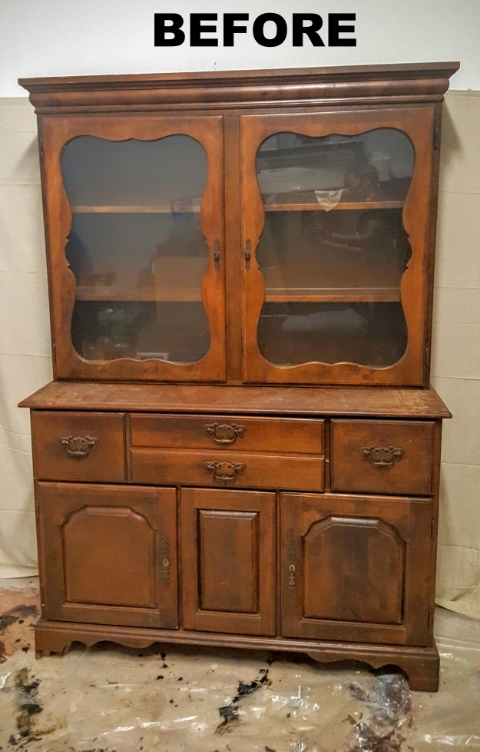
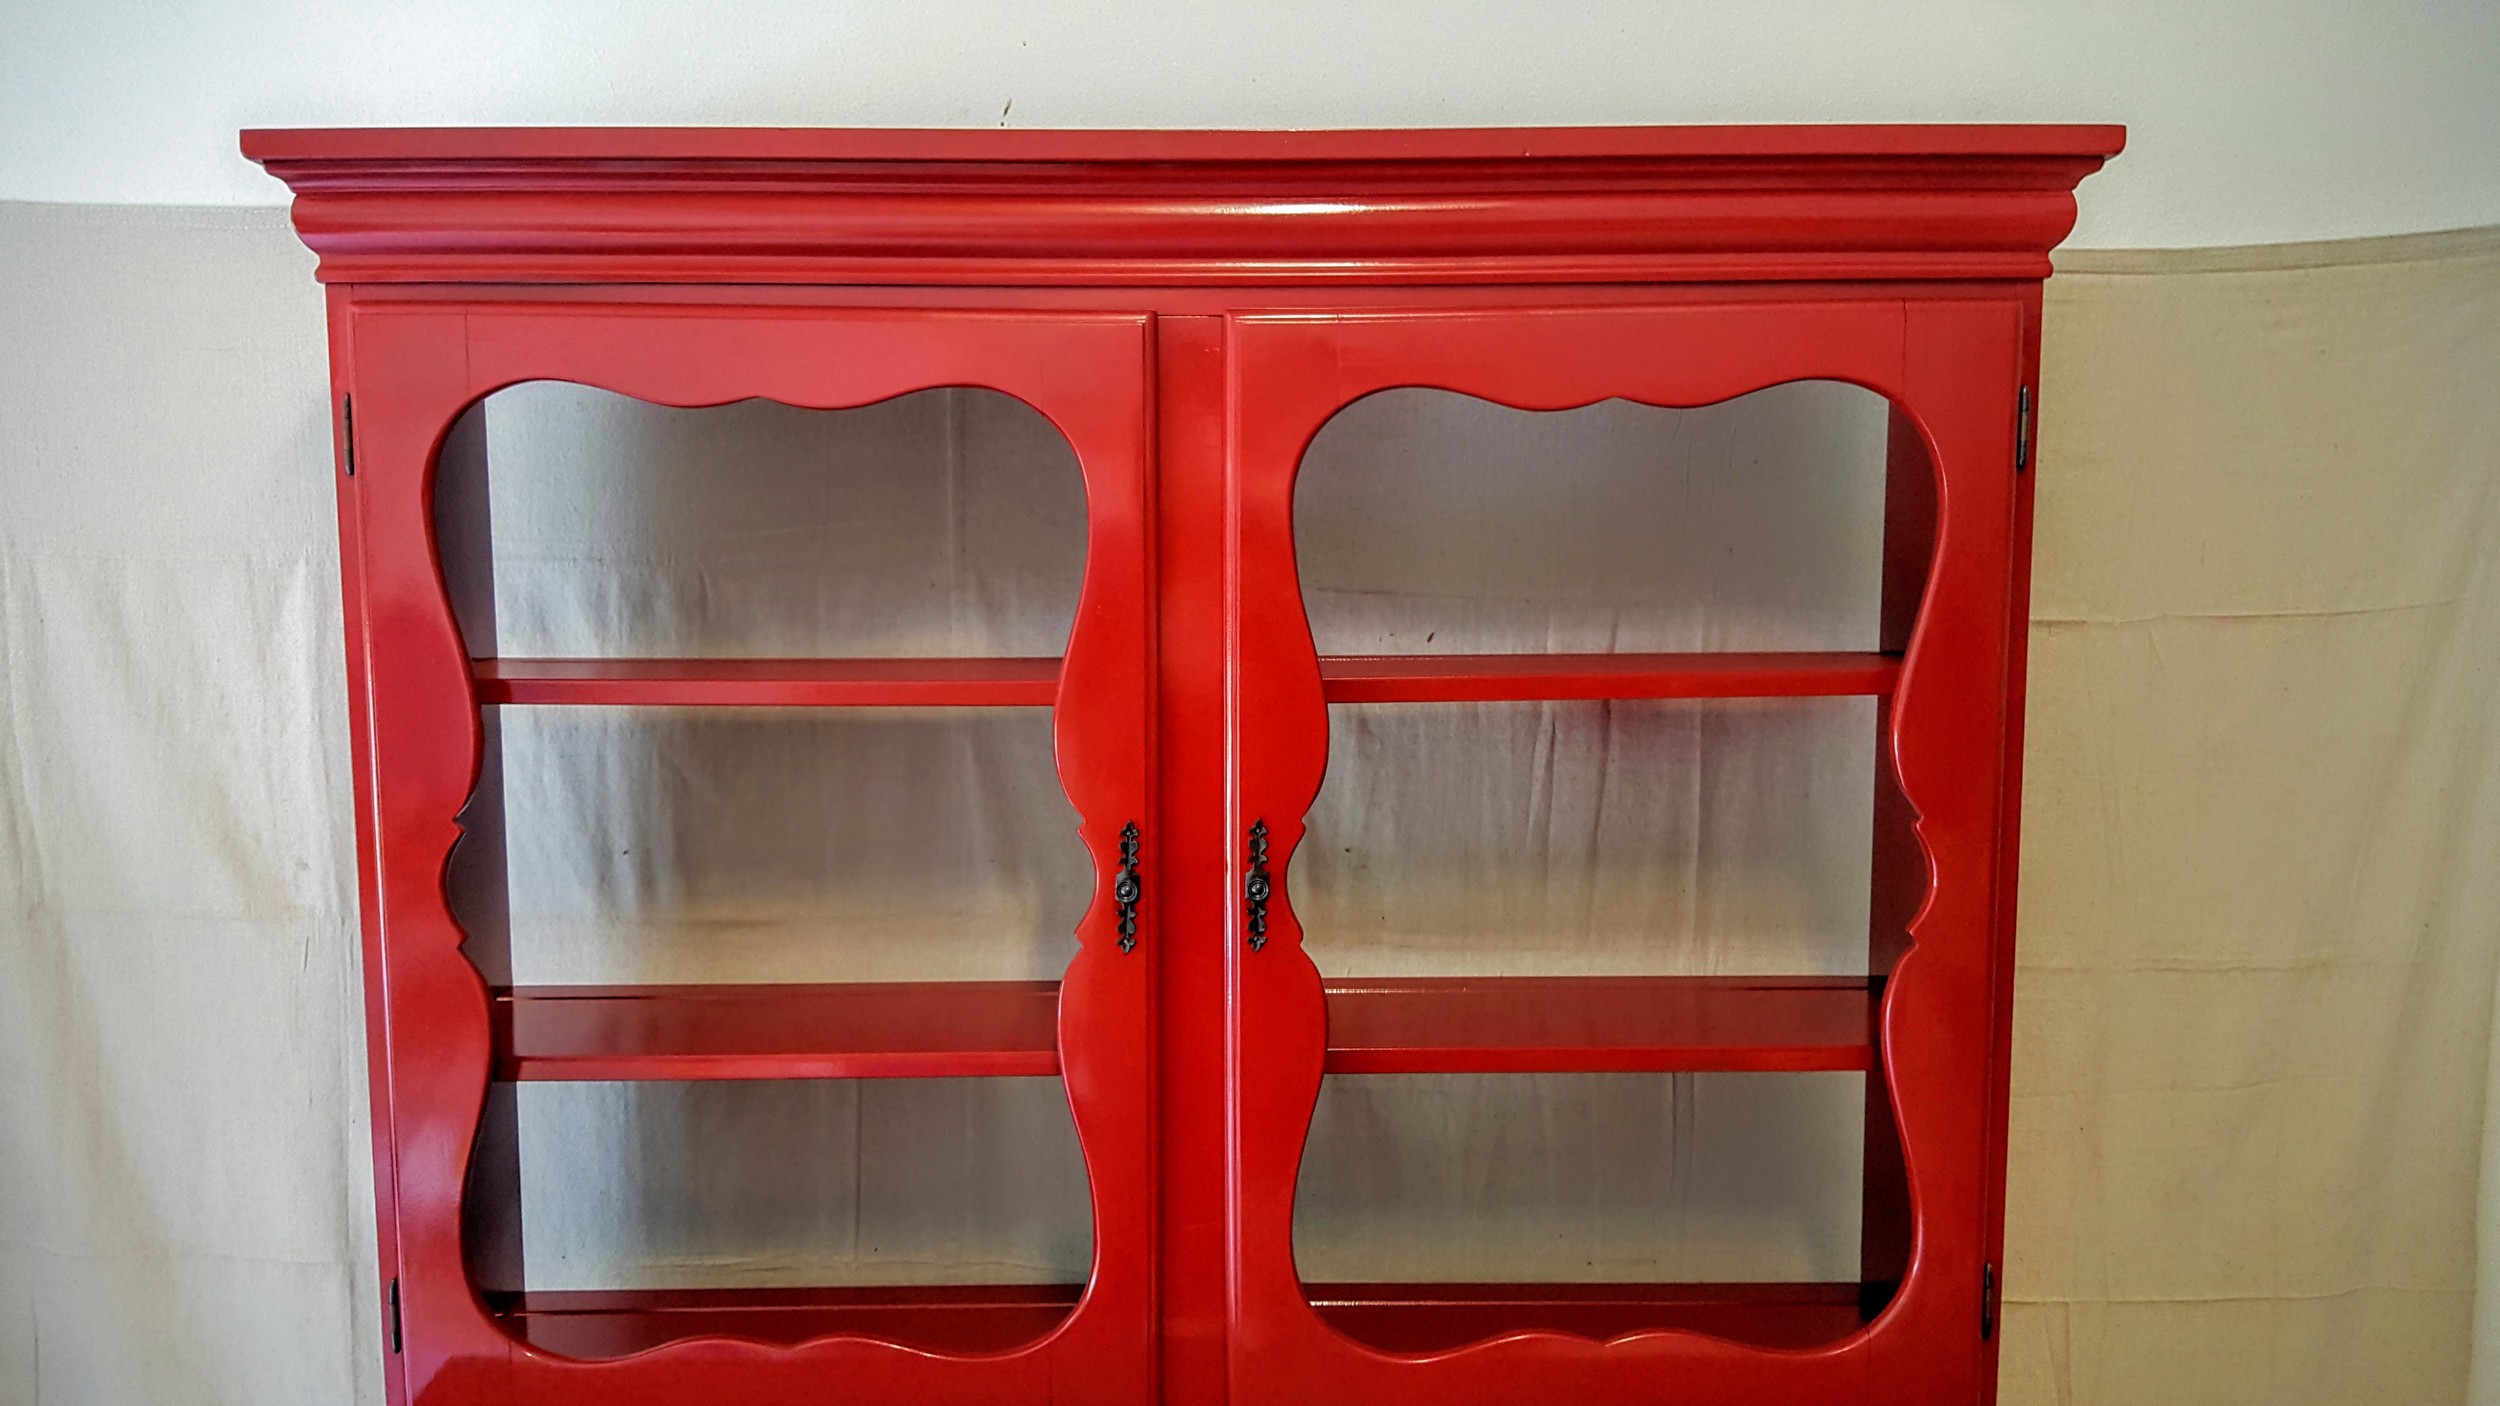
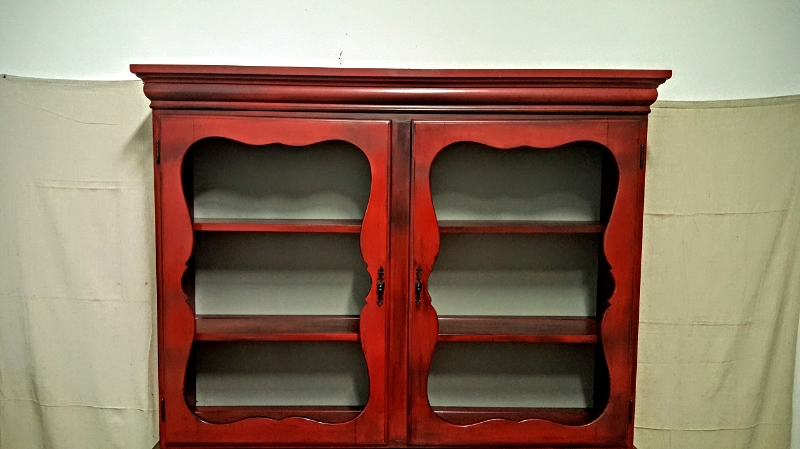
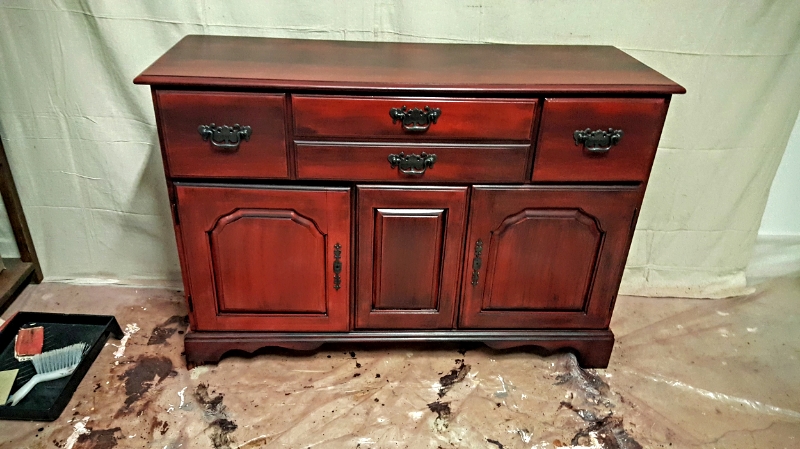
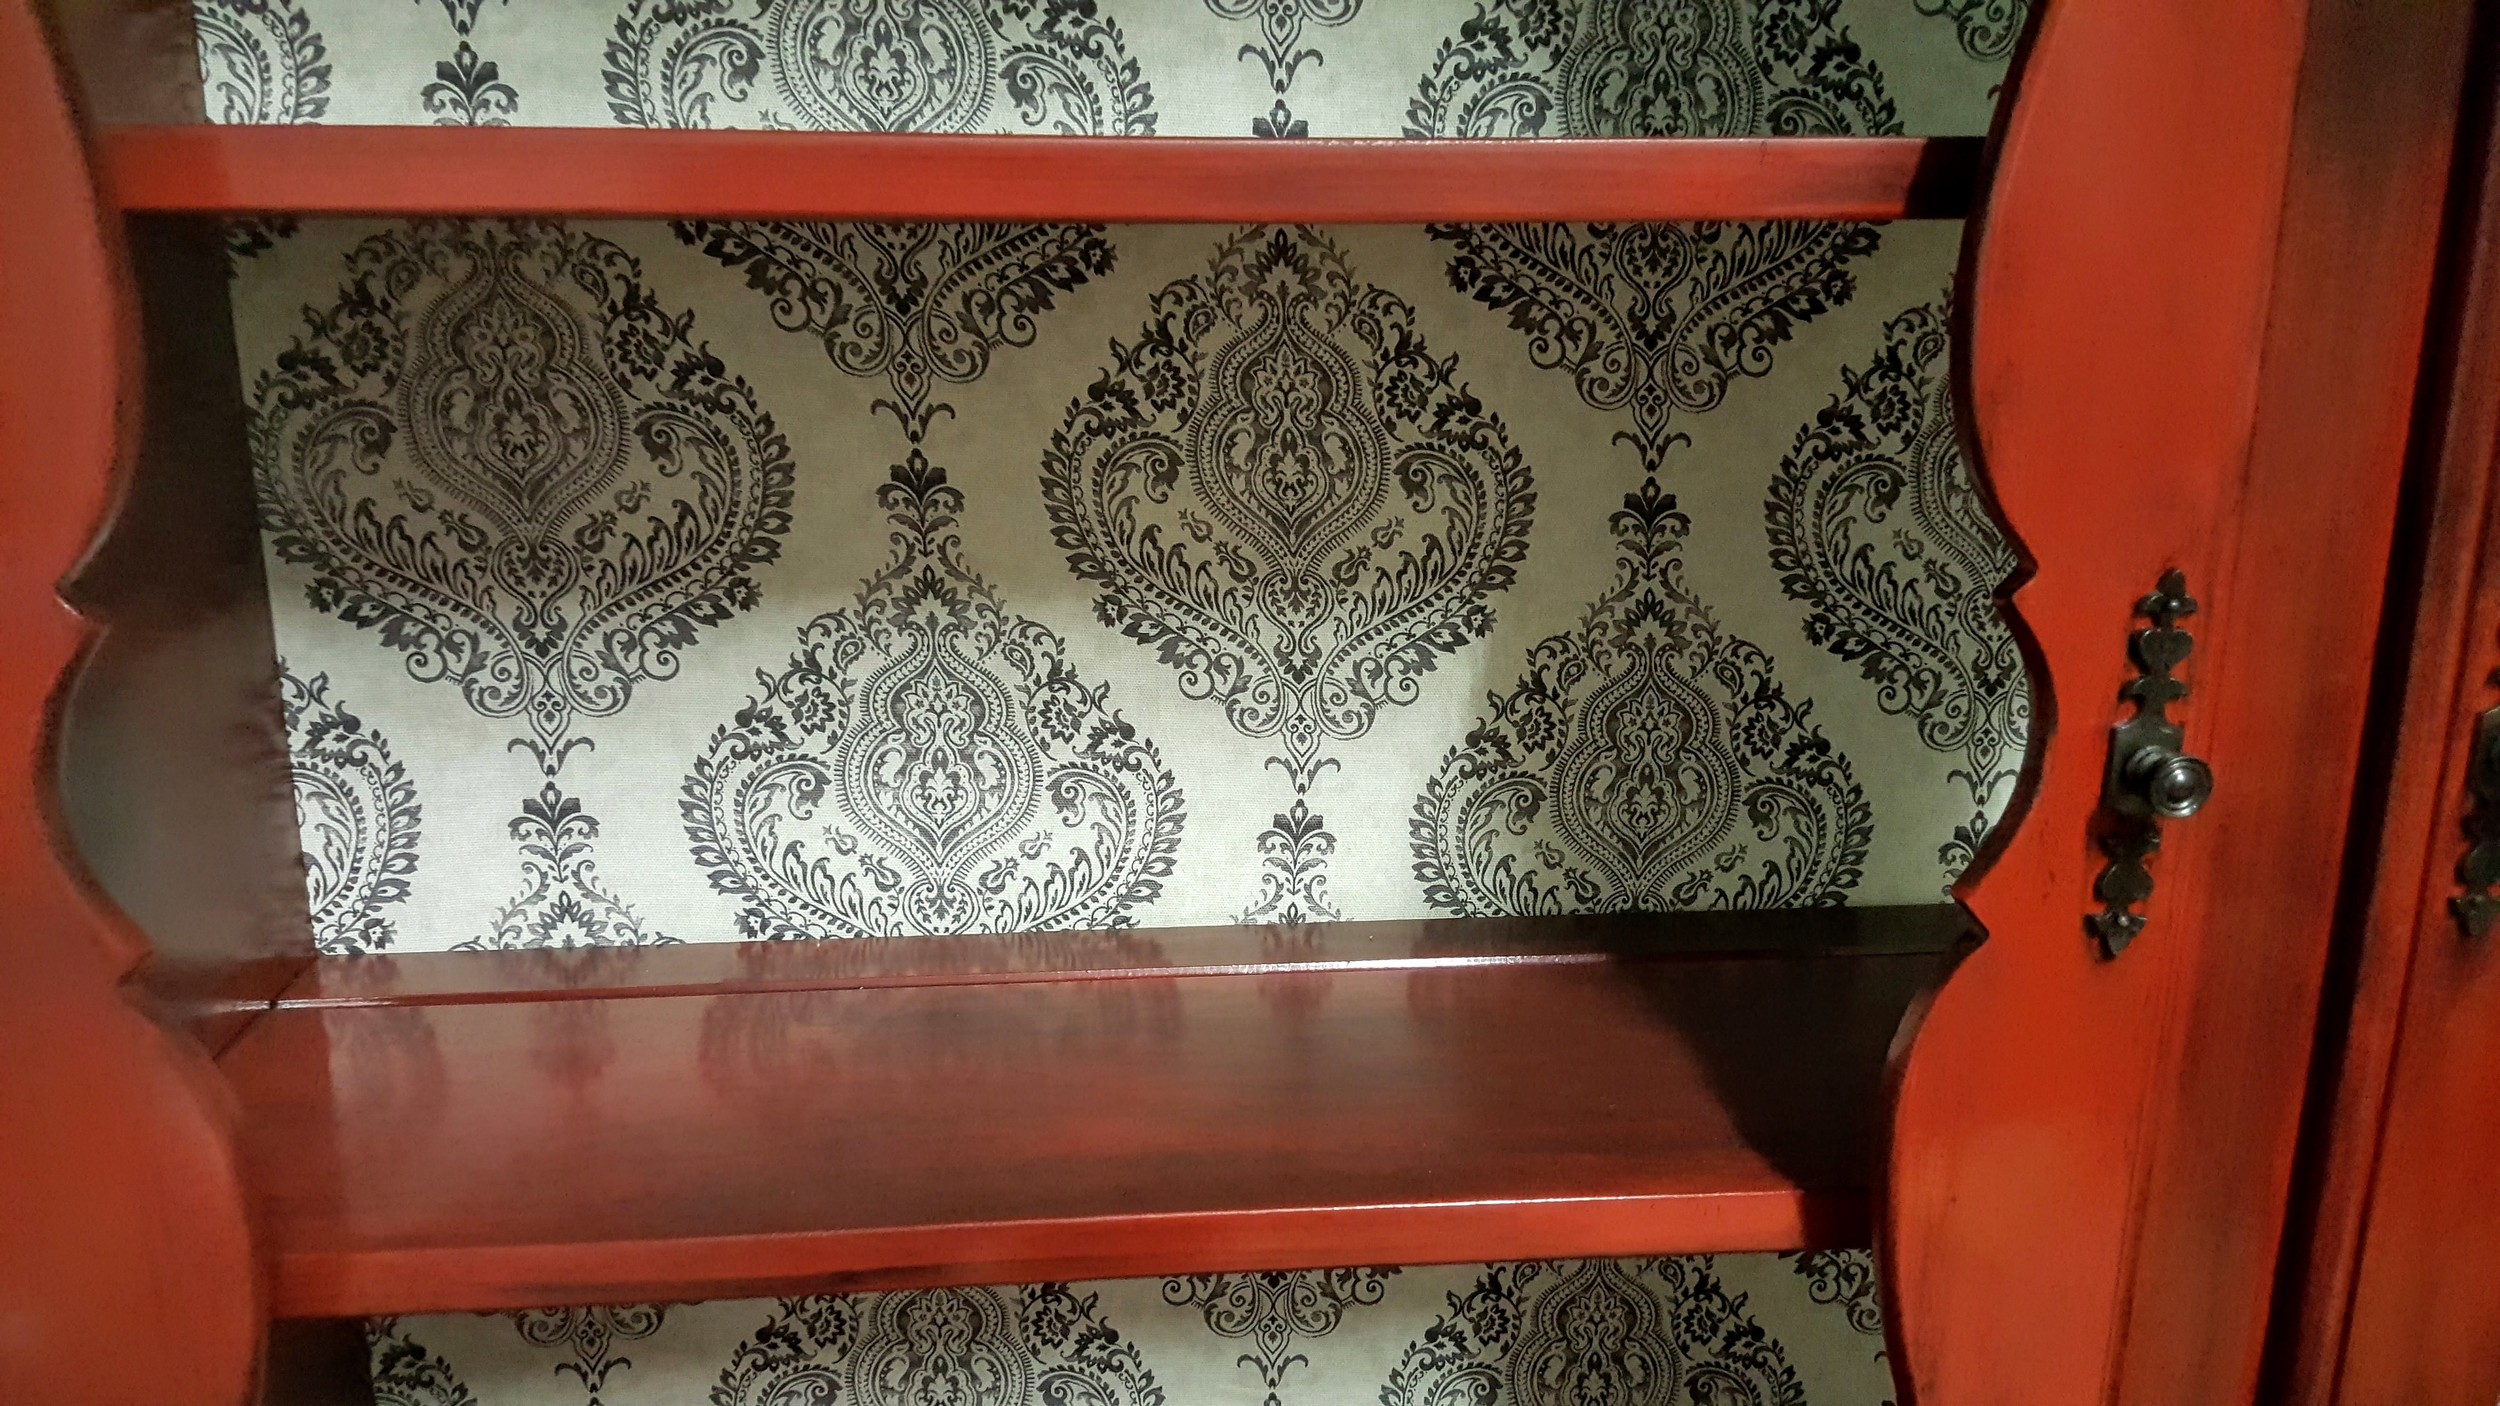
The before and after of this piece makes me super giddy. I knew I wanted to go with a bold color from jump and I also knew that I wanted it to look smooth like a showroom piece at Ethan Allen so I decided to spray paint it!
Steps to get a super smooth finish?
1. Vacuum and wipe down with a bit of dish liquid in a bucket of water. Don't wet it, mind you...but wipe it clean with a well-wrung towel. Use Goo Gone to remove anything sticky, hard or icky. Then...let it dry completely.
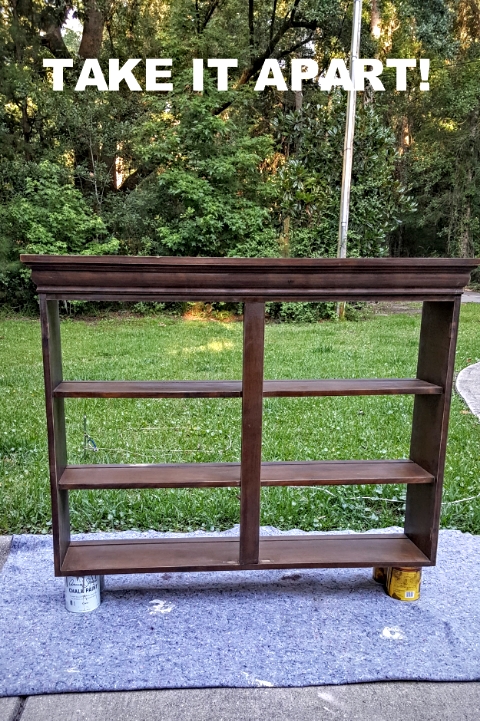
2. Take it apart. No...seriously...remove all screws, put hardware by type in Ziploc bags so you don't lose them and keep them together so you can get them ready to be painted too if you're using them. Take the back off carefully using a hammer, pliers and a flat tool. Either paint or add a piece of fabric using a spray adhesive as I did.
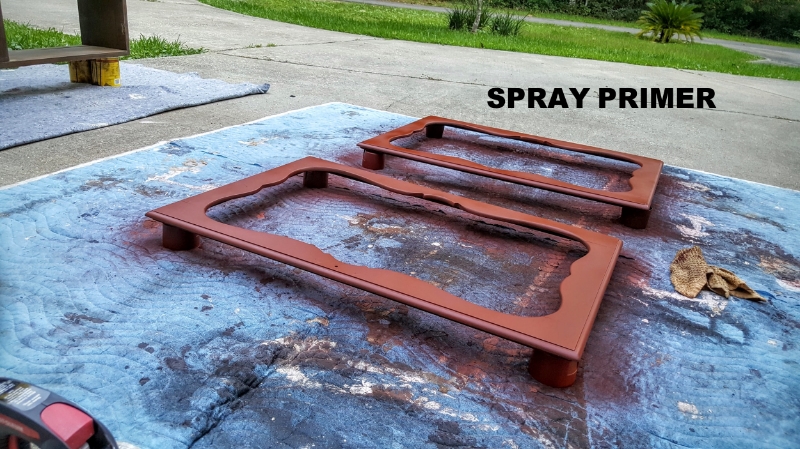
3. Use paint cans and spray paint tops to sit pieces on and sand. Wipe down with damp cloth and then prime after it dries. (I used a spray primer for red paint.)
4. One coat of primer on all pieces if you're using the same kind of 2x primer I used.
5. Let dry COMPLETELY. I didn't paint until the next day.
6. Spray paint using the spray paint handle so your finger doesn't get in the way or get tired from depressing that lil' thingy. You should have a good rhythm and method since you spray painted the primer on. Hold the can back far enough where you can do light sprays without paint runs. Just spray evenly and lightly. Follow the directions and apply your second coat when the can says to. LOL!
7. Remove rust with a rust remover, clean, dry and spray paint hardware. Let dry completely.
8. If you're going to add a glaze, as I did, do it the next day after the paint has dried completely and you've corrected any mistakes or paint drips. (Sand, wipe clean, repaint.) Glaze one section at a time so your glaze doesn't dry on you making it too dark in some areas. If you love the super shiny, super bright pop of color...don't glaze. For example...if I were to do a dresser or end table for a little girl's room in a pretty pink or raspberry I wouldn't glaze it. The color would just be so happy to me as is. LOL!
9. Let dry completely and add a coat of polycrylic to any part where you'd sit stuff on like shelves and the top of the bottom piece. This is just an added layer of protection. I actually used the spray polyurethane for the first time on this piece and I adore the satin finish it gave.
10. Put it back together. Add the hardware. Sit back and admire your handiwork with a smug smile knowing that BAAAAAAAAAABY! YOU DID THAT!


