Home Making

The Eating Holidays are Coming!!!!

Buffet 4.jpg

It's that time of year again when I want to completely redo everything to get ready for the holidays.  I just get into the thought process that people are coming so I need to be ready.  LOL!  Not like people aren't always visiting year 'round mind you.  Year 'round is okay for what it looks like...but when them SAME people come for the holidays it has to be mo'betta.  Don't ask for a rationale behind this way of thinking because there is none.  Seriously.  None.

But I know you probably feel me and are looking around your dining room to see what you need to do too.  LOL!  Cuz that's how we roll.

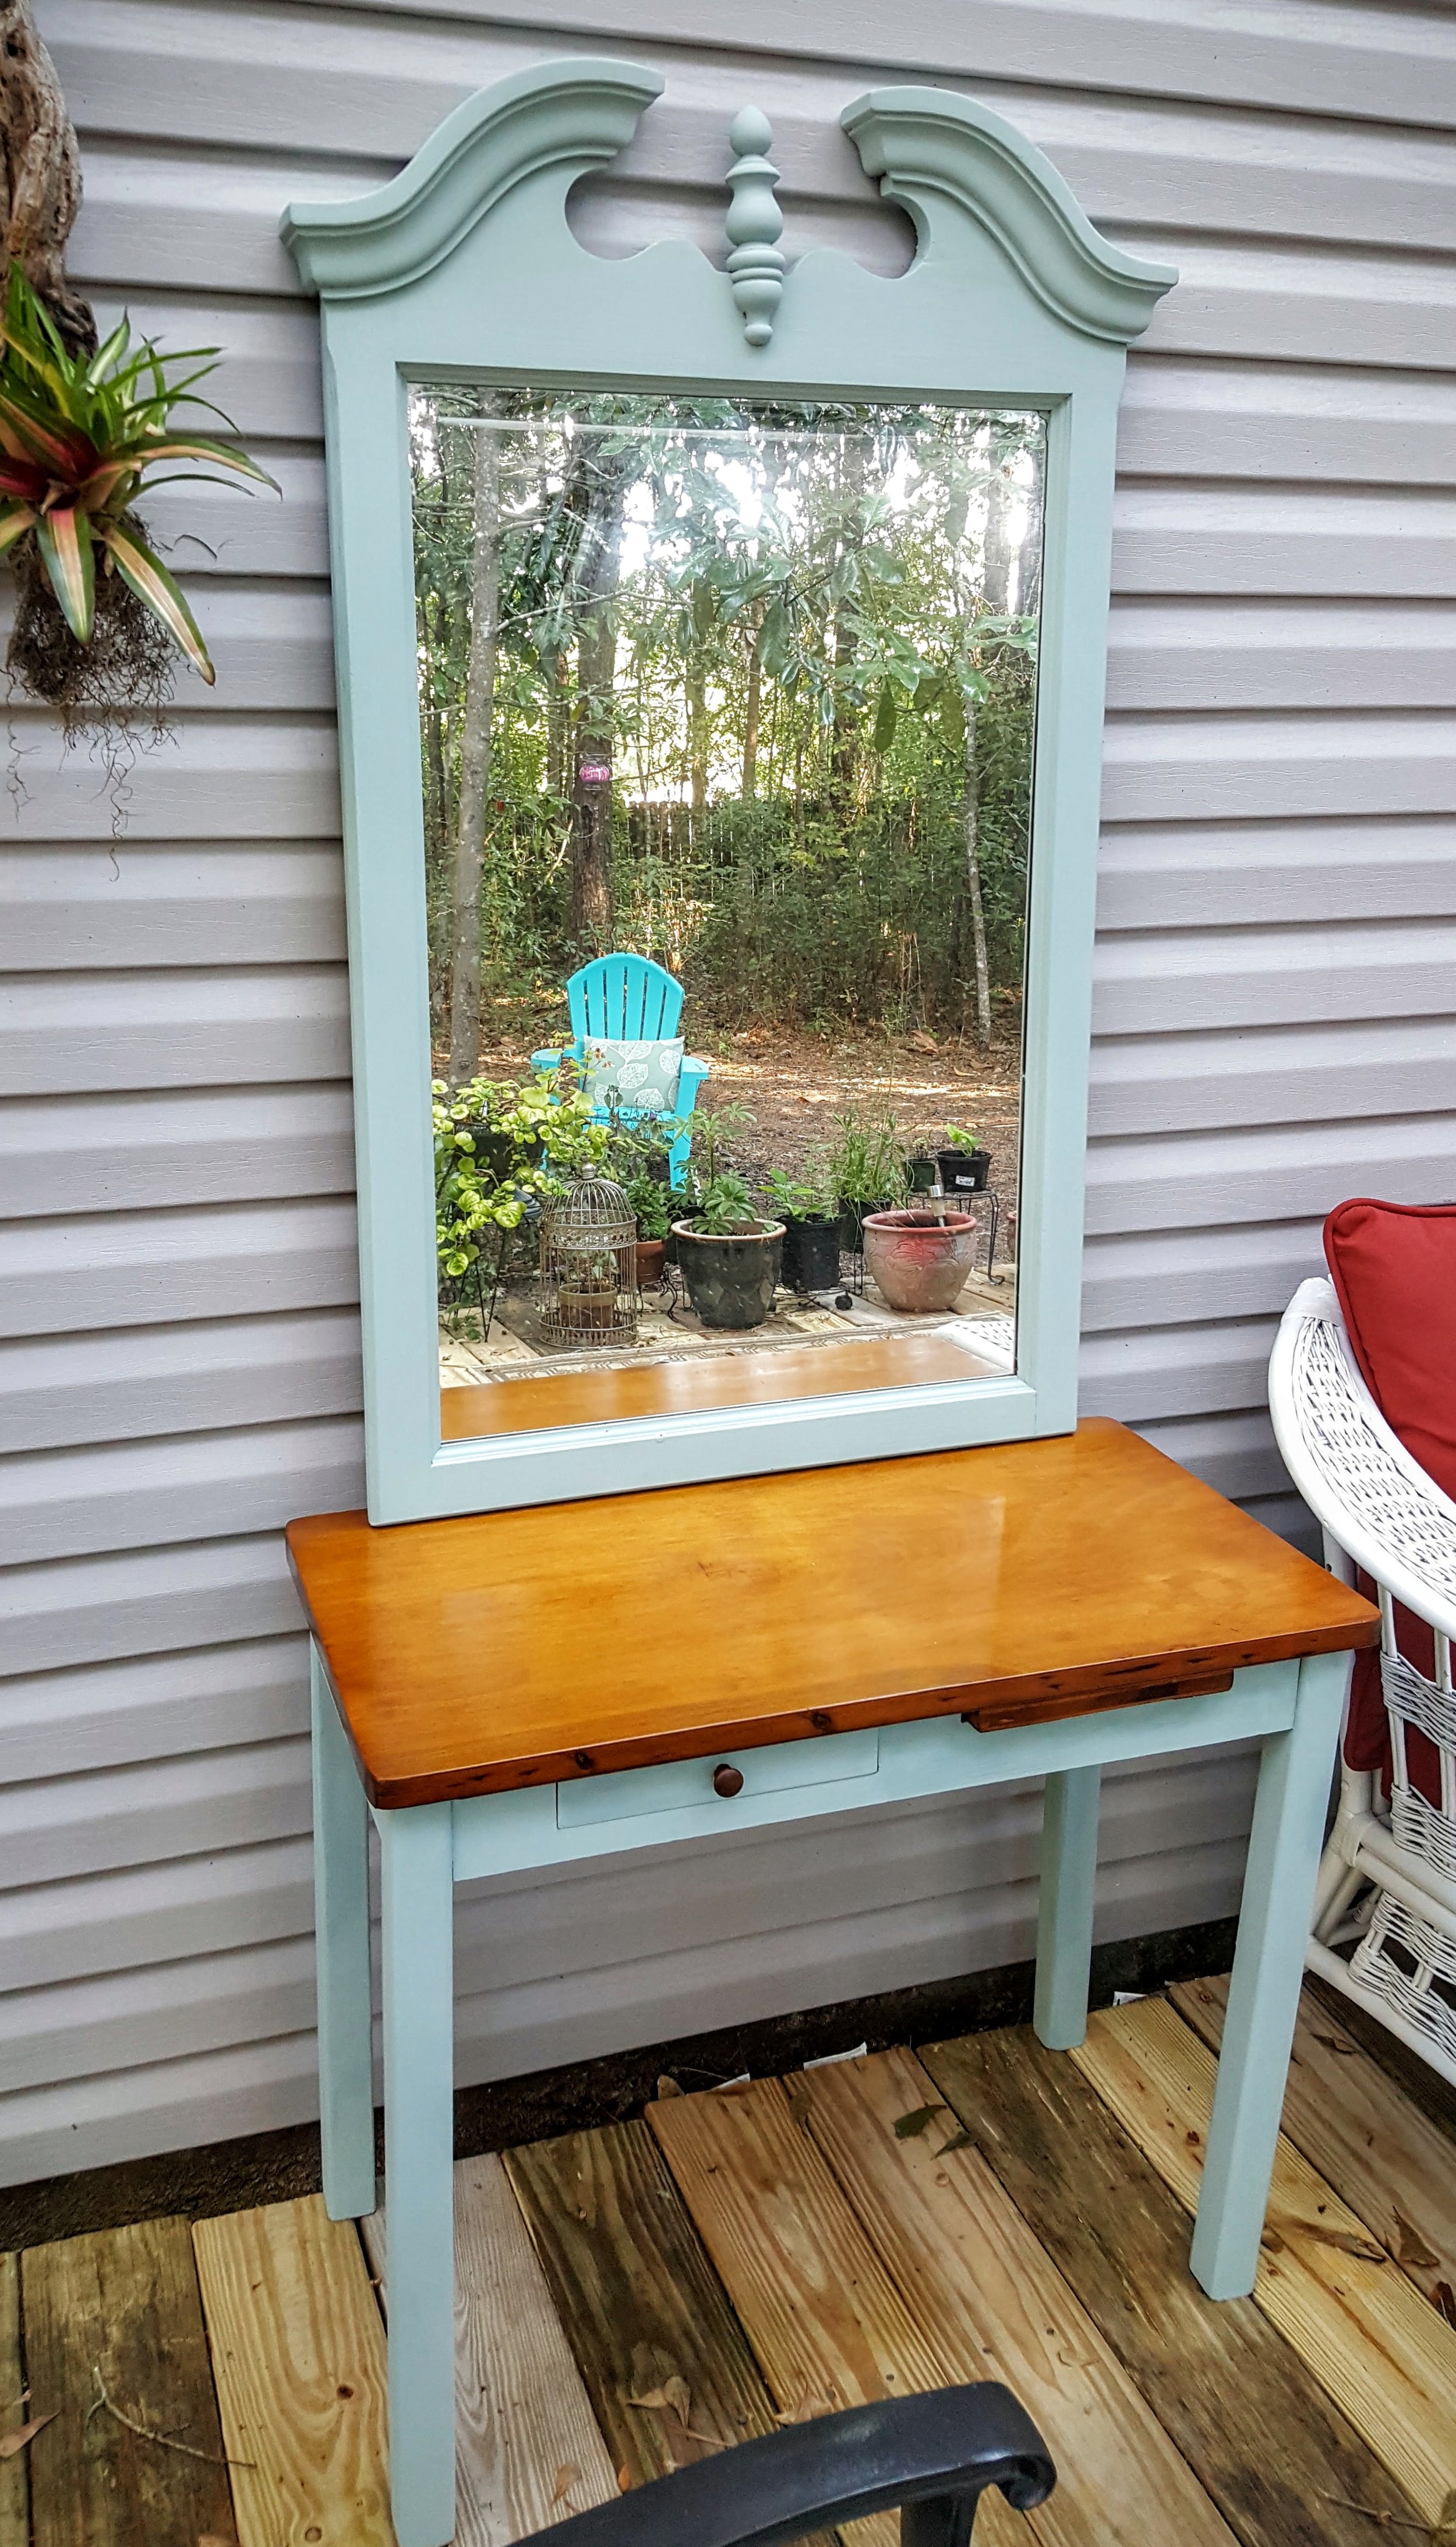
This starts with me bringing home this piece.  It was soooooooo heavy and we just loaded that sucker up any way we could.  Just slid it all cross the back of the truck.  We got it home and maneuvered it to the garage where it stayed while I worked on it.  It was a challenge because whenever I needed to move it, I couldn't without The Robinator and his schedule made that hard to be consistent.  But I finally finished it.

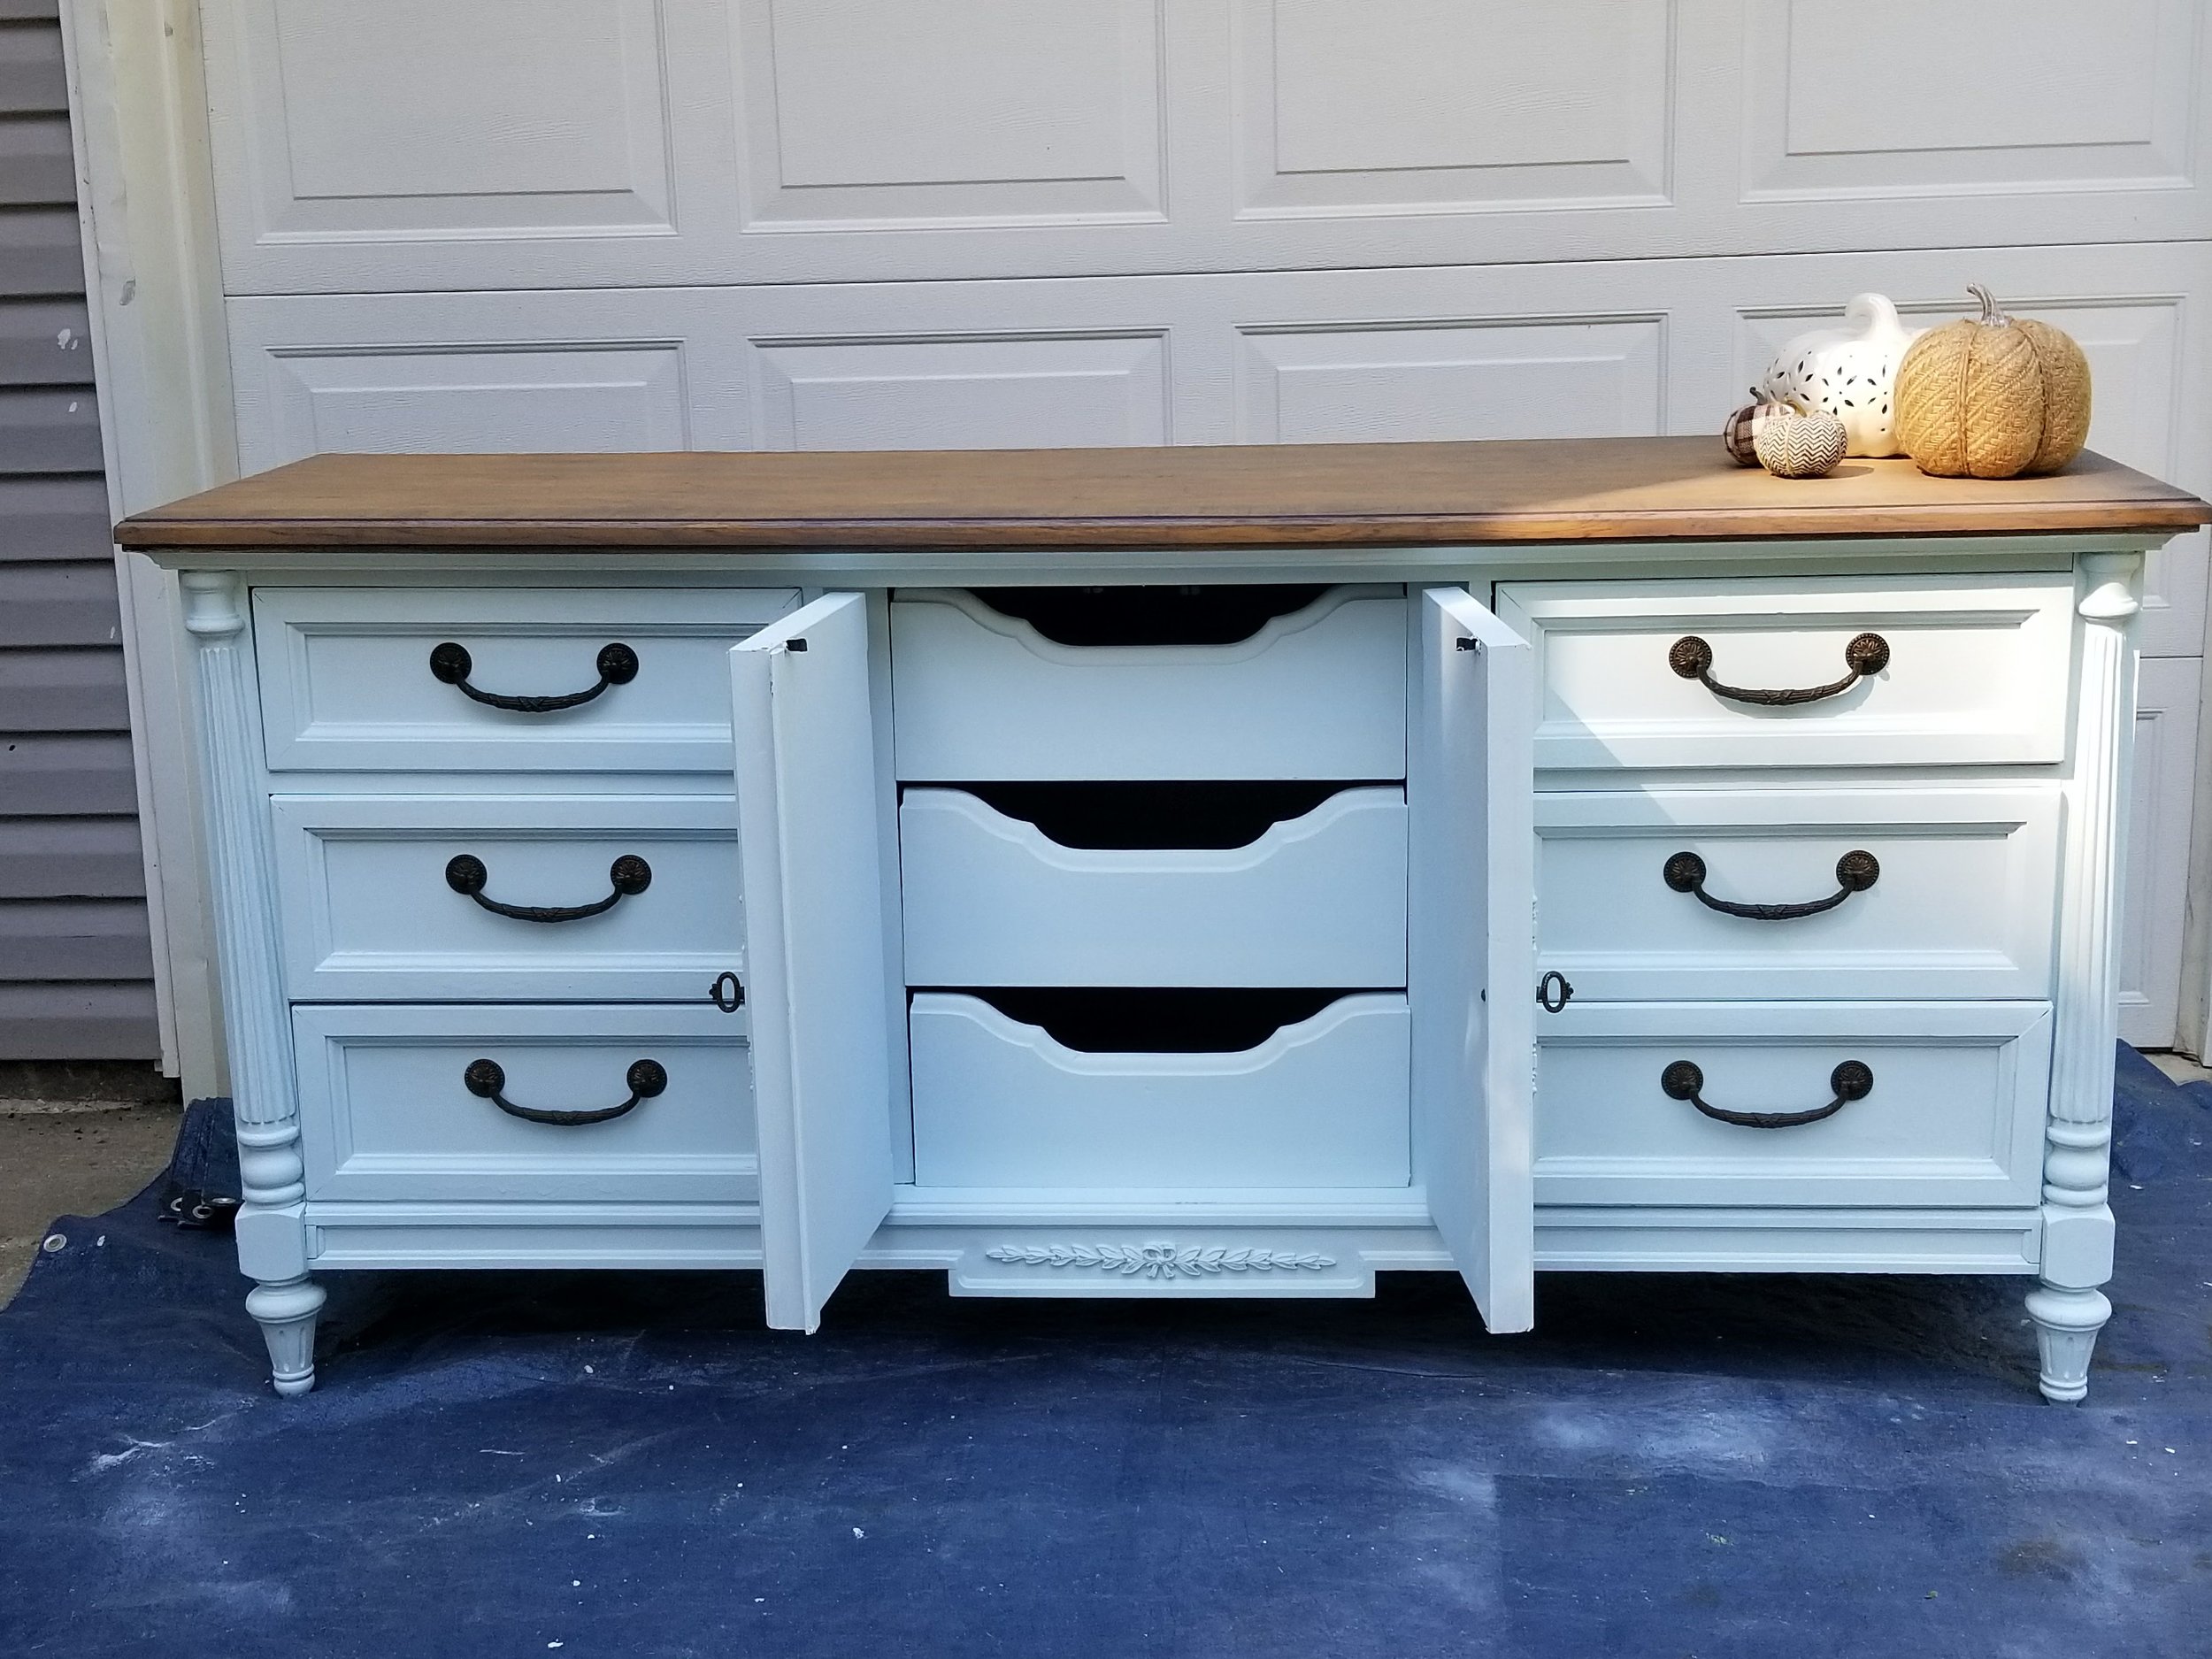
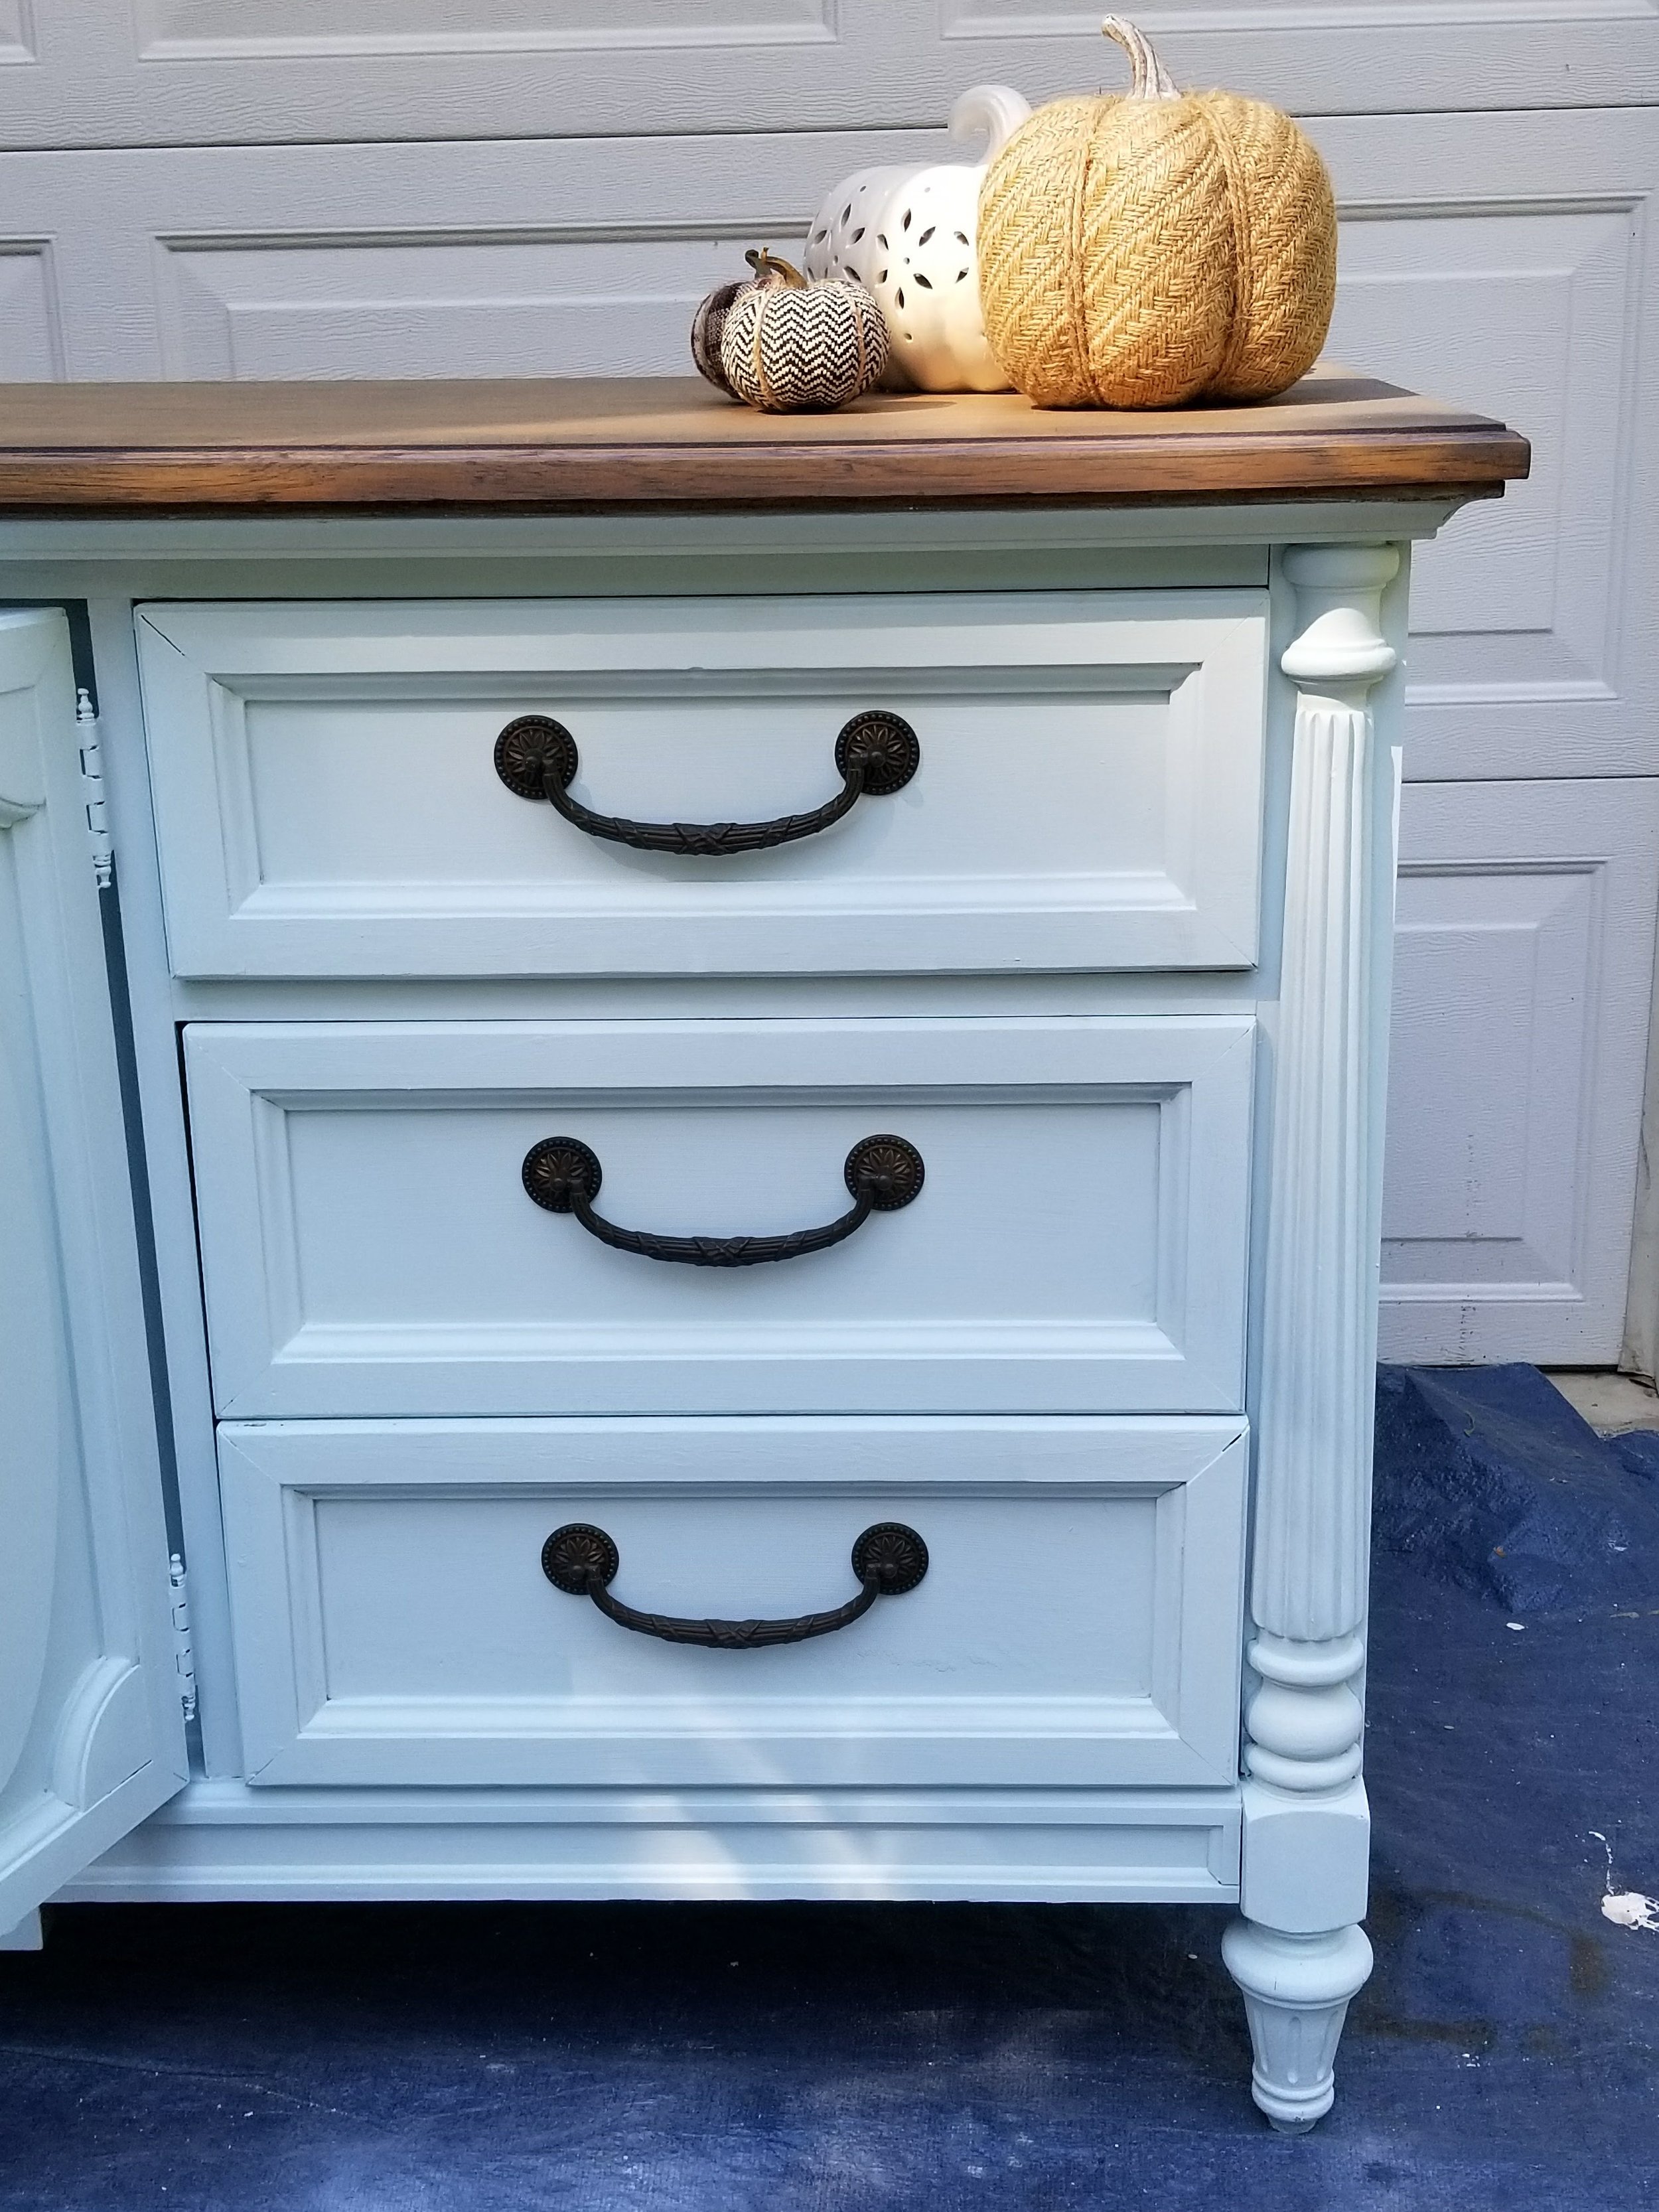
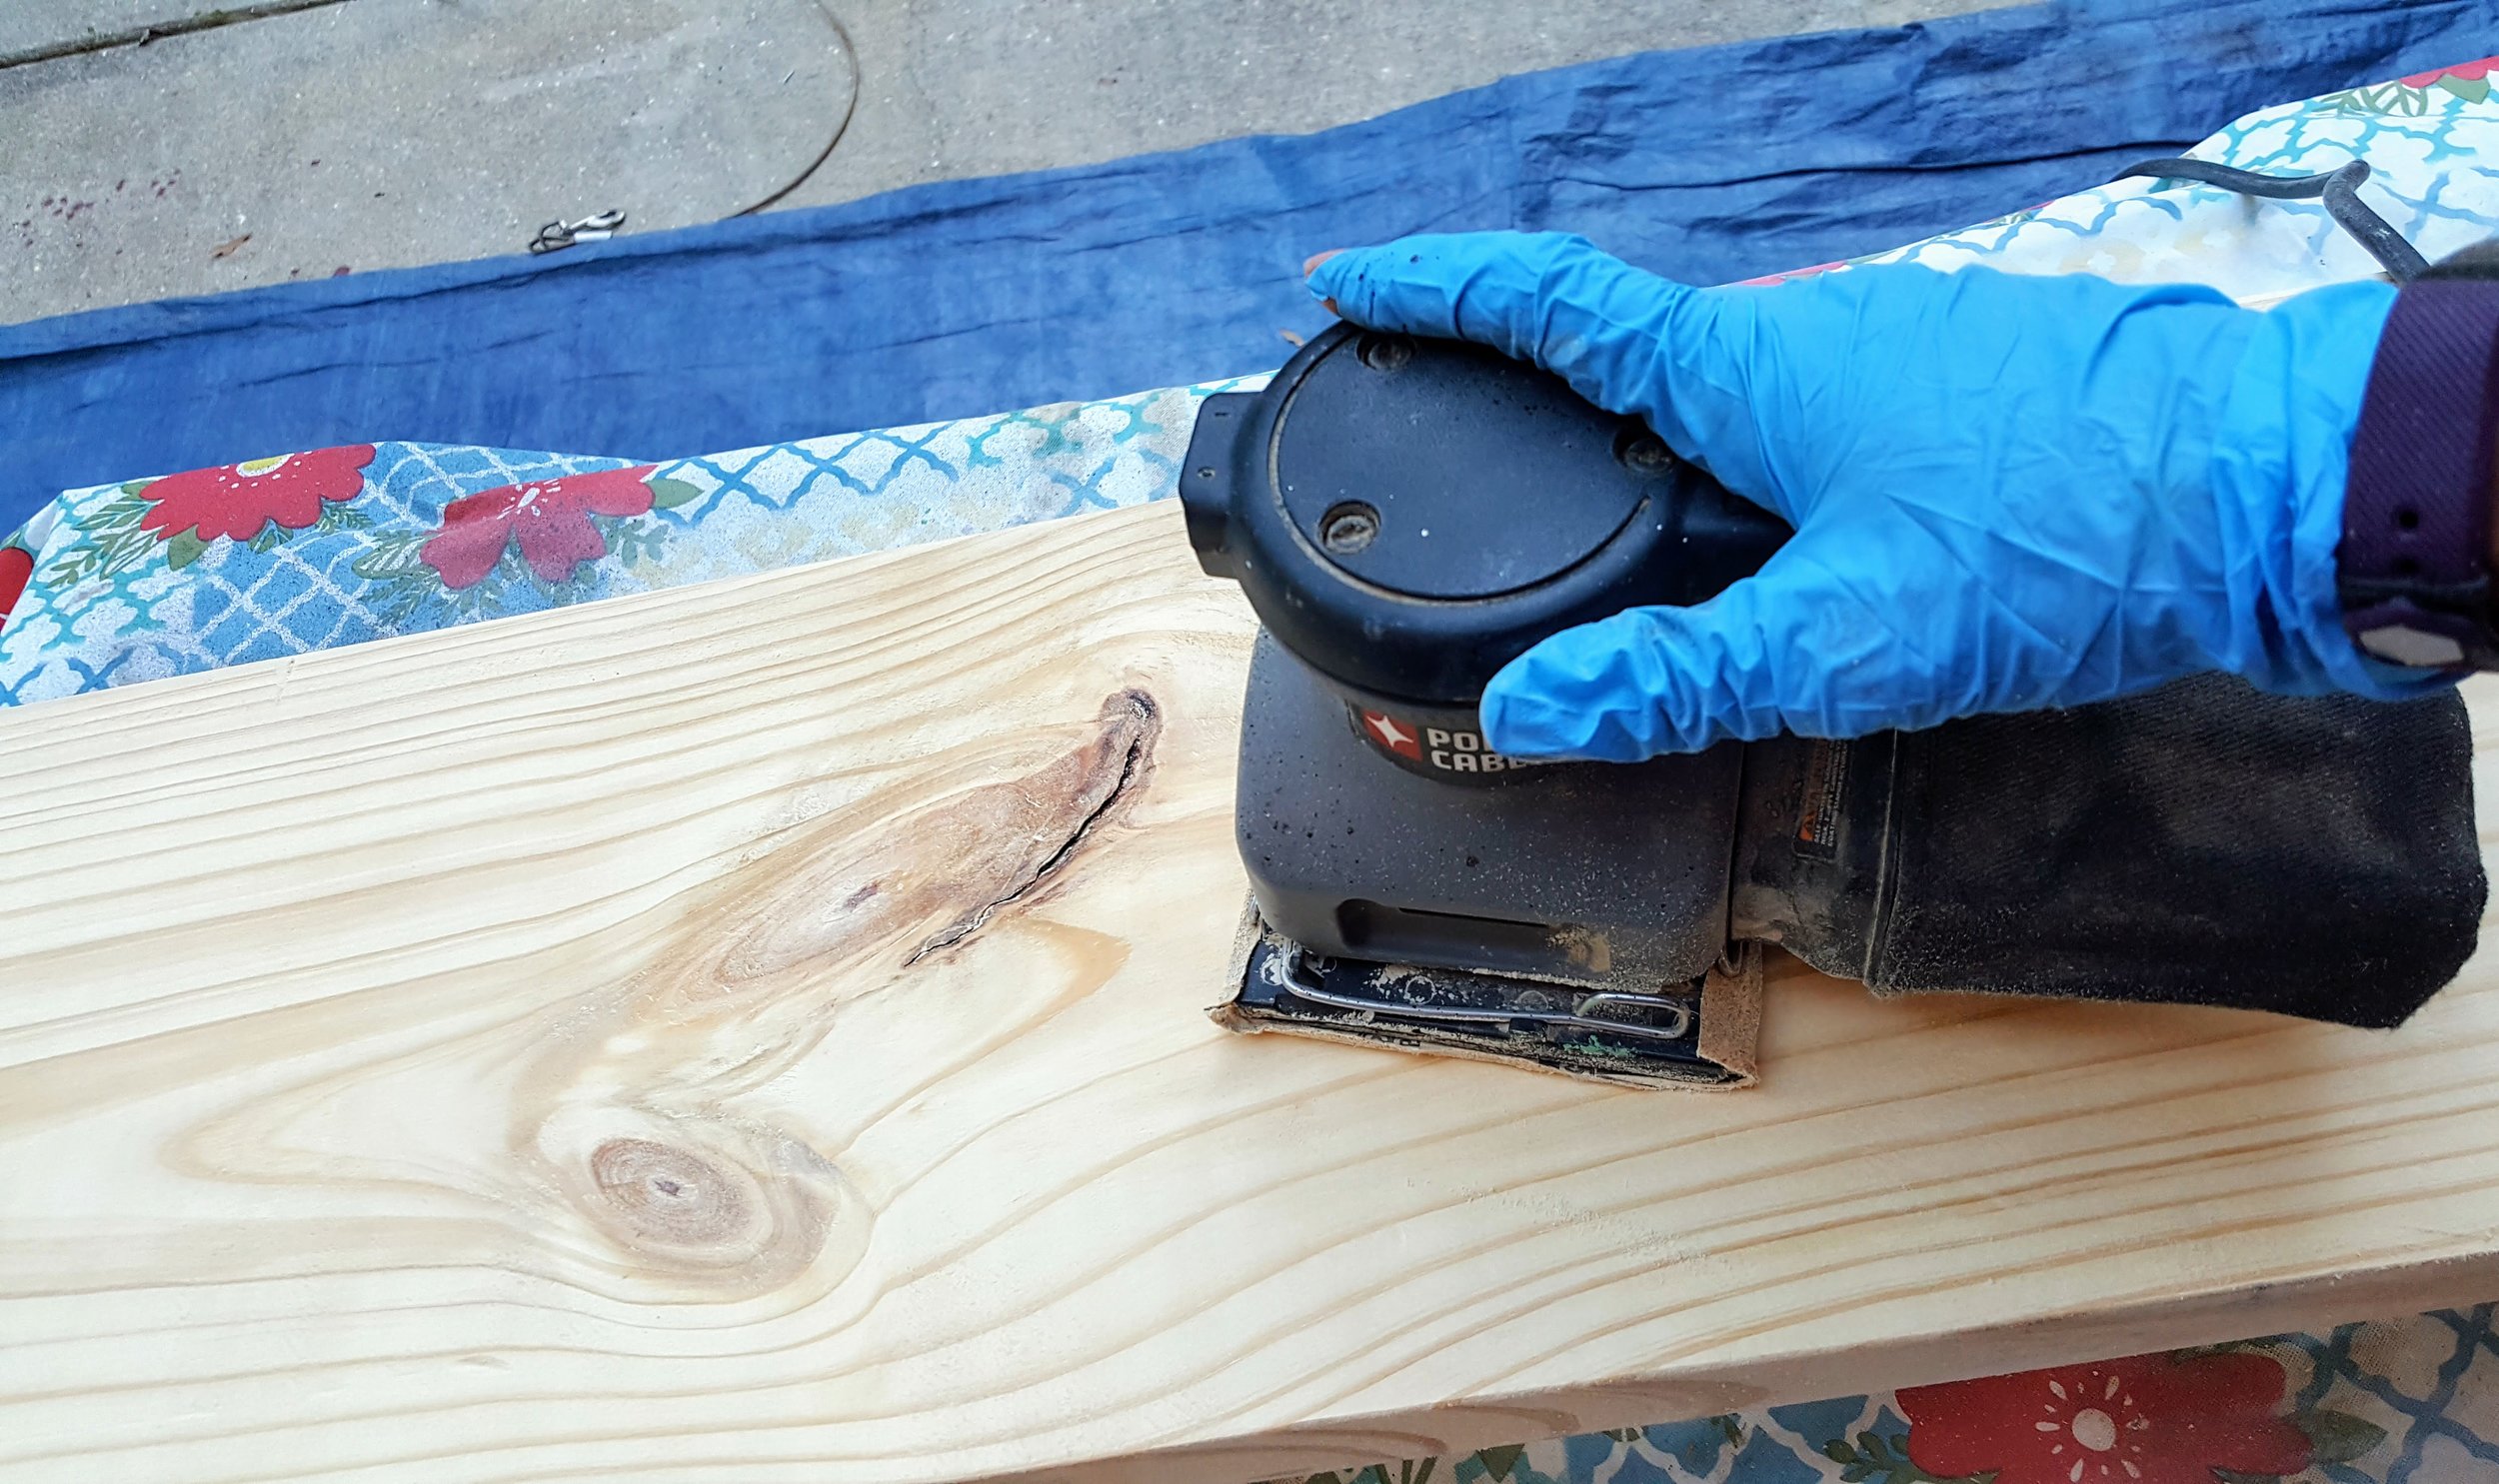
I stripped the top layer of the finish off and then lightly sanded it.  Then I put two coats of Minwax weathered grey stain on the top of it.  For the base, I painted it with Dixie Belle's Haint Blue.    It's the loveliest neutral color with just the tiniest bit of blue in it.  So much so that you only see it as blue in perfect lighting conditions.  LOL!  I'm talking blinds closed and ceiling light on.  Any other times it looks white.

Buffet 5.jpg

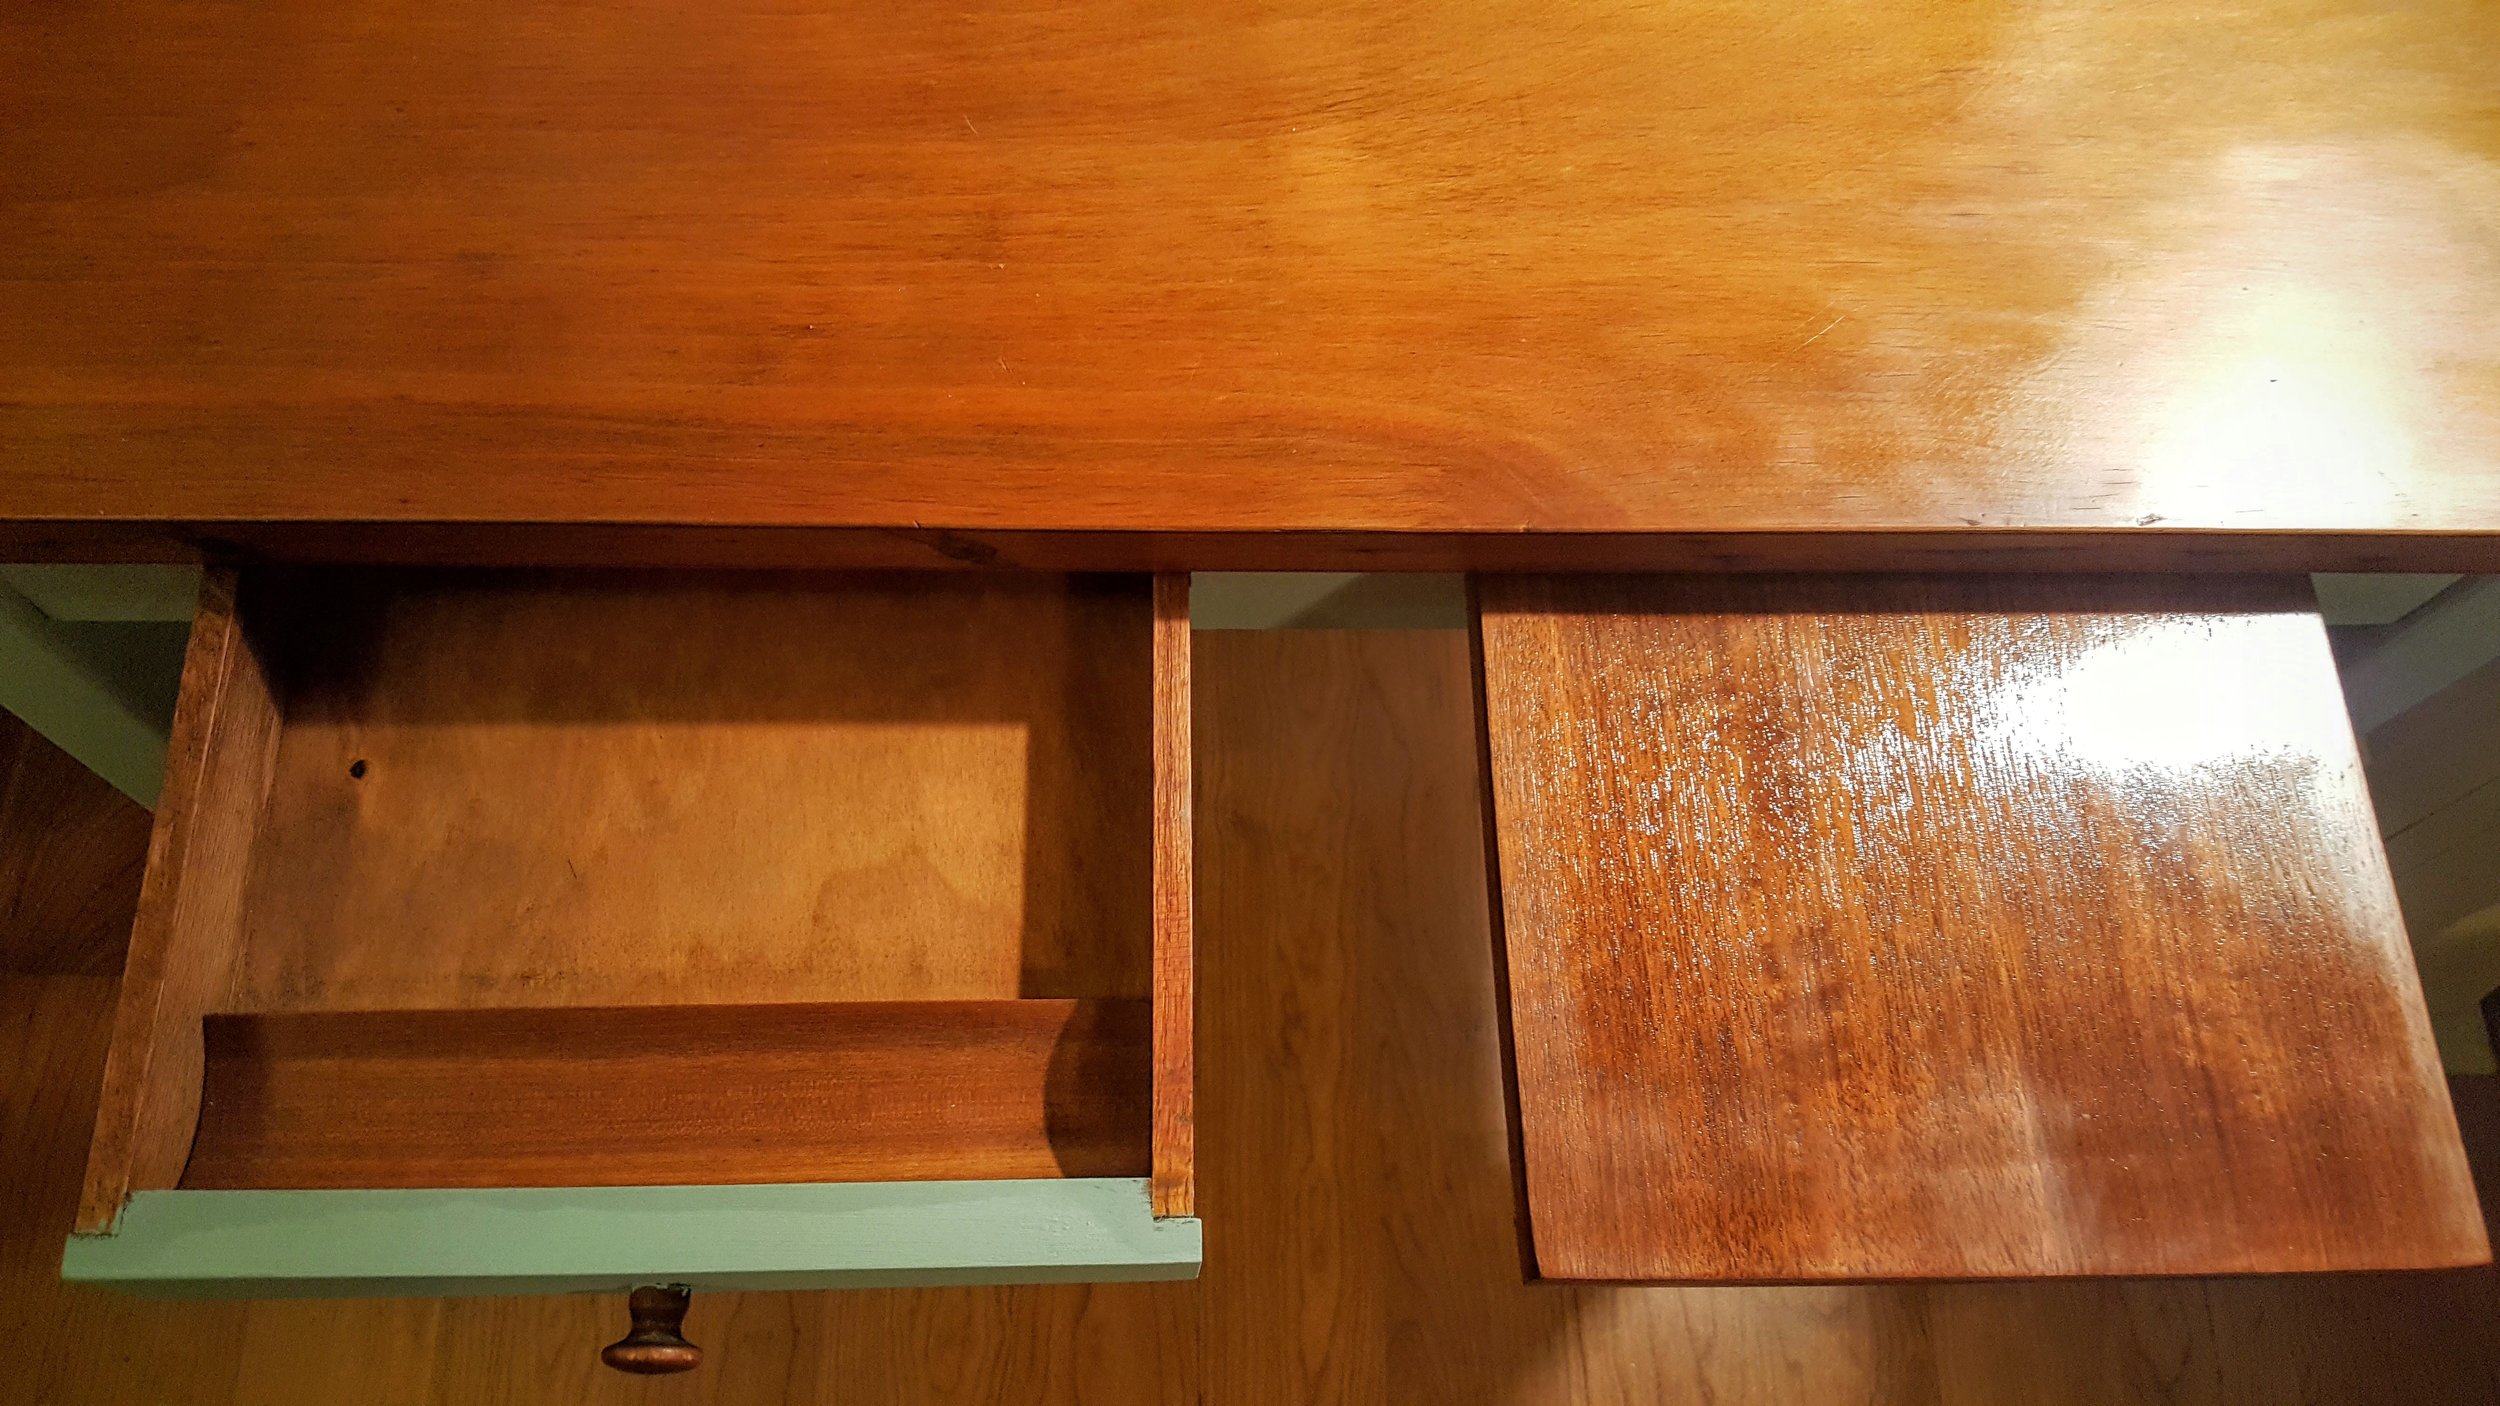
Because I'm going for a rustic farmhouse look in there, I distressed it lightly.  I only did that after we decided to keep it because it was too heavy to take it to my shop.  I mean...this thing is crazy heavy and we're just not built for moving stuff that can't get scratched up.  We're more of the college students you find on Craigslist kinda movers where we just pray for the best and get the worst possible outcome.  Who knew I needed so much additional storage though?  I certainly didn't and now, I have much more.  I have a whole drawer dedicated to linen napkins so I'm not scrambling looking for 8 that match and end up having to use two sets of 4.  *sigh*  And who knew I had enough small placecard holders and napkin rings to fill an entire drawer?  Not me that's for sure!  But I do.  LOL!  So yeah...next thing is to find a rug I can live with, get some cushions made for those two barrel back chairs and some kinda window treatments which don't make the room feel stuffy and I'll be ready for the eating holidays!

DIY Rustic 6ft. Pipe Shelf

Our sofa isn't against the wall and there is a pretty good bit of space between the sofa and the wall so I decided I wanted to put a 6ft. long shelf back there under the mirror I have there currently.  (Totally plan on replacing the mirror soon for something much larger.) I'd posted a pin to Pinterest a long time ago showing a shelf made out of pipe flanges and pipes with wood and finally decided to make one.

So...off to Lowes I go to buy two pipe flanges (1/2"), two 10" pipe nipples (1/2"), two pipe end caps (1/2") and an 8ft. long 2" x 10" board that I had them cut 6ft. off.  

When I got home, I sanded the board and stained it with Minwax Dark Walnut stain.  Robby installed the pipe flanges on the wall using sheetrock anchors and the shelf fit perfectly between the flange and the end cap.  I used a sharpie to color in the head of the screws so it blended with the flanges better.  

I'm only using it for decorative purposes so I wasn't really worried about it being knocked off the pipes.  If this is a concern of yours, ask Mr. Google for solutions as there are plenty.

I like it and I'm going to make a wall of them soon, shorter ones though.  Probably three of them about 3ft. each.

DIY Blanket / Throw Ladder Pottery Barn Inspired

You, like me, probably have a blanket tossed across the back of your sofa or folded over an arm.  I was in Waco, TX at Chip and Joanna Gaines' store and my friend was looking for a blanket ladder.  When I saw the one she was buying, it was cute, but I was honestly thinking to myself...I could make something like that.

So I did.

And you can too!  Promises.

I went to Lowe's and bought two 8ft. long 2" x 2" for $1.98 each and had them cut 5ft. off each one and then cut the remaining pieces in half.  This way, you will leave with two 5ft. pieces and four 18" pieces.

Then...you get a box of self-boring wood screws, some sand paper and wood stain in the color you want.

So...I got home and laid out my pieces.  I wanted to be able to use the last rung so I made the measuring points begin at 6" and then every 12" after that so that there was 18" clearance at the bottom.  

I used a bit of wood glue on the joints because I wanted to make sure they didn't move.

Once you get it all put together, sand it as smooth as possible and then stain apply the stain you chose.  I did some in Minwax Dark Walnut and some in Minwax Golden Oak.  Seems everyone in my family wanted one once they saw mine.  *sigh* I put felt pads at the top of the back of them so they don't scratch the walls.  

I'm thinking about making one for the guest bathroom to put over the toilet to use for towels.  If I do that, I'll seal it with a waterproof clearcoat.  

Cool right?

I'll tell you what else was cool.  When I saw how much these cost on the Pottery Barn website knowing how much it cost me to make my own!  Pottery Barn Blanket Ladder 

Me make stuff.  You can make stuff too!  GO YOU!

Depression Protection: Small Vintage Writing Desk Paired With Mirror

I found this small writing desk and thought how nice it would be in a guest bedroom where you don't have a lot of space for a real desk but would like to have something in there for your guests to do some work if they have to.  As I was working on it, I remembered a mirror I bought but didn't use in my mirror gallery.  The mirror was just hanging out in the garage behind some stuff so I pulled it out and coordinated the paint with the desk.  I chose Annie Sloan Duck Egg just to have a pop of color in the space it lands.

I have to say...it is super dooper cute now!

The desk has a small drawer for note cards and pens/pencils and a little pullout shelf in case you need a bit more space.  It's pretty perfect and now I'm wondering, as always, do I take it to my shop or do I put it in one of the guest bedrooms?  Hmmmmmmm...

LOL!

I used Howard Golden Oak Restor-A-Finish followed with Howard Feed-N-Wax on the top, drawer and shelf.  It makes it really pretty.  

I know you're saying to yourself...Monnie is always doing something and to that I say...I have to.  I absolutely, 100%, always have to be doing something and if I can't do what I truly WANT to do (make my own movies), then I guess it's cool having a hobby that can consume major blocks of time so you don't sink too far into yourself and get lost swimming around searching for shit you don't even know how to recognize.  I mean...I know that happens to some people and that it is just the way life goes but I'm pretty happy knowing that all I have to do is DO SOMETHING and I don't get too low in my the spirits.

And I do get low.  Very low.  Shit...how could I not sometimes?  

But only sometimes.  You can't let that mess become a habit.

Go do something okay?  DO.SOMETHING.  And it's perfectly okay if it's something you've never done before.  In fact...that's even better.  Having your brain consumed with a project and moving is a good thing.  When the noise gets to be too loud...go do something.  It is a for real solution.

Make Wood Wall Art Out of Anything Paper With Modge Podge!

20160928_132616.jpg

Step 1:  I wanted it to look old so I beat up a piece of wood I had from a shelf that I built with a hammer.

Step 2:  Sand it all over so you don't have splinters.

Step 3:  Stain.

Step 4:  Paint with Modge Podge.

Step 5:  Add paper items.

Step 6.  Let dry for 15 minutes.

Step 7:  Paint over whole thing with Modge Podge.

Step 8:  Cover with a clear satin topcoat for protection.

Step 9:  Let dry overnight.

Step 10:  Add sawtooth hangers to back.

Me likey.  I love how it looks really old.  

Have you ever done a Modge Podge project?  What was it?