DIY

1940s Double Glass Door Bookcase

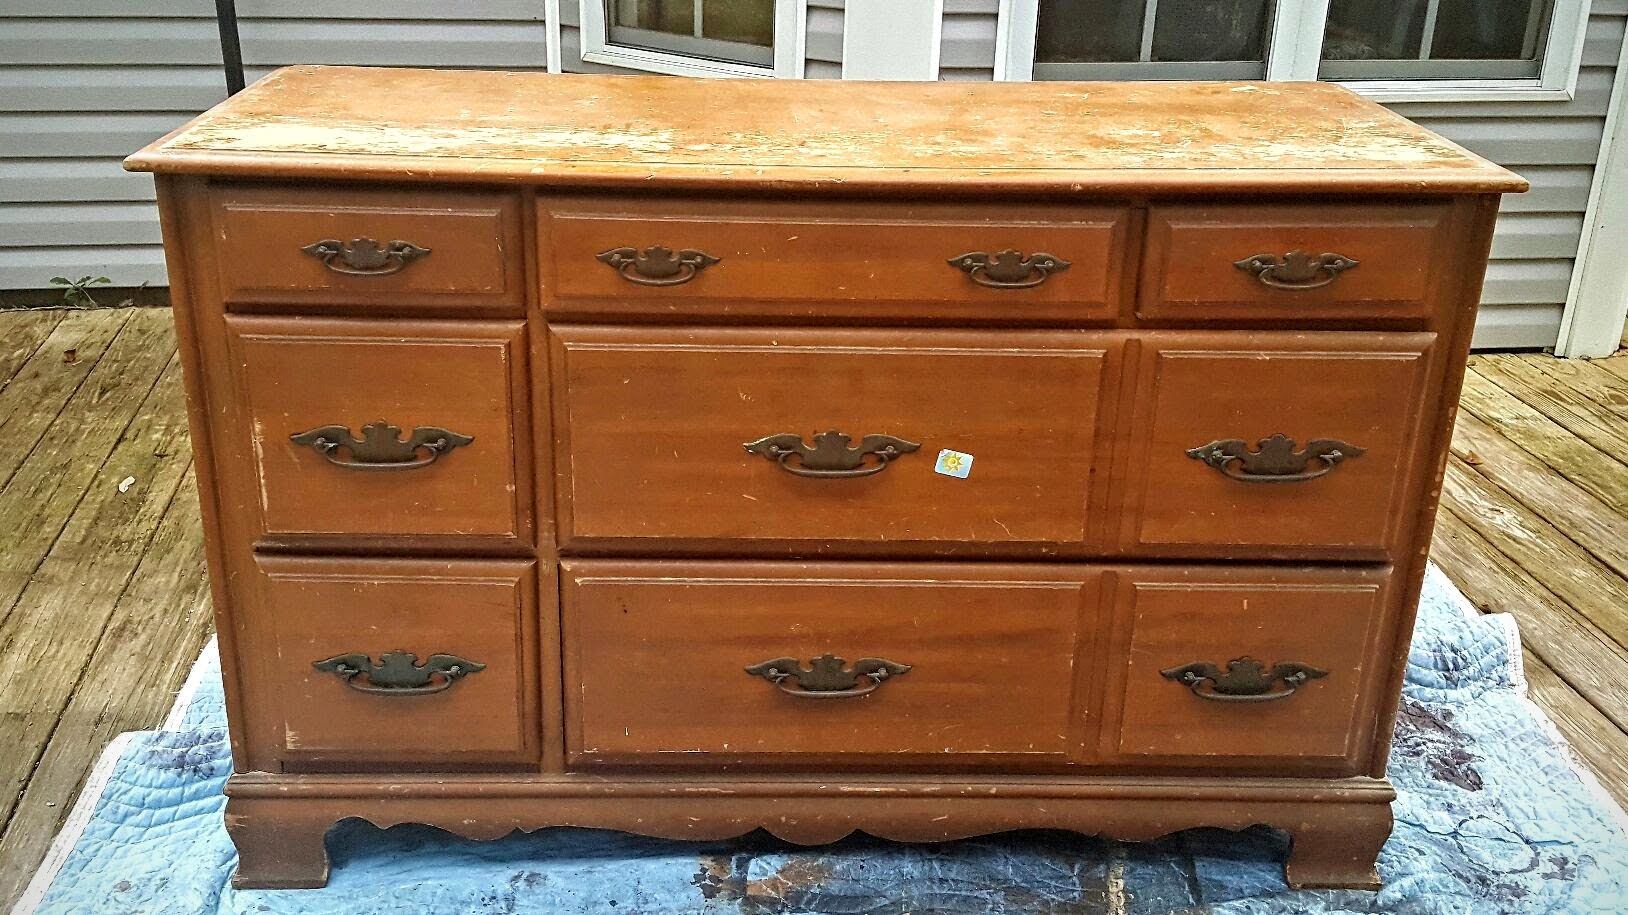
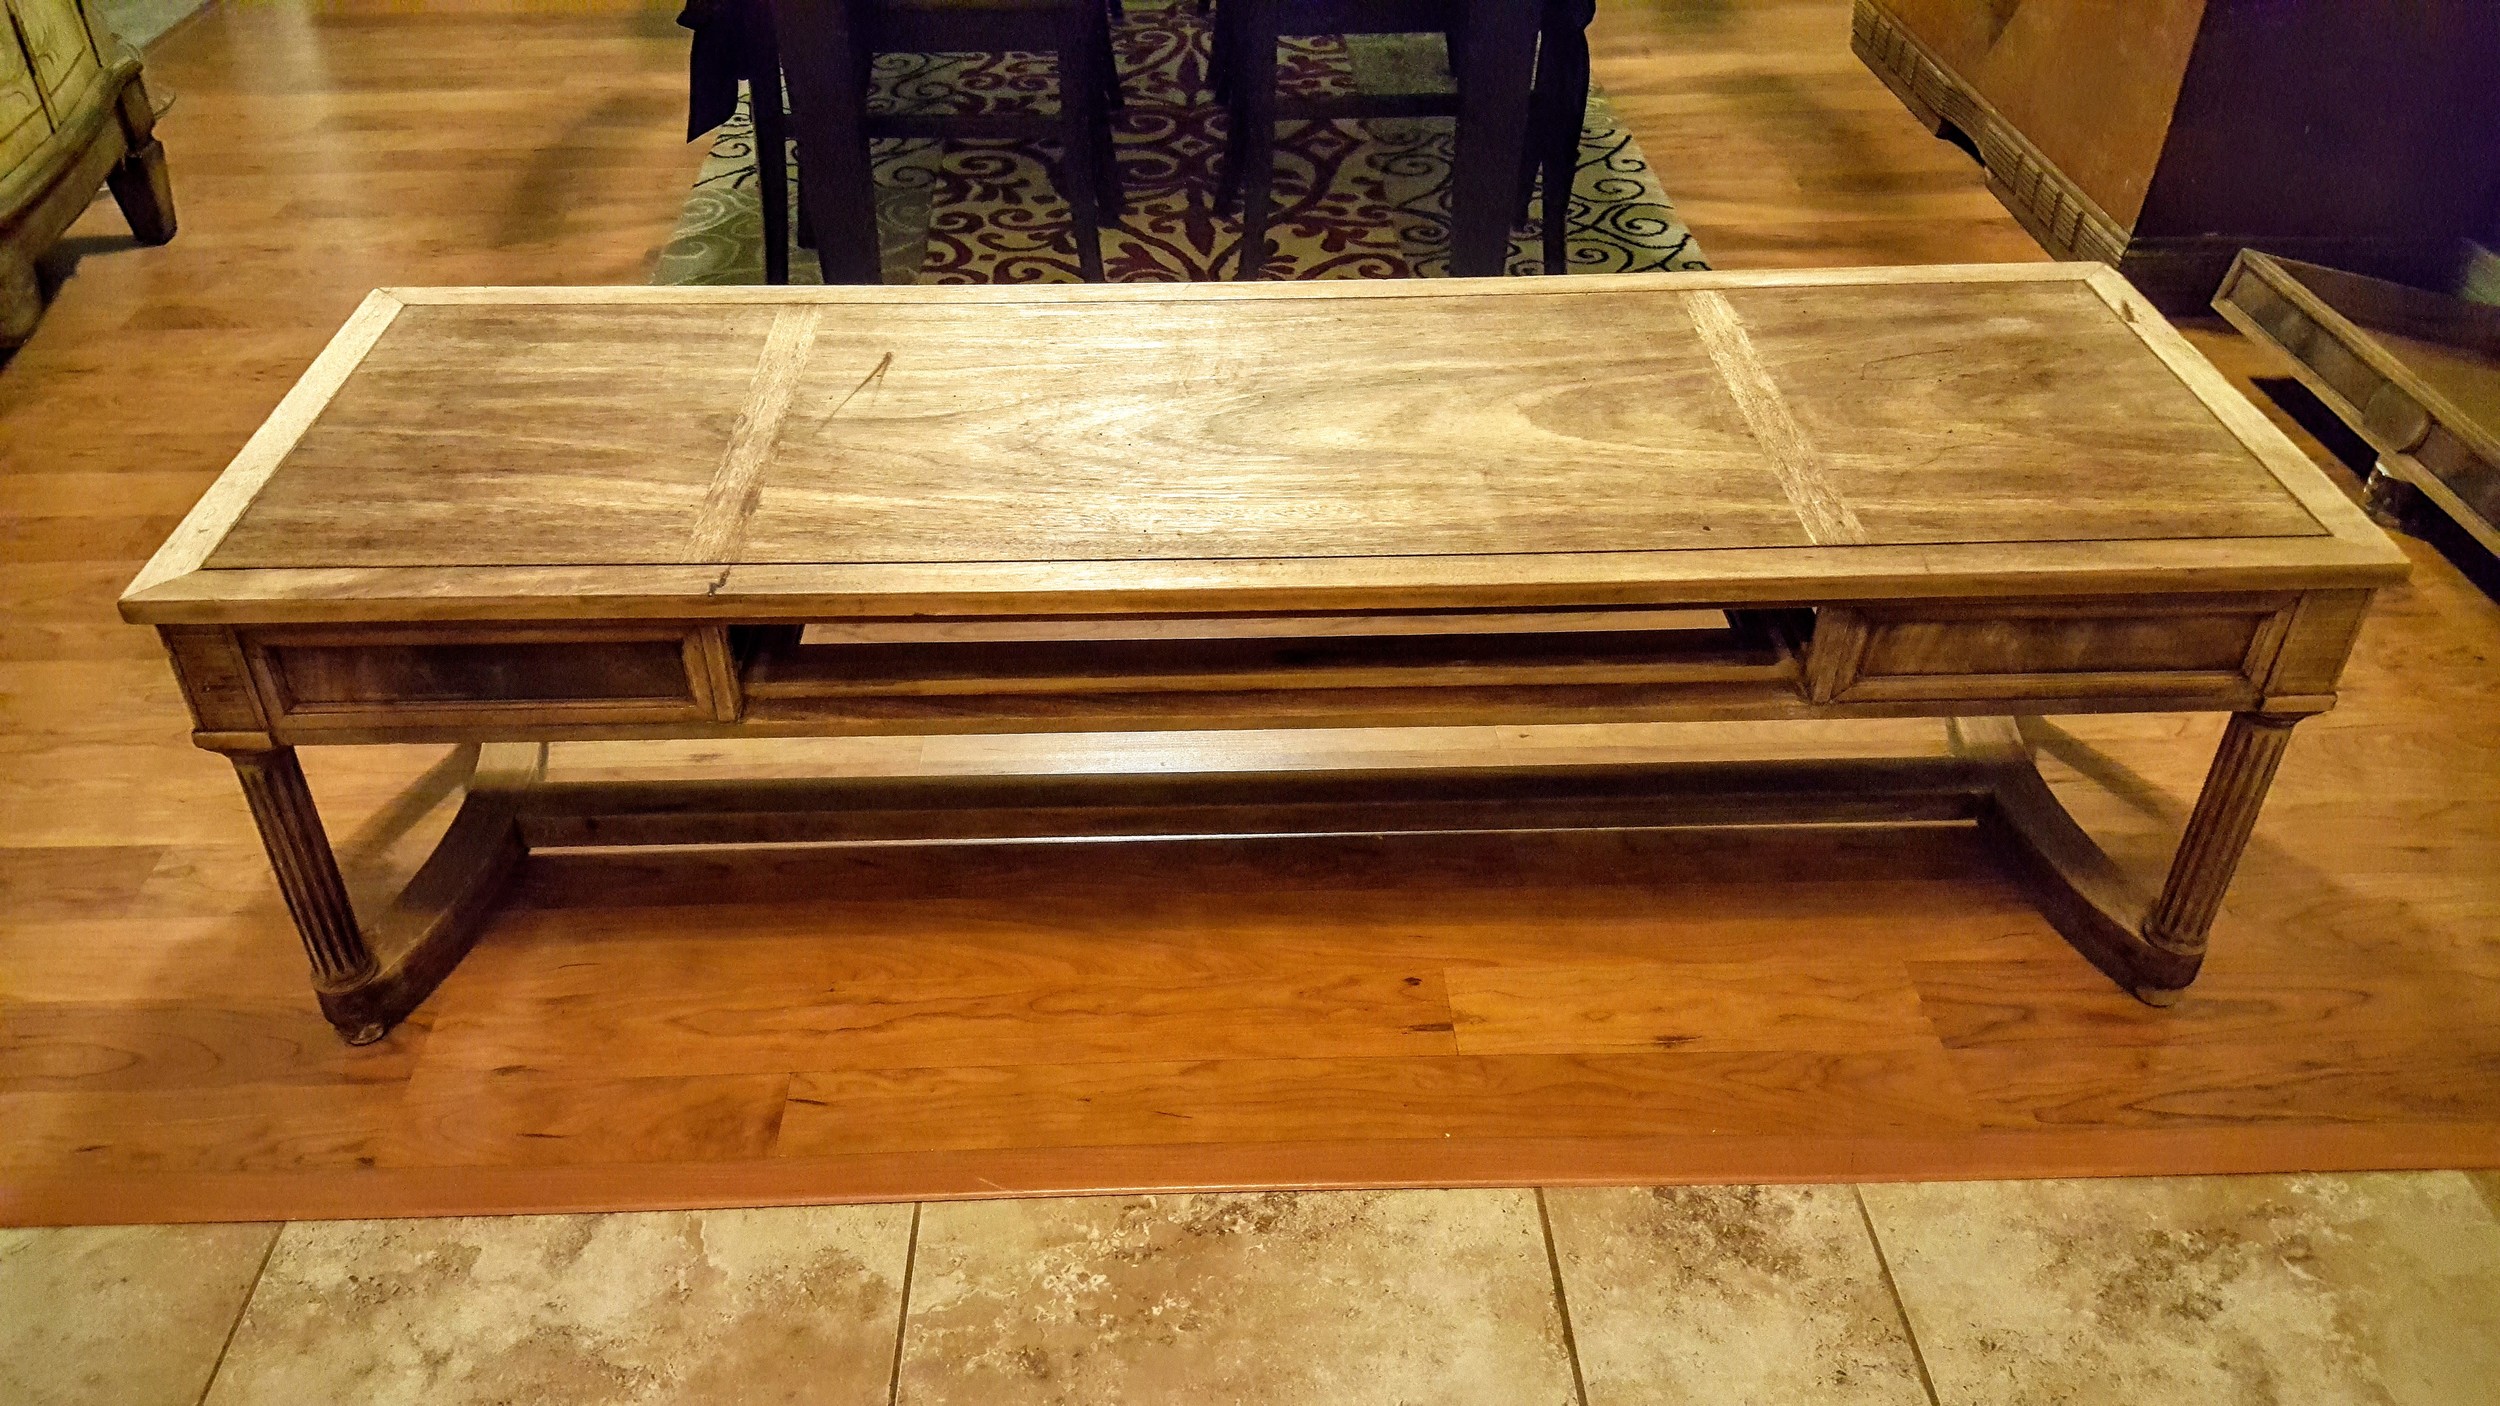
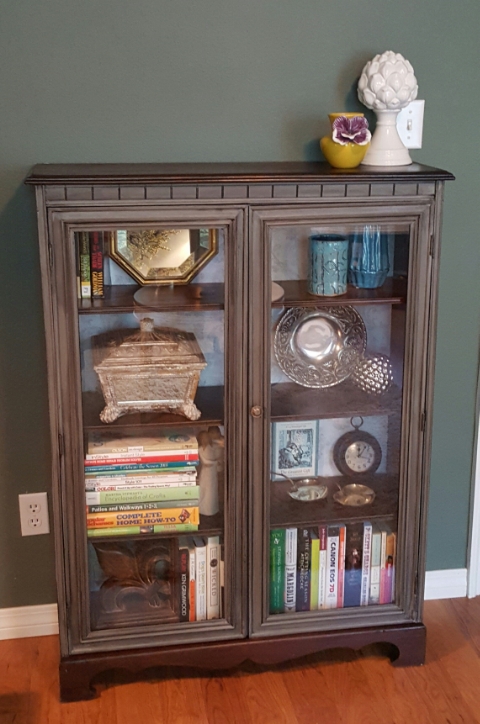
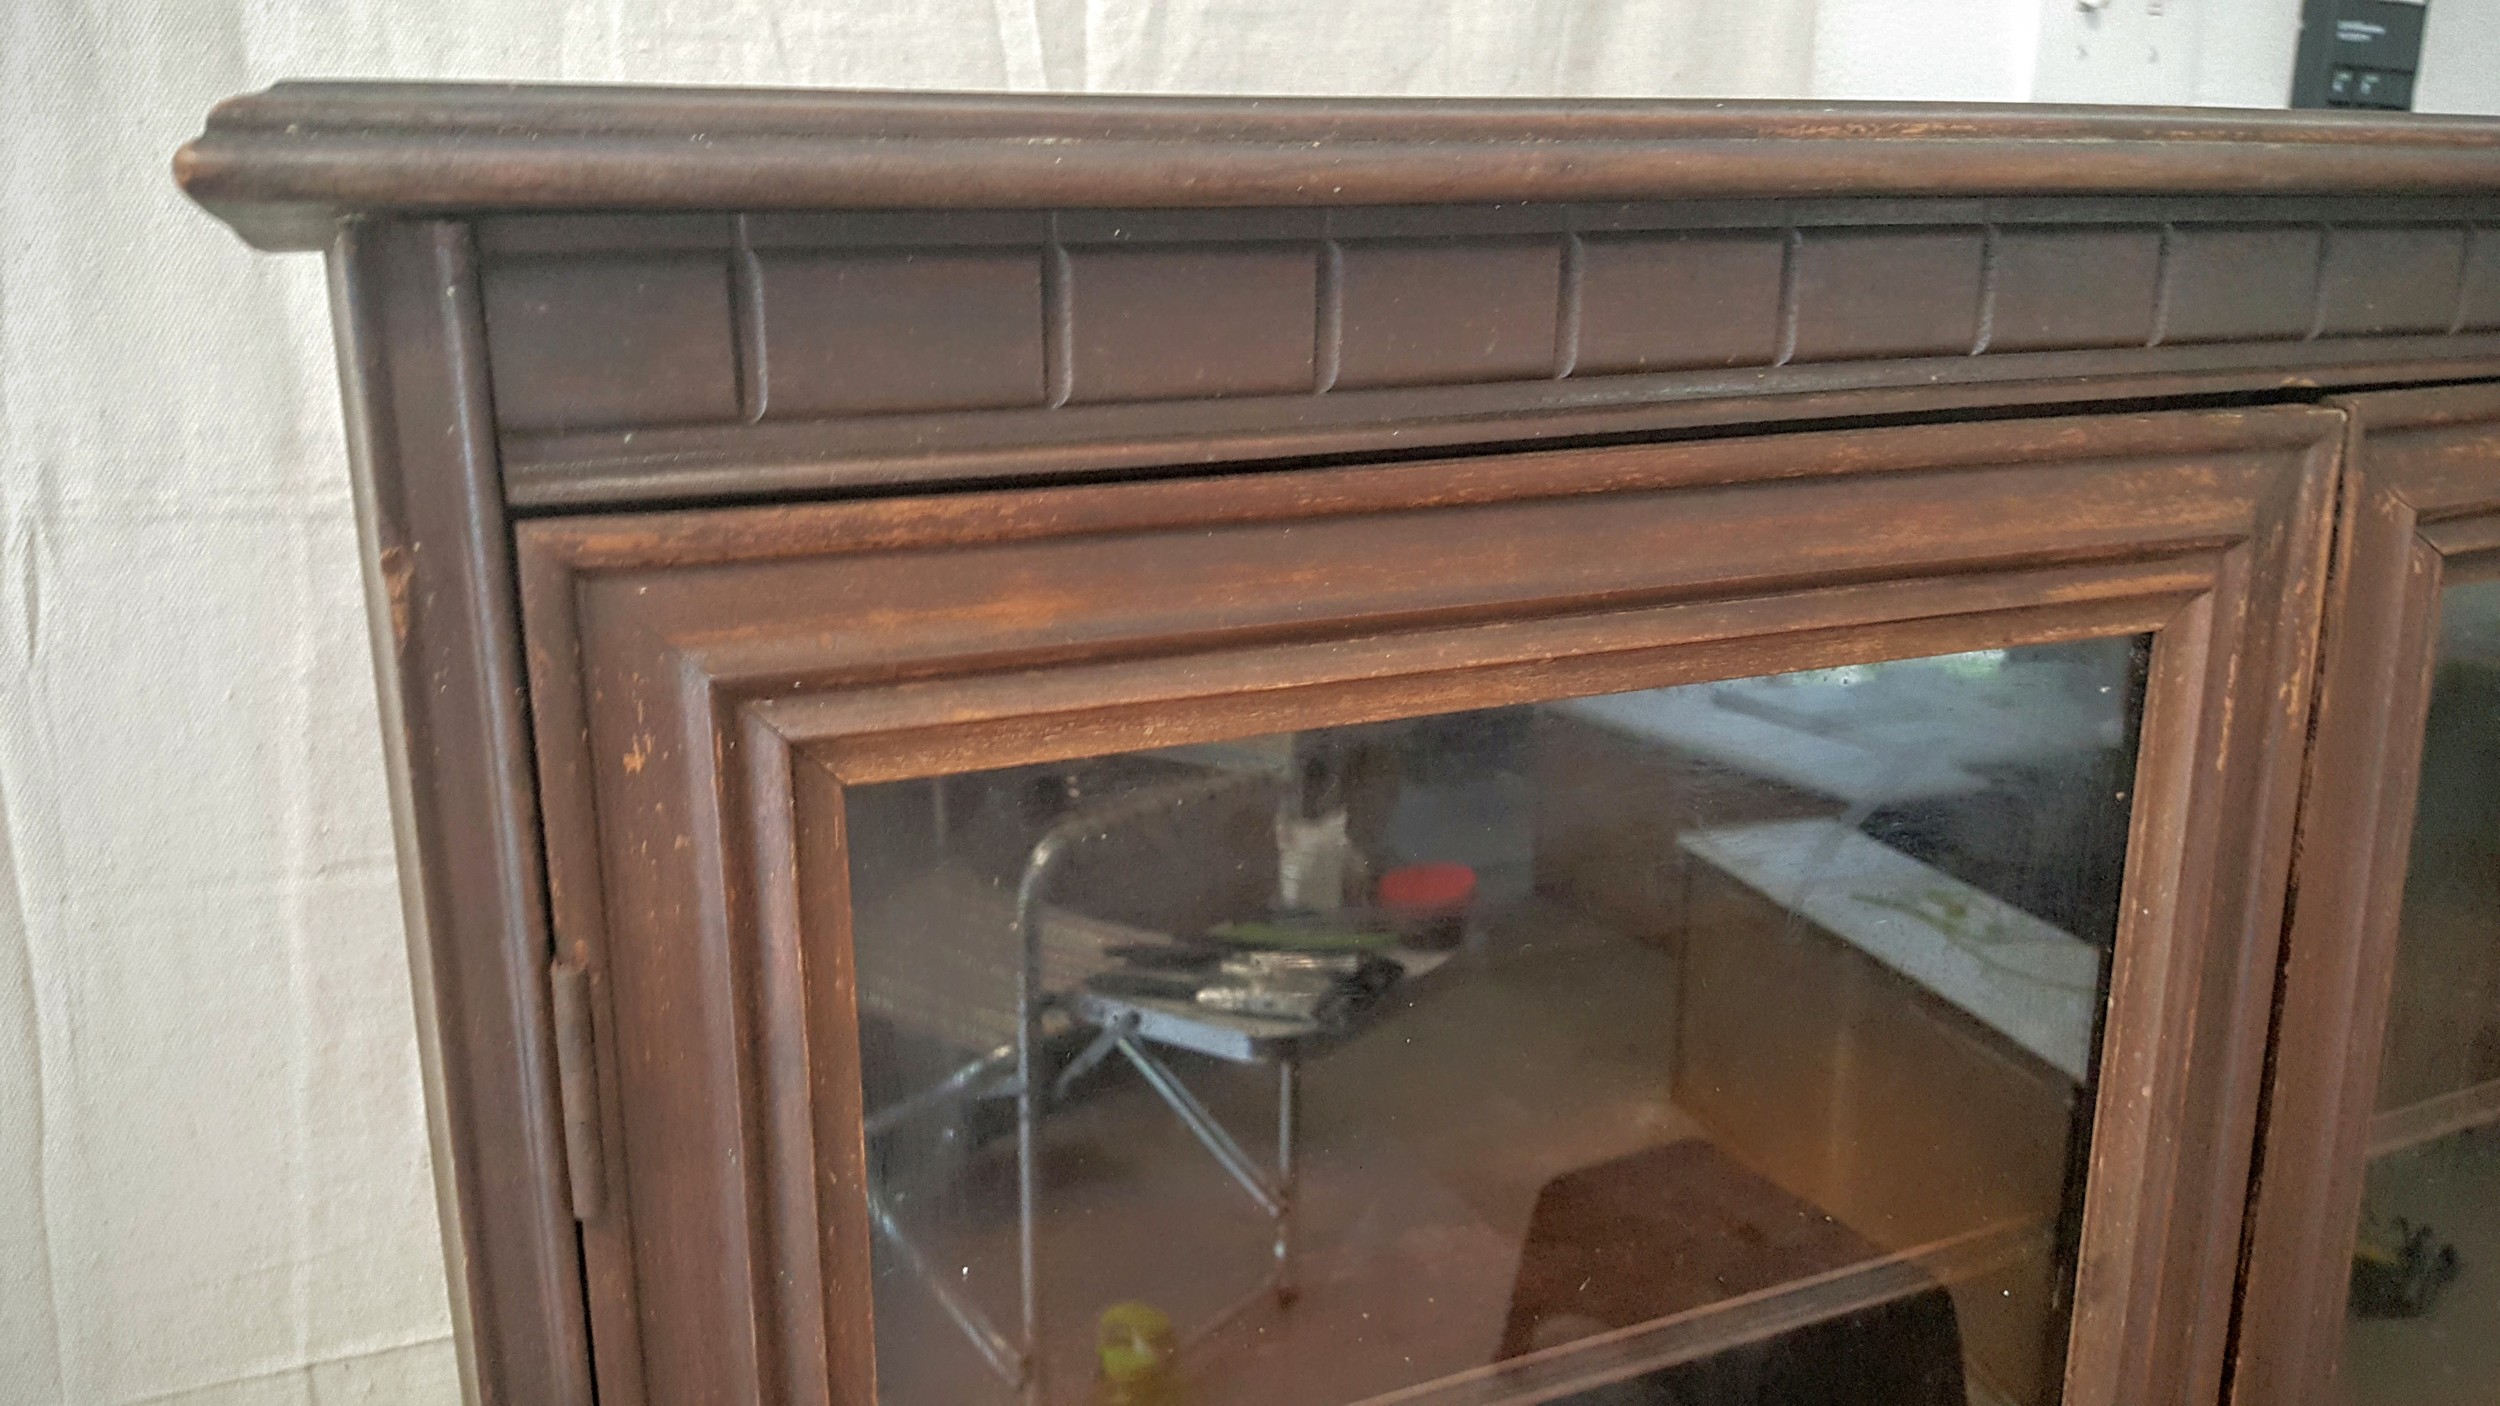
This piece was seriously rusted and busted when I found it.  Poor thing was all creaky and hadn't been looked after in forever.  Folks are always looking for bookcases and having one with glass doors is pretty cool because you don't have to dust the inside as often as you're used to.  

So...I went to work.

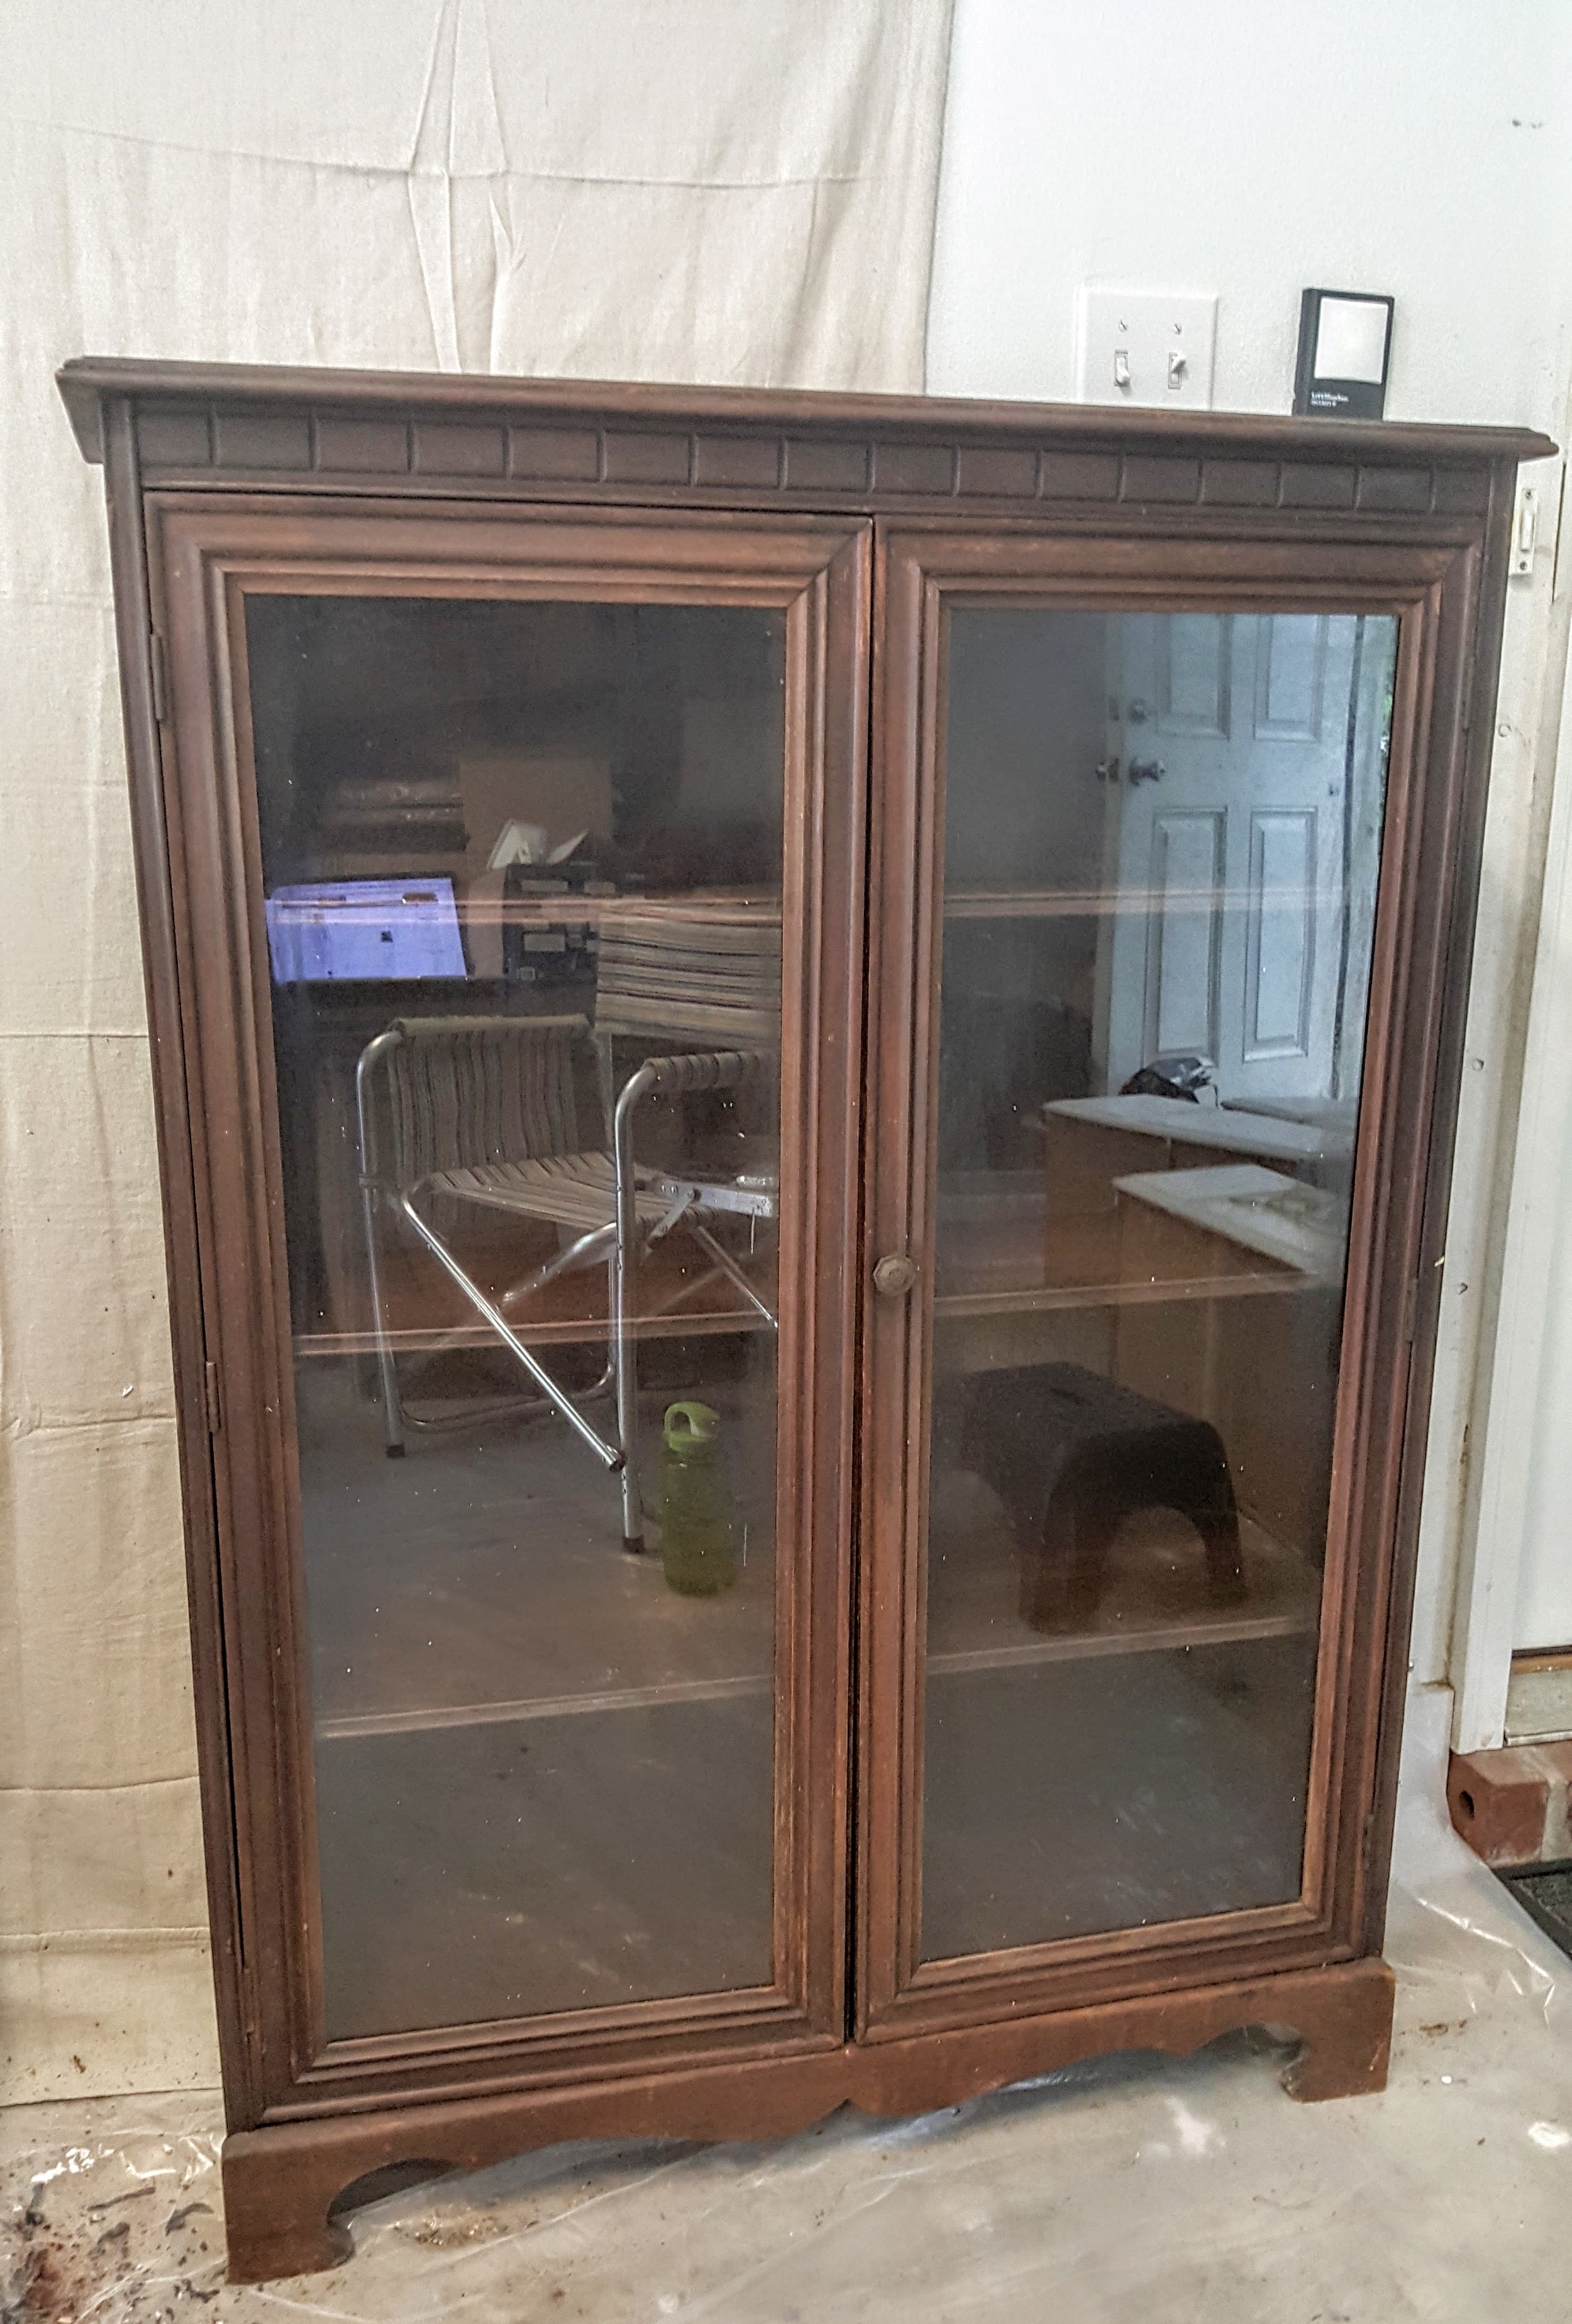
We blew it off with the leaf blower and then wiped it down inside and out with a mild dish soap in a gallon of water making sure to wring the towel out super well so the wood wouldn't be "wet" if you know what I mean. Once it was wiped down I just looked at it for a few days trying to come up with a design for it that kept it as um...stoic as possible.  Just seemed this piece didn't want to be "happy."  LOL!  It's pretty serious about that life.  THUGS RISE UP!

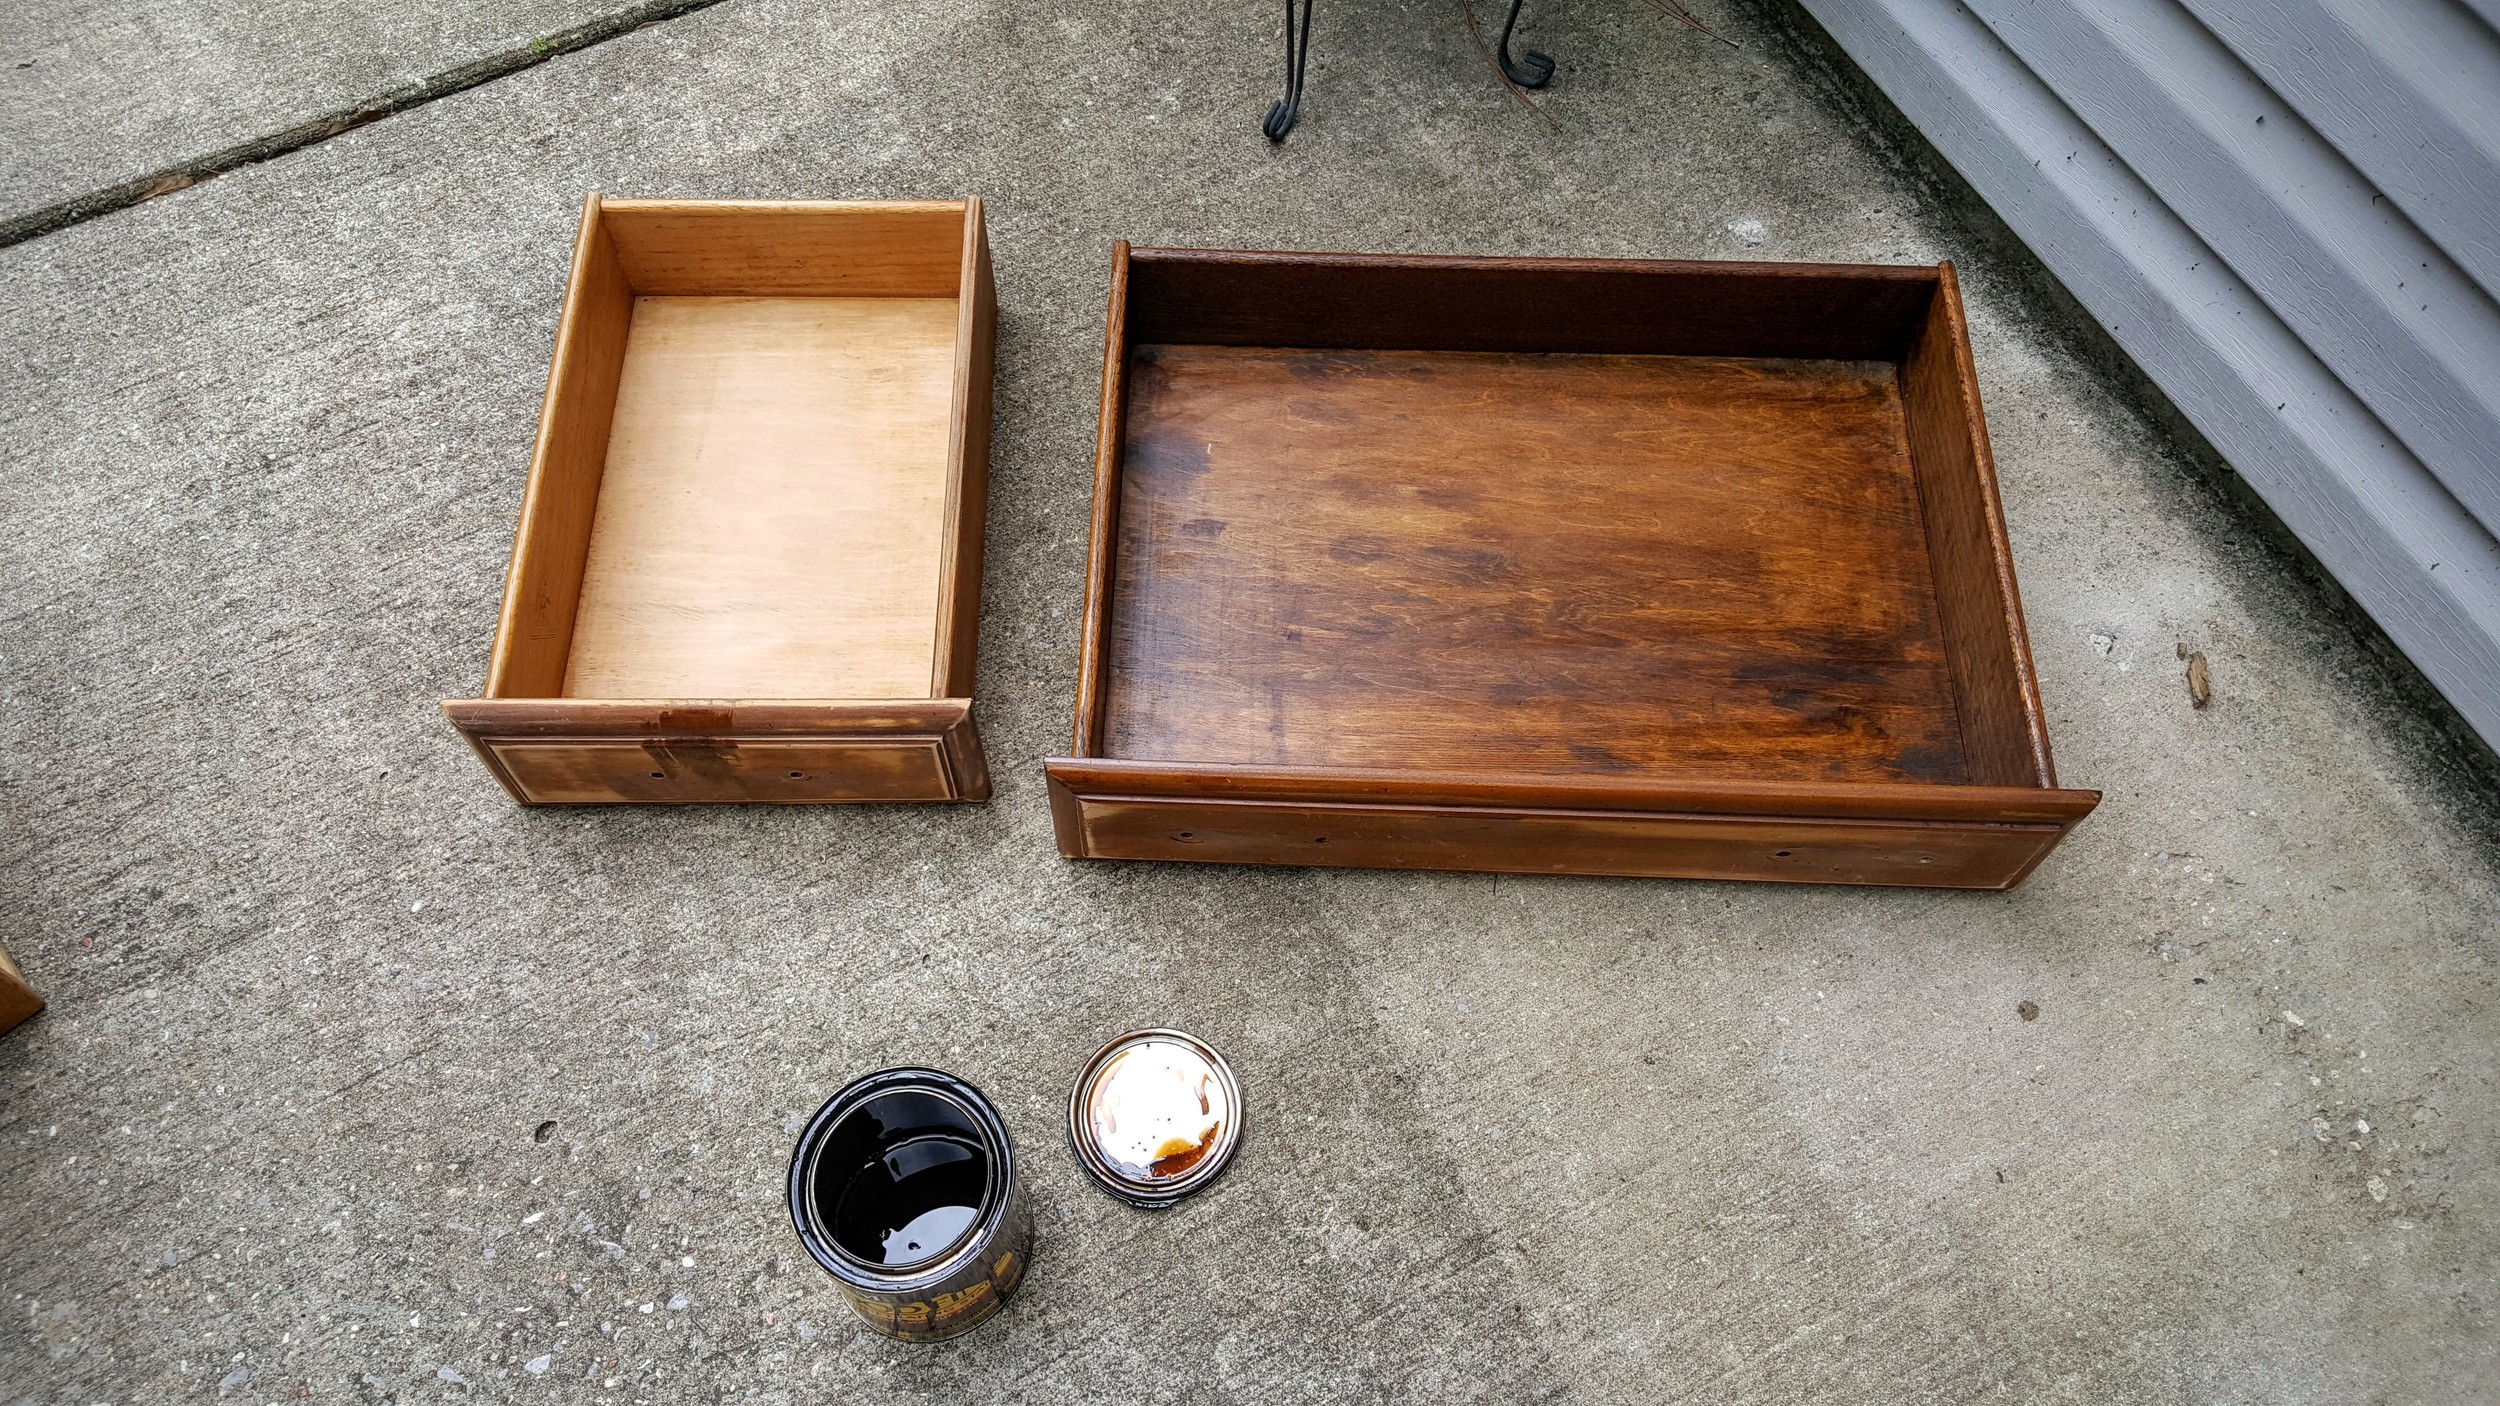
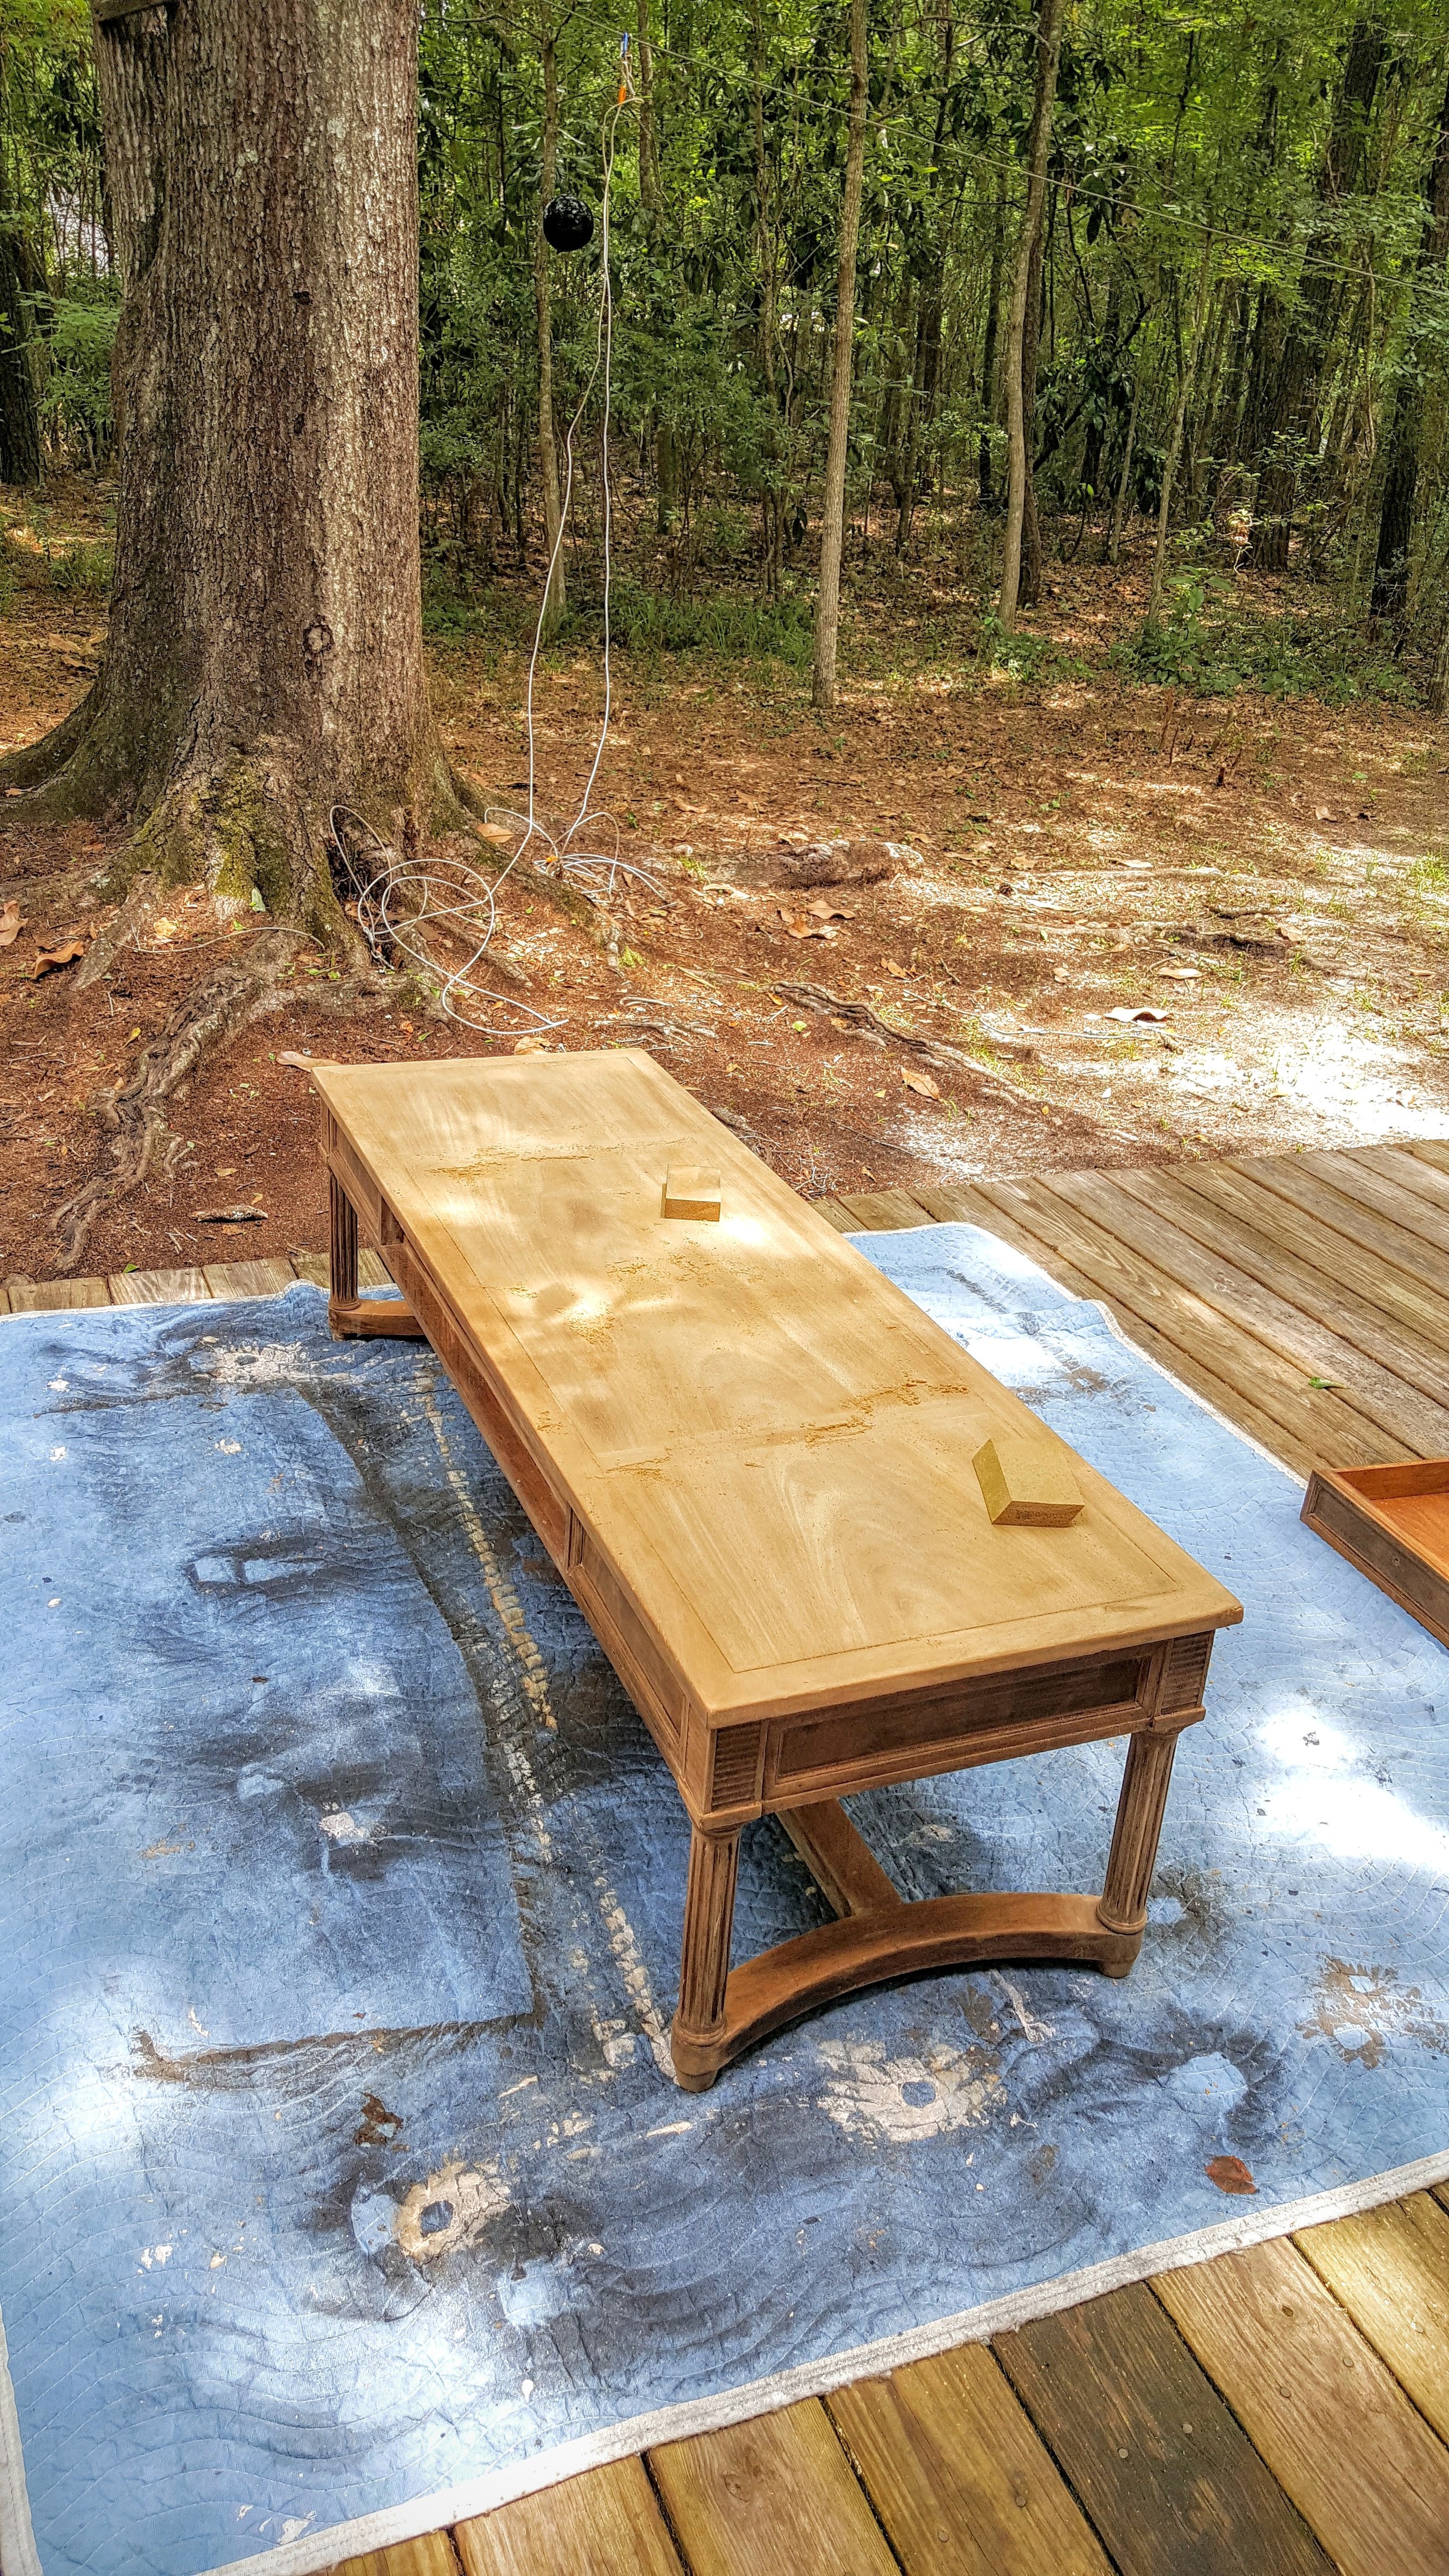
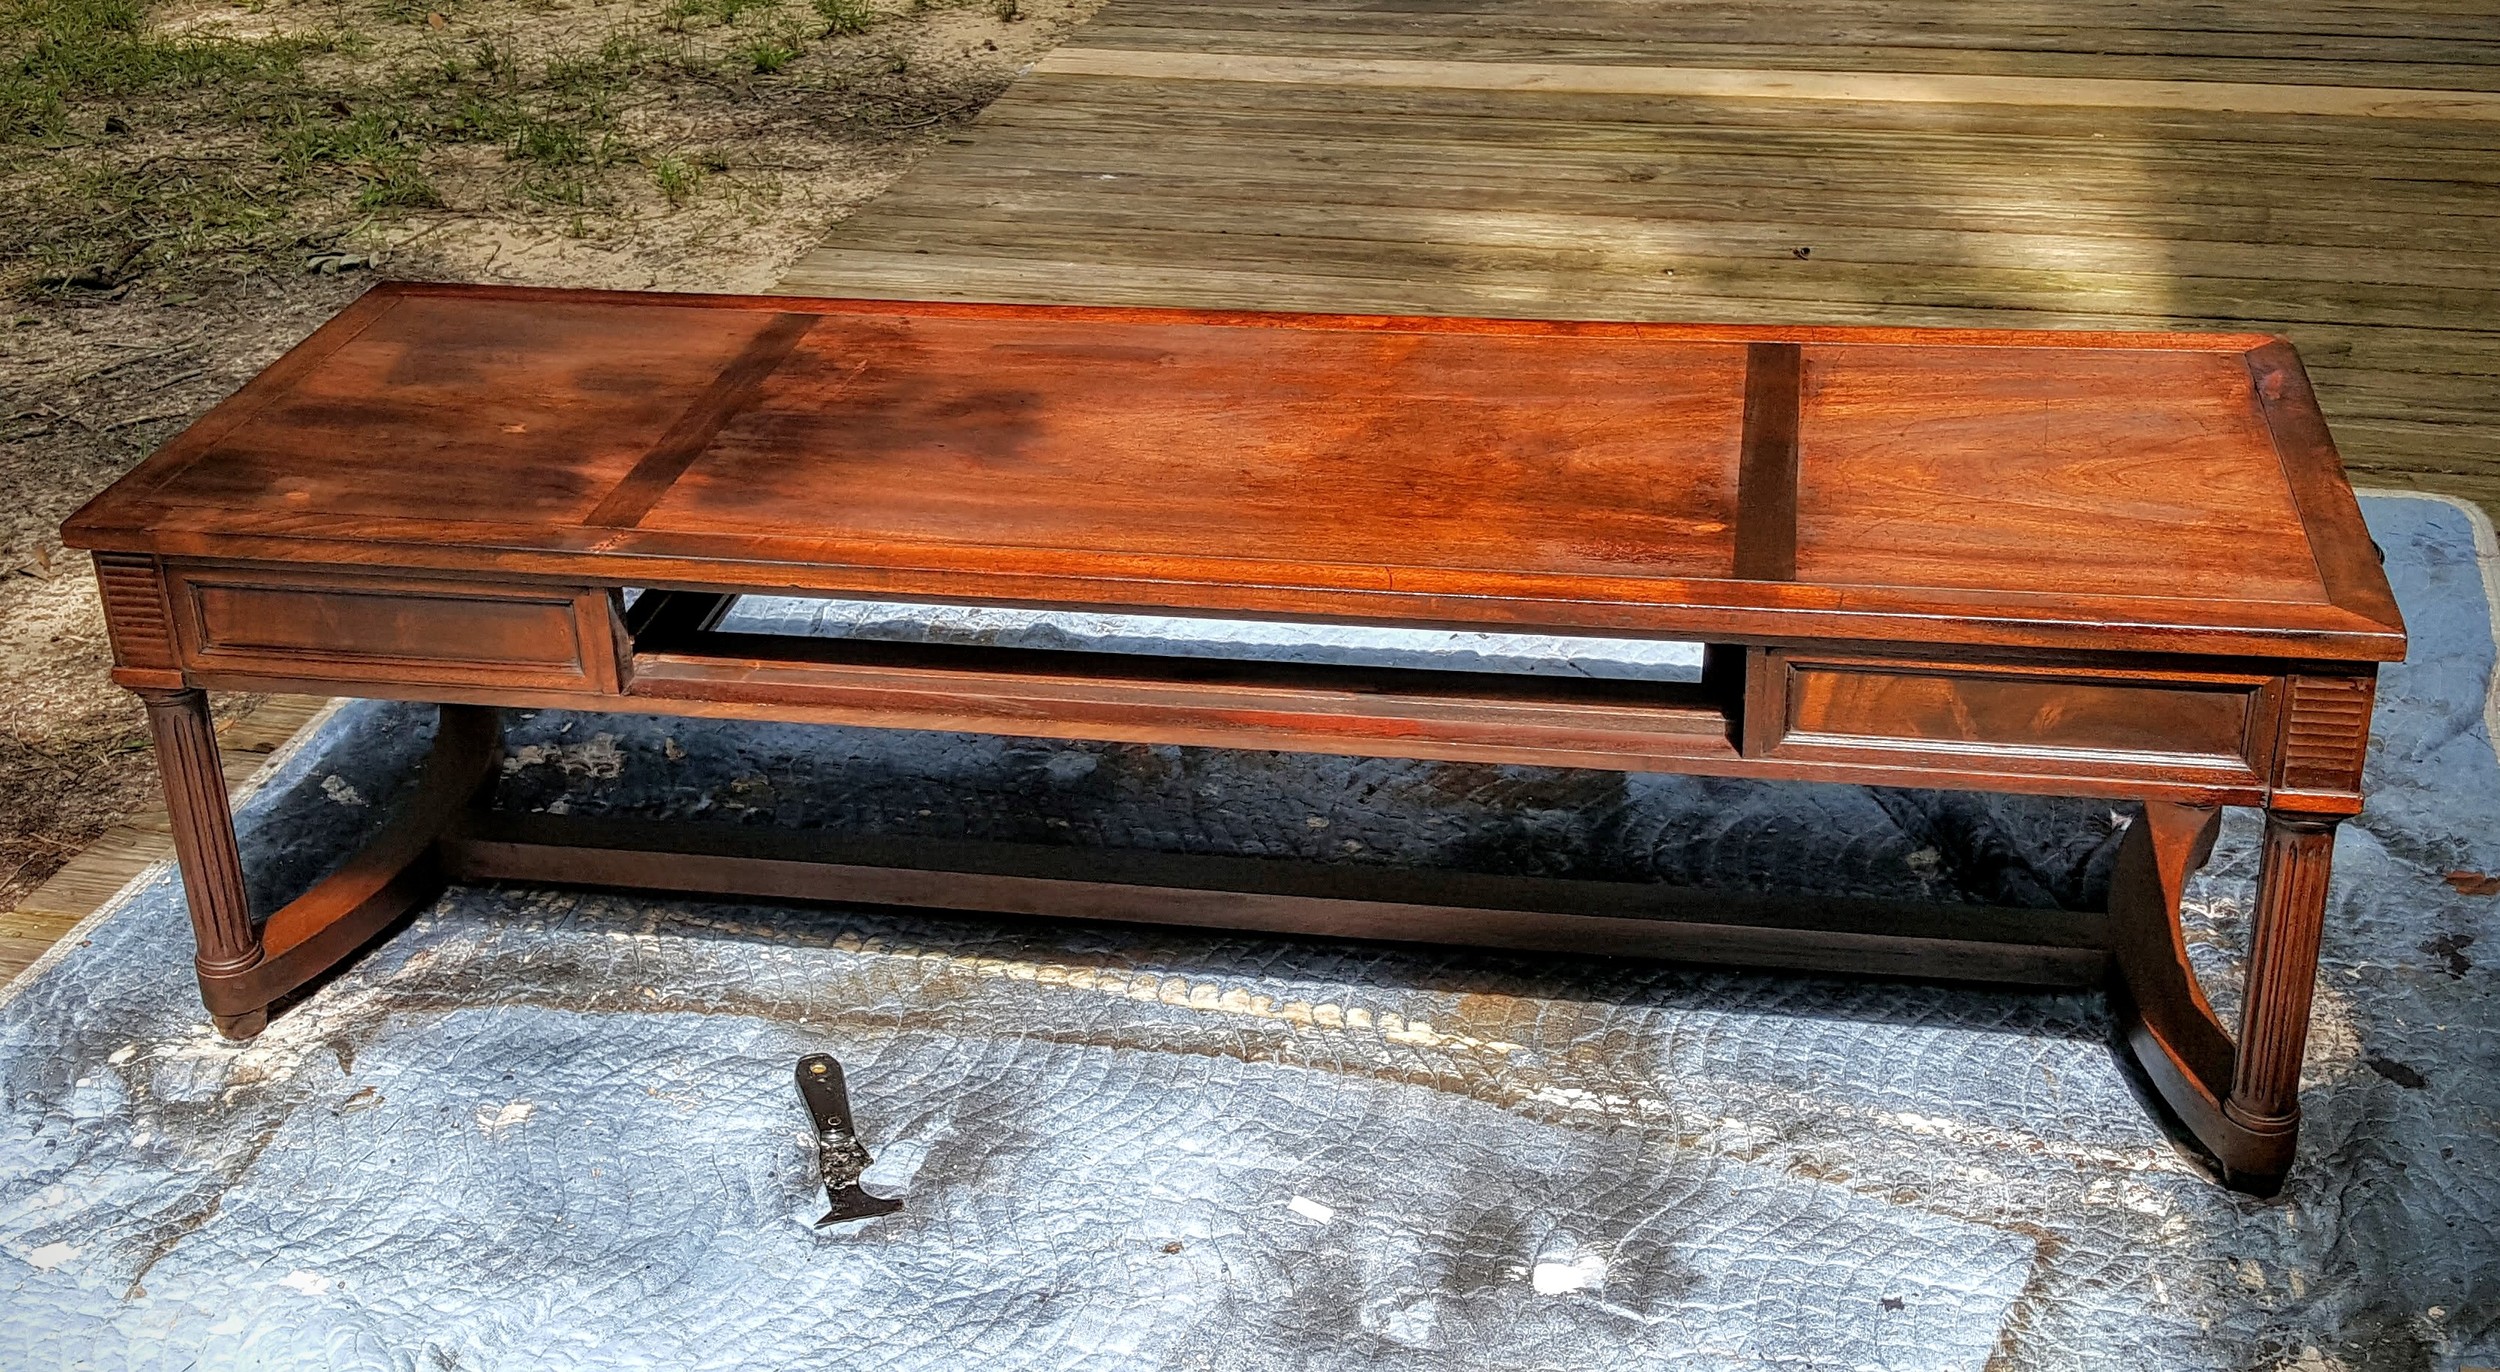
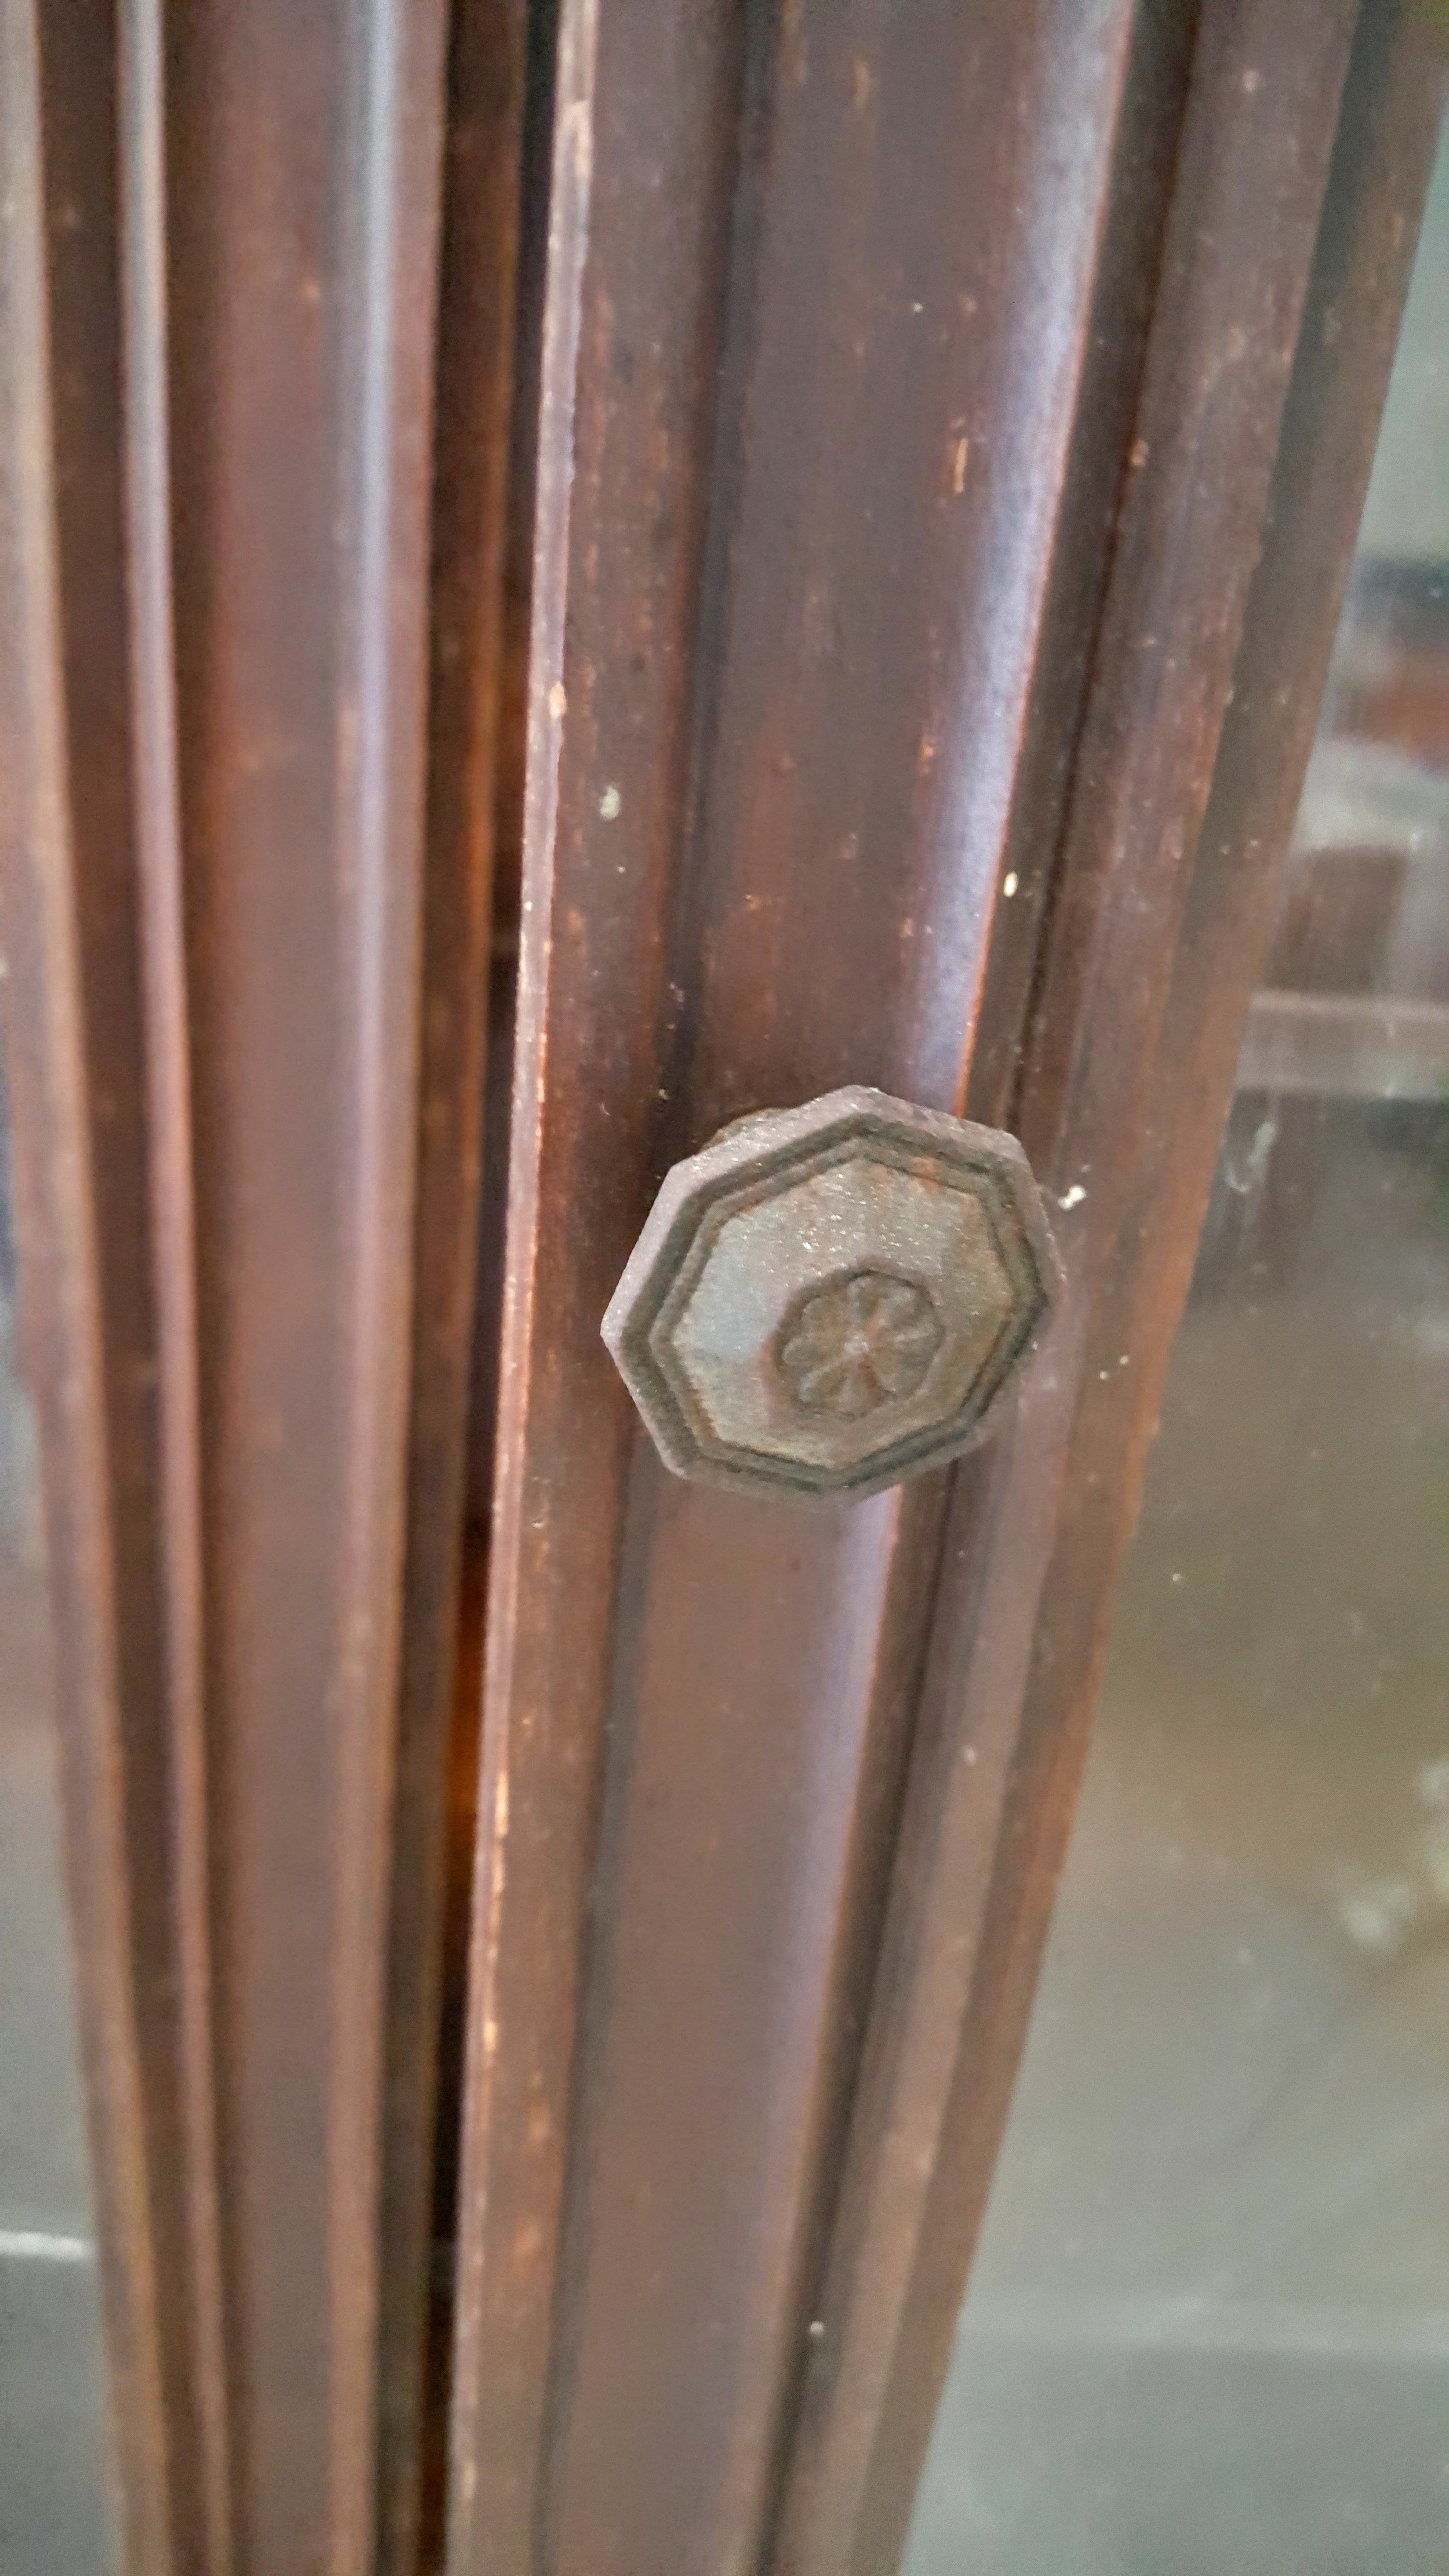
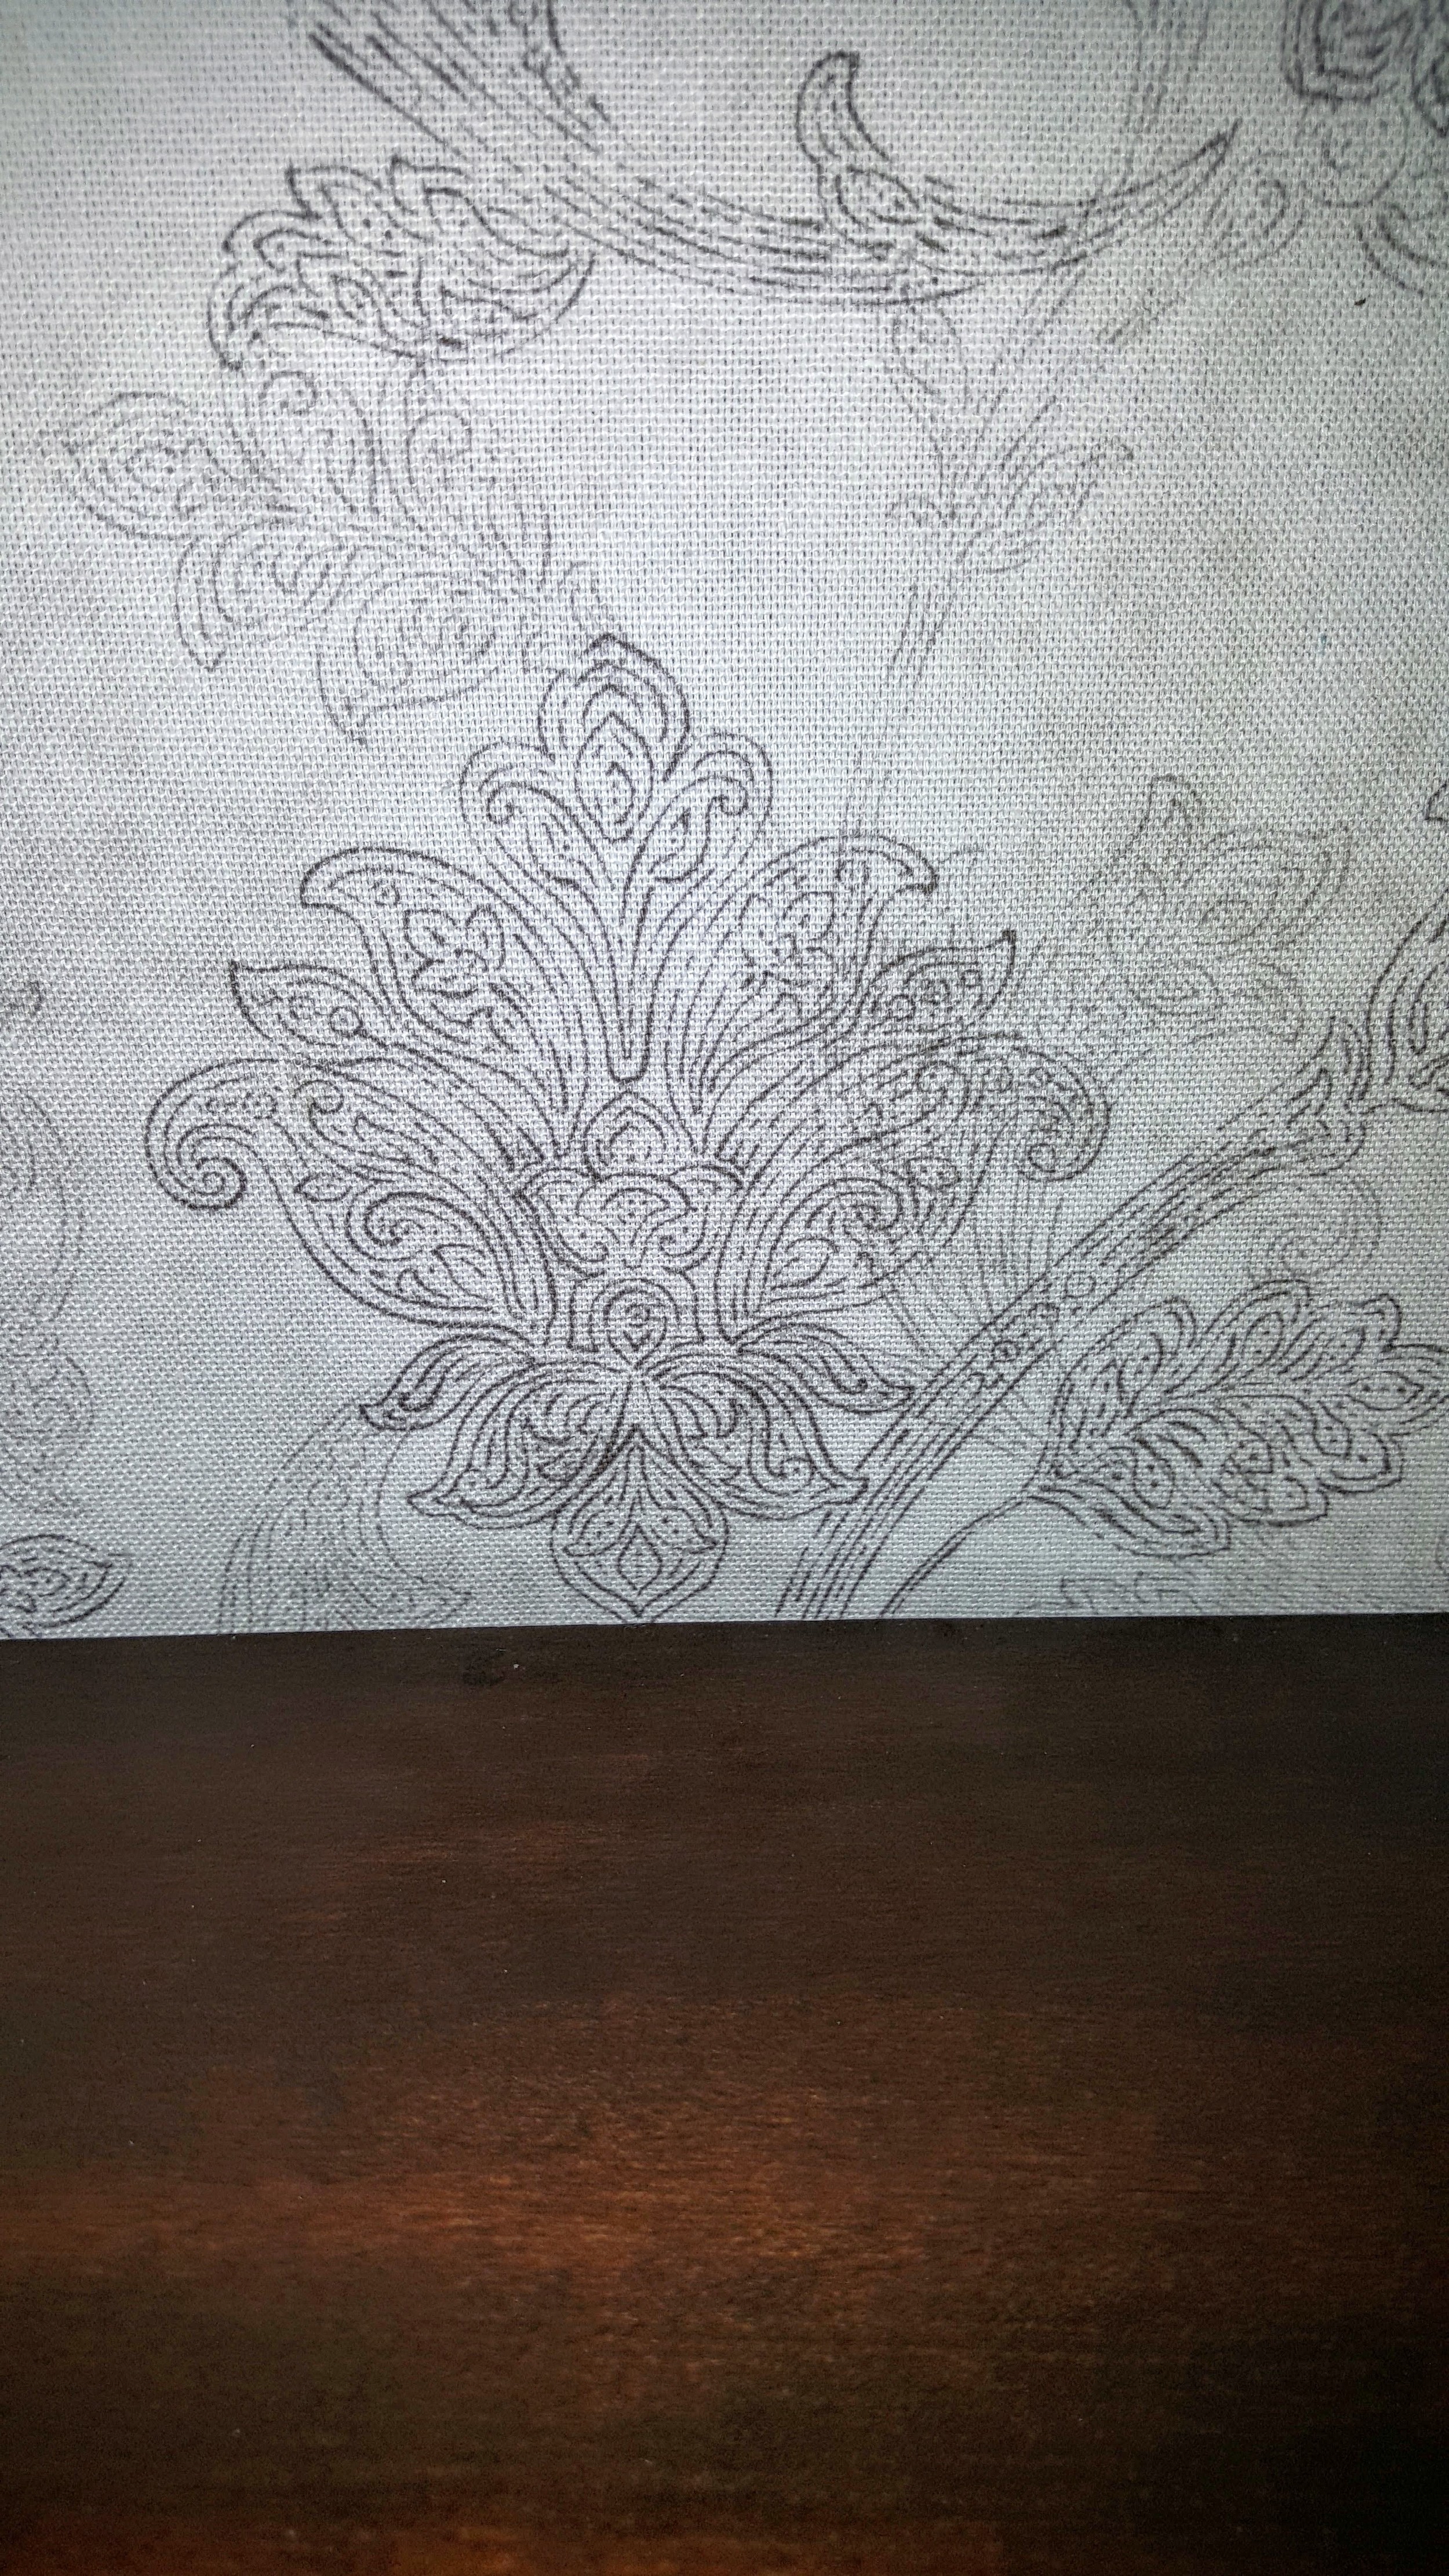
The back of it was pretty busted so I removed it and added a piece of fabric to it using spray adhesive.  Then I took the doors off and soaked the hardware in some rust remover solution.  Next I sanded the whole thing down (did the doors by hand), stained the top, shelves and bottom with Minwax Dark Walnut stain using a brush on the top (it was pretty bad with water rings and whatnot) and a rag inside so I could get all the corners and whatnot pretty well.  

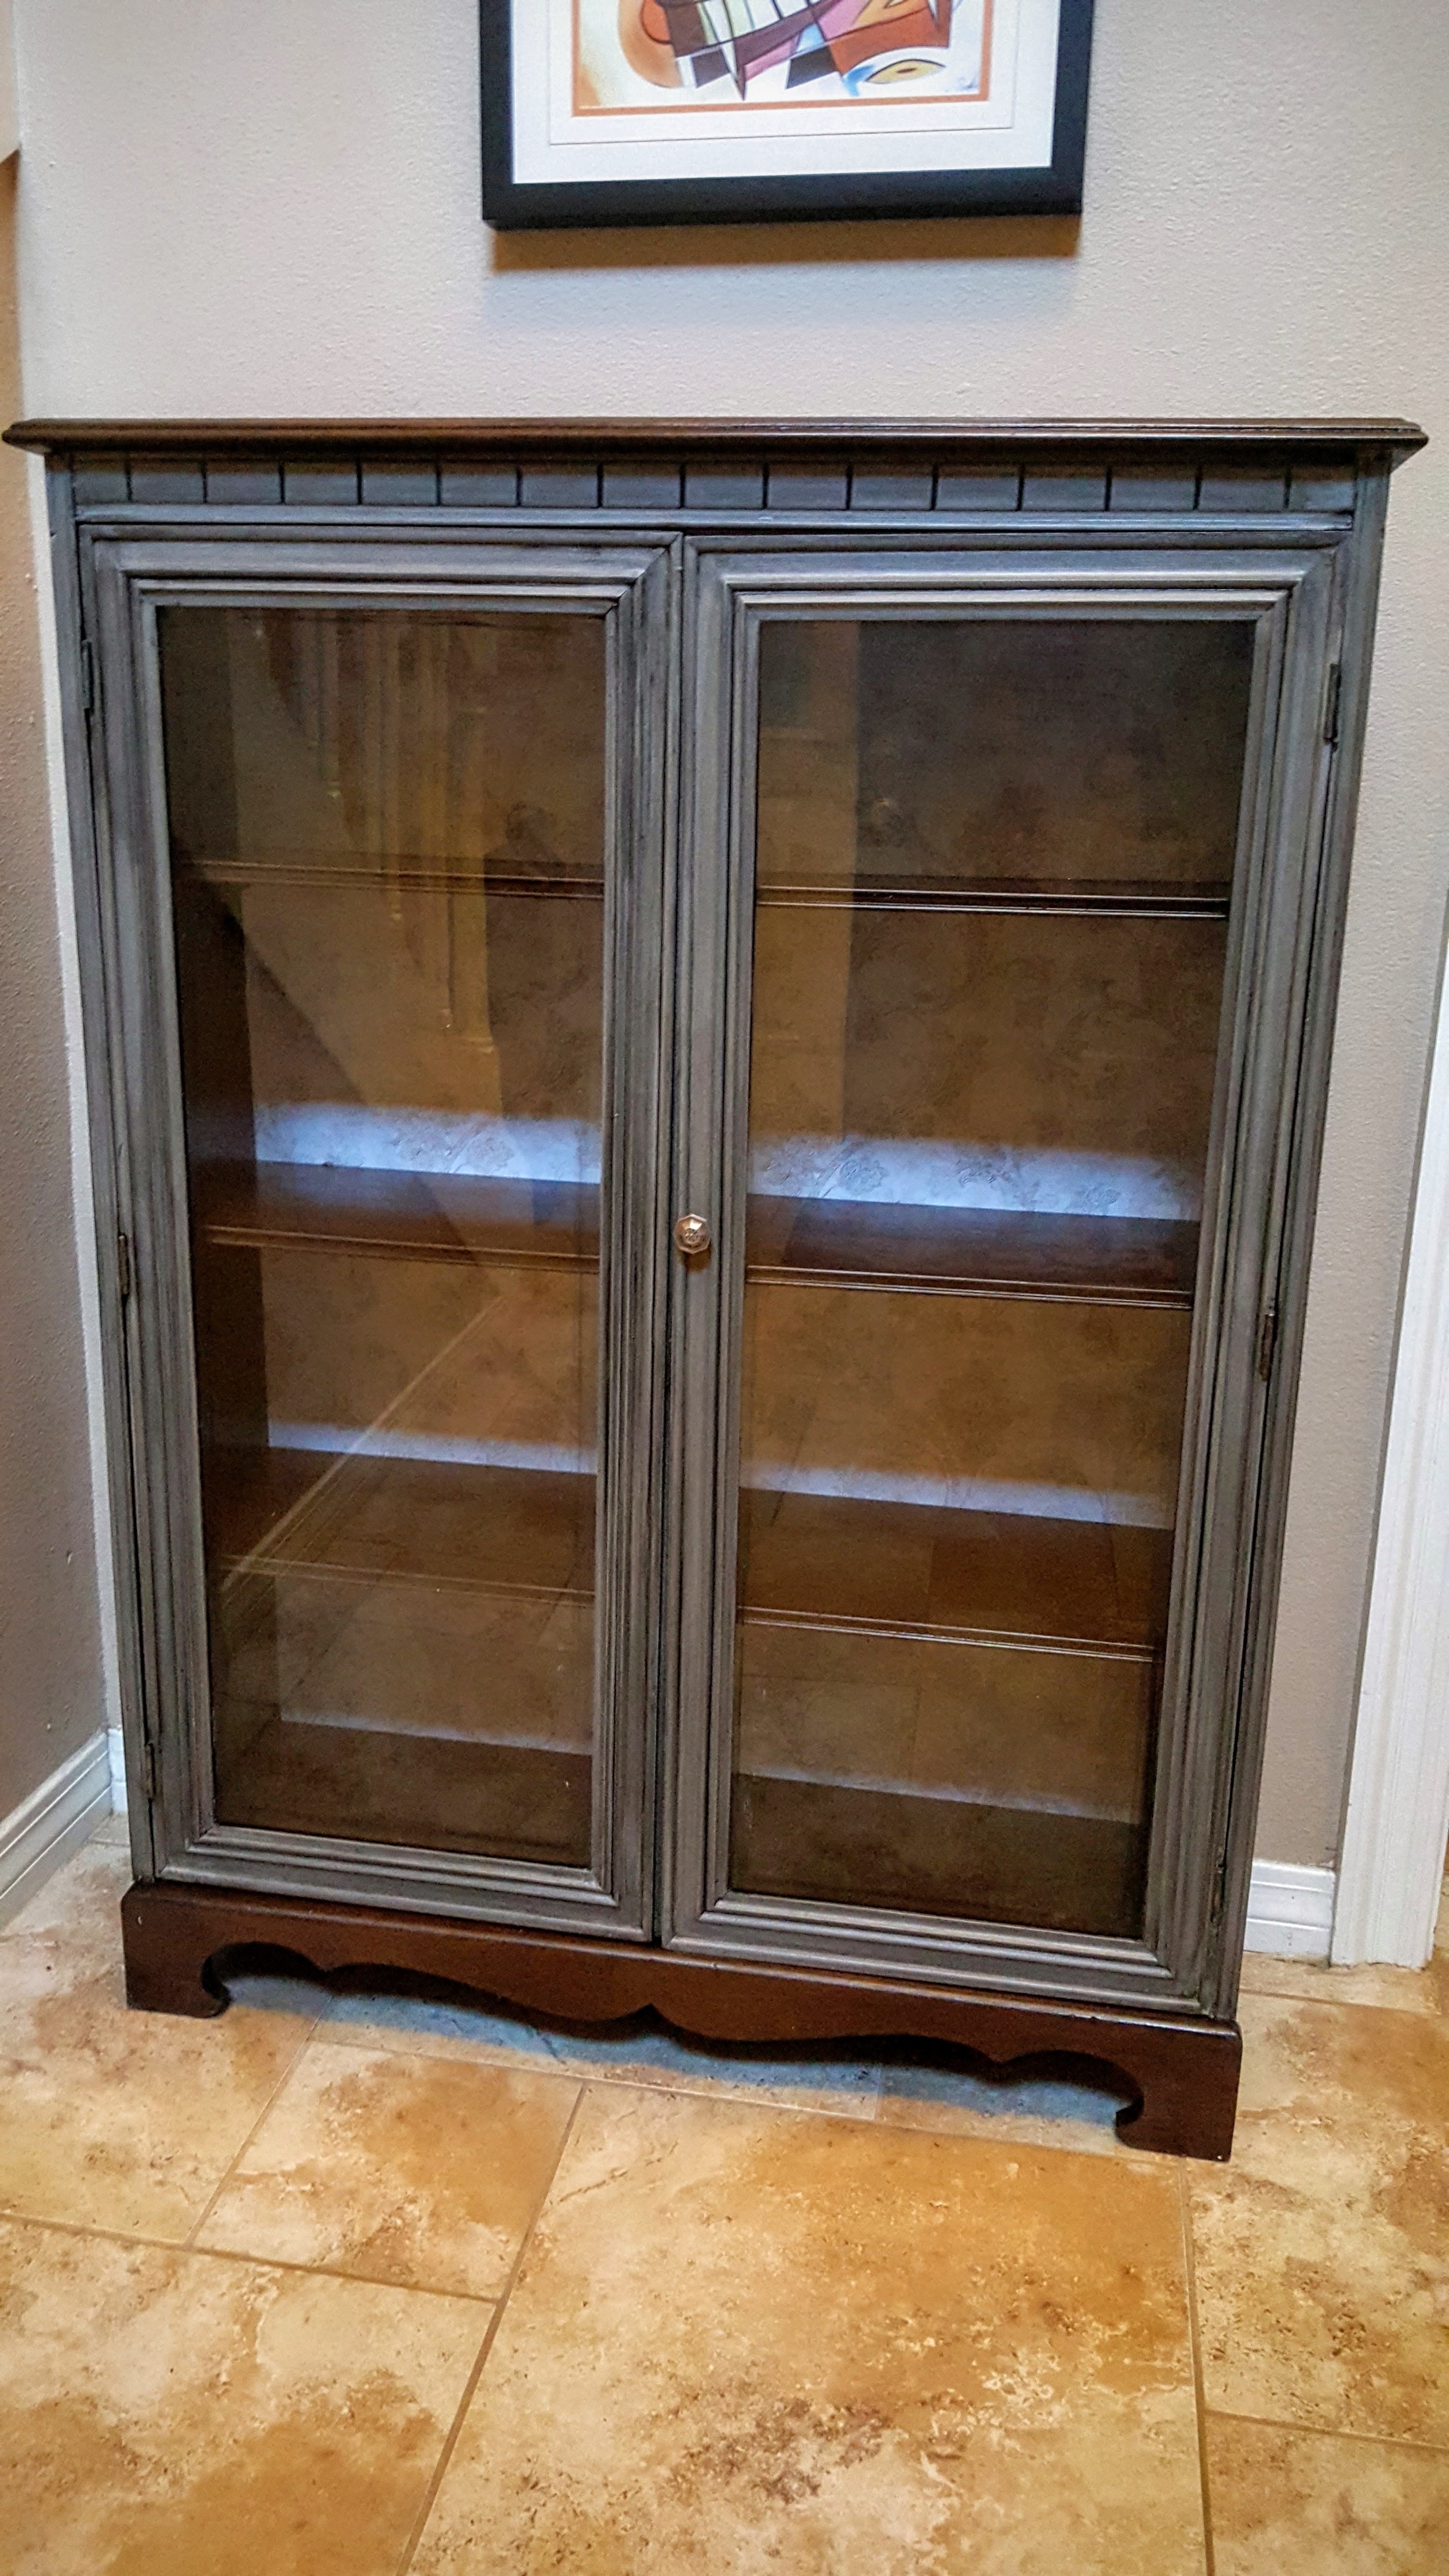
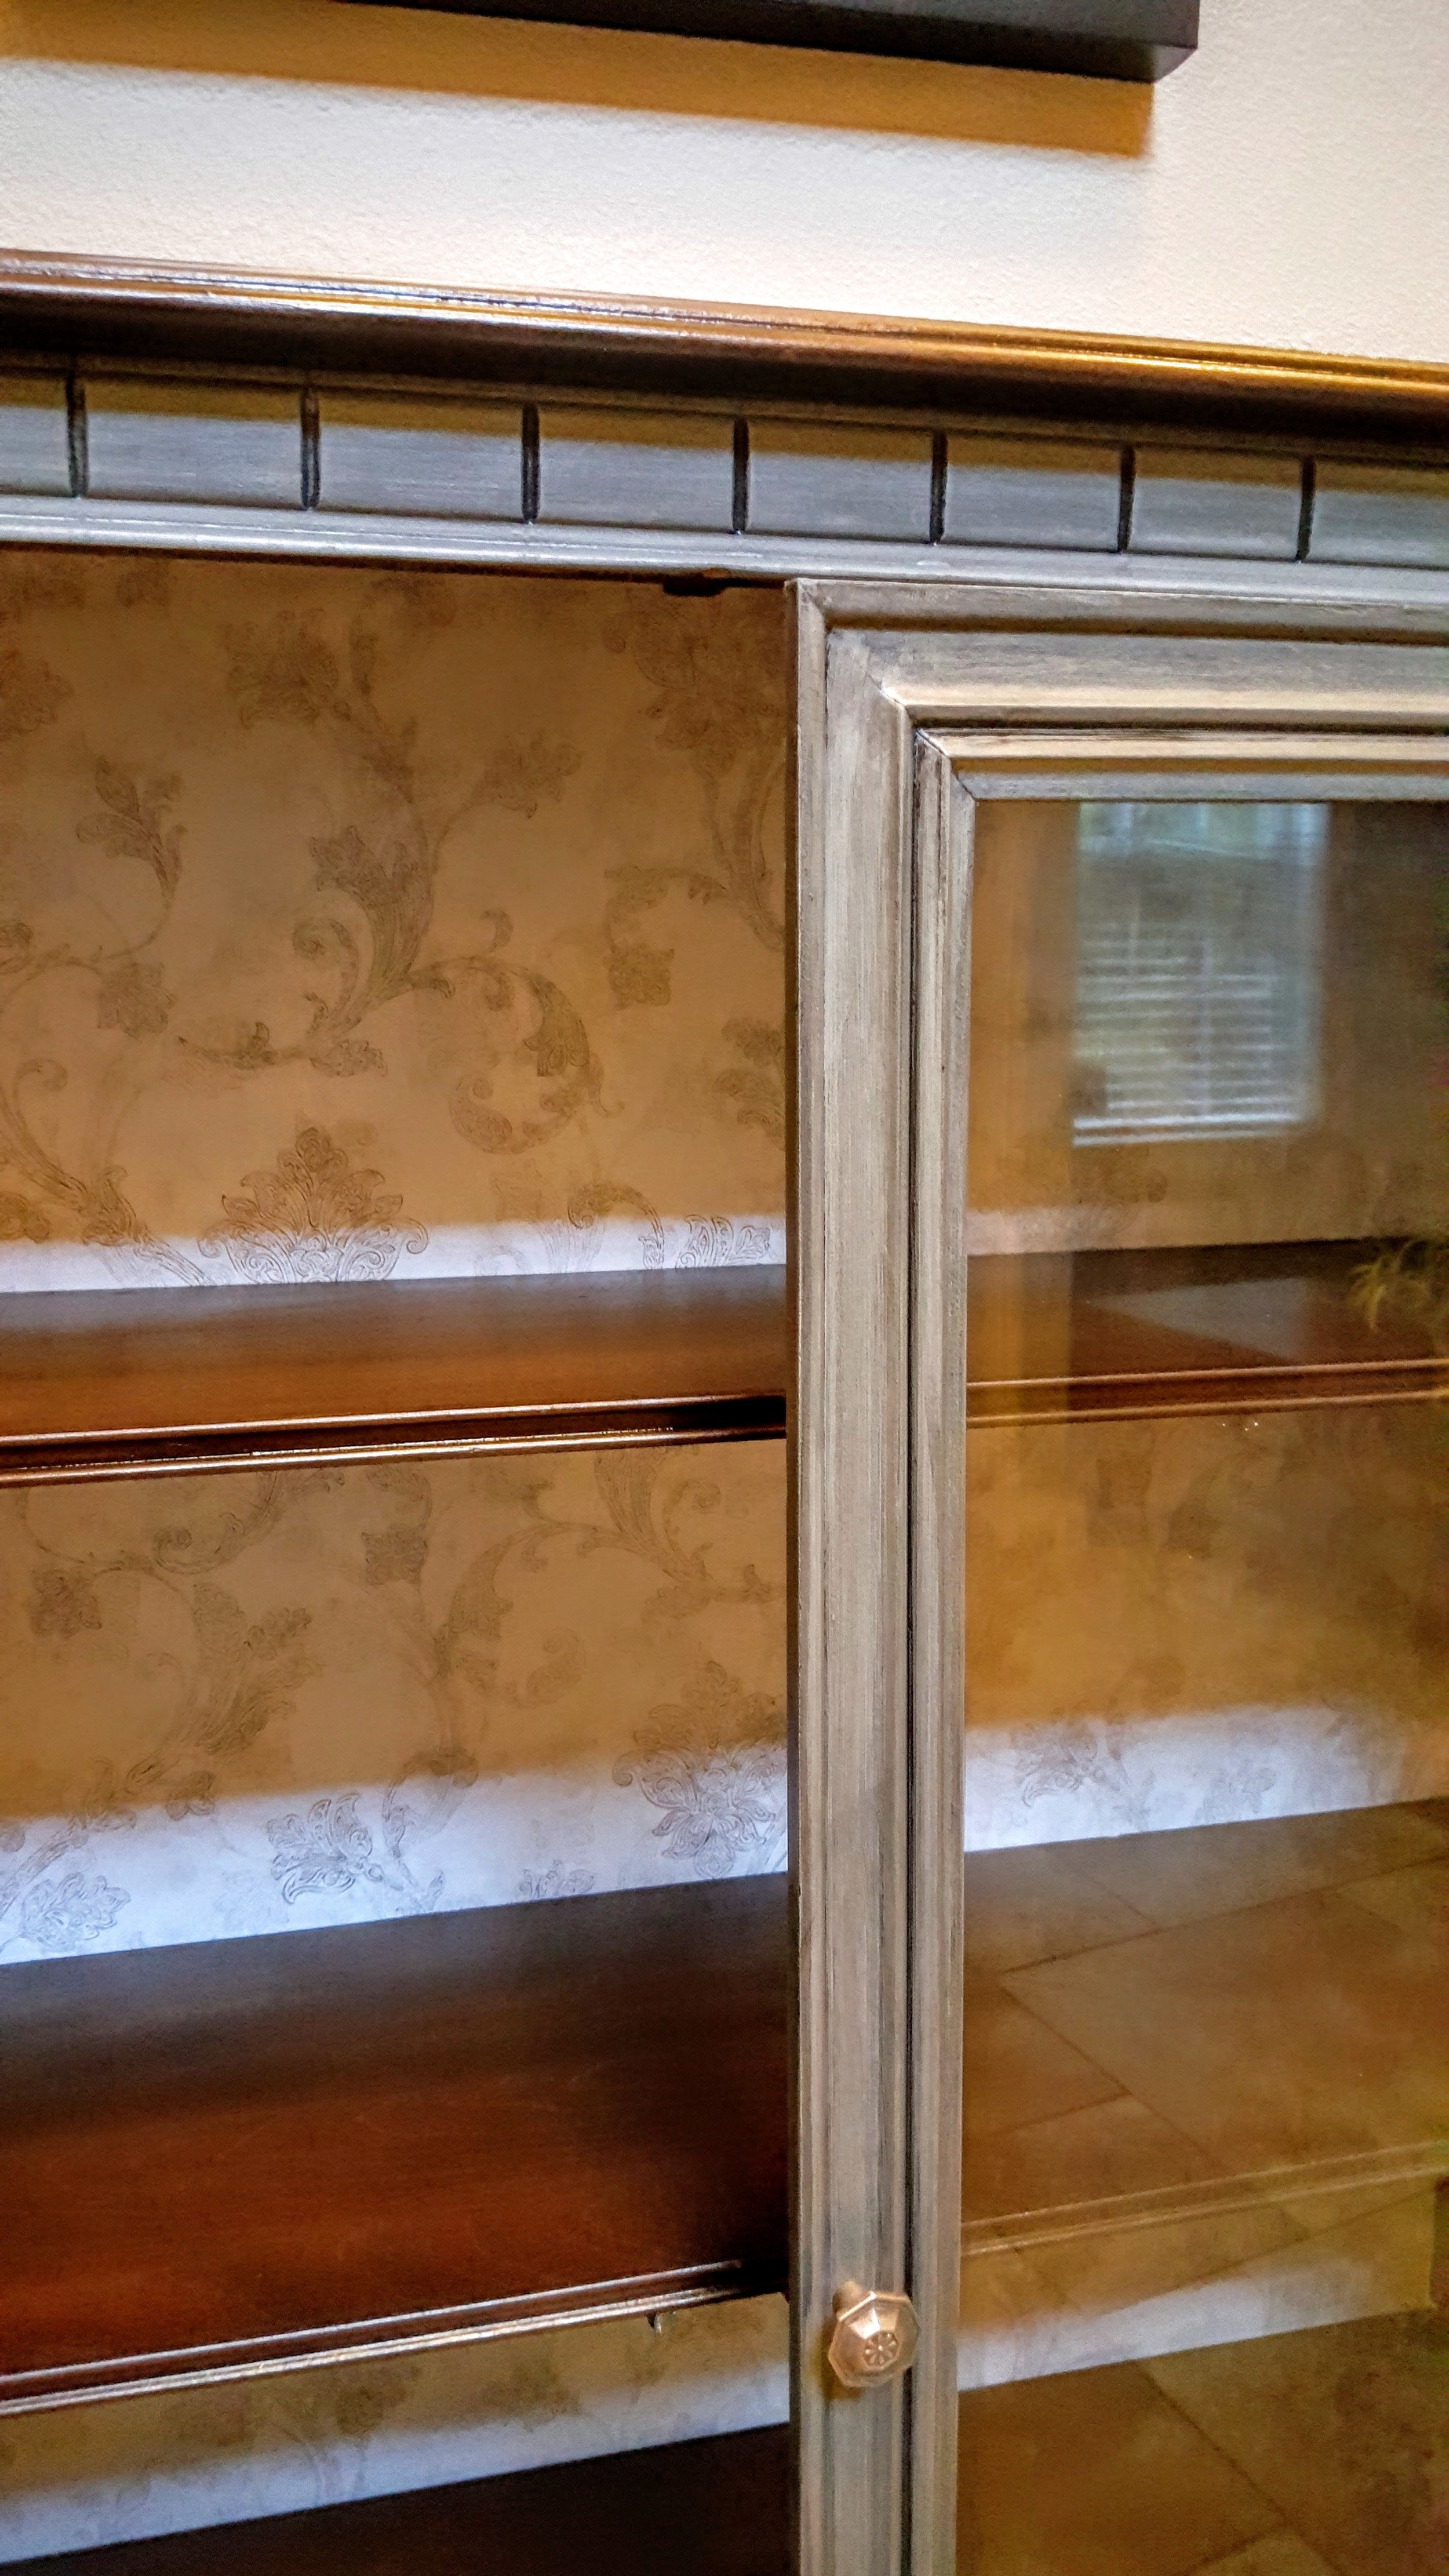
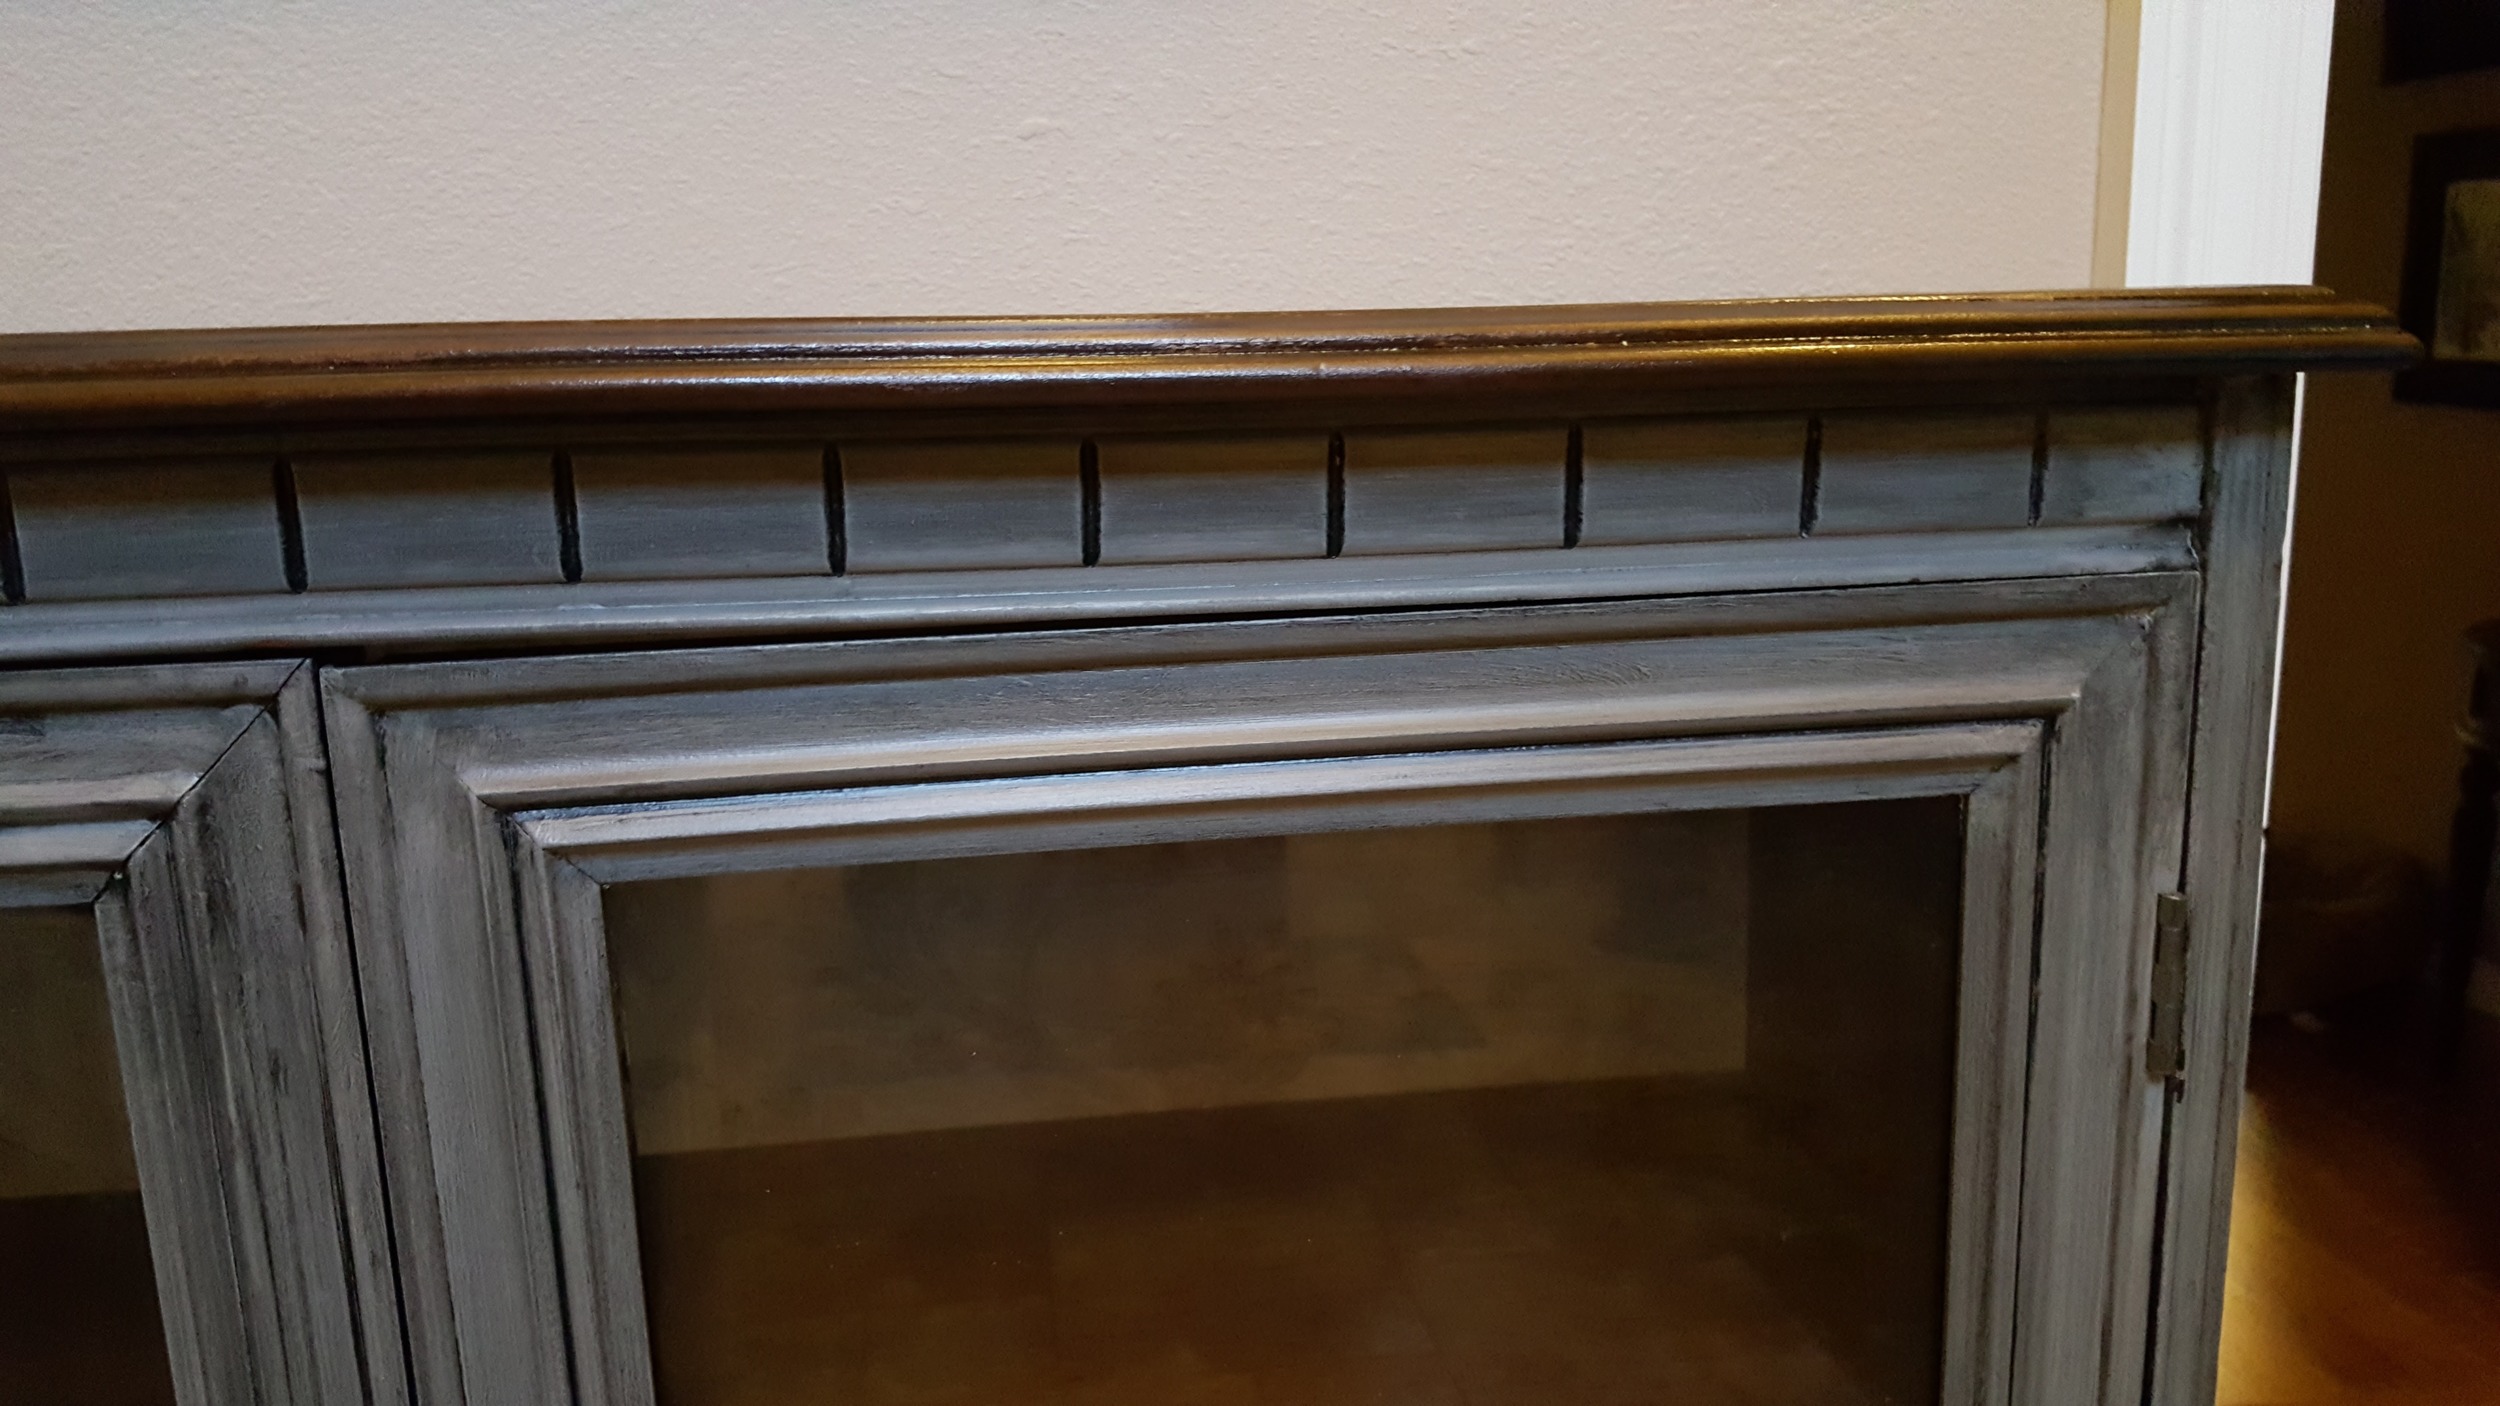
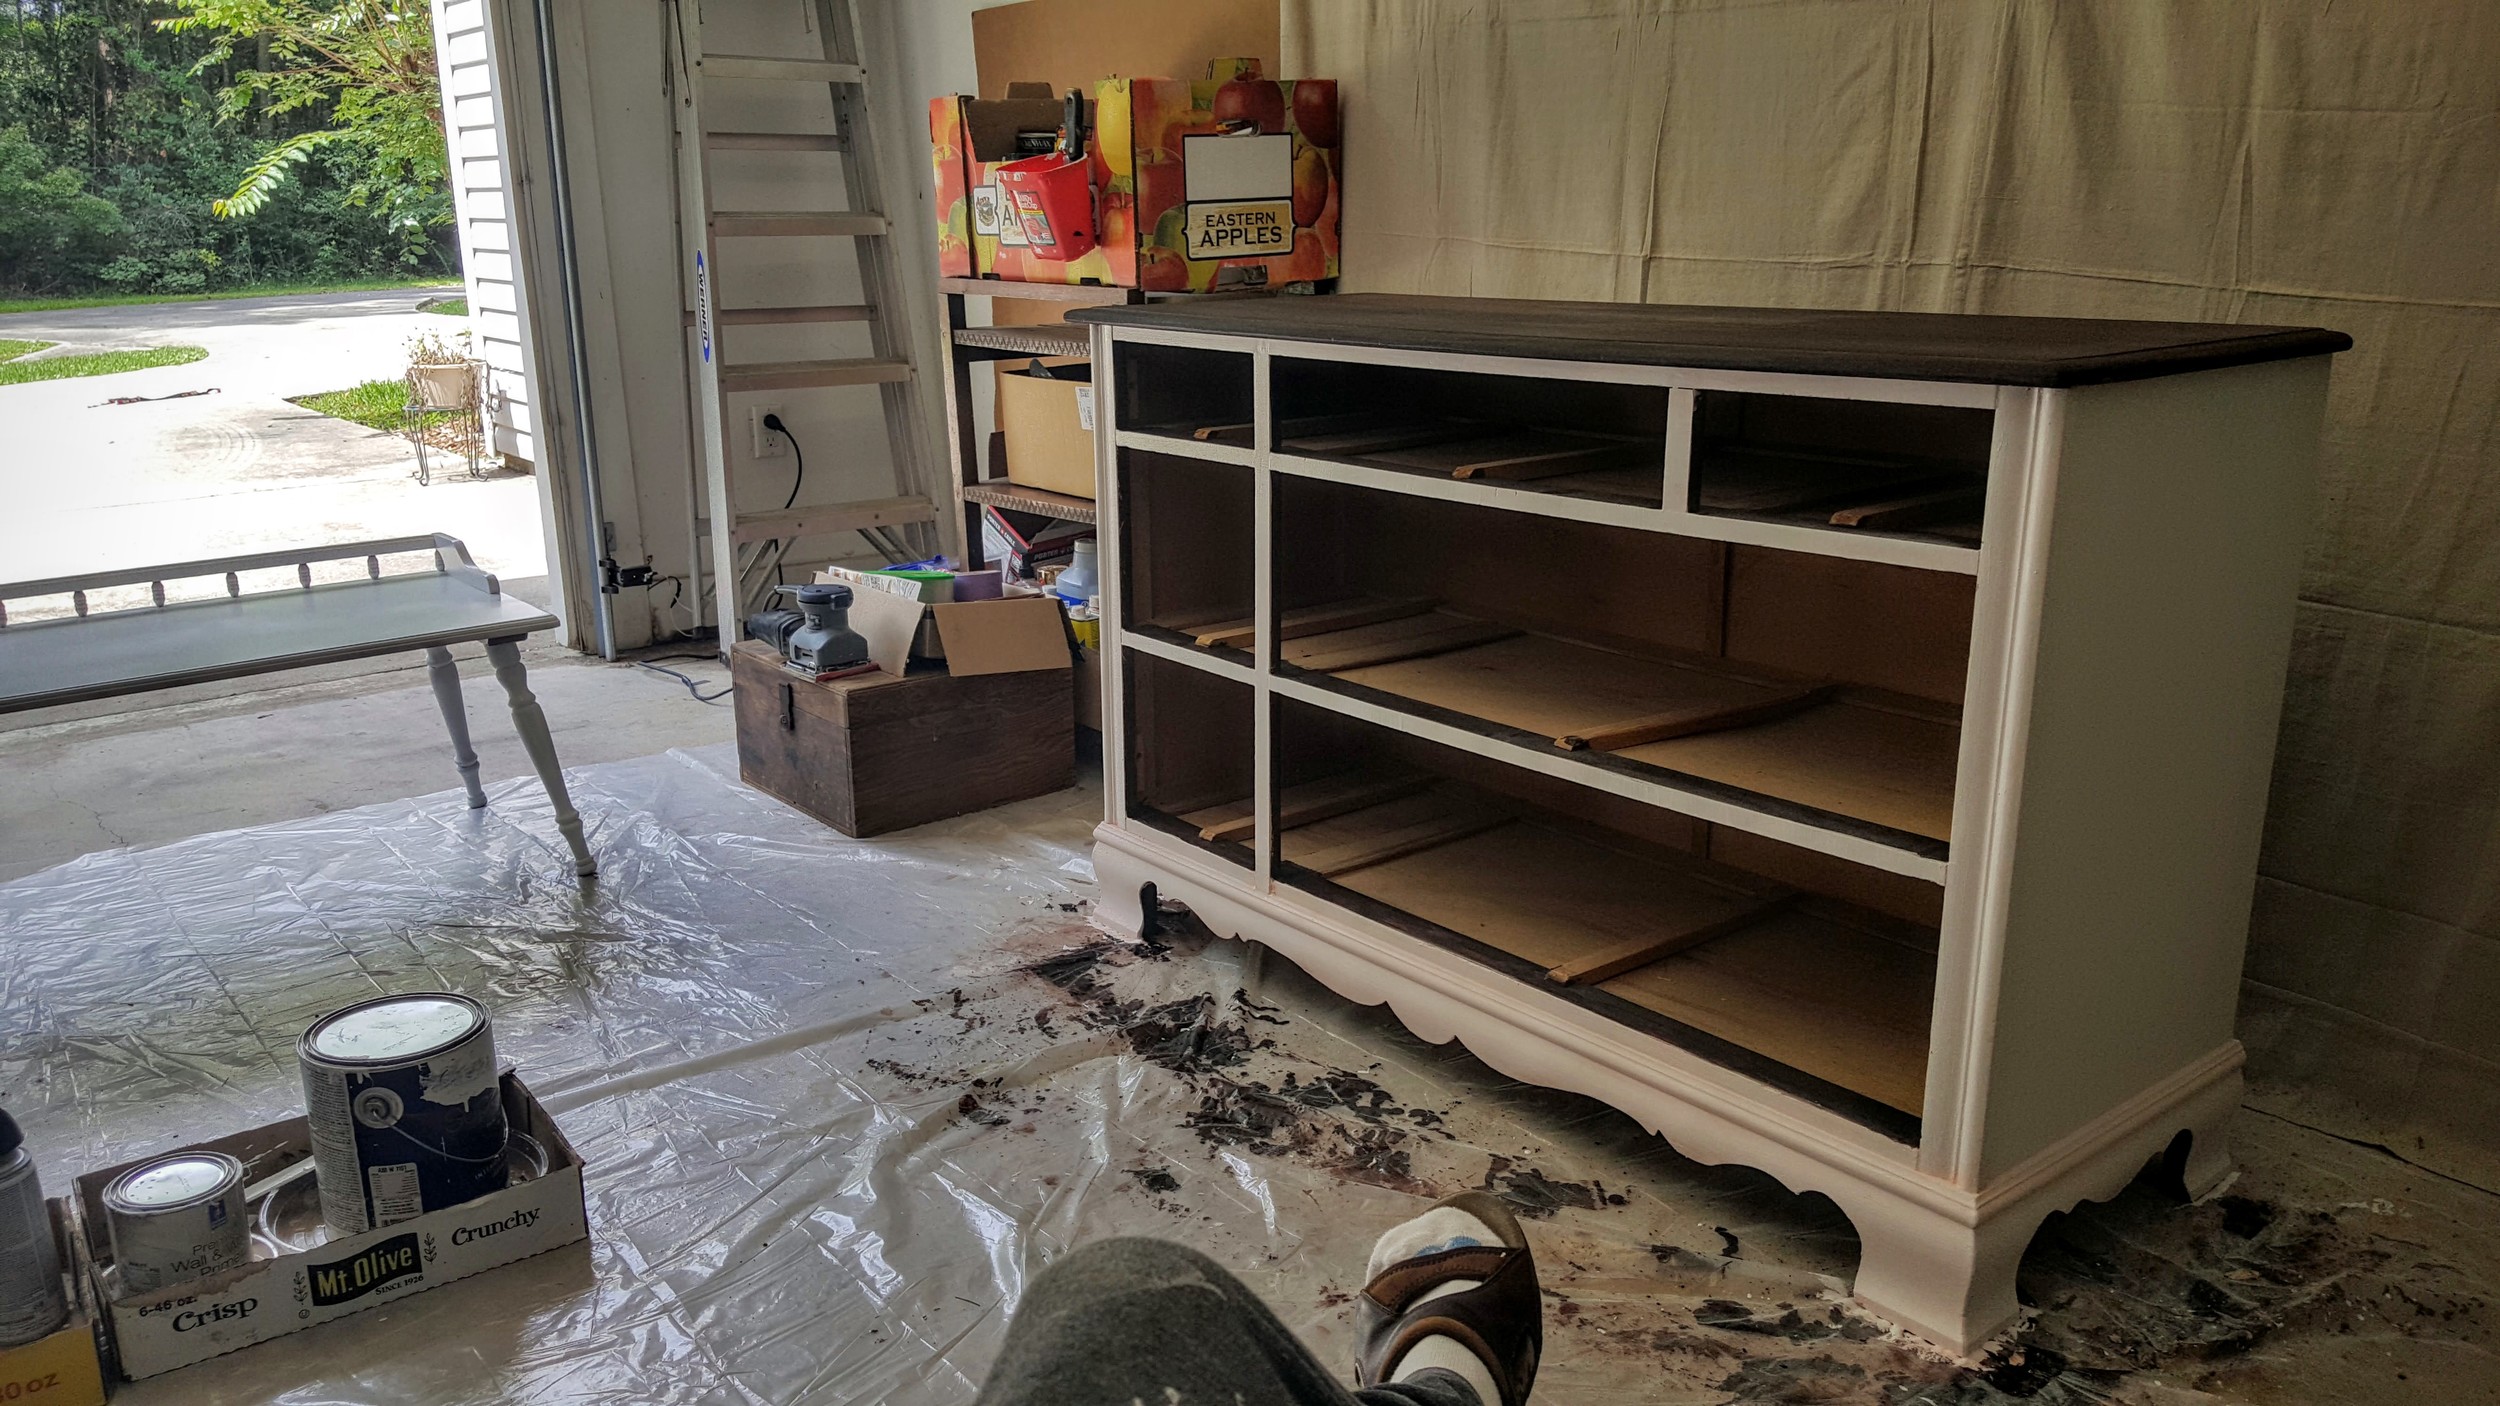
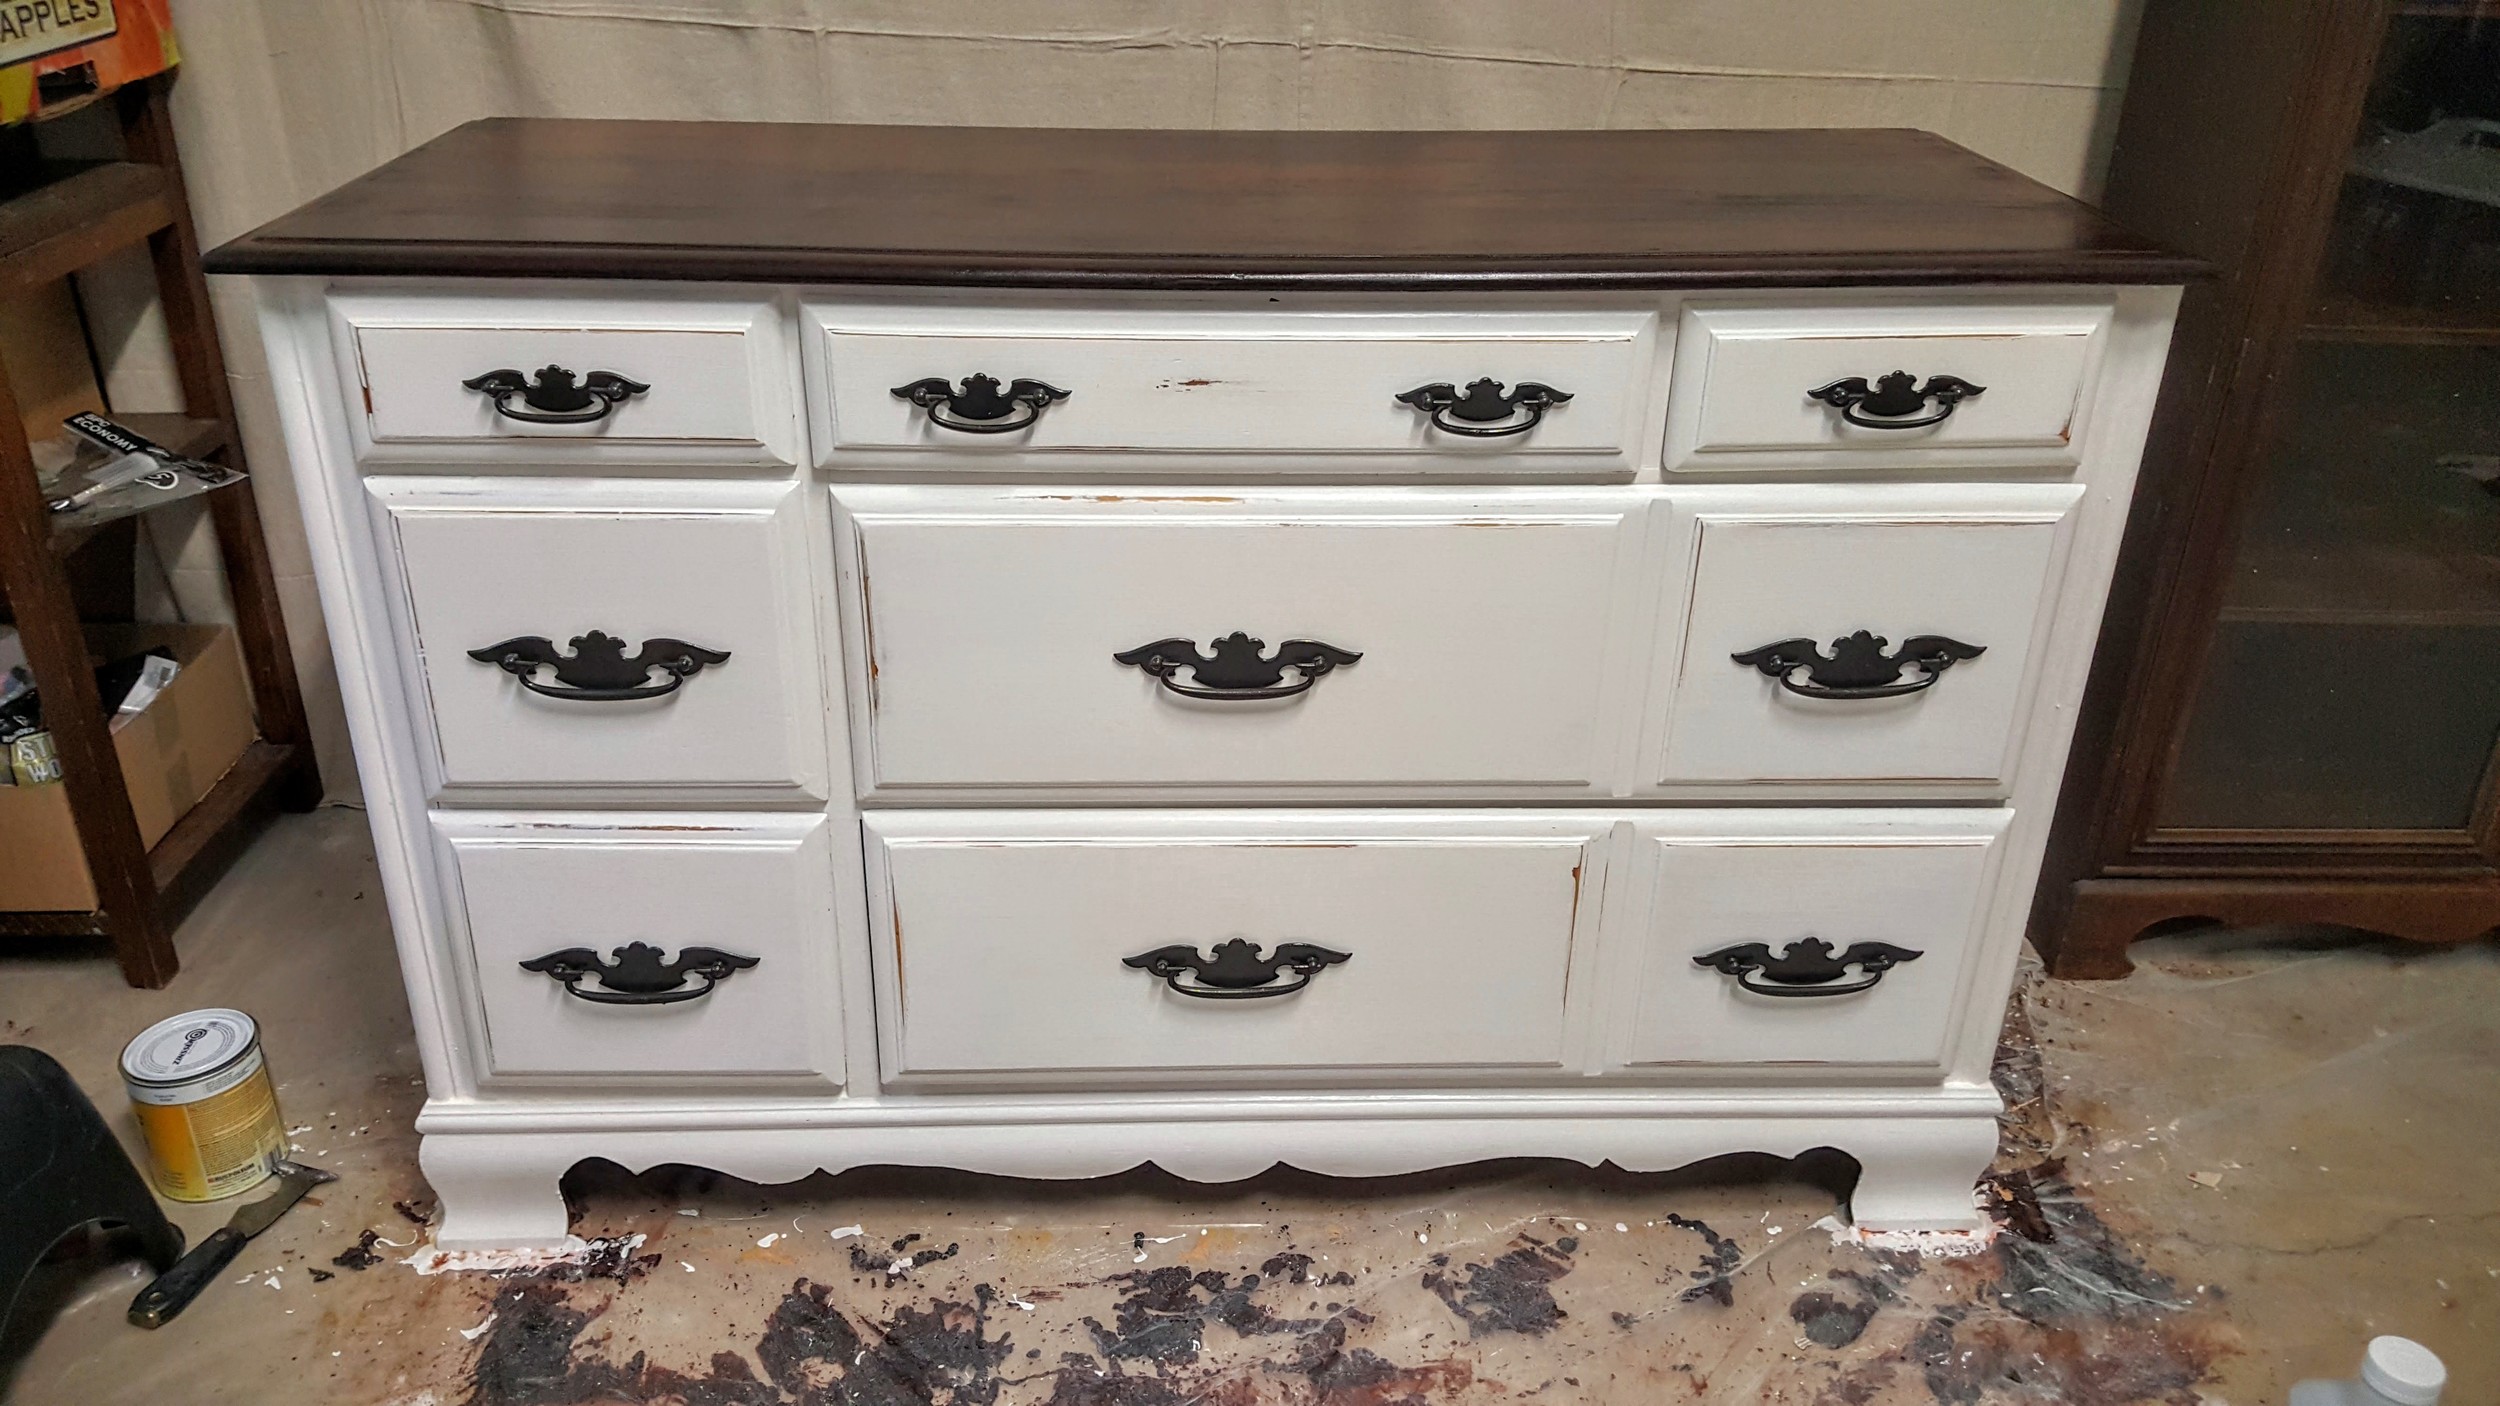
I painted it in Benjamin Moore's Chelsea Gray (love this color) because it coordinated really well with the Waverly fabric I used for the back and followed that with General Finishes Pitch Black glaze wiping it off quickly on the sides but letting it set in a bit longer along the details of the top front and doors.  Once I put it all back together, I finished the top, bottom and shelves with a polyurethane to protect the surfaces.  I kinda like the thought of the painted parts getting a bit more weathered looking.

I like it.  It makes me happy to look at.  And isn't that really all that matters?  That you're happy with what you're doing?  That you're content in the knowledge that you can set your mind to do something and then you can make it happen exactly as you saw it in your head?  And then...what you saw in your head is actually really pretty?  Yeah...I like it.  There is a bit of odd satisfaction in being able to find something unloved and busted and bringing it back to life in such a way it makes a statement.  Just says a lot about so much.  Yup.

Holla.

Upcycled Maple Child's Dresser

This dresser had seen more than a few seriously good years in a child's room if the condition of it was any indication.  LOL!  There were stickers, water glass marks, scuff marks, and anything you can think of that a kid would do to a fine piece of solid maple furniture.  I used Goo Gone to remove the stickers, stripped the top.  Sanded the entire piece, dry wiped drawers interior and exterior (not the fronts) with stain, primed and painted the body and spray painted the hardware.  Final touches included weathering it a bit with sandpaper and two coats of polyurethane as a sealer.

Now?  It's ready for a new child!  LOL!  And since it's such a solid piece, should the new child tear it up...you can always redo again and again and again.  THAT'S why real wood furniture is so expensive these days because you can always make it better.  :)

An Elder gave me a major compliment today.  He's pretty hardcore and thinks everyone is lazy.  Like...everyone.  Always has.  And guess what he hates?  Lazy people.  Today he said to me, "Now see you?  You've never been lazy.  You're always doing something.  So much stuff out there to do and folks just watch tv."

Awwwwwwwww...so much love.  ROFL! I almost teared up.  

Vintage Drexel Triune Coffee Table COMPLETED!

This piece just might be my favorite so far.  Seriously.  The lines and heft of it are just so perfect that it makes me smile. I know every inch of this table as I've stripped it and started over twice because I love it so.   I just had a vision for it you know and I knew I could make it look like exactly what I wanted it to look like.

The brass hardware is original and took 3 separate scrubbing cleanings to get all of the old grime off it with Brasso, 0000 steal wool and using cheesecloth as a polishing cloth.  The scratches on top have been mostly buffed out and the deeper gouges were filled in with stainable wood filler so the top is smooth to the touch.  I love this piece so much, I would want it to have a custom glass top cut to put on top of it for protection.

The finished piece has been stripped with Citri-strip, sanded by hand with a 120 grit sandpaper along the base because of the carved details and sanded using my new Porter Cable electric palm sander (The Robinator is awesome!) on the top.  Then it was stained twice with light sanding in between coats using 220 grit paper and Minwax Red Mahogany stain.  Finally, two protectant coats of Minwax Polyurethane in clear satin were applied (first coat with a good bristle brush, final coat with sponge brush) with a light 220 grit sanding after first coat dried for 24 hours.

I cannot express how completely I love this piece.  The closest online comparison of it that you can currently buy by Drexel is this cocktail table for $1,929 and it's in cherry, not rare mahogany as this one is. Drexel Cocktail Table  

They call them cocktail tables now and that cracks me up.  LOL!  I guess people are more fond of cocktails than coffee these days.  LOL!

This piece already has a home, unfortunately, as someone I love claimed it when they realized I wasn't going to keep it.  They have excellent taste and recognized the quality of it immediately too.  I have been doing a soft discouragement campaign using the techniques of saying nonchalantly, "You know you don't have to buy it. It might not match your stuff now cuz it came out so dark.  Don't feel obligated to follow through just cause you said you were going to." But that hasn't worked.  *sigh*  LOL!

I am having SO.MUCH.FUN doing these pieces I'm finding!  GO ME!!!!!!!!!!!!! GOTTA KEEP BUSY! Isn't it gorgeous???????

Drexel Triune Coffee Table

So...I ran into this piece and recognized that it was solid, CARVED, real wood.  It was heavy and seriously...there are no screws.  LOL!  Like...it seems to have been put together by elves.  So I scooped it up.

Then, I got it home and did some research on it.  When I found out it was solid mahogany, I was like...WHOA.  See...mahogany is super rare now.  Something about them using it all up and not replenishing it properly.  That's why it is so expensive when you find it.  So then...I got scared.  REAL.SCARED.

I didn't want to screw it up.

So I read everything there was about refinishing real mahogany because there was no way in hell I was putting paint on real mahogany.

First...I stripped it with Citri-strip.  Then...I let it dry for almost a whole week.  Next, I sanded it and then...I tried to repair some of the deeper scratches.  Right now I've put one coat of stain on it and I'm letting it dry completely.    I'll pick back up tomorrow with another sanding to fix the scratches even more.

This one is a slow and steady job so it might take a while to complete it.  I'll let you know when it's done.  I'm just super happy about the find.  Real wood is expensive as all get out.  Real MAHOGANY?  YAAAAAAAAAAASSSSSSSSS!!!!!!!!!


Vintage Mersman Round Coffee Table

Mersman 31-25

Mersman 31-25

I was looking for something I could try the shabby chic look on and glaze.  Since I only paid $5 for this piece, I wasn't scared I'd screw it up. LOL! And hey...even if I did screw it up, I could always strip it and start over right?  Right!

One of the things I really enjoy is doing the research on a piece and finding out who made it and when. I always get excited when a piece has the manufacturer's name on it.  

This table is from the 1950's and has a nice bit of solid heft to it. In the 1950's, laminate furniture was popular and this piece had a laminate top.  Because of this, I sanded it and primed the entire table before painting. Then, I distressed the base with sandpaper and put on a coat of polyurethane.  Next I used General Finishes glaze in black on the top and the shelf to give them a distressed look too.  I haven't decided if I want to glaze it again or not but once I do, I will do another coat of polyurethane after a super light sanding.

upload.jpg

Whatcha think?  This is my first attempt at distressing with sandpaper and glaze.