Drexel Triune Coffee Table

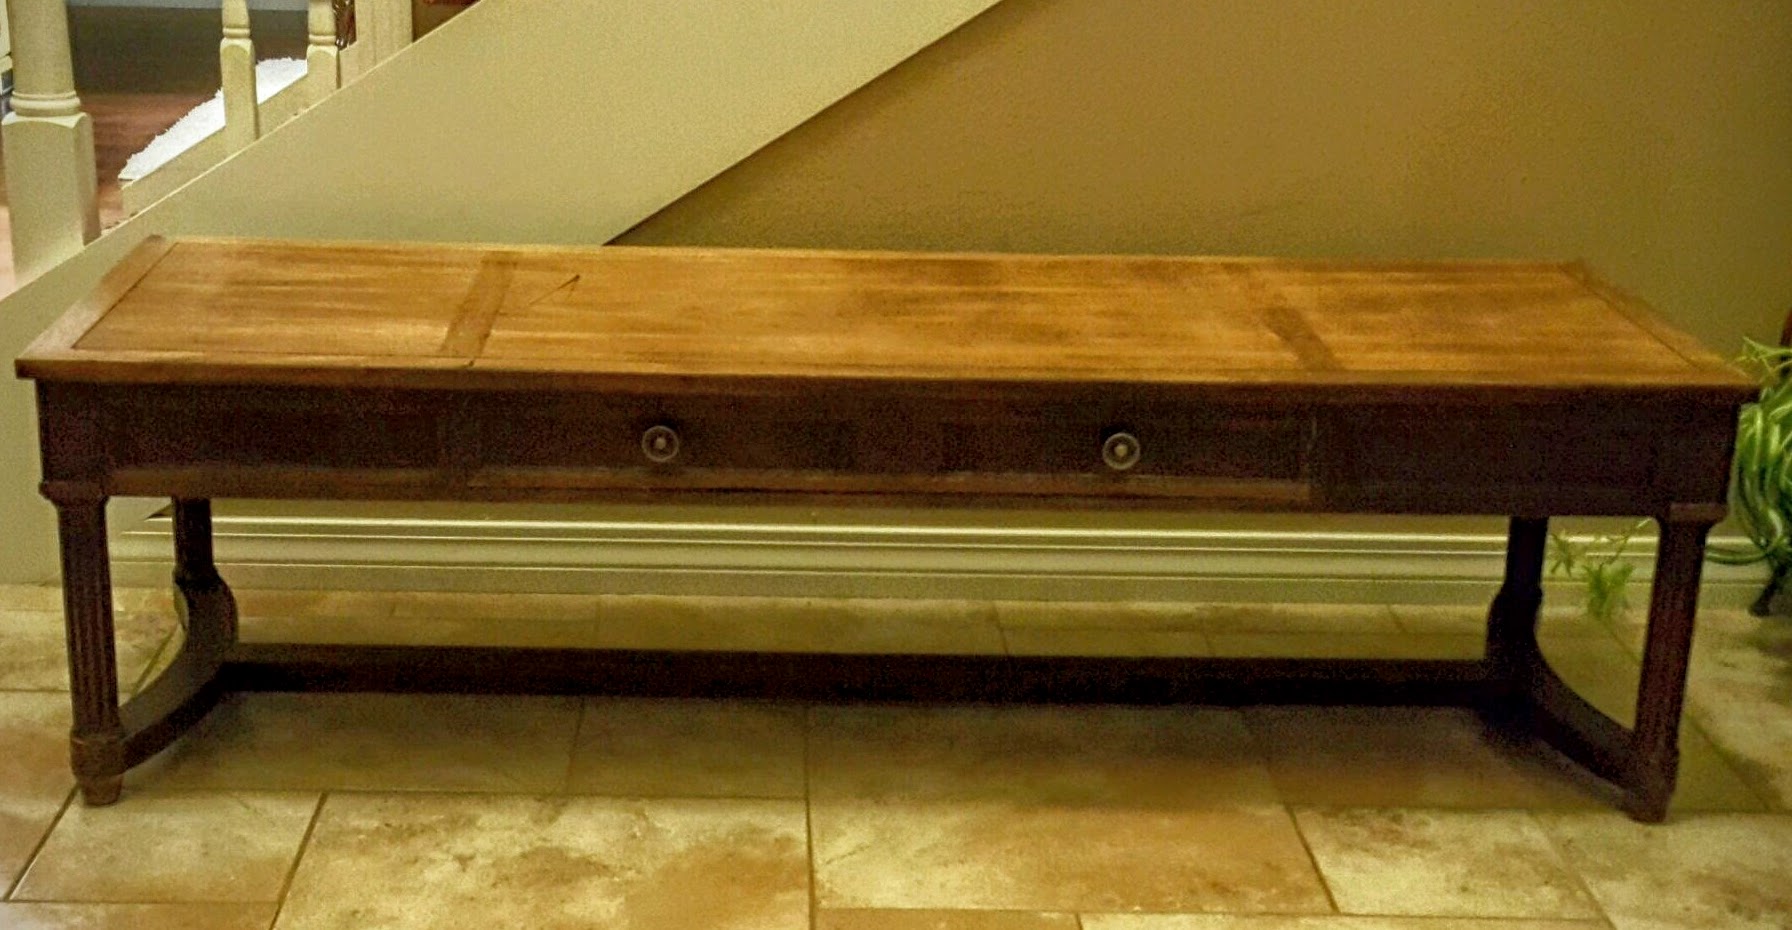
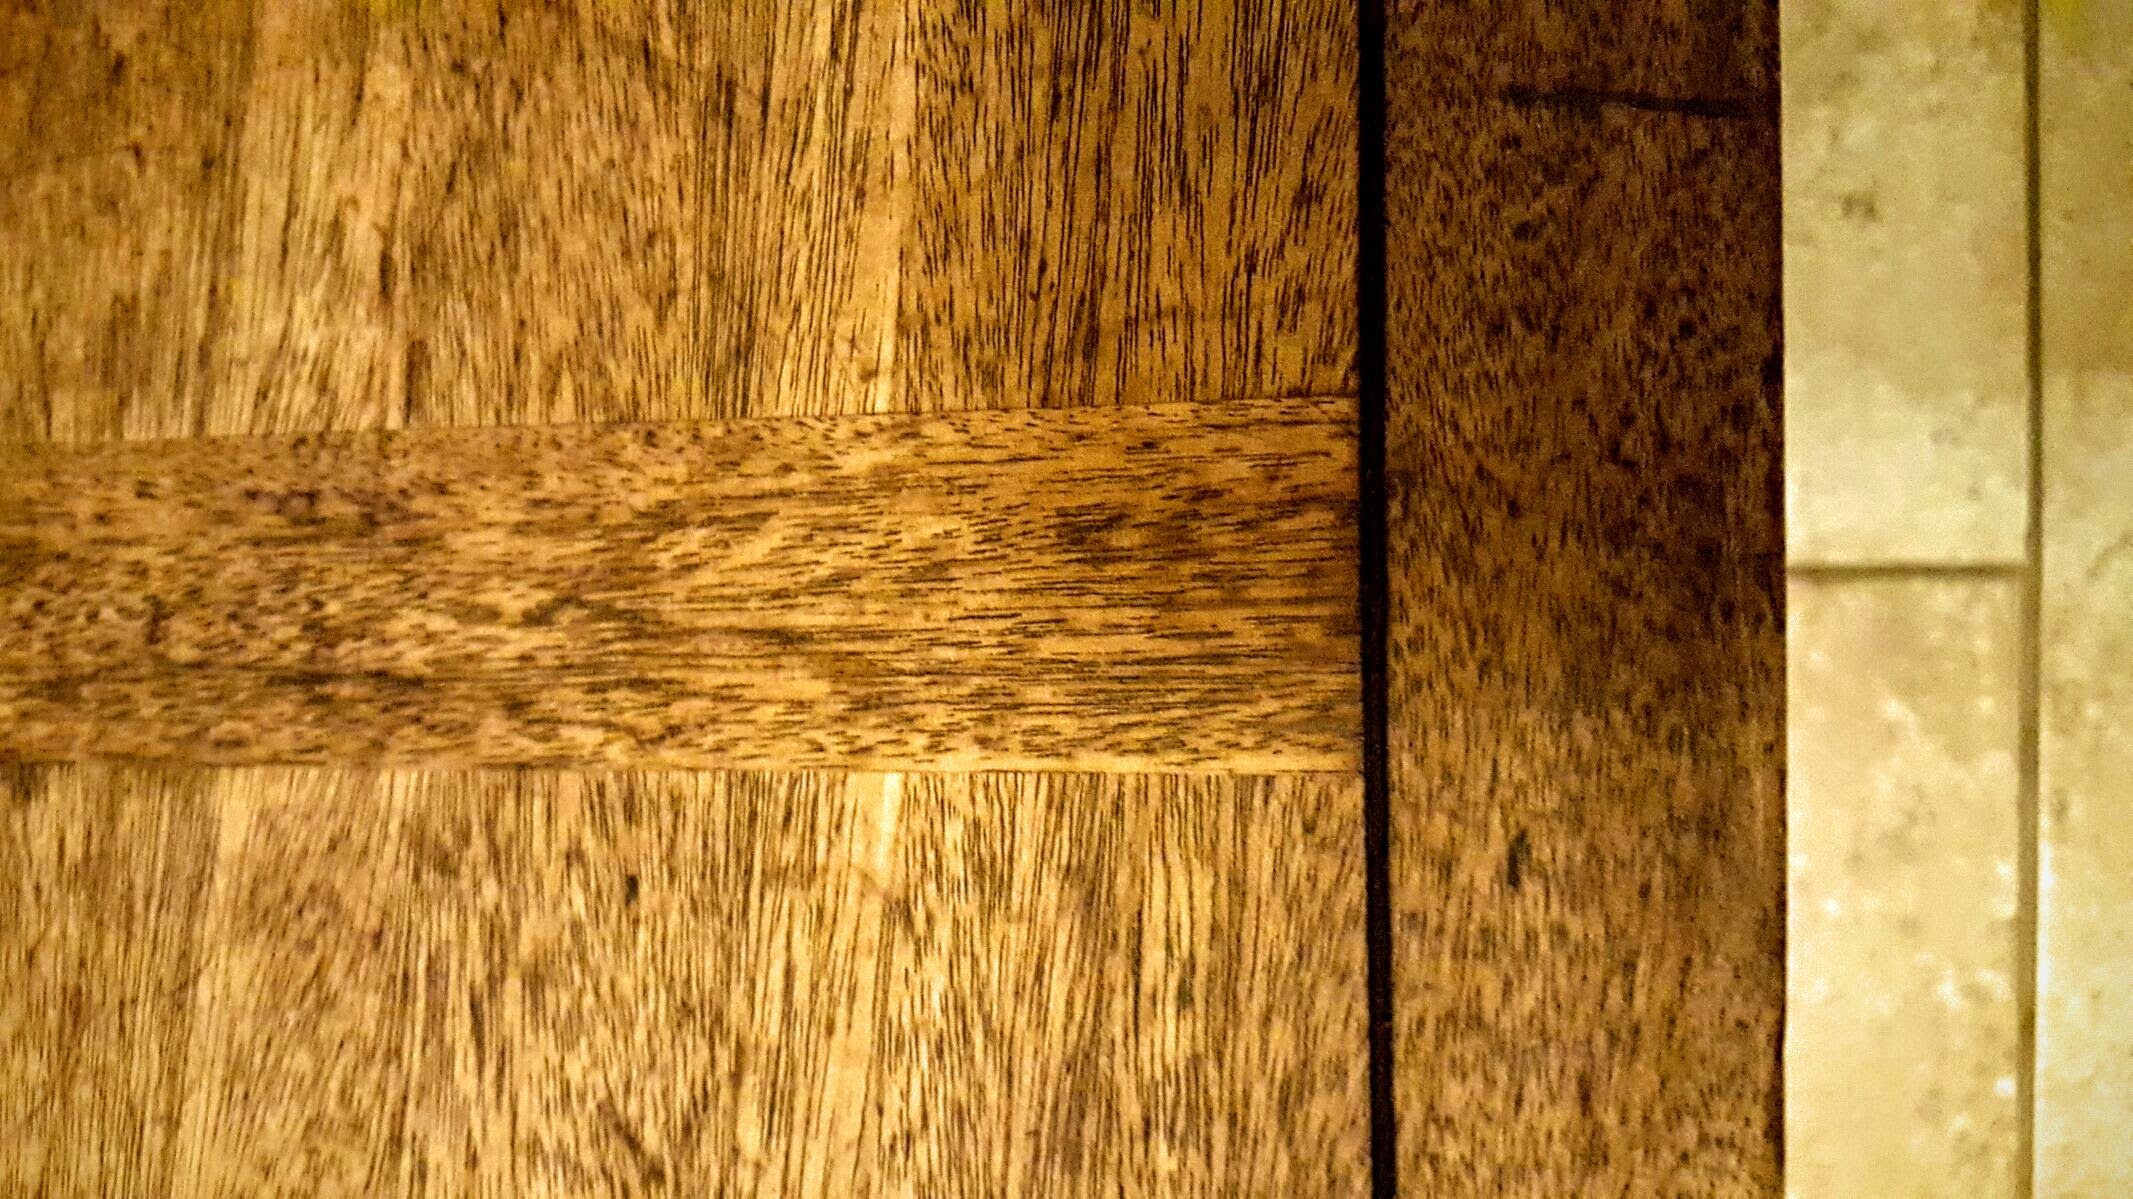
So...I ran into this piece and recognized that it was solid, CARVED, real wood.  It was heavy and seriously...there are no screws.  LOL!  Like...it seems to have been put together by elves.  So I scooped it up.

Then, I got it home and did some research on it.  When I found out it was solid mahogany, I was like...WHOA.  See...mahogany is super rare now.  Something about them using it all up and not replenishing it properly.  That's why it is so expensive when you find it.  So then...I got scared.  REAL.SCARED.

I didn't want to screw it up.

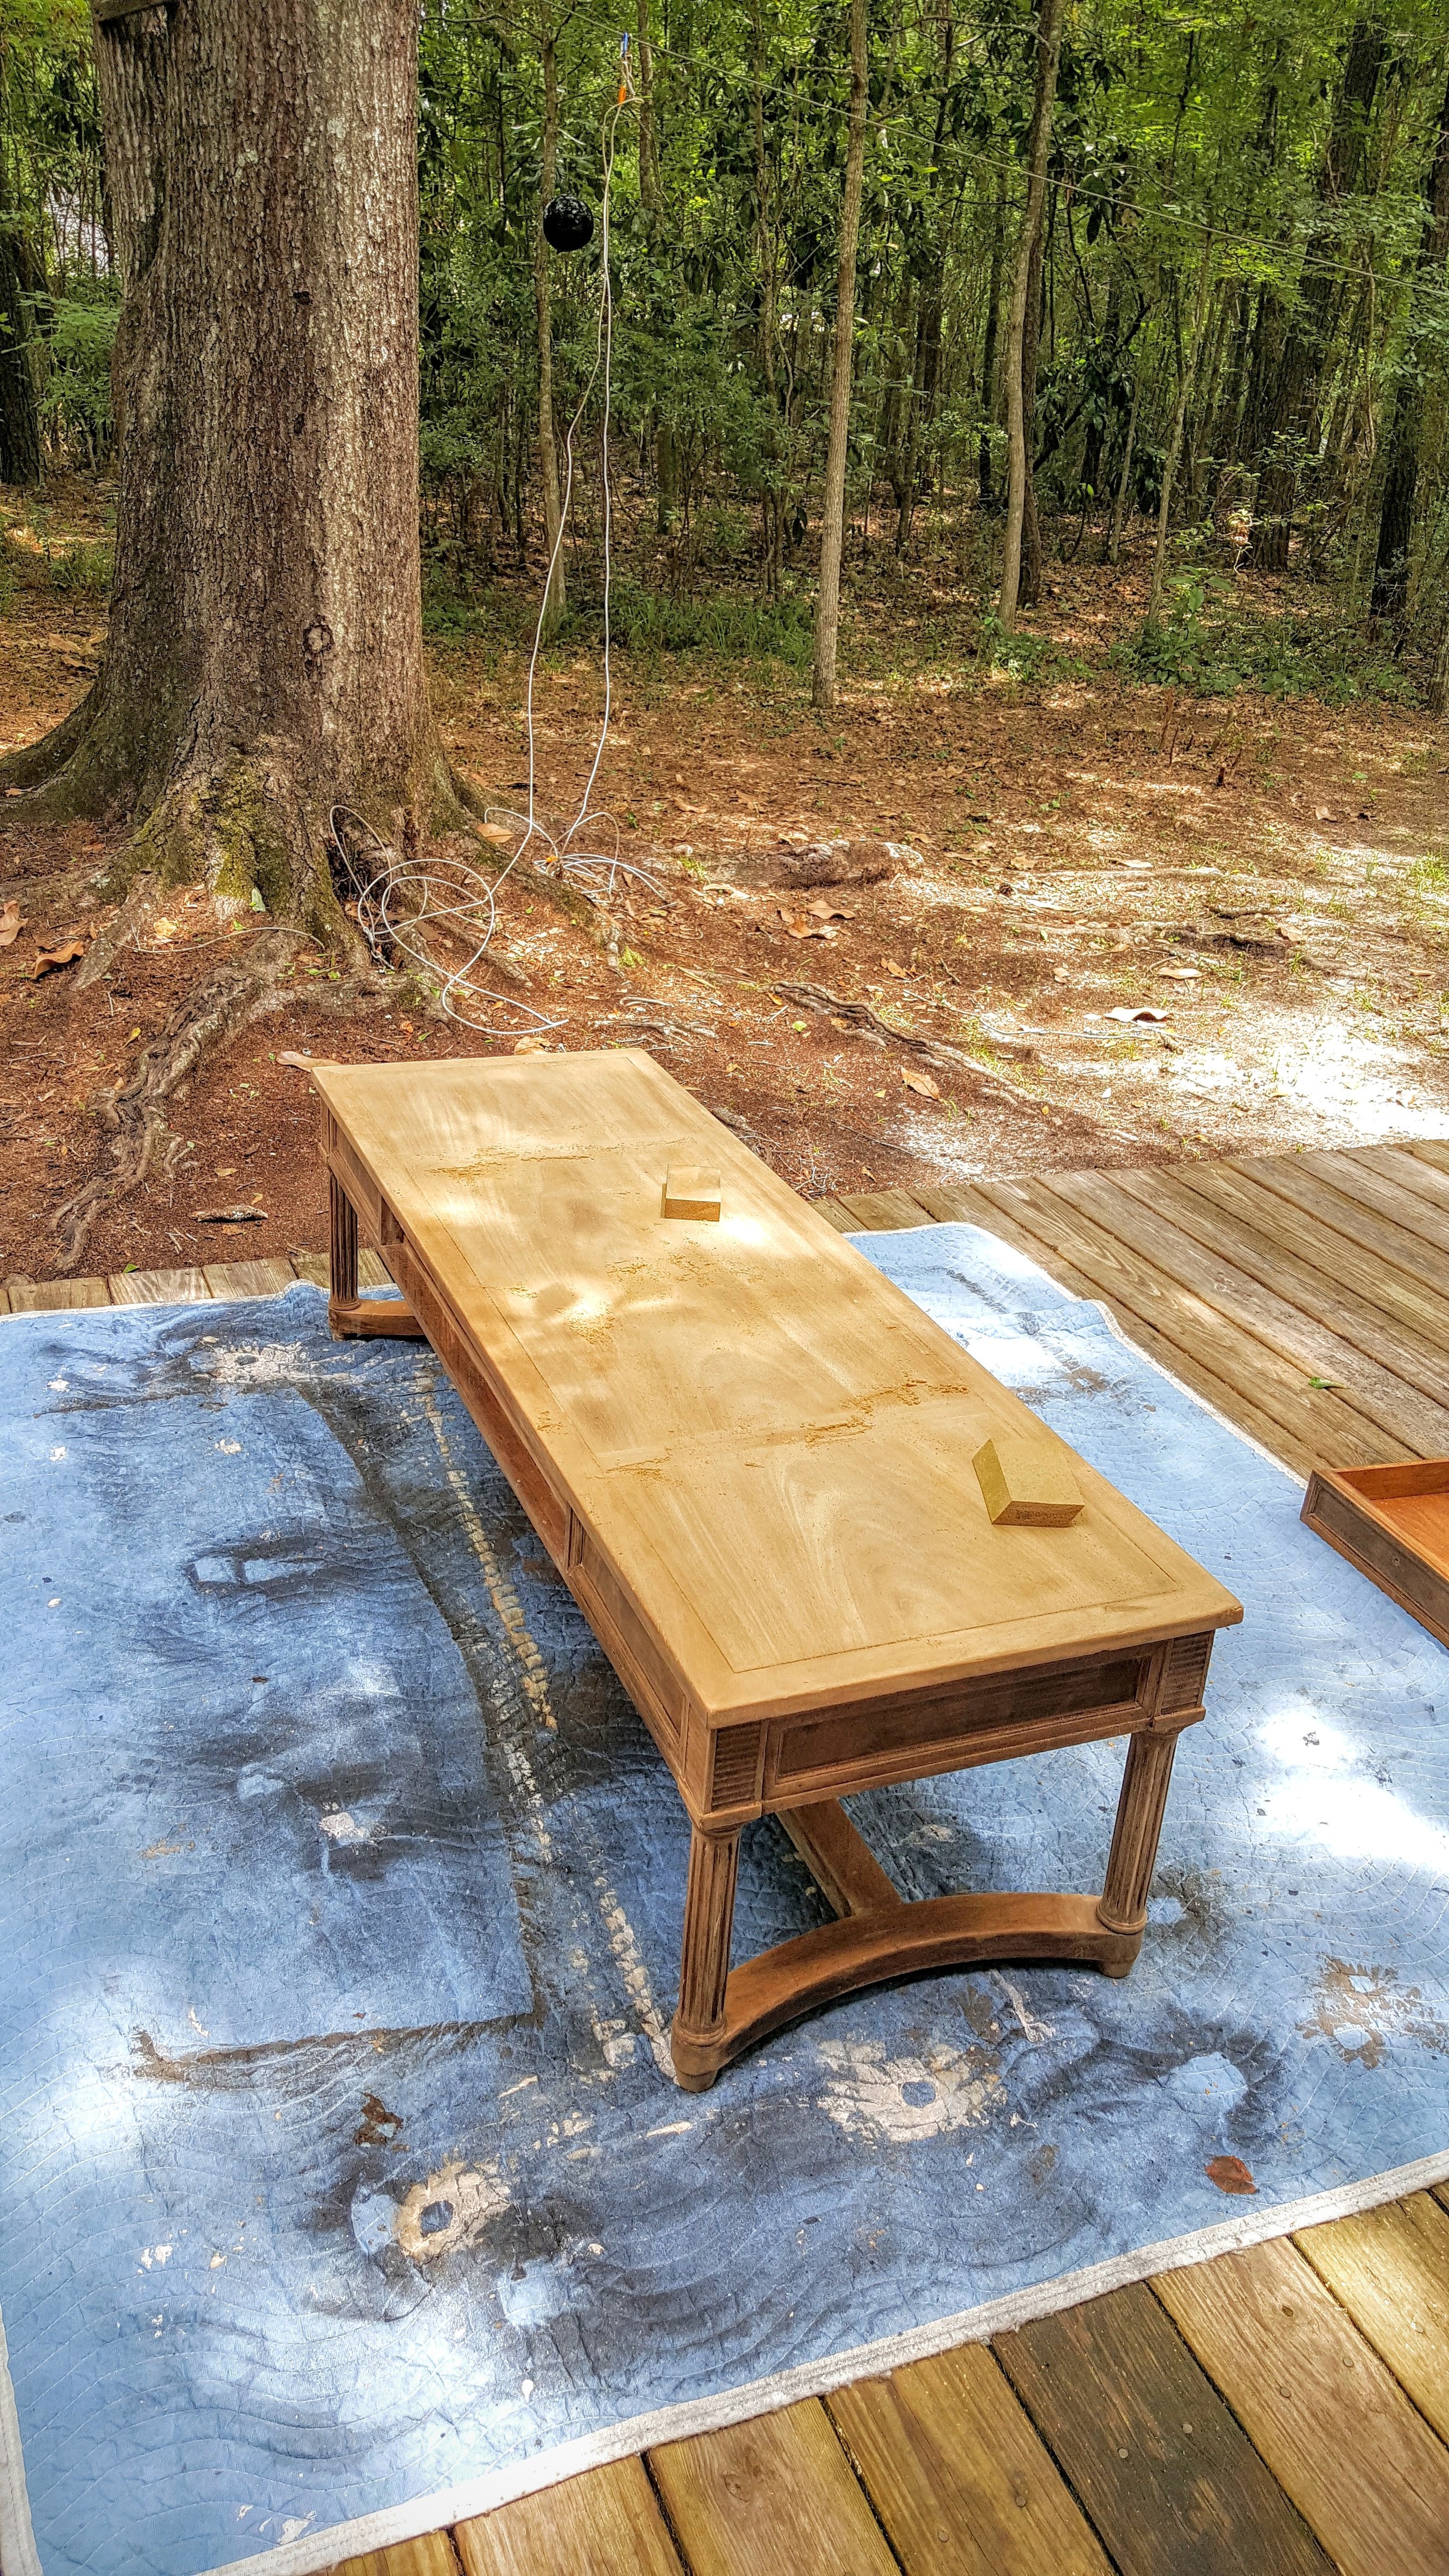
So I read everything there was about refinishing real mahogany because there was no way in hell I was putting paint on real mahogany.

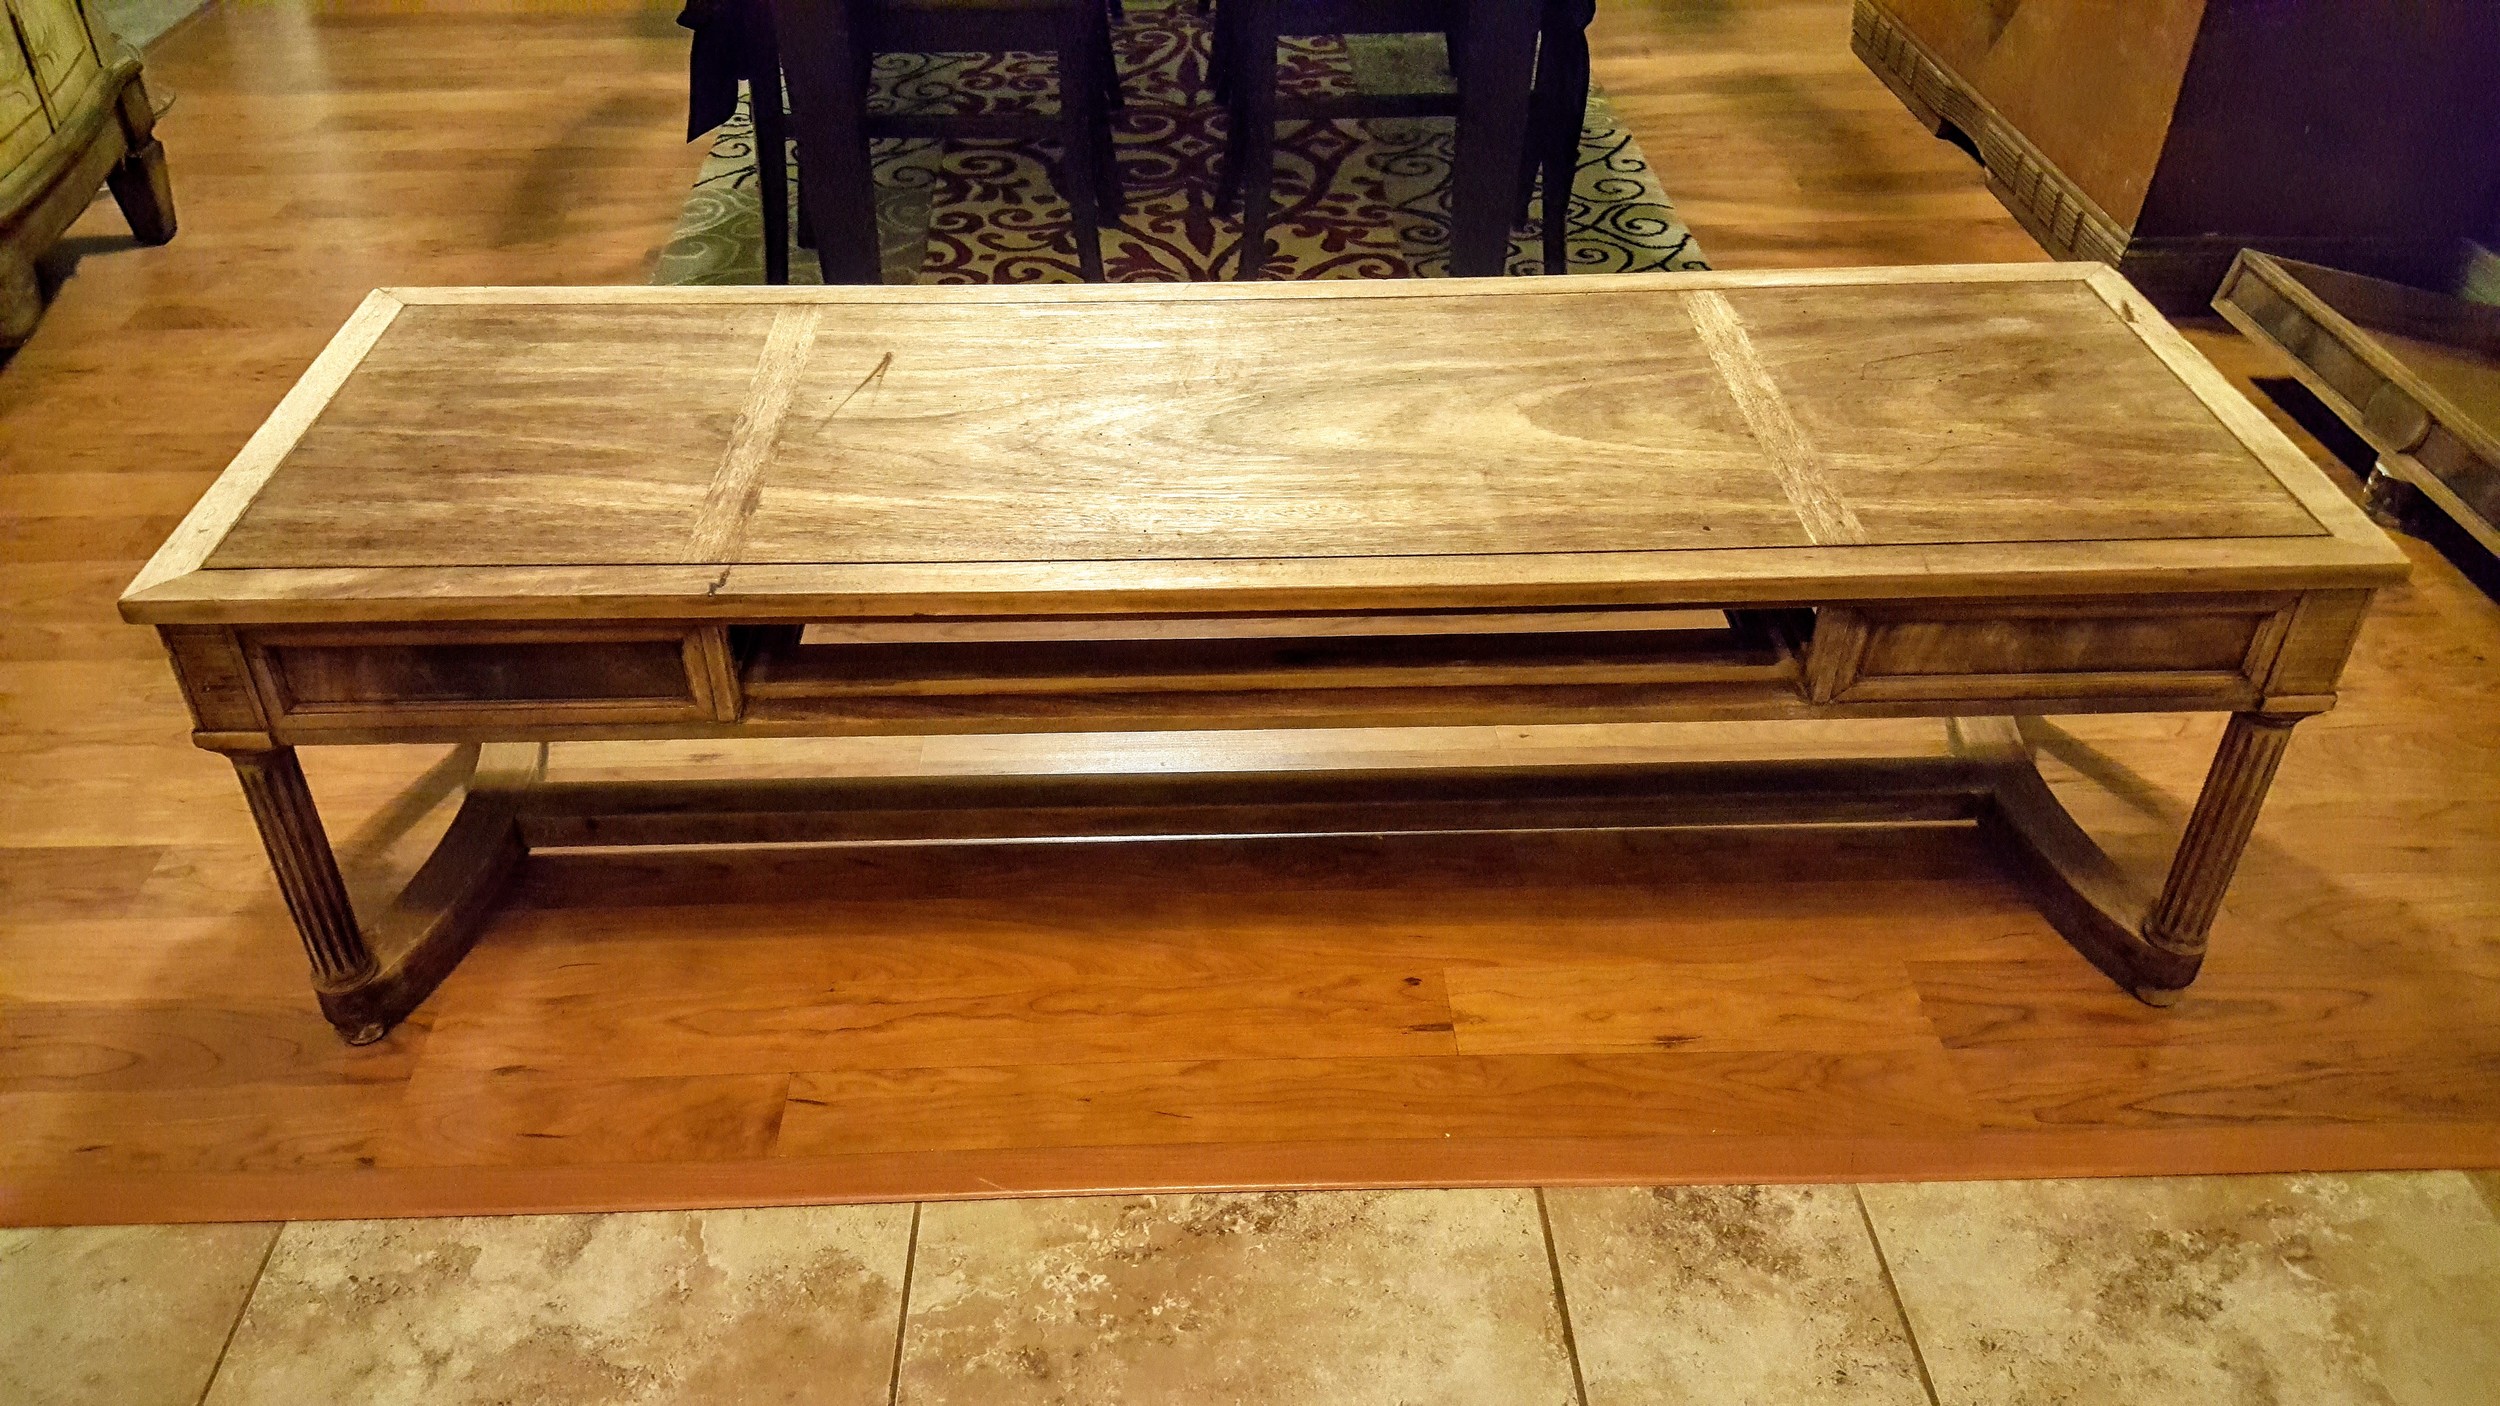
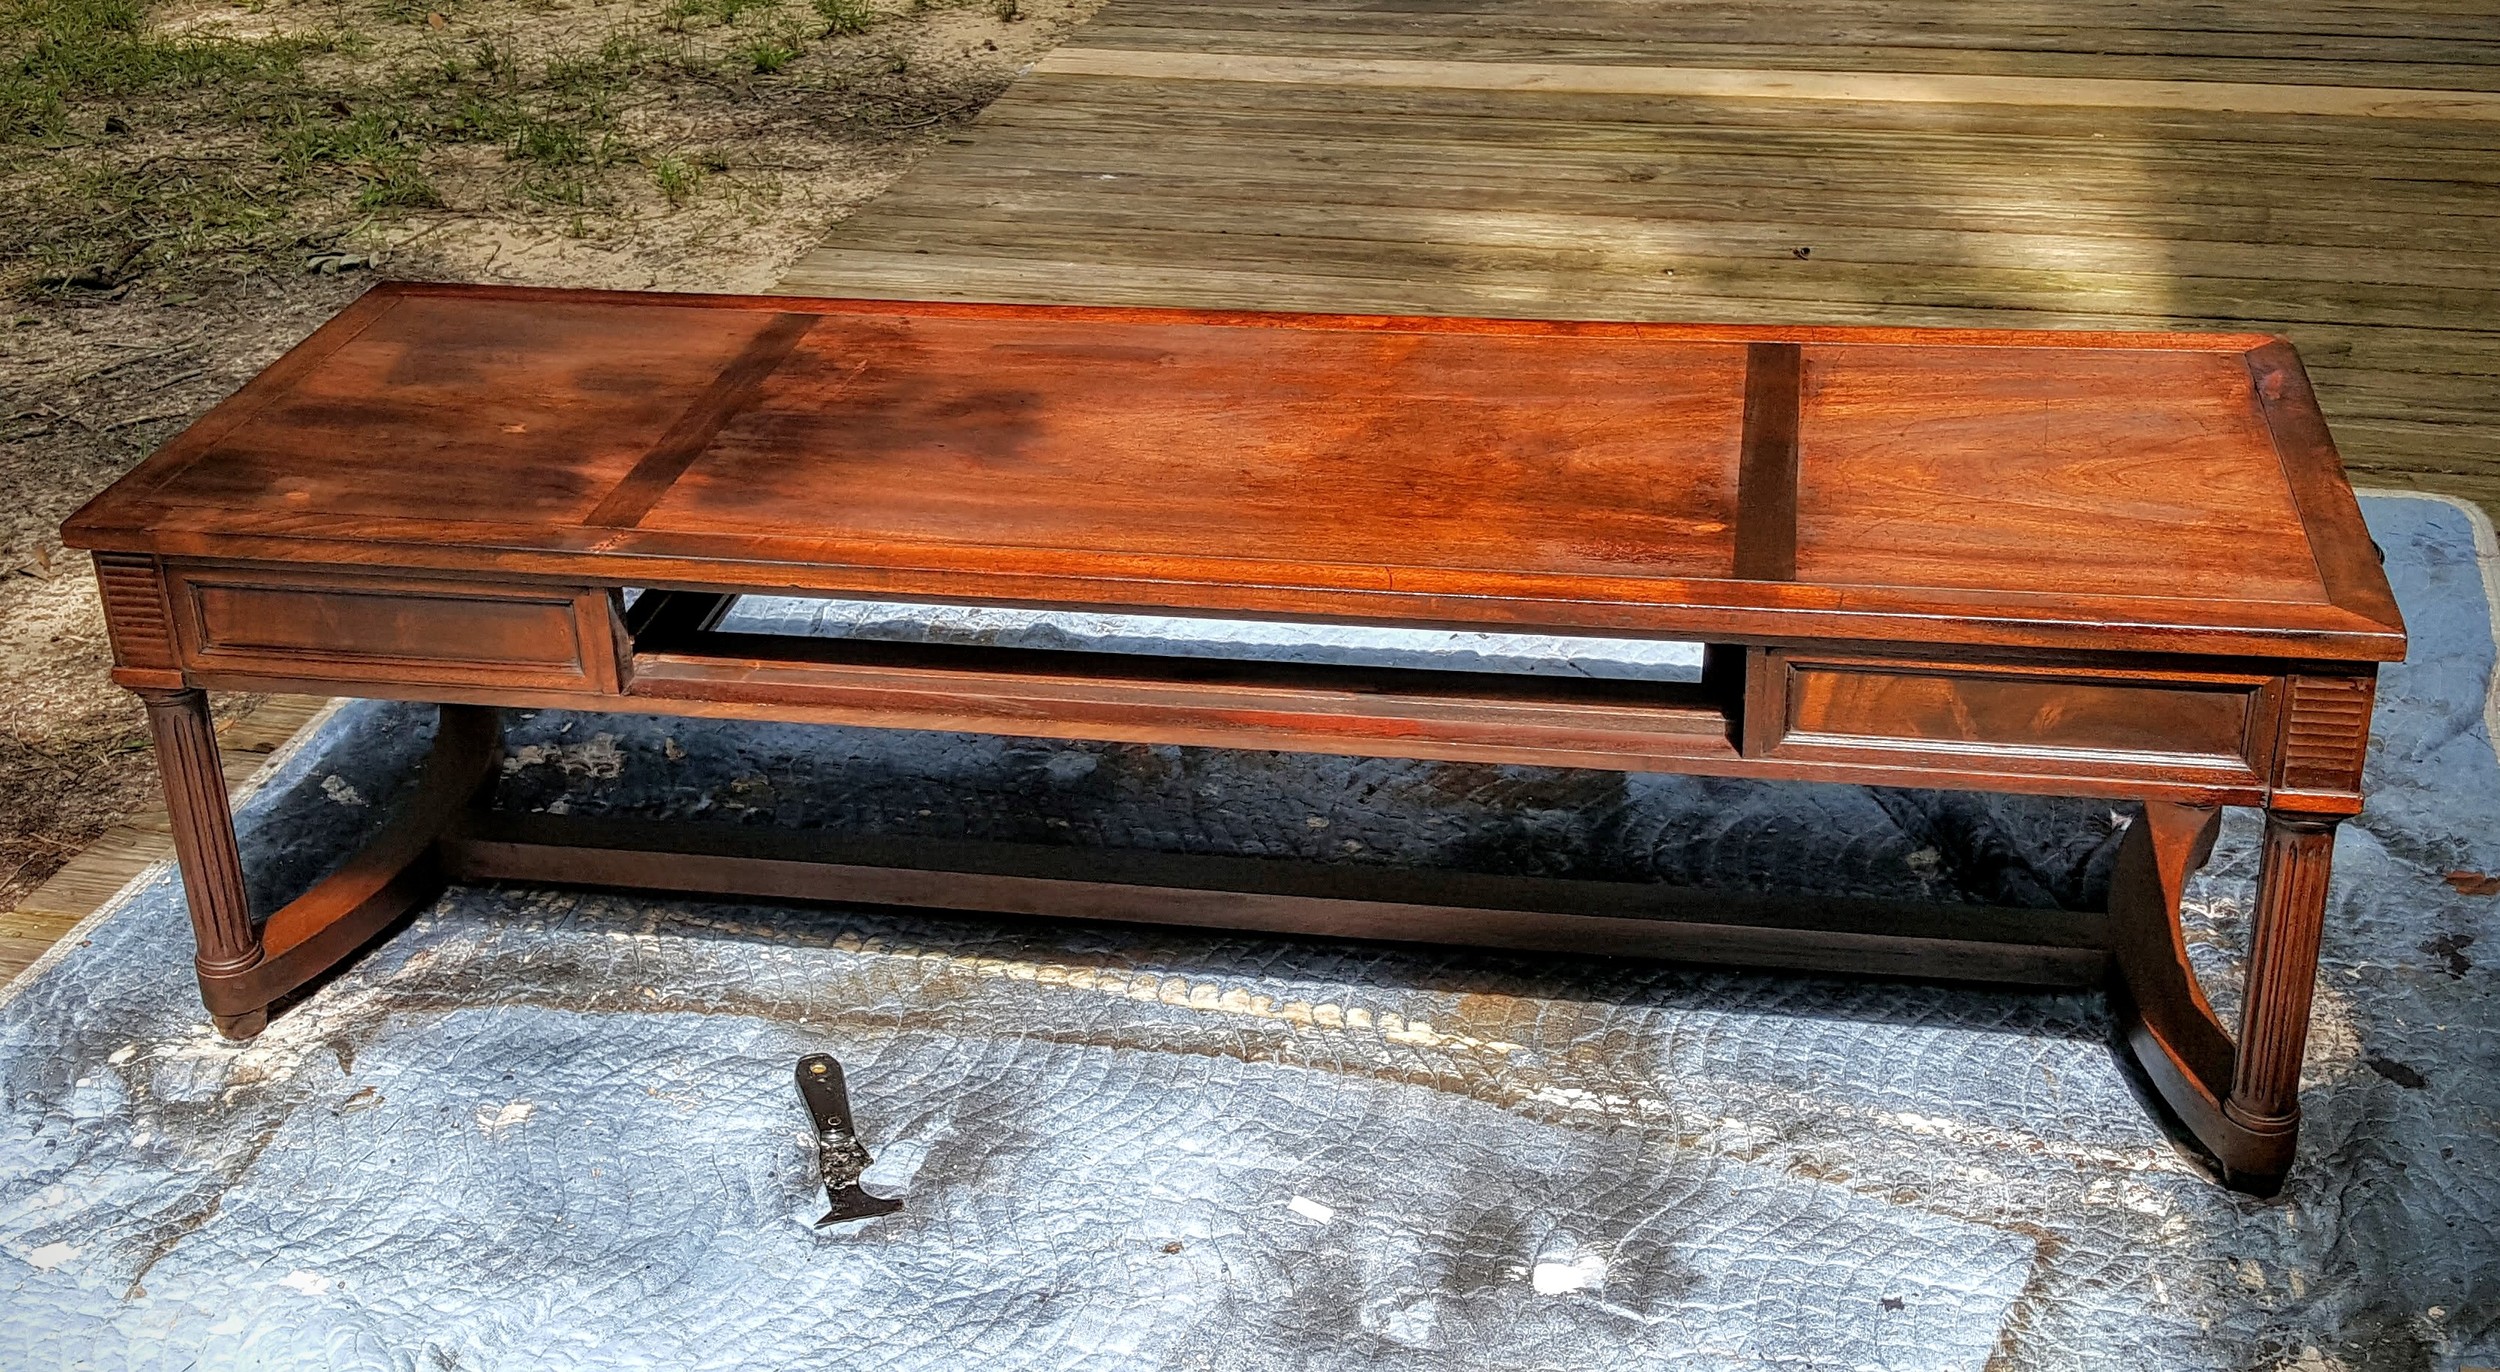
First...I stripped it with Citri-strip.  Then...I let it dry for almost a whole week.  Next, I sanded it and then...I tried to repair some of the deeper scratches.  Right now I've put one coat of stain on it and I'm letting it dry completely.    I'll pick back up tomorrow with another sanding to fix the scratches even more.

This one is a slow and steady job so it might take a while to complete it.  I'll let you know when it's done.  I'm just super happy about the find.  Real wood is expensive as all get out.  Real MAHOGANY?  YAAAAAAAAAAASSSSSSSSS!!!!!!!!!


Vintage Mersman Round Coffee Table

Mersman 31-25

Mersman 31-25

I was looking for something I could try the shabby chic look on and glaze.  Since I only paid $5 for this piece, I wasn't scared I'd screw it up. LOL! And hey...even if I did screw it up, I could always strip it and start over right?  Right!

One of the things I really enjoy is doing the research on a piece and finding out who made it and when. I always get excited when a piece has the manufacturer's name on it.  

This table is from the 1950's and has a nice bit of solid heft to it. In the 1950's, laminate furniture was popular and this piece had a laminate top.  Because of this, I sanded it and primed the entire table before painting. Then, I distressed the base with sandpaper and put on a coat of polyurethane.  Next I used General Finishes glaze in black on the top and the shelf to give them a distressed look too.  I haven't decided if I want to glaze it again or not but once I do, I will do another coat of polyurethane after a super light sanding.

upload.jpg

Whatcha think?  This is my first attempt at distressing with sandpaper and glaze.

English Yellow Annie Sloan Chalk Paint Empire Chest

Annie Sloan English Yellow Chalk Paint - Two coats.

Annie Sloan Clear Wax - One coat.

Minwax Dark Walnut Stain - One coat on stripped and fully dry top.  

Minwax Polycrylic Protective Finish - One coat on fully dry top.

Brasso - Rubbed brass brad finishes until they were shiny.  

The interior drawers are pretty perfect but I might paint them a shiny black.  Eventually.  Maybe.  Maybe not.  LOL!  I like it.  It makes me happy.  LIke...really happy.  Although, I'm sitting here looking at it now thinking that a stencil of white cherry blossom branches across the three long drawers starting about a third of the width in would be super cute.

Hmmmmmmmm...

Have you refinished a piece yet?  Or a new piece if you've done it before?

Do you like the yellow?