Refinishing Furniture

Vintage Mersman Round Coffee Table

Mersman 31-25

Mersman 31-25

I was looking for something I could try the shabby chic look on and glaze.  Since I only paid $5 for this piece, I wasn't scared I'd screw it up. LOL! And hey...even if I did screw it up, I could always strip it and start over right?  Right!

One of the things I really enjoy is doing the research on a piece and finding out who made it and when. I always get excited when a piece has the manufacturer's name on it.  

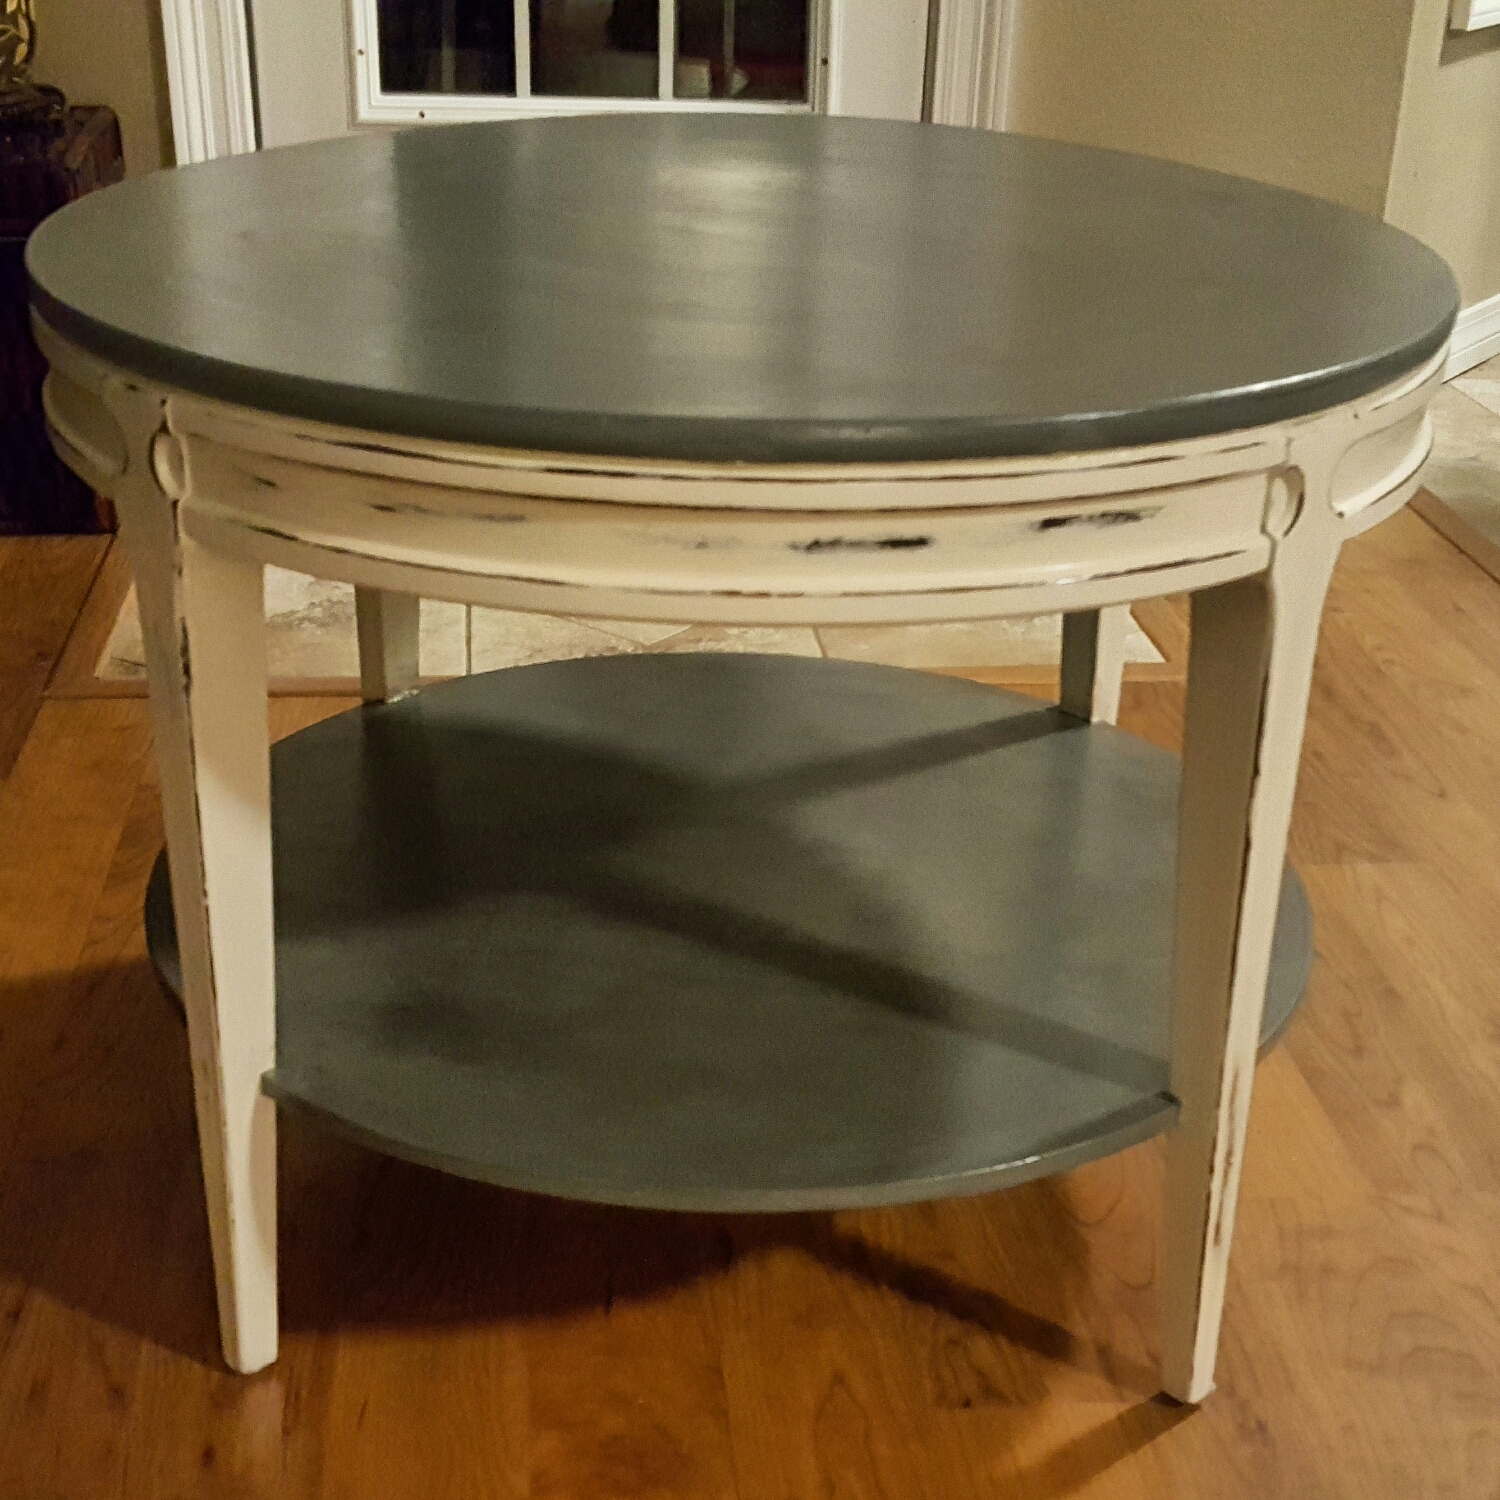
This table is from the 1950's and has a nice bit of solid heft to it. In the 1950's, laminate furniture was popular and this piece had a laminate top.  Because of this, I sanded it and primed the entire table before painting. Then, I distressed the base with sandpaper and put on a coat of polyurethane.  Next I used General Finishes glaze in black on the top and the shelf to give them a distressed look too.  I haven't decided if I want to glaze it again or not but once I do, I will do another coat of polyurethane after a super light sanding.

upload.jpg

Whatcha think?  This is my first attempt at distressing with sandpaper and glaze.

English Yellow Annie Sloan Chalk Paint Empire Chest

Annie Sloan English Yellow Chalk Paint - Two coats.

Annie Sloan Clear Wax - One coat.

Minwax Dark Walnut Stain - One coat on stripped and fully dry top.  

Minwax Polycrylic Protective Finish - One coat on fully dry top.

Brasso - Rubbed brass brad finishes until they were shiny.  

The interior drawers are pretty perfect but I might paint them a shiny black.  Eventually.  Maybe.  Maybe not.  LOL!  I like it.  It makes me happy.  LIke...really happy.  Although, I'm sitting here looking at it now thinking that a stencil of white cherry blossom branches across the three long drawers starting about a third of the width in would be super cute.

Hmmmmmmmm...

Have you refinished a piece yet?  Or a new piece if you've done it before?

Do you like the yellow?  


Updating Patio Furniture

My patio chairs are in good condition.  I love them because they are oversize and they rock.  Because they are outside without a cover all the time however, they show major wear and tear.

BUT THEY ARE STILL IN GOOD CONDITION.

And I hate buying new stuff to replace something in good condition unless I just want something new.

So I bought 3 cans of Rust-Oleum Hammered Black spray paint, put down a tarp, cleaned the chairs off and got to spraying!

This is what the wear and tear looked like up close:

And now they look FA-BU-LOUS!  GO ME!

Looking for new cushions now.  I want a pop of color this time.  I think.  Even though neutral is more practical.  I should get neutral...BUT I AIN'T!

Stripping Paint with Citristrip! #Citristrip #DIY

I'm working on upcycling a new piece.  It's a fabulous chest.  I wanted to stain the top instead of painting it and started by sanding it.  Well...I got worried because I didn't want all of the wood's natural imperfections to be removed via sanding so I decided I'd strip it instead using Citristrip

It was my first time using it and it was relatively easy.  The most difficult part was letting it sit for 30 minutes.

So...using a paintbrush, I brushed it on the top pretty liberally.  After 30 minutes, I scraped off the gunk using my painter's tool which is seriously the best thing ever for doing so much by way of DIY.  Red Devil's Painter's Tool.

And then voila!  It was ready to stain.  I used a stiff bristle brush to get the scraped bits in the grooves and, since I was in the sun...it dried relatively quickly.  

This was seriously the easiest thing ever.  Stripping paint is tedious and generally icky.  This was easy and with a pleasant smell to boot.  GO ME!  LOL!