
Fresh Or Frozen Turkey?
I always prefer a fresh turkey. Because of this, I know I have to order it a few weeks in advance and go either pay for it completely or put a deposit down on it. Then I pick it up Wednesday morning so I can bring it home and get it ready to brine.
If you're using a frozen turkey you should buy it on Monday so it stays in the fridge thawing until Wednesday when you need to get it ready to brine.
The next morning I get the bird out of the fridge and roast it.
Brining the Bird!
I always brine our turkey. The first time I wanted to do it forever ago, I found a brine recipe by Martha Stewart and had ever intention on buying the ingredients and doing it. Well...I needed to run by Williams-Sonoma to pick something up and saw their brining mixes. When I read the ingredient list...sounded the same and when I did the head math it was going to cost way less than all of the ingredients THE MARTHA listed that I'd need.
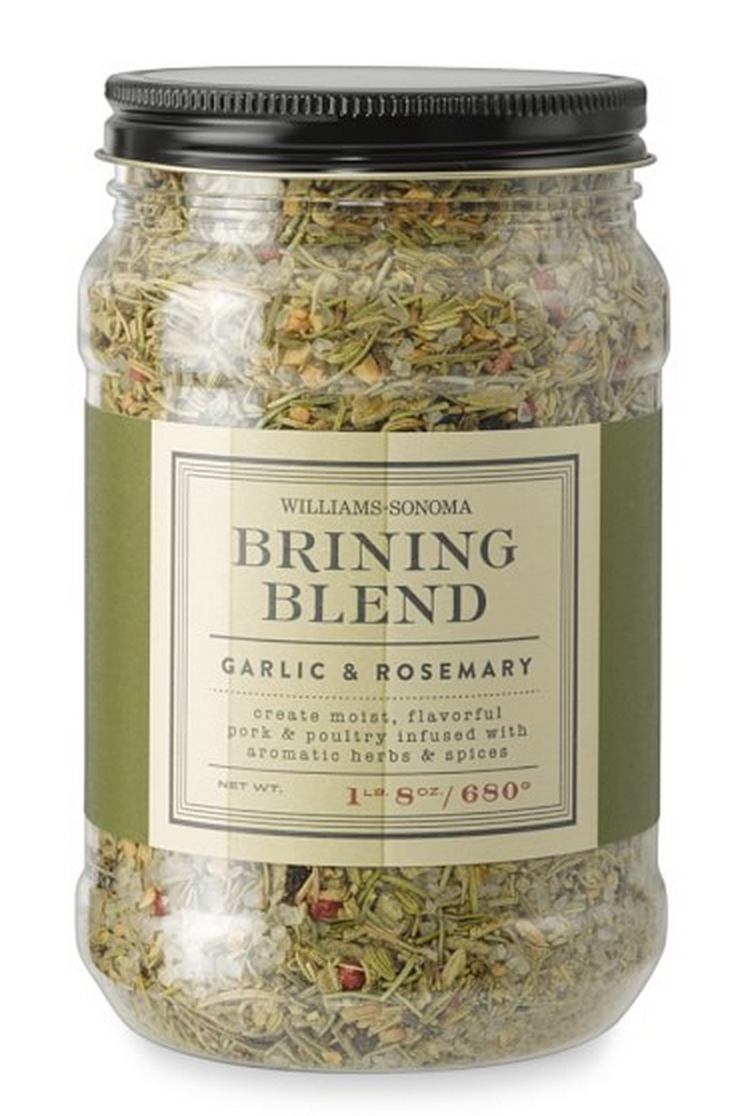
So yeah...bought it and have been using it ever since: Williams-Sonoma Brining Blend, Garlic & Rosemary
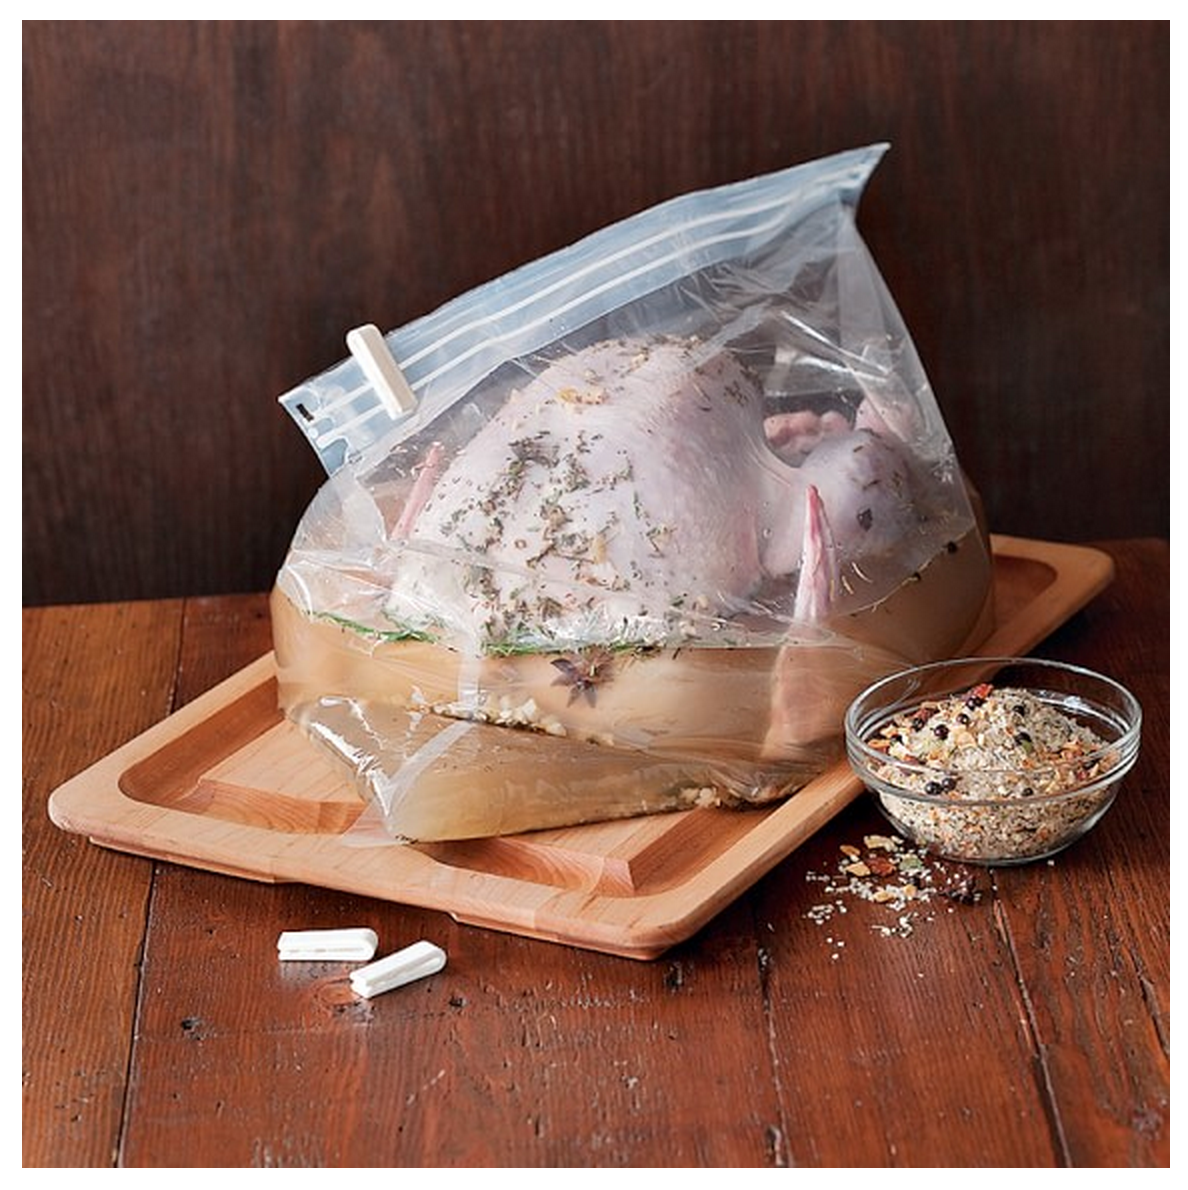
I also bought their brining bags: Brining Bags
And I followed the instructions on the container. I put the bag in my big gumbo pot and put the turkey in it. Then I add the brine, close the bag, put the lid on the pot and put it in the fridge for the amount of time I want to brine it (follow the instructions on the mix).
I've also found that the brining mixes at Whole Foods look pretty much the same so if you can't get to WS, just check out your grocery store options too.
When you brine your turkey you are basically sealing the pores of the bird so the juices stay in while cooking. LOL! All that salt water just seals the skin right on up. This way...you don't have to start with your turkey breast side down first so that the breast is guaranteed to be juicy. The thought of my clumsy behind flipping a hot turkey mid-cooking is tragic. Nobody wants that. That turkey would be sliding across the kitchen floor like a fumbled football on an NFL field.
Simple Roasting Instructions!
1. Remove the second rack from the oven and tuck it by the fridge out the way. Position the lone rack so that when you put the turkey in...it's in the MIDDLE of the oven from top to bottom and side to side.
2. Preheat oven to 450 degrees.
3. Take turkey out of brine. Drain right side up holding turkey under the wings.
4. Put turkey on rack inside roasting pan.
5. Put turkey neck and giblets in bottom of pan UNDER rack. (Hopefully you have the proper rack that is not flat to allow this.)
6. IF YOU'RE NOT STUFFING (which I never, ever, EVER do) place a lemon, cut in half, inside the cavity along with half a bell pepper and half an onion.
7. With hands...rub turkey down really well with softened butter (If you forgot to allow your butter to soften put in the microwave for 10 second intervals checking it between intervals to see how soft it is. Should only take one and a half interval or so depending on your microwave.). Make sure you get all up in the crevices and everything.
8. Sprinkle the turkey LIGHTLY with SOME of your herbs at first. Why? Cuz the heat and the butter is going to make most of them slide off in the beginning. Pace yourself...it's gonna be fine...I promise!

9. Fold aluminum foil over the wing tips. You know...kinda like making long Erica B. style gloves for the bird so the tips don't dry out. LOL!
10. Using linen cooking twine, measure out twine. I usually cut off more than I need and trim. Pull twine out, hold arm straight in front of you and let length of twine almost reach the floor. Double that and cut. Starting at the center of the twine...put it under the butt of the bird, folding the butt up tightly. Follow in a common sense way to pull the legs and wings as tight to the bird as possible without it being TOO tight so the twine doesn't cause damage to the skin. It doesn't have to be neat...just tight. Mmmmkay?
11. Add 2 cups of chicken broth to the bottom of the pan along with the giblets.
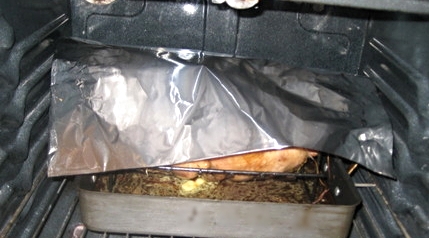
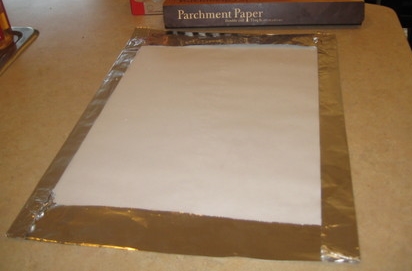
12. Make a "blanket" for your turkey by folding aluminum foil over parchment paper and cover bird.
13. Place turkey in oven setting timer for HALF the time you're going to cook the entire bird. (Roasting time depends on size of bird and if it's stuffed or not. Check here: http://www.fsis.usda.gov/wps/portal/fsis/topics/food-safety-education/get-answers/food-safety-fact-sheets/poultry-preparation/lets-talk-turkey/CT_Index)
14. Turn the oven temperature down to 350 degrees.
15. When timer goes off...you're ready to start the basting process. You won't have much (if any) liquid in the bottom of the pan. This will change. LOL!
16. I always start off with two cans of broth in the bottom of the pan along with half a stick of melted butter. (DON'T FORGET TO REMOVE THE ALUMINUM FOIL GLOVES!!!!!)
17. Sprinkle your bird with the rest of the seasonings you're using and (reset timer for the rest of time needed to cook your bird) Baste the turkey using both the brush and the basting bulb. (I use this: http://creoleindc.typepad.com/rantings_of_a_creole_prin/2013/11/angled-dripless-turkey-baster.html) BE QUICK! EVERY TIME YOU OPEN THE OVEN HEAT IS ESCAPING SO YA GOTTA BE QUICK! USE THE LIGHT ON YOUR OVEN TO CHECK IN!
18. I don't know how often I baste but it's prolly like every 20 minutes or so. I'm quick. Pay attention to what's in the bottom of the pan and adjust as needed with broth and whatnot.
19. Keep basting until the bird is done. It should be a lovely golden brown.
20. Remove and using handles on rack...remove the bird from the pan and put on a long cookie sheet cuz you're about to make the gravy.
Now, everybody has their own method to do anything so keep in mind this is the way I do it. My turkey is always delicious and I've changed up my process over the years and perfected it. There are, arguably, better ways to do most of this so if it makes sense and it works for you...then you know what to do. If you're a first time turkey roaster, however...I promise you can't go wrong following these instructions.

If you have any questions just ask and I'll answer. I promise to be nice unless you ask me something super dooper crazy. What's super dooper crazy you ask? Once...on a recipe for something with shrimp in it, someone asked what could they substitute for shrimp.
*BLINK*
I told them gummy worms because really...that's just dumb. There is no substitution for shrimp. Just don't put shrimp in it.
I made the following video in 2009. I've since changed some things up but it will help you visualize the process. This was BEFORE really getting into filmmaking so yeah...the production quality pretty much sucks. LOL! Next time I roast a turkey I'll make a better one.
I hope this helps! I believe in you! Your turkey is going to be FAN-TA-BU-LOUS!