DIY

DIY Blanket / Throw Ladder Pottery Barn Inspired

You, like me, probably have a blanket tossed across the back of your sofa or folded over an arm.  I was in Waco, TX at Chip and Joanna Gaines' store and my friend was looking for a blanket ladder.  When I saw the one she was buying, it was cute, but I was honestly thinking to myself...I could make something like that.

So I did.

And you can too!  Promises.

I went to Lowe's and bought two 8ft. long 2" x 2" for $1.98 each and had them cut 5ft. off each one and then cut the remaining pieces in half.  This way, you will leave with two 5ft. pieces and four 18" pieces.

Then...you get a box of self-boring wood screws, some sand paper and wood stain in the color you want.

So...I got home and laid out my pieces.  I wanted to be able to use the last rung so I made the measuring points begin at 6" and then every 12" after that so that there was 18" clearance at the bottom.  

I used a bit of wood glue on the joints because I wanted to make sure they didn't move.

Once you get it all put together, sand it as smooth as possible and then stain apply the stain you chose.  I did some in Minwax Dark Walnut and some in Minwax Golden Oak.  Seems everyone in my family wanted one once they saw mine.  *sigh* I put felt pads at the top of the back of them so they don't scratch the walls.  

I'm thinking about making one for the guest bathroom to put over the toilet to use for towels.  If I do that, I'll seal it with a waterproof clearcoat.  

Cool right?

I'll tell you what else was cool.  When I saw how much these cost on the Pottery Barn website knowing how much it cost me to make my own!  Pottery Barn Blanket Ladder 

Me make stuff.  You can make stuff too!  GO YOU!

Giant Outdoor Wreath

I wanted a gigantic wreath to put on the window in the middle of the top floor but Robby wouldn't let me be great.  He decided that since our ladder didn't reach that far safely...I could only put it where I could reach with him holding the ladder.  For some odd reason, he had a problem with me climbing off the tippy top of the ladder over the rail with a gigantic wreath and, since I couldn't hold the ladder while he climbed off the tippy top of the ladder over the rail with a gigantic wreath...well...you see how this ended.

Humph.

N.E.WAY.

I got a gigantic faux wreath, linked together sets of 3 unbreakable ornaments using green ornament hooks.  Added an outdoor bow and attached it NOT on the FABULOUS window where it would be perfect...but under it.  Safely.  

HUMPH.

20161210_152411.jpg

Me likey.  And it didn't cost a lot to make.  Which makes me likey it even moreso.  If only it was on the window...*sigh*

HOW IS YOUR DECORATING COMING?

UPCYCLED! Coat, Hat and Umbrella Stand for Foyer

I found this stand and it was super rickety.  Like...SUPER.  But you know how I feel about real wood so I knew it would be alright.  I took it apart and cleaned it really well and then put it back together solidly minus the rings.  Then...I primed it and spray painted it in antique white.  I painted the rings gold.  

Wanna know how much I paid for it?  $5.  LOL!  Yup...you read that right.  $5.  

GO ME!!!!!!!

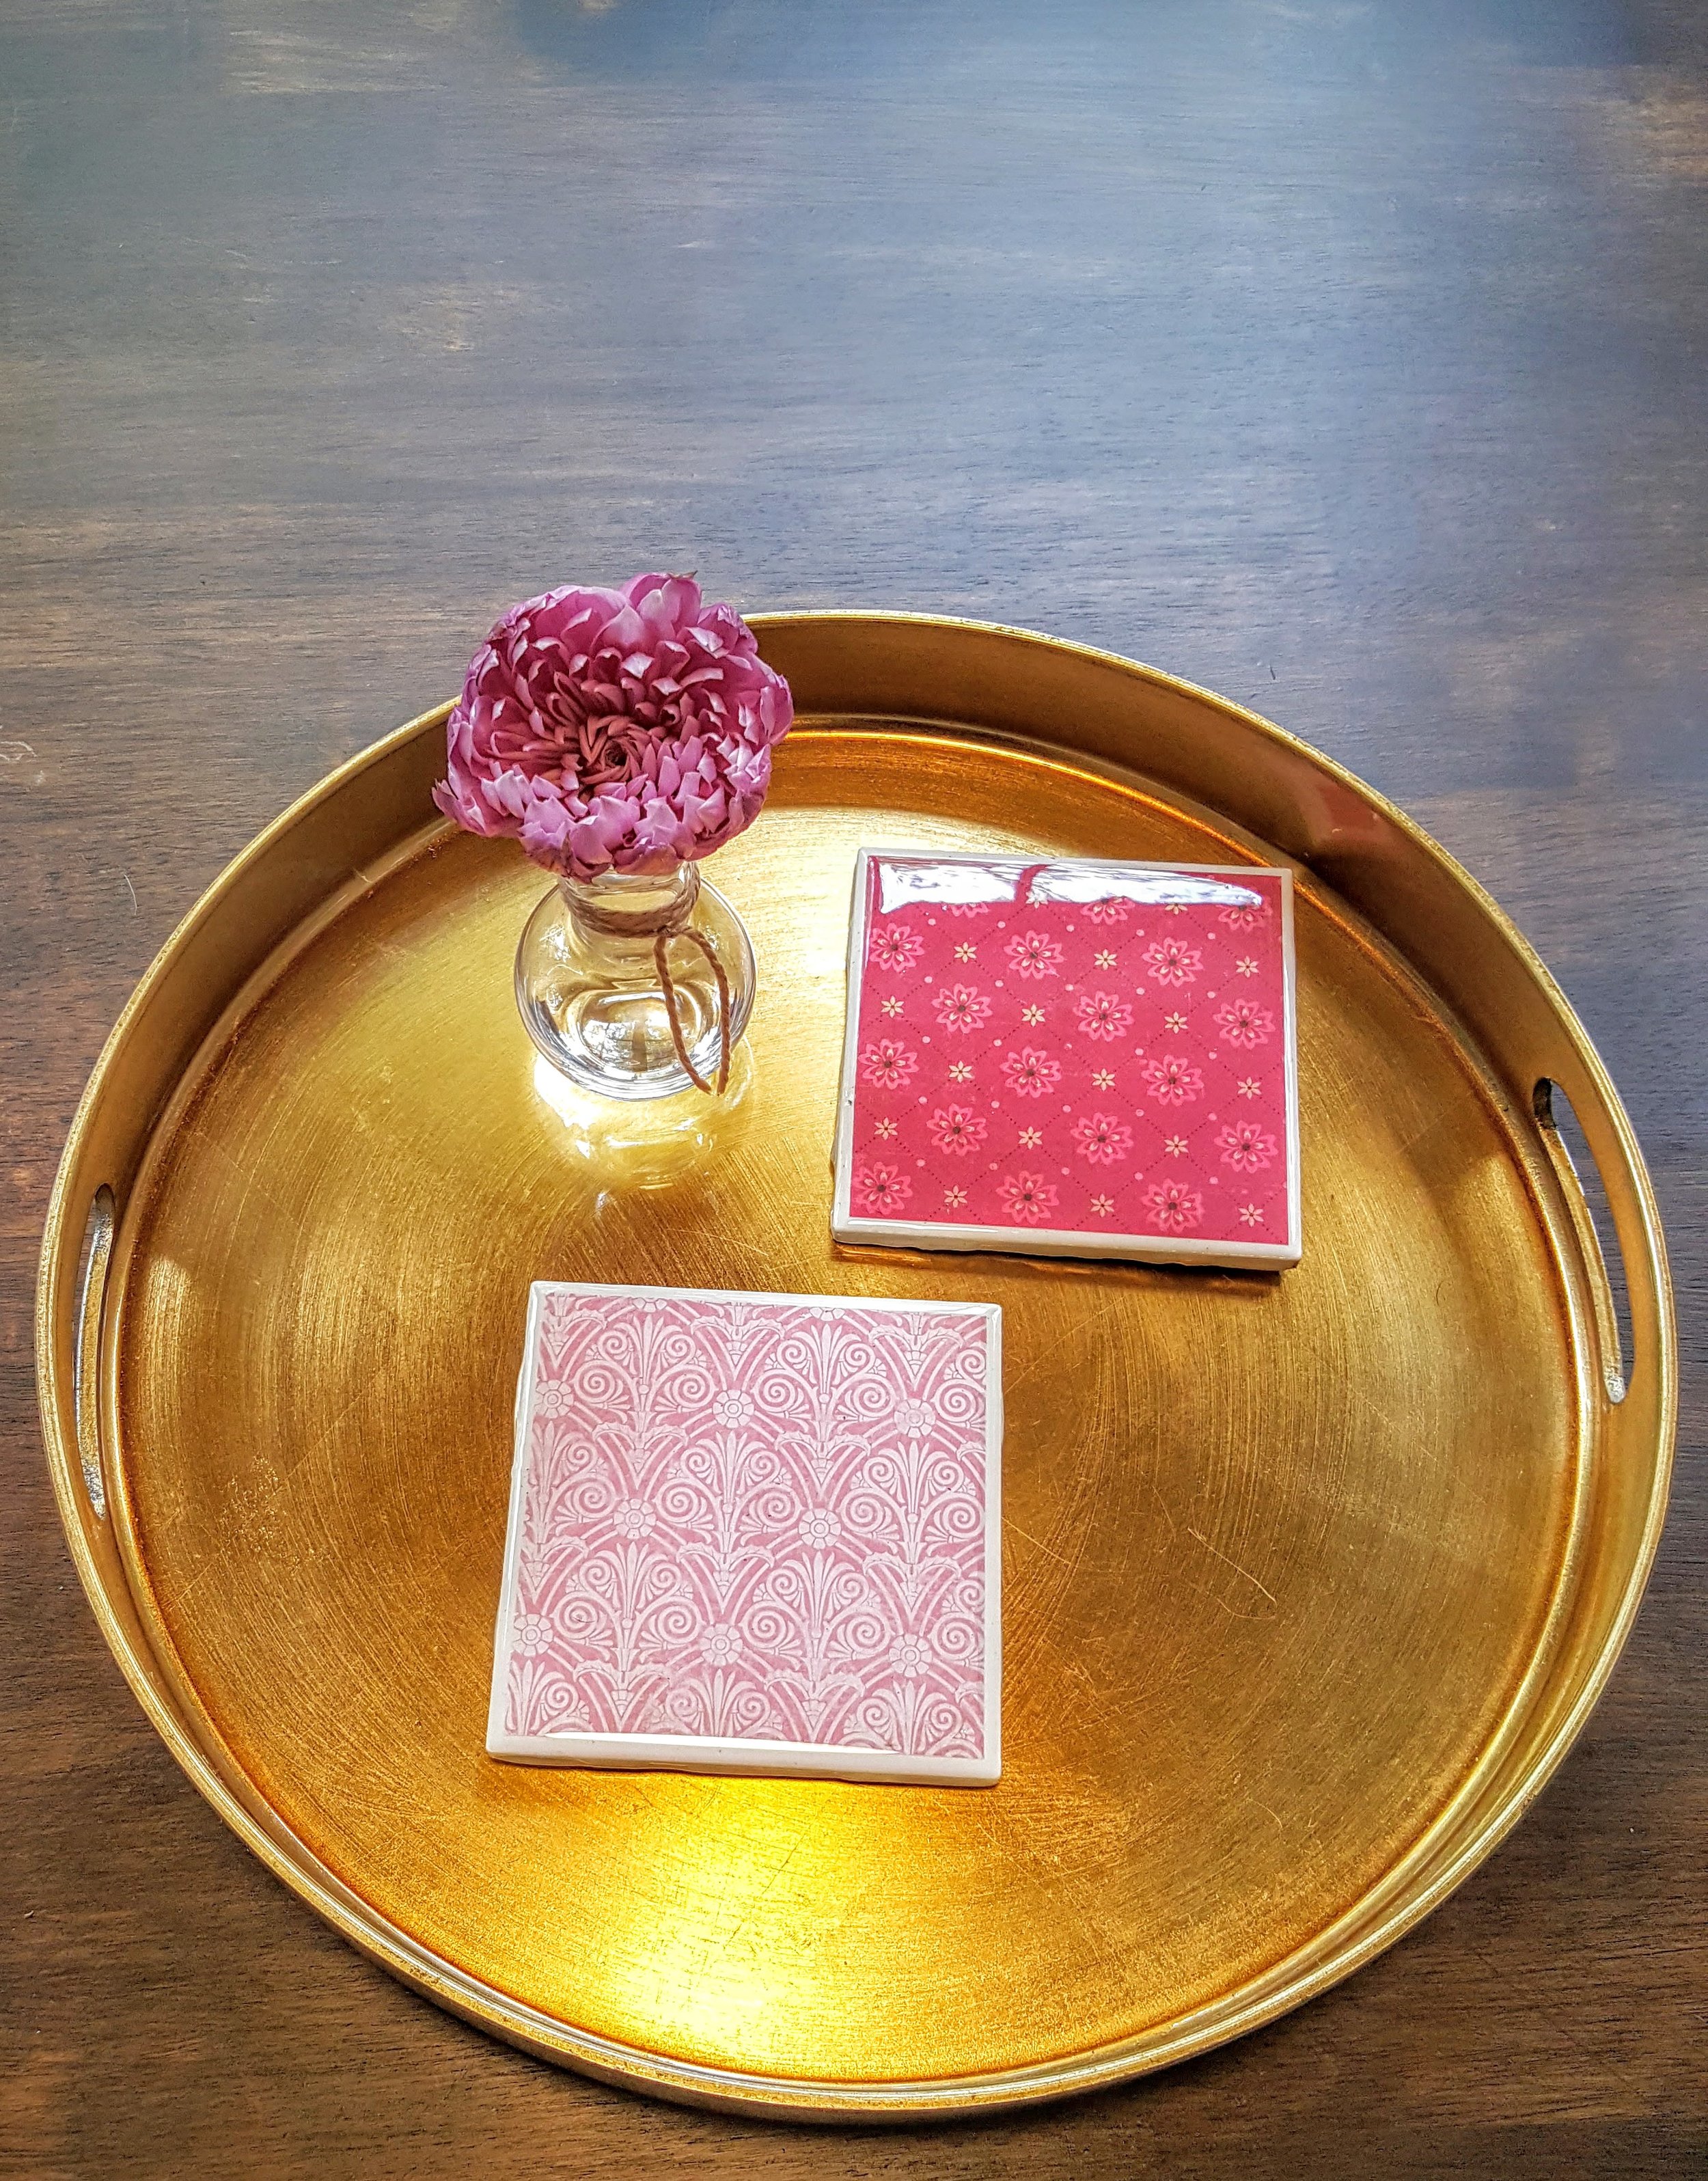
How to Make Lovely Ceramic Coasters!

One day last week I was procrastinating.  STORY OF MY LIFE!  I went to sit down and focus with a drink in my hand.  I already had a mug on the only coaster on that table so then I started thinking that I need more coasters.  So, of course, I started online shopping for coasters.  You know...all the normal places, Pottery Barn, Crate and Barrel, West Elm, etc.

I saw stuff I liked that was more than I wanted to pay and the stuff that I thought was reasonably priced was just BLAH.

BLAH, I SAY!  BLAH!

So then I decided to make my own.  No...seriously...I picked up my keys and went to get supplies to make my own.

I bought white 4 x 4 tiles for .12 cents each at Lowes, a book of scrapbook paper for $5, some epoxy and some cork squares.

Prep your surface.

1.  Cut scrapbook paper 10cm x 10cm.

2.  Brush tile with Modge Podge.

3.  Put paper on tile.

4.  Let dry for 15 minutes. (A few of them, I did a bit of extra with some paint so I had to let those dry longer.)

5.  Brush tile with another layer of Modge Podge.

6.  Let completely dry overnight.

THE NEXT DAY...

Prep your surface and turn a disposable plastic cup under each tile.

7.  Mix epoxy per directions.  (Don't mix more than a little less than half a cup of each bottle.)

8.  Pour in the center of each tile.

9.  Smooth with a spreader.  I use Bondo spreaders.  

10.  Use a foam brush or a folded index card to make sure the sides coated and there is none under the tile.

11.  Let dry for 24 hours.  (I actually let mine dry longer because I was waiting on the cork adhesive to arrive.)

12.  Add cork squares to bottoms.

13.  Tie something around 2 or 4 of them to give as gifts!  LOL!

So yeah...I think they are gorgeous!  Guess what everyone is getting for Christmas this year?  LOL!  Yup.  Just bought two boxes of 100 tiles for $12.00 per box.  GO ME!  Oh...and I made like 32 more Friday.  Crazy pants.

They are on my Etsy site if you decide to not make any but find you need a few extra coasters around your house too.  I put one on every nightstand and one per chair on or near every table.

Tips:

1.  Line the bottom edges with clear tape that you can pull off when it dries so that the drips don't harden underneath.

2.  If you do get hardened drips, you can sand those off.

3.  Cut all of your paper first with an exacto knife.

4.  Don't let epoxy dry anywhere dust or bugs can light on them.  (Yes...it happened.  Damn daddy long leg mosquito!)