Perfect Bacon 101

The coalition is comprised of just me. #BecauseBacon
Posted in: Favorite Recipes
The coalition is comprised of just me. #BecauseBacon
I love cheesecake even though I have to prepare myself to eat it. Dairy and I started beefing a while ago but I pick my battles meaning I'll choose to go a round with it for certain things.
Cheesecake is one of those things.
I wanted to make mini cheesecakes for a dinner party so I could make them pretty and not have to worry about cutting it at the table. Yall know I like my presentation to be purty so yeah...there's that too.
The cheesecake is a basic recipe but when I make it to do individual portions, I don't do it in an actual cheesecake pan. I use glass baking dishes. Truth be told, the only reason I do it this way is once I couldn't find the bottom to my cheesecake pan but wanted cheesecake so I made it in glass and it was just fine so um...I kept making it in glass. LOL!
Crust:
1/3 cup melted butter
1/3 cup sugar
1 1/2 cup graham cracker crumbs (I use gluten-free ones.)
Mix together in a bowl and them dump into 8 x 8 pan. Using a piece of parchment paper on top, press smooth and even. Bake in oven at 350 degrees for 10 minutes. Remove and let cool completely.
Cheesecake filling:
2 packages of cream cheese at room temperature
3/4 cup of sugar
2 eggs
1/3 cup sour cream
1/4 cup milk
3/4 cup sugar
1 1/2 teaspoon vanilla extract
2 tablespoons flour (heaping spoons if using a pre-mixed gluten-free flour)
Whip together cream cheese and sugar until blended. Don't overwhip. Remember...cheesecake doesn't like bubbles. Add eggs, sour cream, milk, and vanilla extract. Blend. Add flour and blend until you don't see flour.
Pour over crust shaking well. Take a big bath towel and fold it larger than the dish and drop the pan on it a few times to try and force out all air bubbles. (I do this because I use glass dishes. Be careful if you do too!) Put dish inside of large 9 x 13 pan. Pour boiling water inside larger pan until it reaches the mid-point of the pan the cheesecake is in. This is a water bath. You do this so the cheesecake won't crack. It helps it cook slower and evener. (Is that a word? Hmmmmmmm...) Anyway...every.single.time I've made a cheesecake without a water bath it cracked. I mean...you could still eat it, of course, but it wasn't cute to look at. LOL!
Bake for 50 minutes and remove from oven. (Pay attention to it. If it doesn't look done it's probably not done. Usually it looks "sinky" in the middle. If it's done...won't be any "sinky" spots. Yall know what I mean right? LOL!
Once it reaches room temp...put in fridge. Let it COMPLETELY COOL!
When it is COMPLETELY COLD...using a biscuit cutter, cut out 3-inch circles as individual servings. GO YOU! You'll get four good ones outta this. Save the pieces for your husband to devour later. Don't eat it yourself so you don't get farty. I mean...you know...if dairy gets you farty.
For a sauce, be creative with it. I do two different ones. Sometimes I do 1.5 cups of raspberries and sometimes I use a cup of raspberries and a half cup of blueberries. Bring to boil in a saucepan with 2 tablespoons sugar and 2 teaspoons lemon juice. The raspberries will melt but the blueberries will remain solid. You can use fresh or frozen. Put in a jar and put in fridge to cool with cheesecake. Be funky with it when you drizzle. Watch your elbow too. Why do I say this you ask? Cuz someone might tip your elbow making you PLOP sauce on top of them instead of delicately drizzling. You know...cuz people like sauce and believe the more sauce the mo'betta-er. LOL!
This is a basic cheesecake recipe. If you don't want to use the biscuit cutter to make mini cheesecakes, you can get a solid 9 squares outta this and folks will be fighting for the corner squares same as they do with brownies. LOL!
Do YOU ever make cheesecake?
Of the things we should never be forced to do...eating dry pork chops should be one of them. There is simply no reason for it as making them quick, tasty and juicy is super easy to do.
Turn the oven on 400 degrees and put a cast iron skillet in. If you don't have a cast iron skillet...side eye the mess outta yourself, order one from Amazon and try this in two days after your Prime shipment shows up. Cast Iron 15" skillet: http://amzn.to/1PaT76C
Rinse and pat dry pork chops. Rub olive oil on both sides and season with salt and fresh cracked pepper. Once the oven has pre-heated, remove skillet and put on stovetop at medium-high. Place pork chops in and sear. (Will get smoky so yeah...use the vent thingy.)
Sear for three minutes and then, USING TONGS, turn over. Put skillet in oven for ten minutes.
VIOLA. INSTA-DELISH!
GO YOU! You rock so solid...it would take lava to melt you.
I love ginger. Like...LOVE ginger. I love handling it and then smelling my fingers after cuz it smells sooooooooooo good!
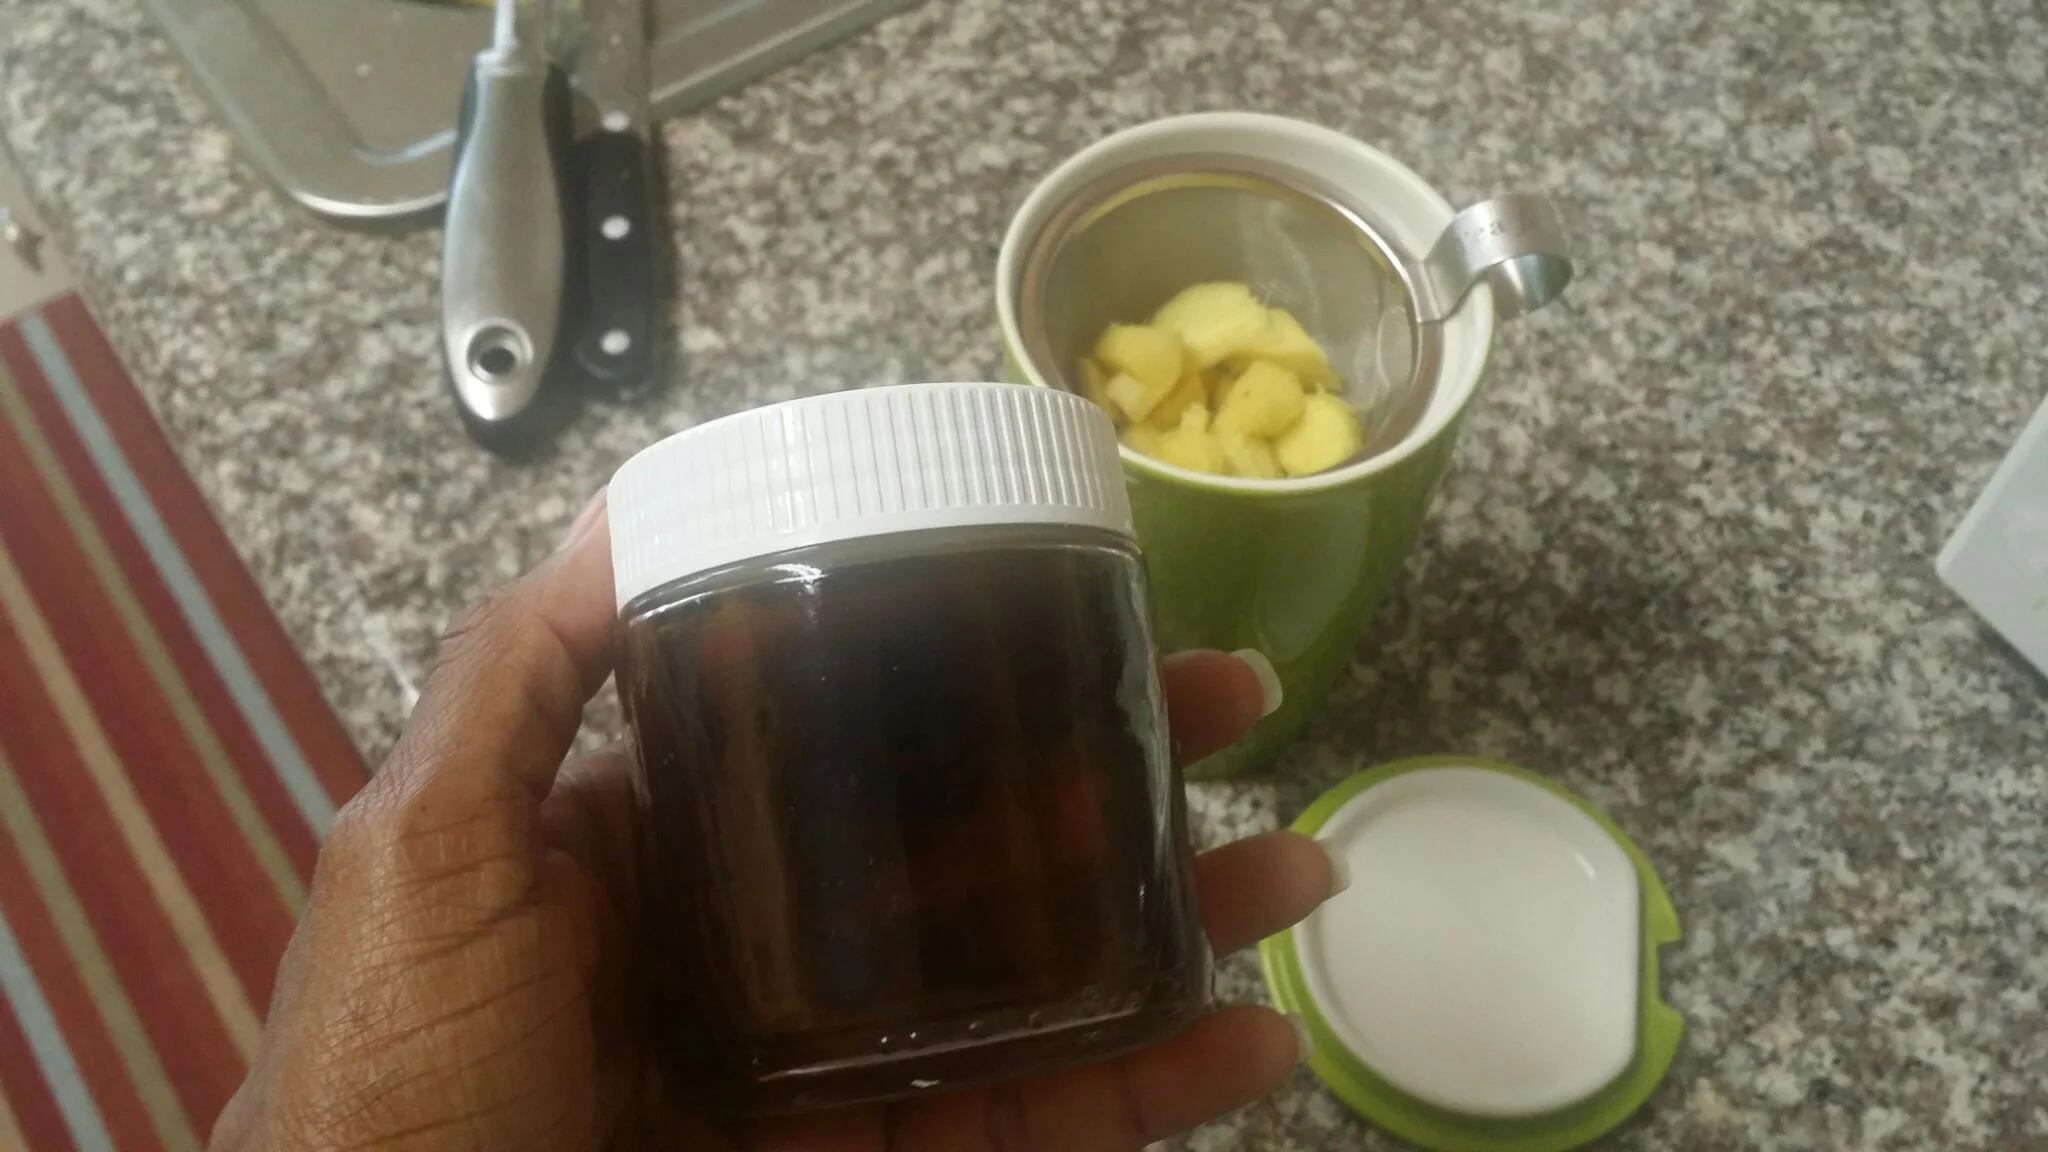
Sometimes I have tummy issues that I can't pinpoint and I've found that a cup of ginger tea with lemon makes it all better. I sweeten it with a brown sugar simple syrup that I make a batch of whenever we run low. Two parts water, one part brown sugar. Bring to boil stirring until sugar dissolves. Let sit until it reaches room temperature and store in a lidded jar in the fridge. It's perfect to sweeten tea, cold or hot. Just put a little bit at the bottom of your glass or mug and then add the tea. DELICIOUS!
To make the ginger tea, all you have to do is peel a finger of ginger and then cut it up in either a mug or the strainer if you have a mug like mine (TeaForte KATI Cup). Then, pour boiling water over the ginger until the ginger is covered and let it steep for ten minutes. Next, remove the ginger by removing strainer or by pouring through strainer, squeeze a slice of lemon in it and voila! Instant tummy soothing goodness that is, well, just simple goodness. It's good to and for you. You know...building up good gut bacteria and whatnot.
Do you make fresh ginger tea? Do you drink it daily or only when you have a tummy ache?
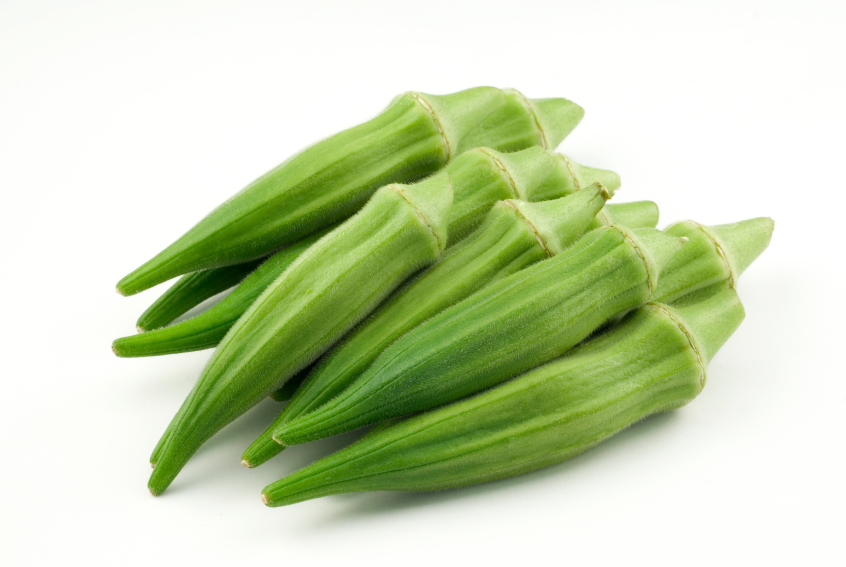
Growing up this was my favorite meal. I loved it so. It got to the point where when I moved away, whenever I returned, an Elder would make it for me. It's not something I make with frozen okra, so it's very seldom that I made it up North, but Robby's parents gave us some fresh okra straight out of their garden last night and I got up first thing EARLY this morning (had people in town) to make a double batch of it so we could all enjoy.
And BAAAAAAAAAAAABY...it was so good it was crazy. The okra was so fresh it was like butter. I'm mad I didn't grab a pic or two before I got down and that we had people around all day so I couldn't take the time to take step-by-step pictures. I'll try and take a pic of a plate of it tomorrow to add to this. I'm not promising anything though because it was so good I might not be able to stop long enough to take a pic.
This is one of those meals some folks will turn their nose up at because they've never had okra done properly and well, there is nothing more unsettling than slimy okra in your mouth. Most of us know that you need the acid from tomatoes to cook the slime out in a dish like this but there are plenty of people who clearly missed that country lesson cuz they were too busy being cute to help the Elders out in the kitchen.
Me? I didn't have a choice. LOL! Thank God!
1 lb. fresh okra, trimmed and cut
1 sweet onion, diced
1 green bell pepper, diced
2 bay leaves
3 cloves garlic, diced
1.5 pounds shrimp, peeled and deveined, seasoned
1 lb. sausage, sliced and browned
1 - 28 ounce can Rotel tomatoes and chilis, mild
1 - 10 ounce can Rotel tomatoes and chilis, spicy
1 cup chicken broth
2 pounds chicken wings cut into drummettes, seasoned and browned
Olive oil
Saute onion, bell pepper, okra and garlic in olive oil for ten minutes over medium heat. Add canned tomatoes and bay leaves. Continue cooking for about 15 minutes more until "slime" has lessoned greatly. While doing this, brown chicken in a cast iron skillet and remove to a waiting plate or bowl and then brown sausage. Add chicken, sausage and chicken broth to pot. Cover and cook on medium low heat for forty minutes. Add shrimp. Cook for another 20 minutes.
Serve over rice with cornbread.
Try not to overeat as I did and, at the end of the day have counted four plates that were your undoing. If you do eat four plates and find yourself too full to move even though you were moving, just get you some Smooth Move man...nobody needs to know and/or worry.
Oh...and remember...this is one of them man catching meals so don't be whupping this out all willy nilly and mess around and get a stalker okay?
You've been warned.
So...this happened! Camellia Beans loved my recipe and shared it on Facebook!
SUPER.DOOPER.COOL! For someone who grew up eating Camellia beans...it was truly an honor. Well...yesterday they made the experience even cooler by sending me a box of goodies! GO ME!!!!!
I can't even tell yall how awesome sauce that is to me!!!!!!!!! I'm still all grin-t up!
I love Chinese take out. Or, should I say...LOVED it. Since pretty much every sauce has a base which includes soy sauce I can't eat it in restaurants and the few recipes I've tried before tonight simply didn't do it any justice.
I ran across this recipe and it made tonight: 12-MINUTE CHICKEN AND BROCCOLI
The only thing I changed was that I added red pepper flakes. I had two substitutions because well...I'm crazy but instead of cornstarch I had to use flour because I was out and instead of rice wine vinegar I used a Serrano Honey Balsamic vinegar because, again...that's what I had. Since one of the ingredients was honey...I felt like this wouldn't be a big deal.
I also did something that has changed my life as of tonight. Instead of grating up fresh ginger...I cut a piece about the size of my garlic press and peeled it. Then...I pressed it.
LIFE.CHANGING!
This was soooooooooooooooooooooo good!
YIELD: ABOUT 2-4 SERVINGS
This classic chicken and broccoli recipe is full of fresh and delicious flavor, and it's ready to go in just 12 minutes!
PREP: 3 MINS COOK: 9 MINS TOTAL: 12 MINS
3 Tbsp. reduced-sodium soy sauce
2 Tbsp. rice wine vinegar
2 Tbsp. honey
1 Tbsp. cornstarch
1 garlic clove, minced
1/2 tsp. ground ginger
1 tsp. sesame oil
2 Tbsp. olive oil
2 boneless, skinless chicken breasts, cut into 1-inch pieces
salt and pepper
1 bunch broccoli, chopped into small florets
1/2 cup thinly sliced green onions
1 tsp. toasted sesame seeds
Heat 1 tablespoon oil in a large saute pan over medium-high heat. Add chicken breasts, and season with a generous pinch of salt and pepper. Cook for about 5 minutes, stirring occasionally, until the chicken is browned and mostly cooked through.
While the chicken is cooking, make your sauce. In a small bowl, whisk together soy sauce, rice wine vinegar, honey, cornstarch, garlic, ginger and sesame oil until combined. Set aside.
Once the chicken is browned, add the broccoli and stir to combine. Continue cooking for an additional 3 minutes, until the broccoli is bright green. Stir in the soy sauce mixture, and cook for an additional 1 minute until the sauce has thickened.
Remove from heat and serve immediately, garnished with green onions and toasted sesame seeds.
I hadn't decided on the cake I was going to make today yet and then my boy, Tali 2, helped me out. See...his mother bought a lemon pound cake for Easter and set the poor, sweet dear child up by putting it where he could see it a full two days before he'd be able to have a slice. Straight up entrapment. The cake got the best of him and well...he started nibbling around the edges. It was SO good...the poor sweetheart ate all the edges off the cake.
I imagined that poor child's pain at having such a delicious looking cake so near...and yet so far and decided right then and there that my Easter dessert was going to be lemon pound cake.
I haven't made it in a while and started searching for gluten free recipes. I didn't see one that made sense to me so I just made the recipe of one that did sound right and simply substituted the all purpose flour with Bob's Red Mill all purpose gluten-free flour.
When looking for a pound cake recipe, don't be fooled by any of the recipes you see that use words like, 'quick' and 'easy' or any recipe that doesn't have one ingredient on the list with the word 'cream' in it. GOOD pound cake cooks slow and low and includes sour cream or cream cheese. If the recipe doesn't have one of those in it...keep it moving.
Swiftly.
Oh...and a glaze is a must.
The recipe I settled on was this one: Lemon Pound Cake Recipe
“INGREDIENTS
For the Lemon Pound Cake
3 sticks butter (1½ cups)
1 (8-ounce) package cream cheese
6 eggs
2 tablespoons lemon juice
zest of one lemon
3 cups sugar
3 cups all-purpose flour
1 teaspoon salt
1 tablespoon vanilla
For the Lemon Buttermilk Glaze
1½ cups confectioner’s sugar
2 tablespoons lemon juice
zest of 1 lemon
1 tablespoon buttermilk
INSTRUCTIONS
For the Lemon Pound Cake
Preheat oven to 325 degrees. Prepare bundt or tube pan by coating with shortening or butter and flouring light. Set aside.
Let butter, cream cheese, and eggs come to room temperature.
Cream together butter, cream cheese and sugar til fluffy. Add eggs one at a time. Add lemon juice and zest and combine well. Add flour and salt and vanilla.
Mix until just well-combined but do not over mix.
Pour into prepared bundt or tube pan.
Bake until golden brown and skewer inserted into middle of cake comes out clean, about 1 hour and 15 - 30 minutes.
For the Lemon Buttermilk Glaze
As the cake is cooling, whisk together ingredients confectioner’s sugar, lemon juice, lemon zest, and buttermilk to make the glaze. Allow to sit until cake has fully cooled, then drizzle over top of lemon pound cake.”
Now...please read the recipe first. Note that this cake should not be on your list of things you bake regularly. Why? It's probably a gamillion calories per slice. LOL! The most difficult part of this cake is making the lemon zest. As always. I'd seriously pay for lemon zest. Can you buy it? I've never thought about buying it but sheesh...I would. There have probably only been two times in my life when I was getting the zest off a lemon and didn't scrape my dang knuckles.
UGH!
Hate that! I must be getting better though because I didn't do it this time. LOL! Don't try and skip steps like add all the eggs at once. Do it the way the recipe tells you to do it and your cake will be guaranteed to be super moist. Soooooooooooo good!
HAPPY EASTER!!!!!!!!! What cake did you end up baking?
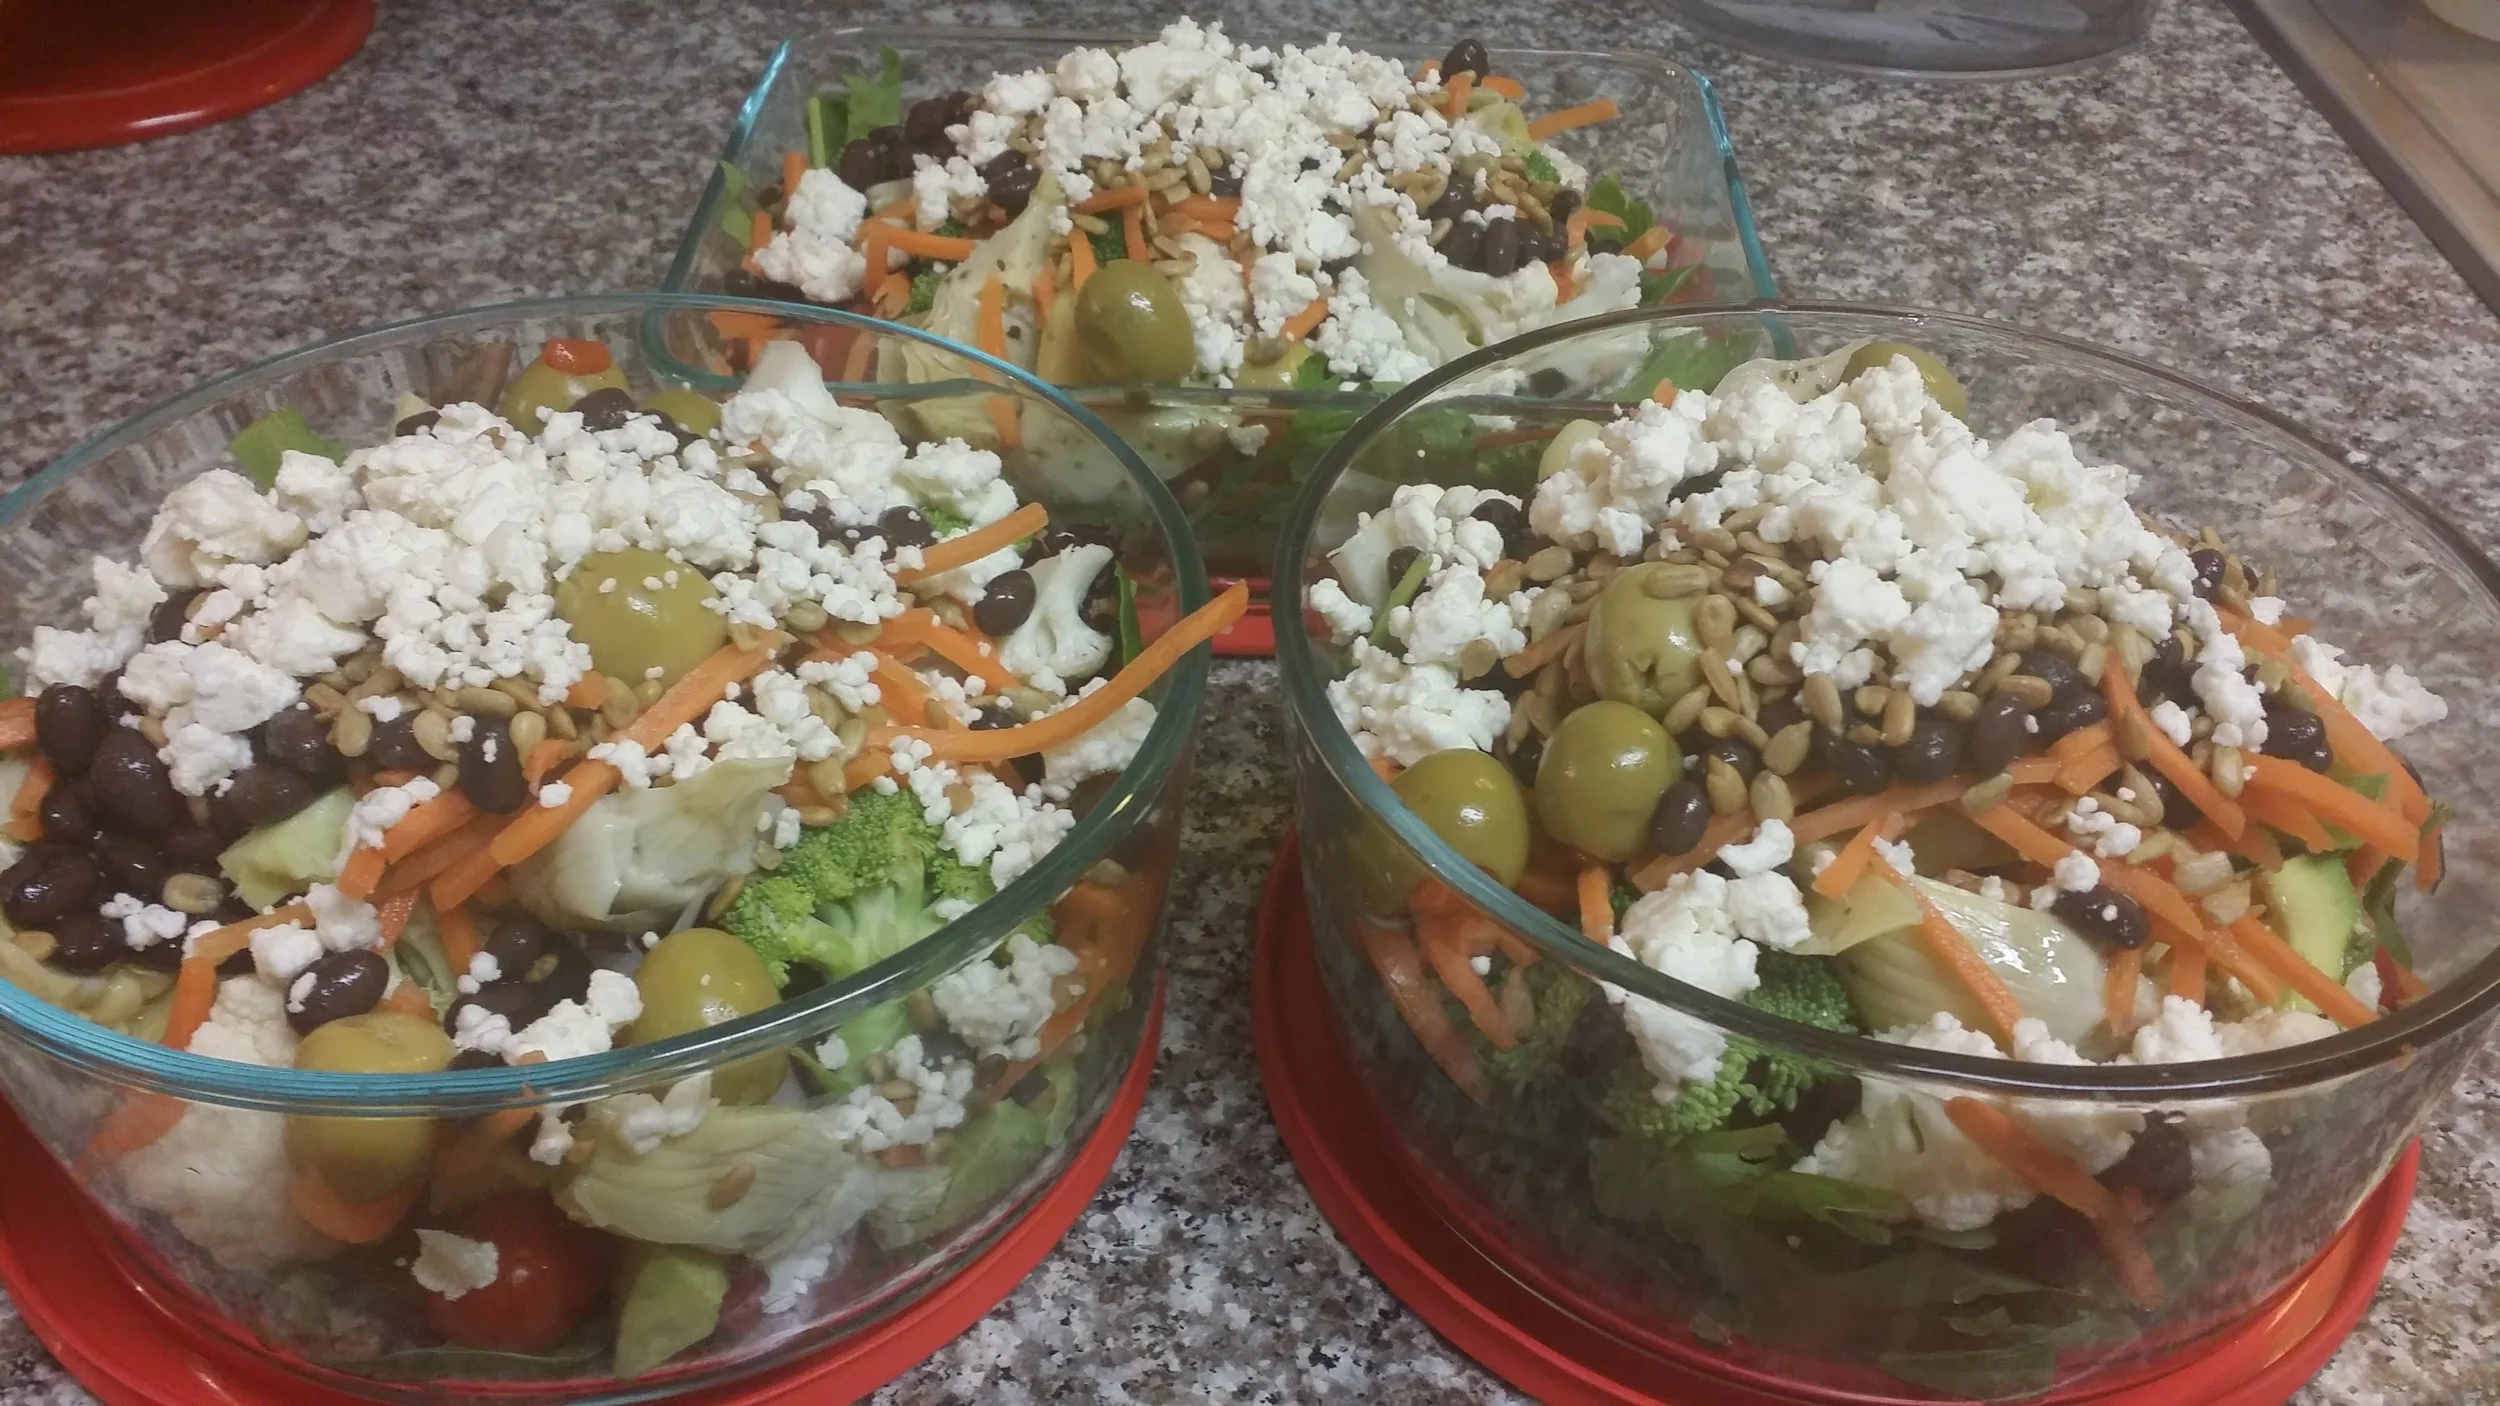
On Sundays I generally make three salads for The Robinator's lunch. He usually goes to lunch with his team one day and I make another salad before he'll need another one for lunch. Inside his lunch bag I also put two pieces of fruit and some kinda nuts, either almonds or a KIND bar. I send two water bottles full of water too and a small container of a healthy dressing. Sometimes I'll add a yogurt or peeled orange slices. All because I want him to be HEALTHY.
I try and switch up the ingredients to include lots of different things so he doesn't get bored eating them.
The older you get, it seems the more in tune you are to the illnesses that could take you out and well, we try our best to do what we need to do in order to combat the possibilities. I guess you can say we use food in a preventative health maintenance mode.
This week's salads included the following in each:
A salad green mix of kale, arugula and spinach.
1/2 avocado, diced
Broccoli
Cauliflower
Red onions
Carrots
Artichoke hearts
Tomatoes
Black beans
Sunflower seeds
Olives
Feta cheese
The dressing was a lemon and olive oil mix. I like to make my own dressing sometimes and use a bottle similar to this one with recipes printed on it: Salad Dressing Bottle
Much better for you when the ingredient list is, lemon juice and olive oil. LOL!
He loved this combination (except for the red onions but they are really good for him so he's eating them) and since I have enough to make one more, this is what he will have for lunch tomorrow too. LOL! Next week I'm thinking he needs some purple cabbage so I'll go looking for that. Maybe some red bell peppers and asparagus too. Maybe some salmon too.
Everything was organic except for the artichoke hearts as I can't seem to find organic ones so yeah...I feel really good about him eating these.
How many ingredients do you normally put in your salads? Do you use a good variety or do you only like to have a few things in yours? Do you make your dressing or do you prefer to buy one?
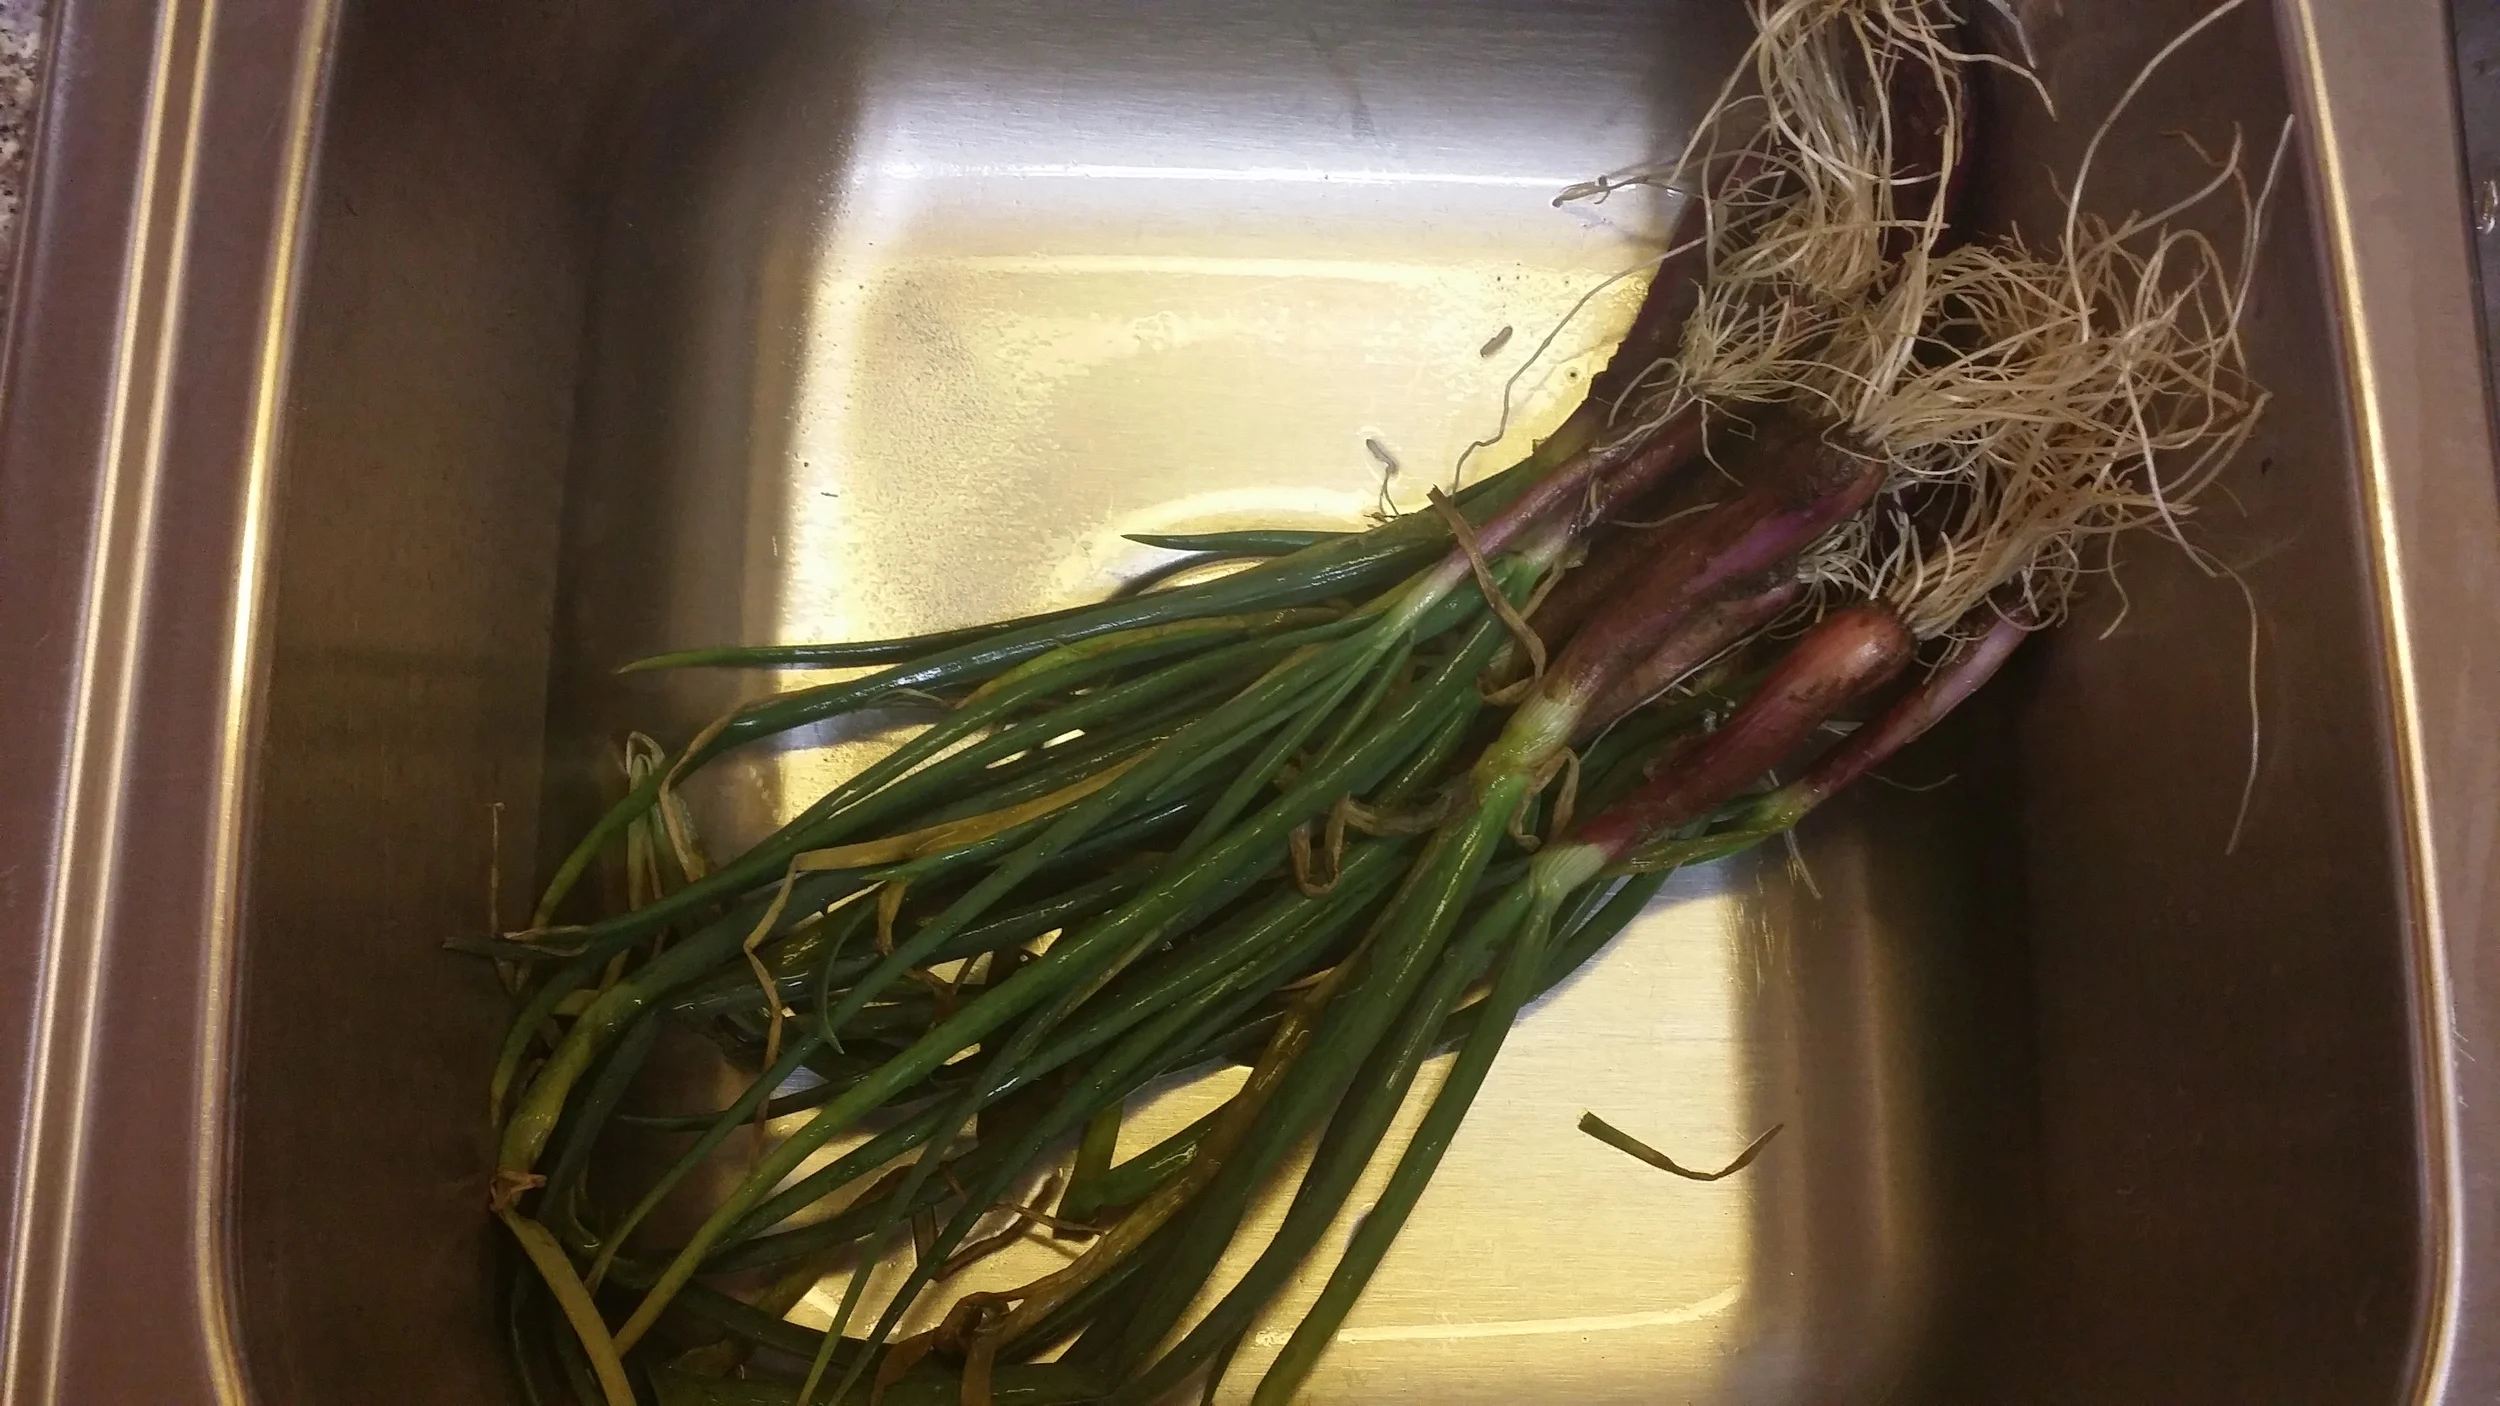
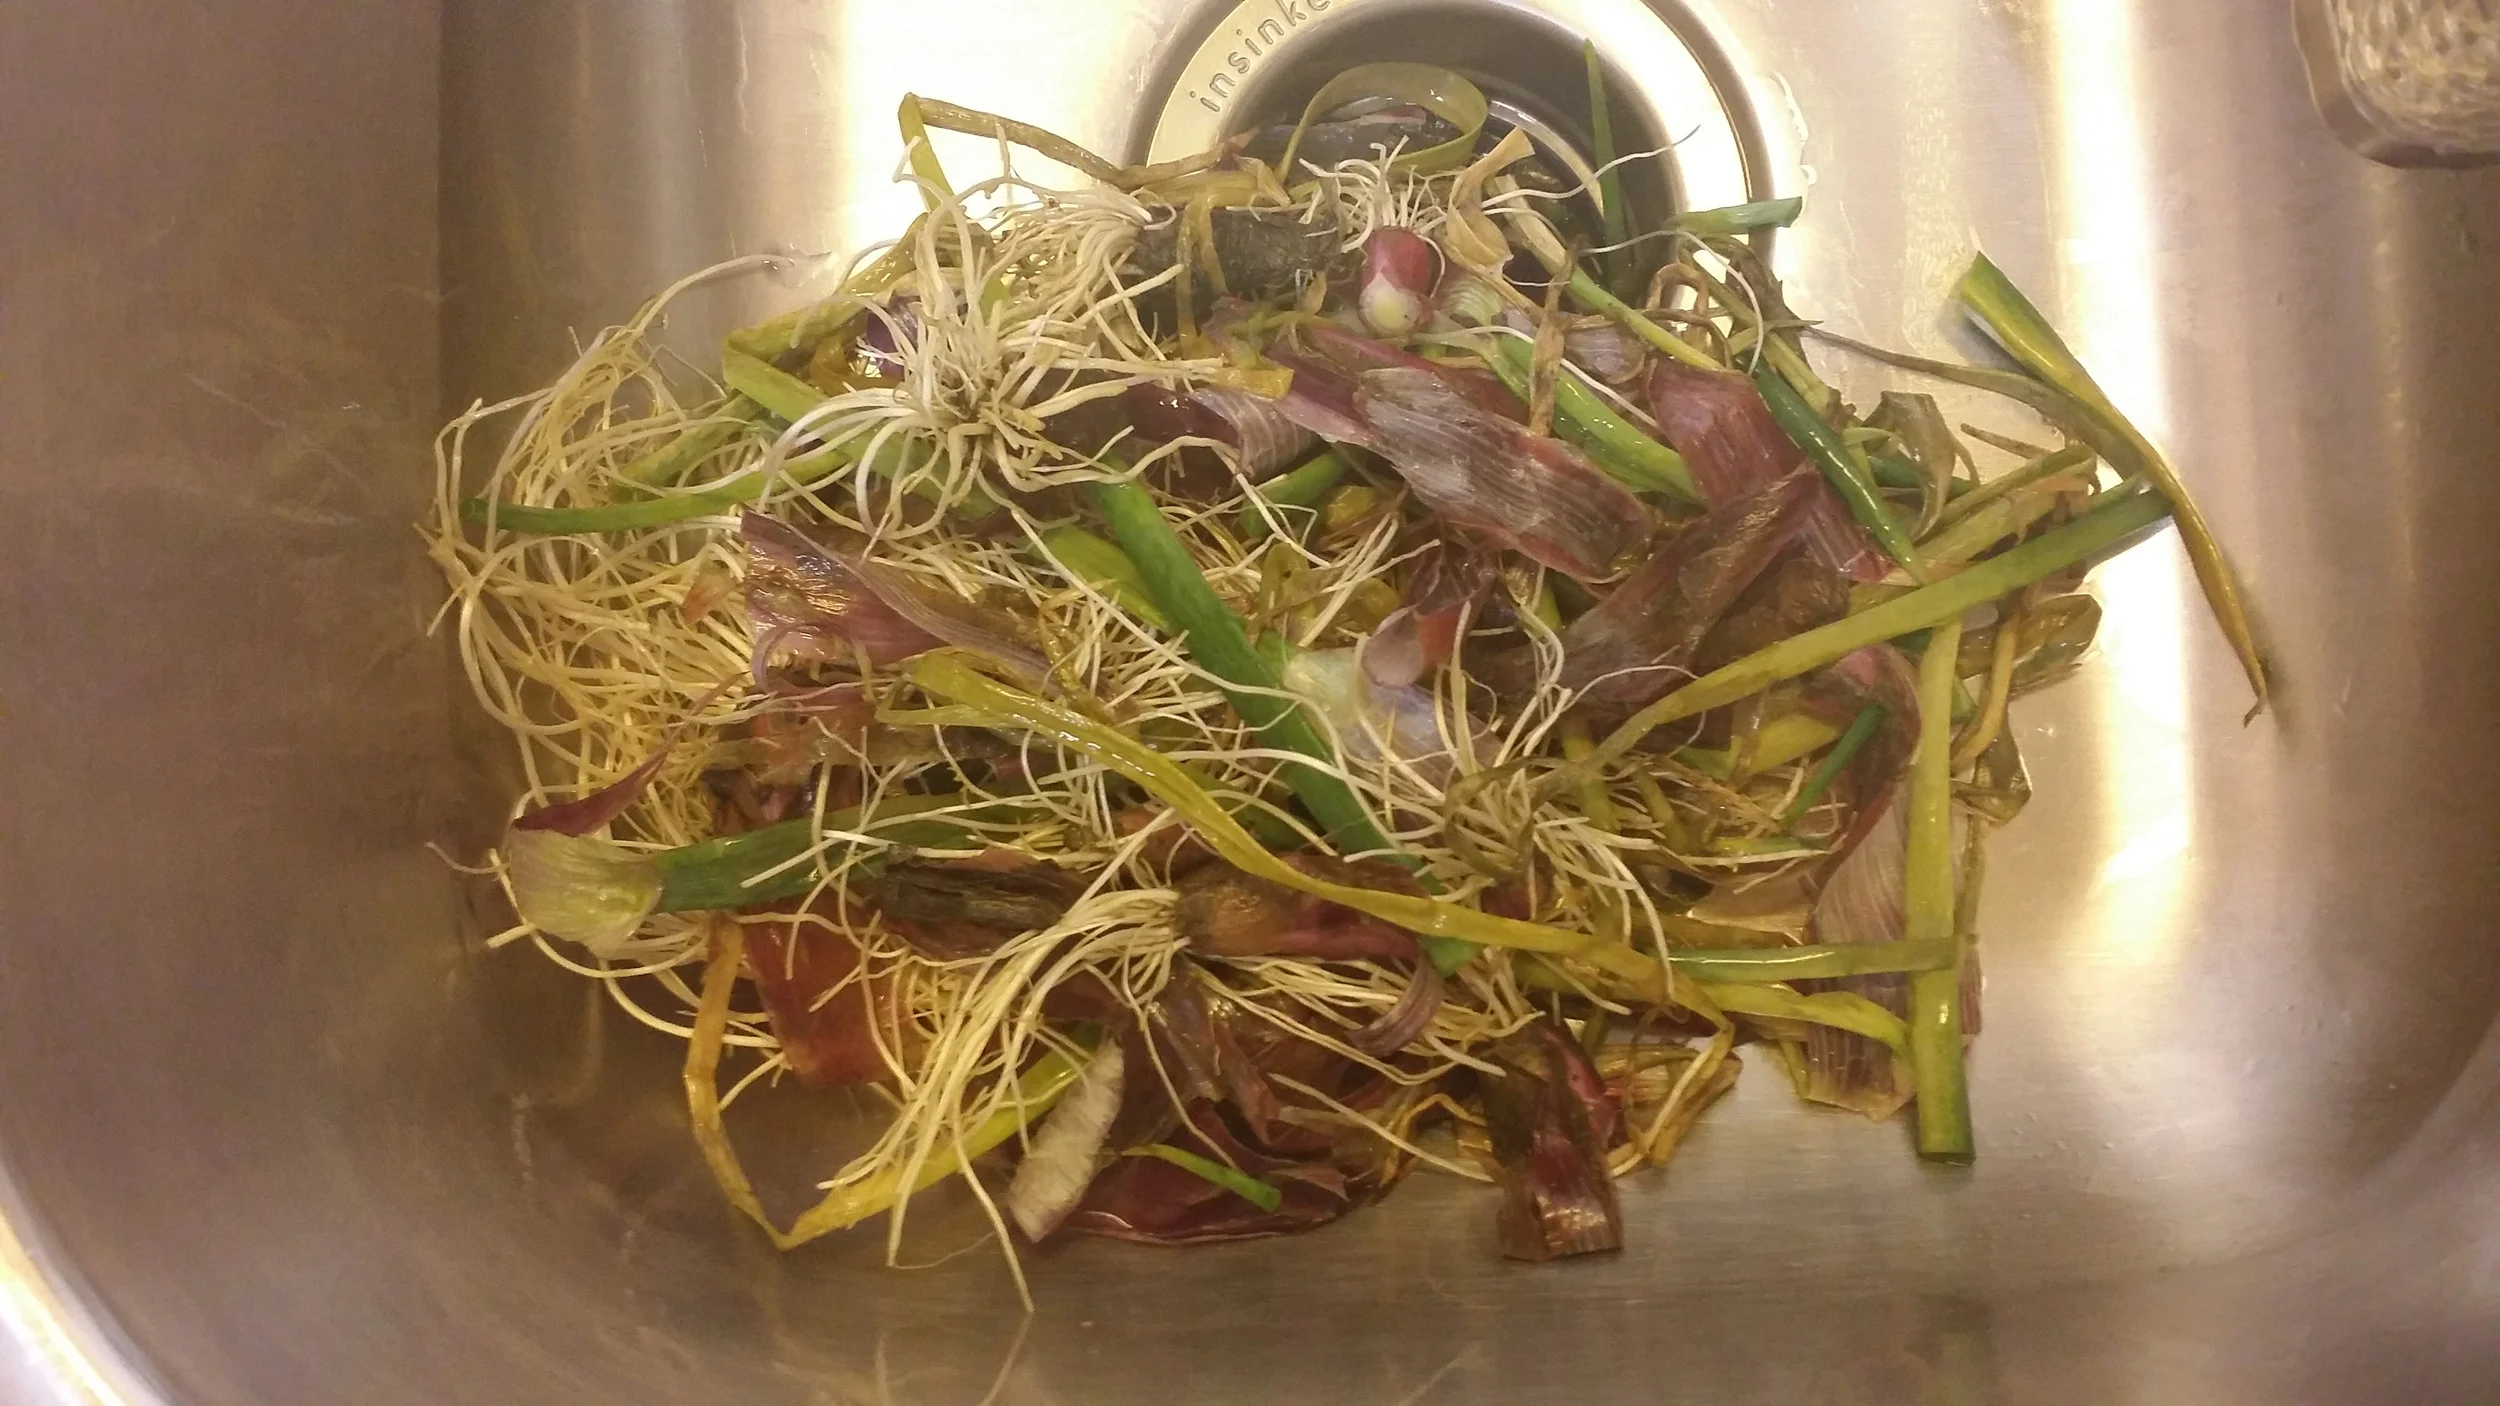
I love getting fresh produce from Robby's parents so when he walked in here recently with a lot of kale and a lot of green onions I was happy and then...um...erra...wait...what am I going to do with that much green onion????? SHEESH!
Well...I hate wasting anything so I rinsed the dirt off them and then soaked them in water and vinegar for about 15 minutes, rinsing again.
Next? I removed all the ends and dead bits.
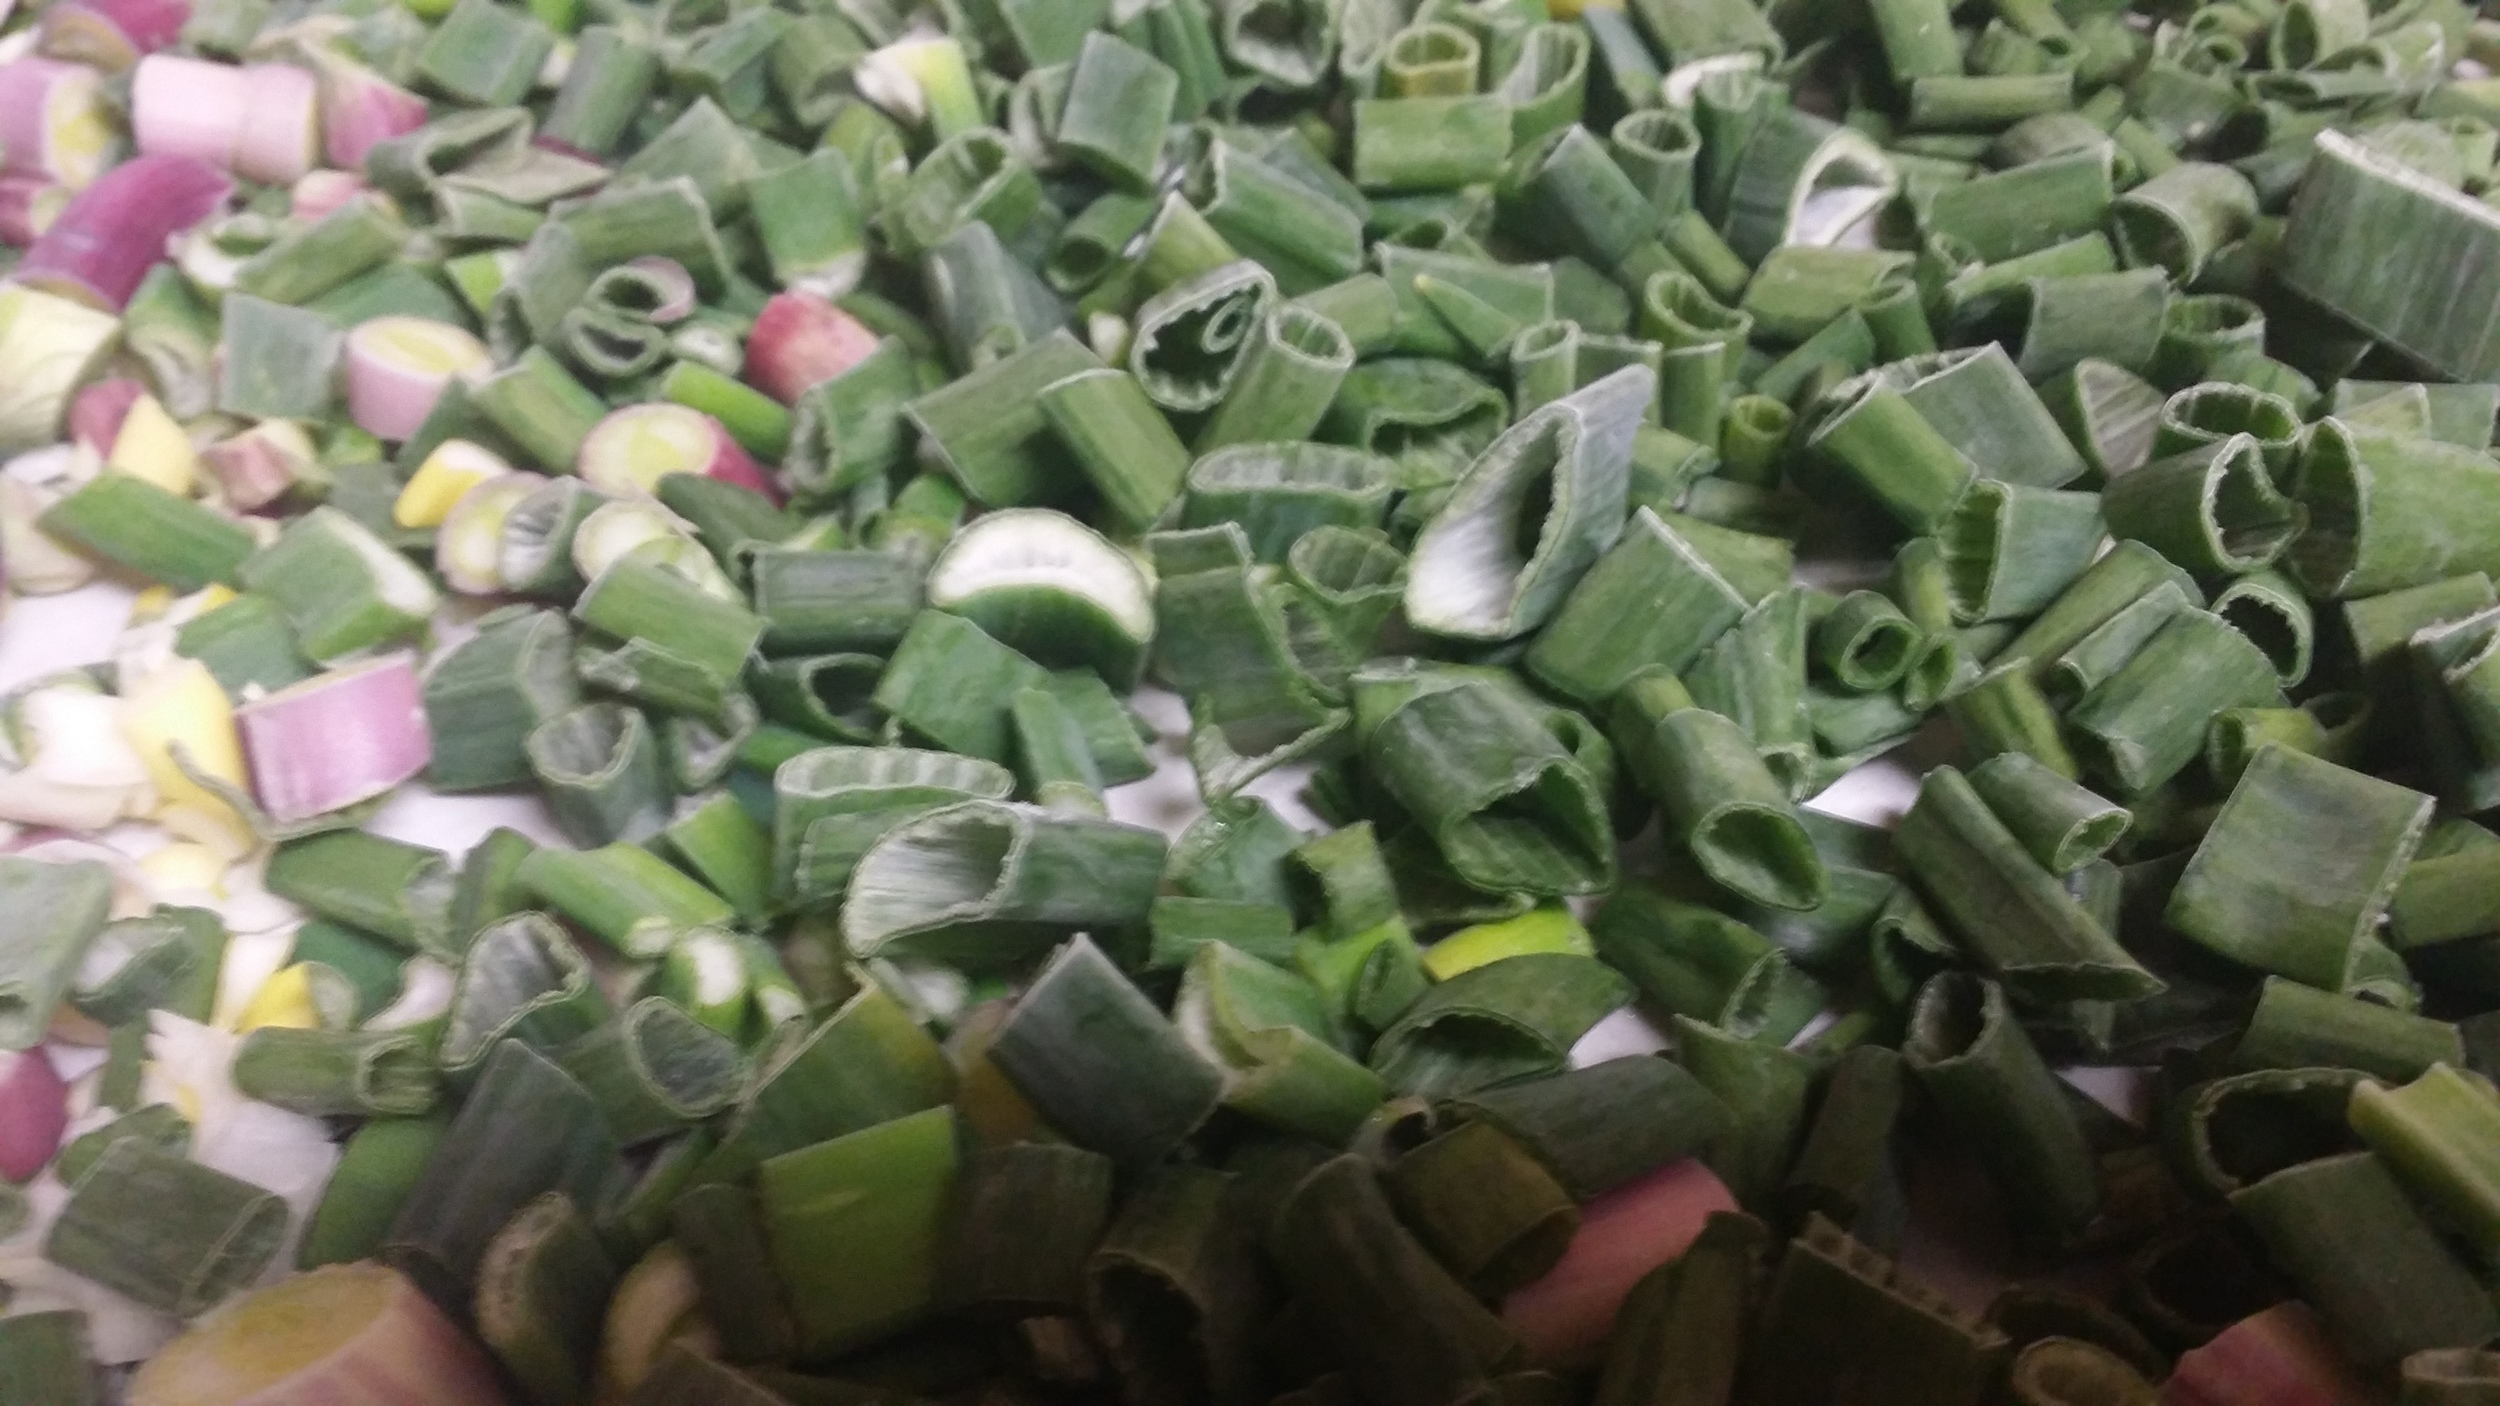
Now? Chop 'em up.
Next? Line a baking sheet with parchment paper, add the green onions and put in the freezer for a few hours. (Same as you do for individual meatballs.)
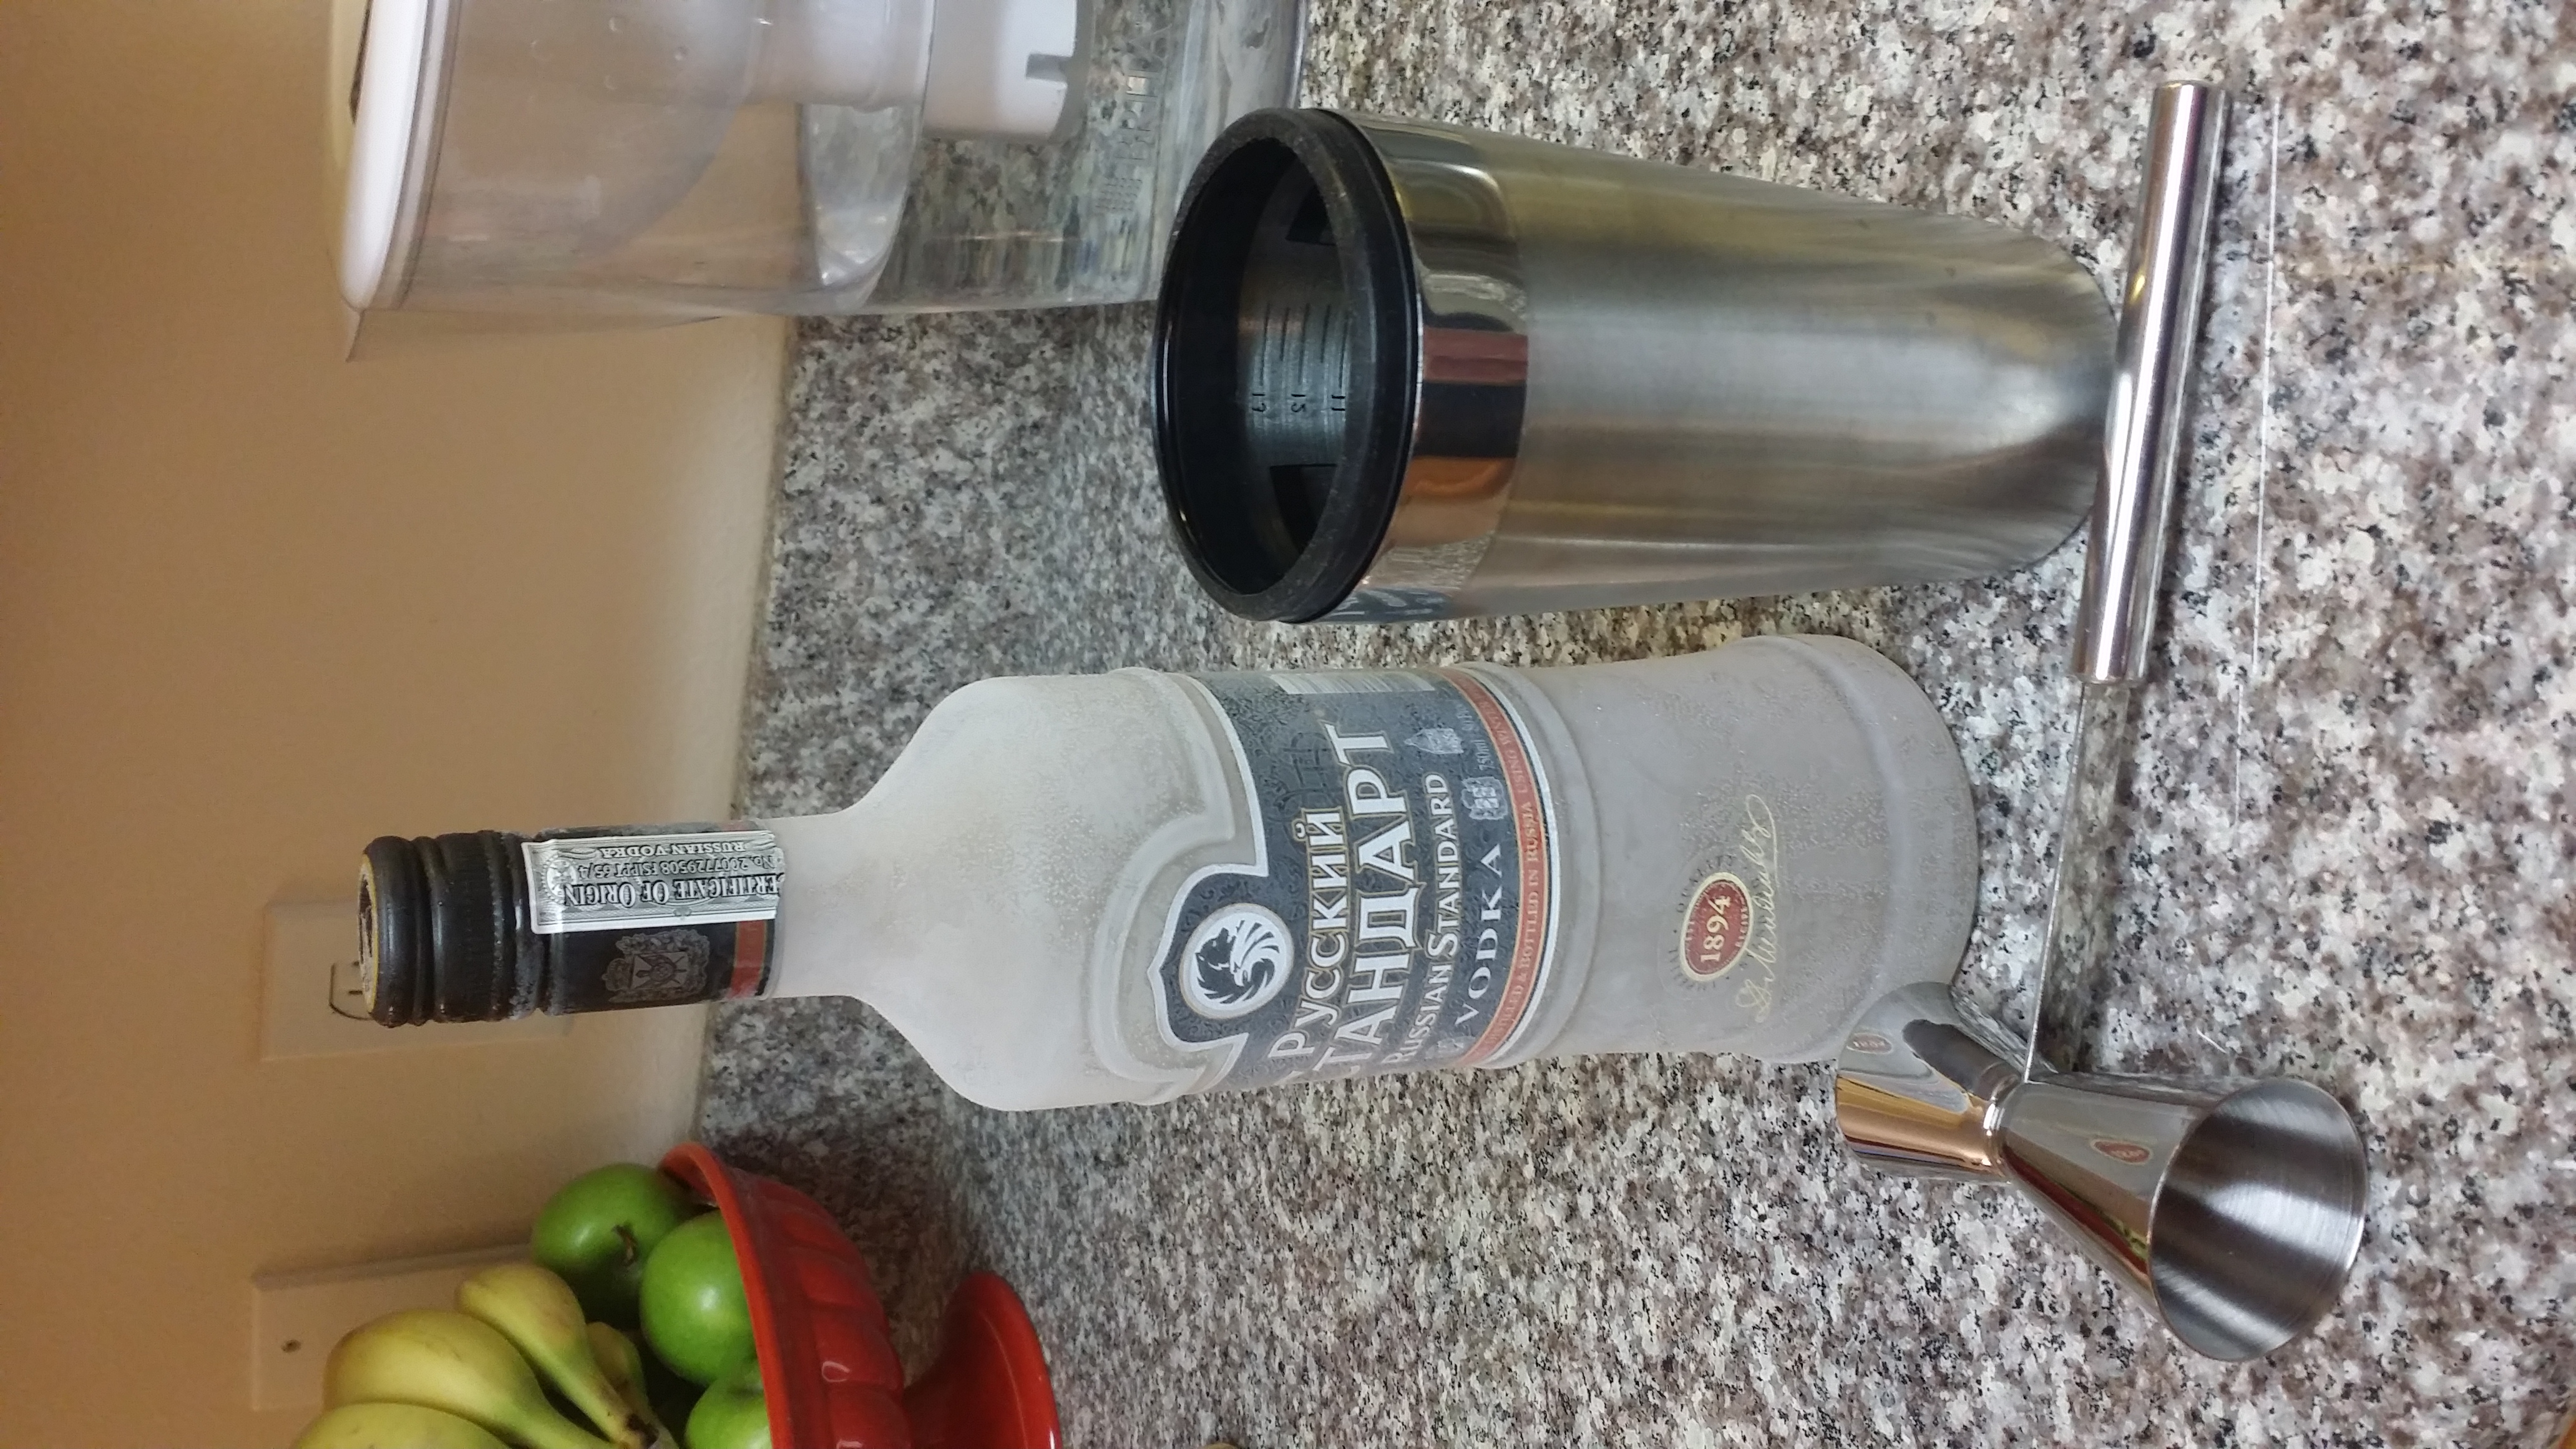

Then...remove from freezer grabbing bottle of Russian Standard vodka while you're in there and make a 3 olive dirty martini as reward for all that chopping.
Add onions to Ziploc bag and return to freezer! Now when I need green onions to toss in a pot, I have some already frozen and they're not all clumpy so I can get a good measure of what I need when I need it.
GO ME!
Do you freeze excess veggies and herbs? Don't you HATE when they go bad and you can't use them? UGH! Do you throw out a lot of veggies and fruit?
I used to do every thing he said not to do. Now I do it the way he said to do it. And BAAAAAAABY! He's correct! Nom nom.
Oh...and this comment is hilarious:
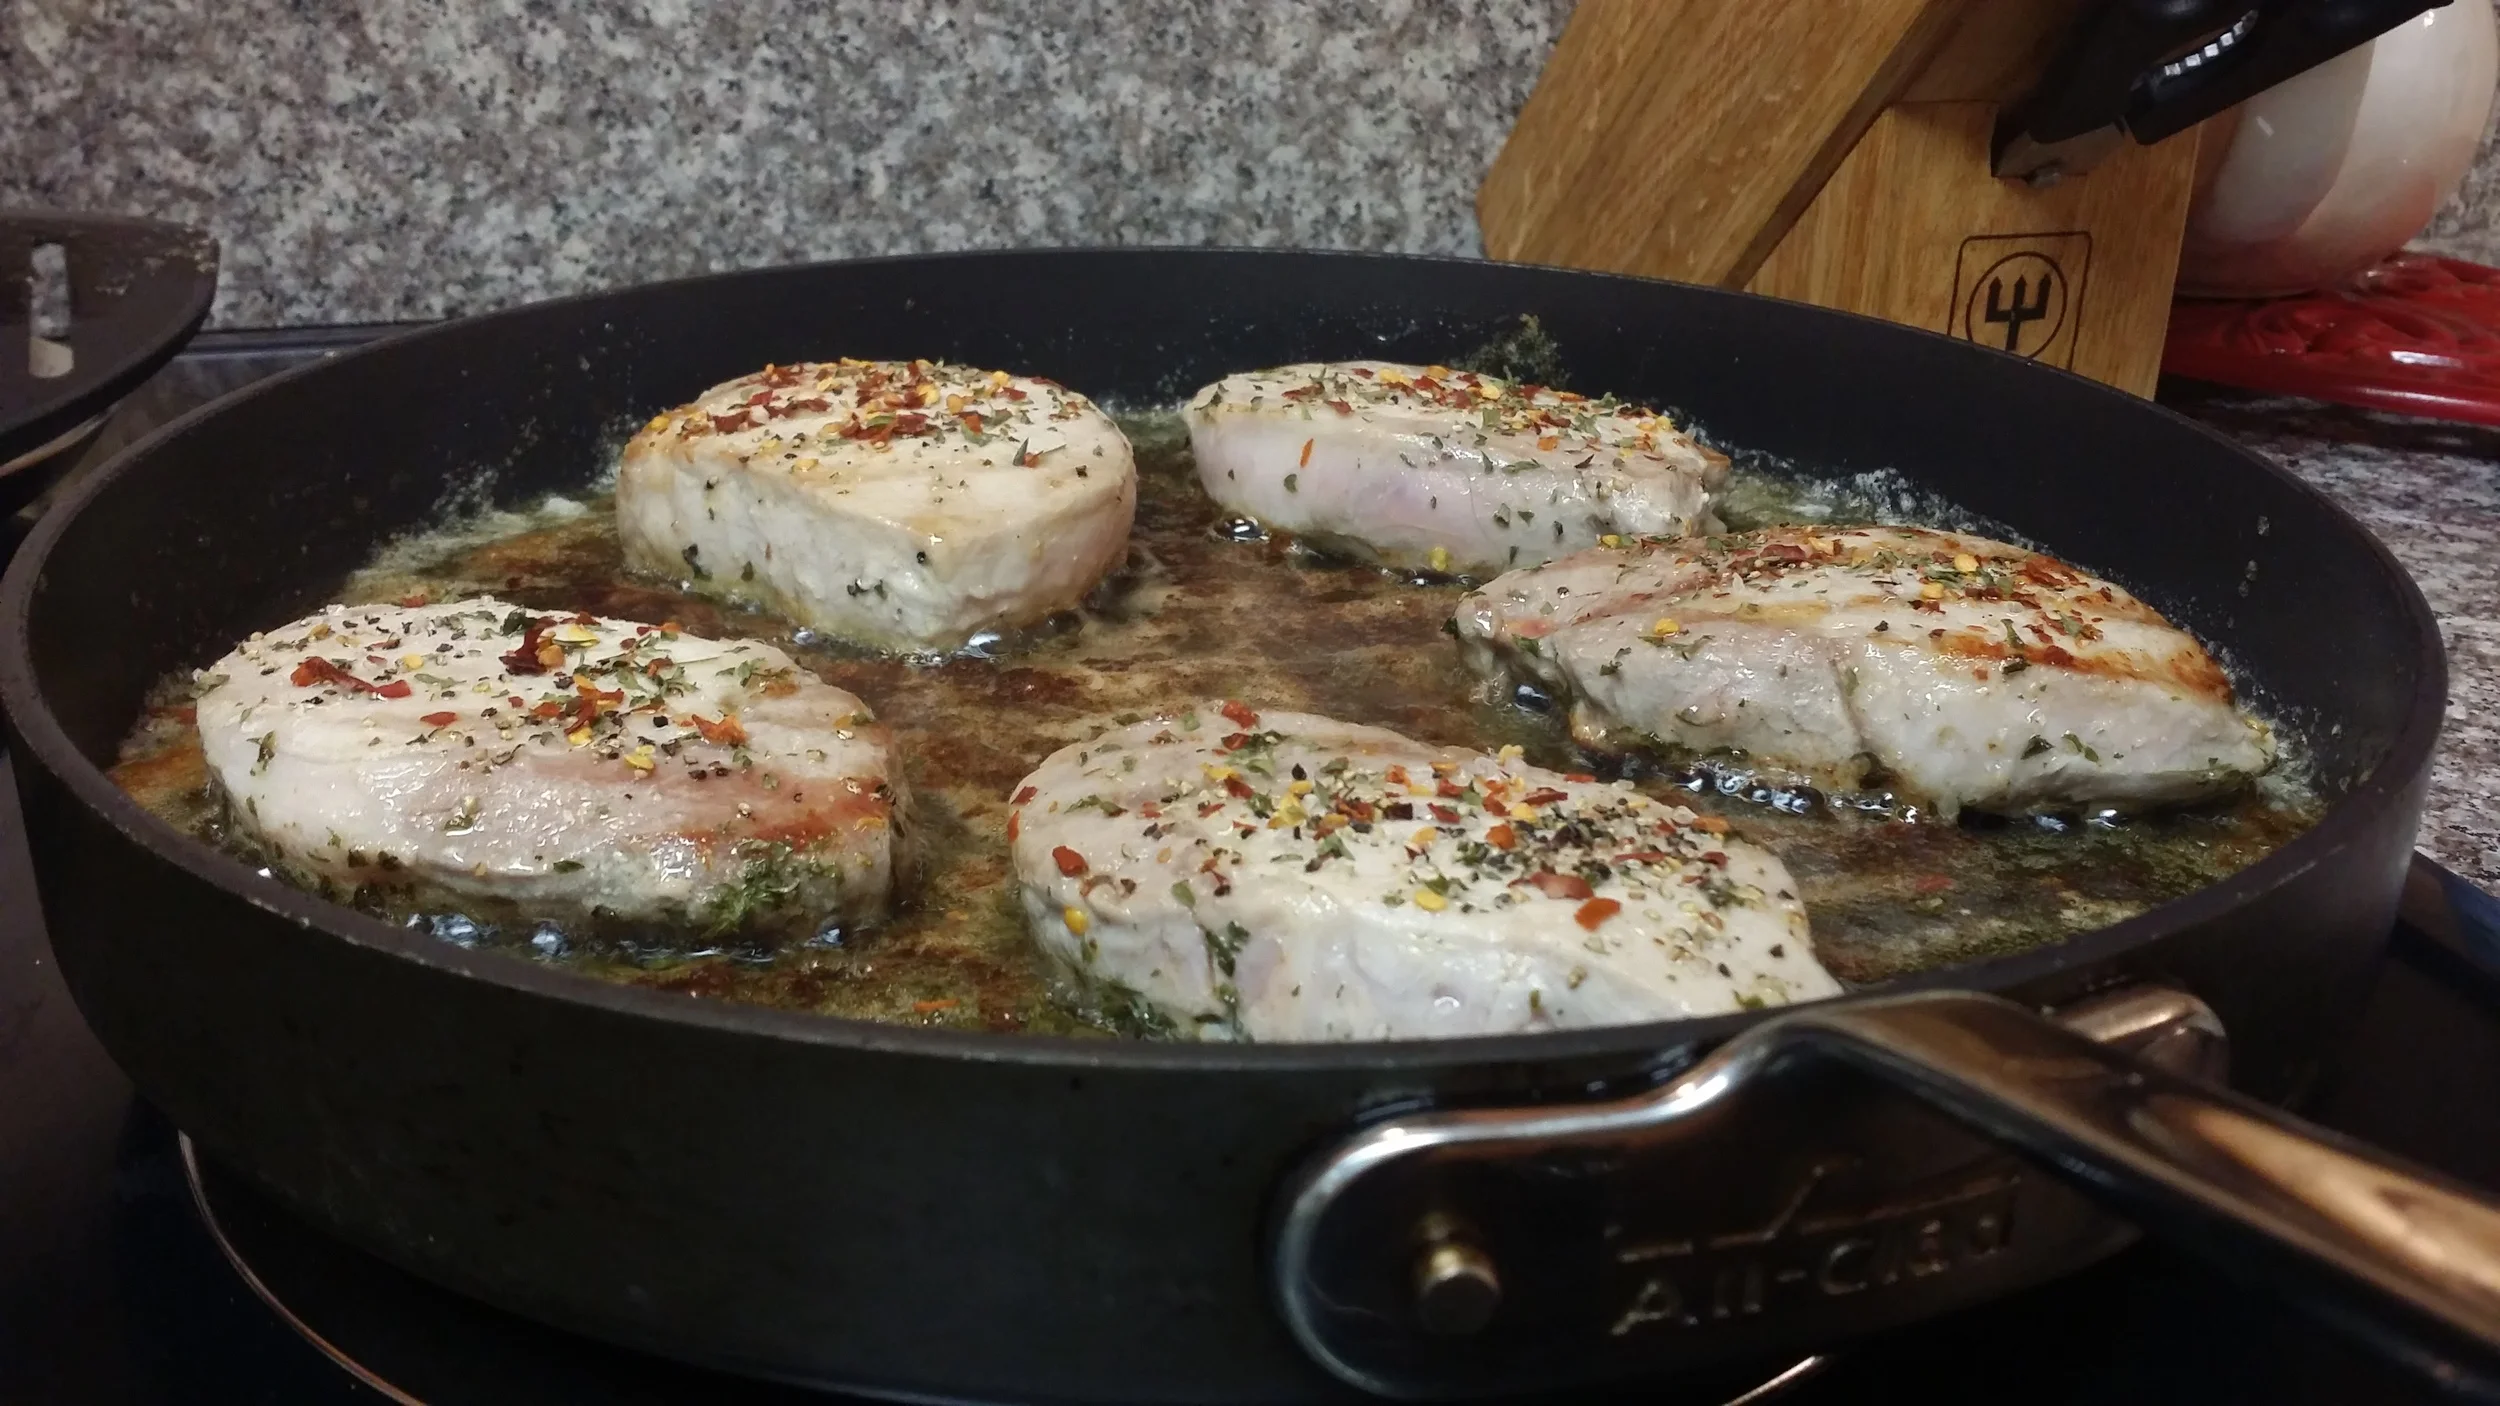
Recently I ran across a cut of pork I'd never heard of. They had a good look to them so I bought them and then asked Mr. Google for the optimal way to prepare them.
According to Mr. Google...melt two tablespoons of butter and add two tablespoons of olive oil to a pan on high heat. Before butter turns brown, add pork that has been sprinkled with fresh cracked pepper and sea salt. Cook for 3 minutes and then flip. Cook for another 3 minutes.
You can add a mushroom wine sauce or something to it but we didn't yet and we've had it twice. When I tell yall they are so delicious and tender????? Man! AMAZING!
They are currently my new favorite pork under bacon because...BACON.
I now add red pepper flakes and parsley to them but pretty much cook them the same.
And then I eat them the same. Quickly. With wine. LOL!
Have you ever had them? Ever even heard of them?
I blame TarshaB. for what I'm currently doing. I'm sitting in my kitchen smelling the goodness that smells like blueberry muffins. See...she made muffins the other day cuz that's how the hell she gets down-t and I've been thinking about those dang muffins ever since.
She posted this on Instagram the other day:
So duh...I've wanted muffins ever since.
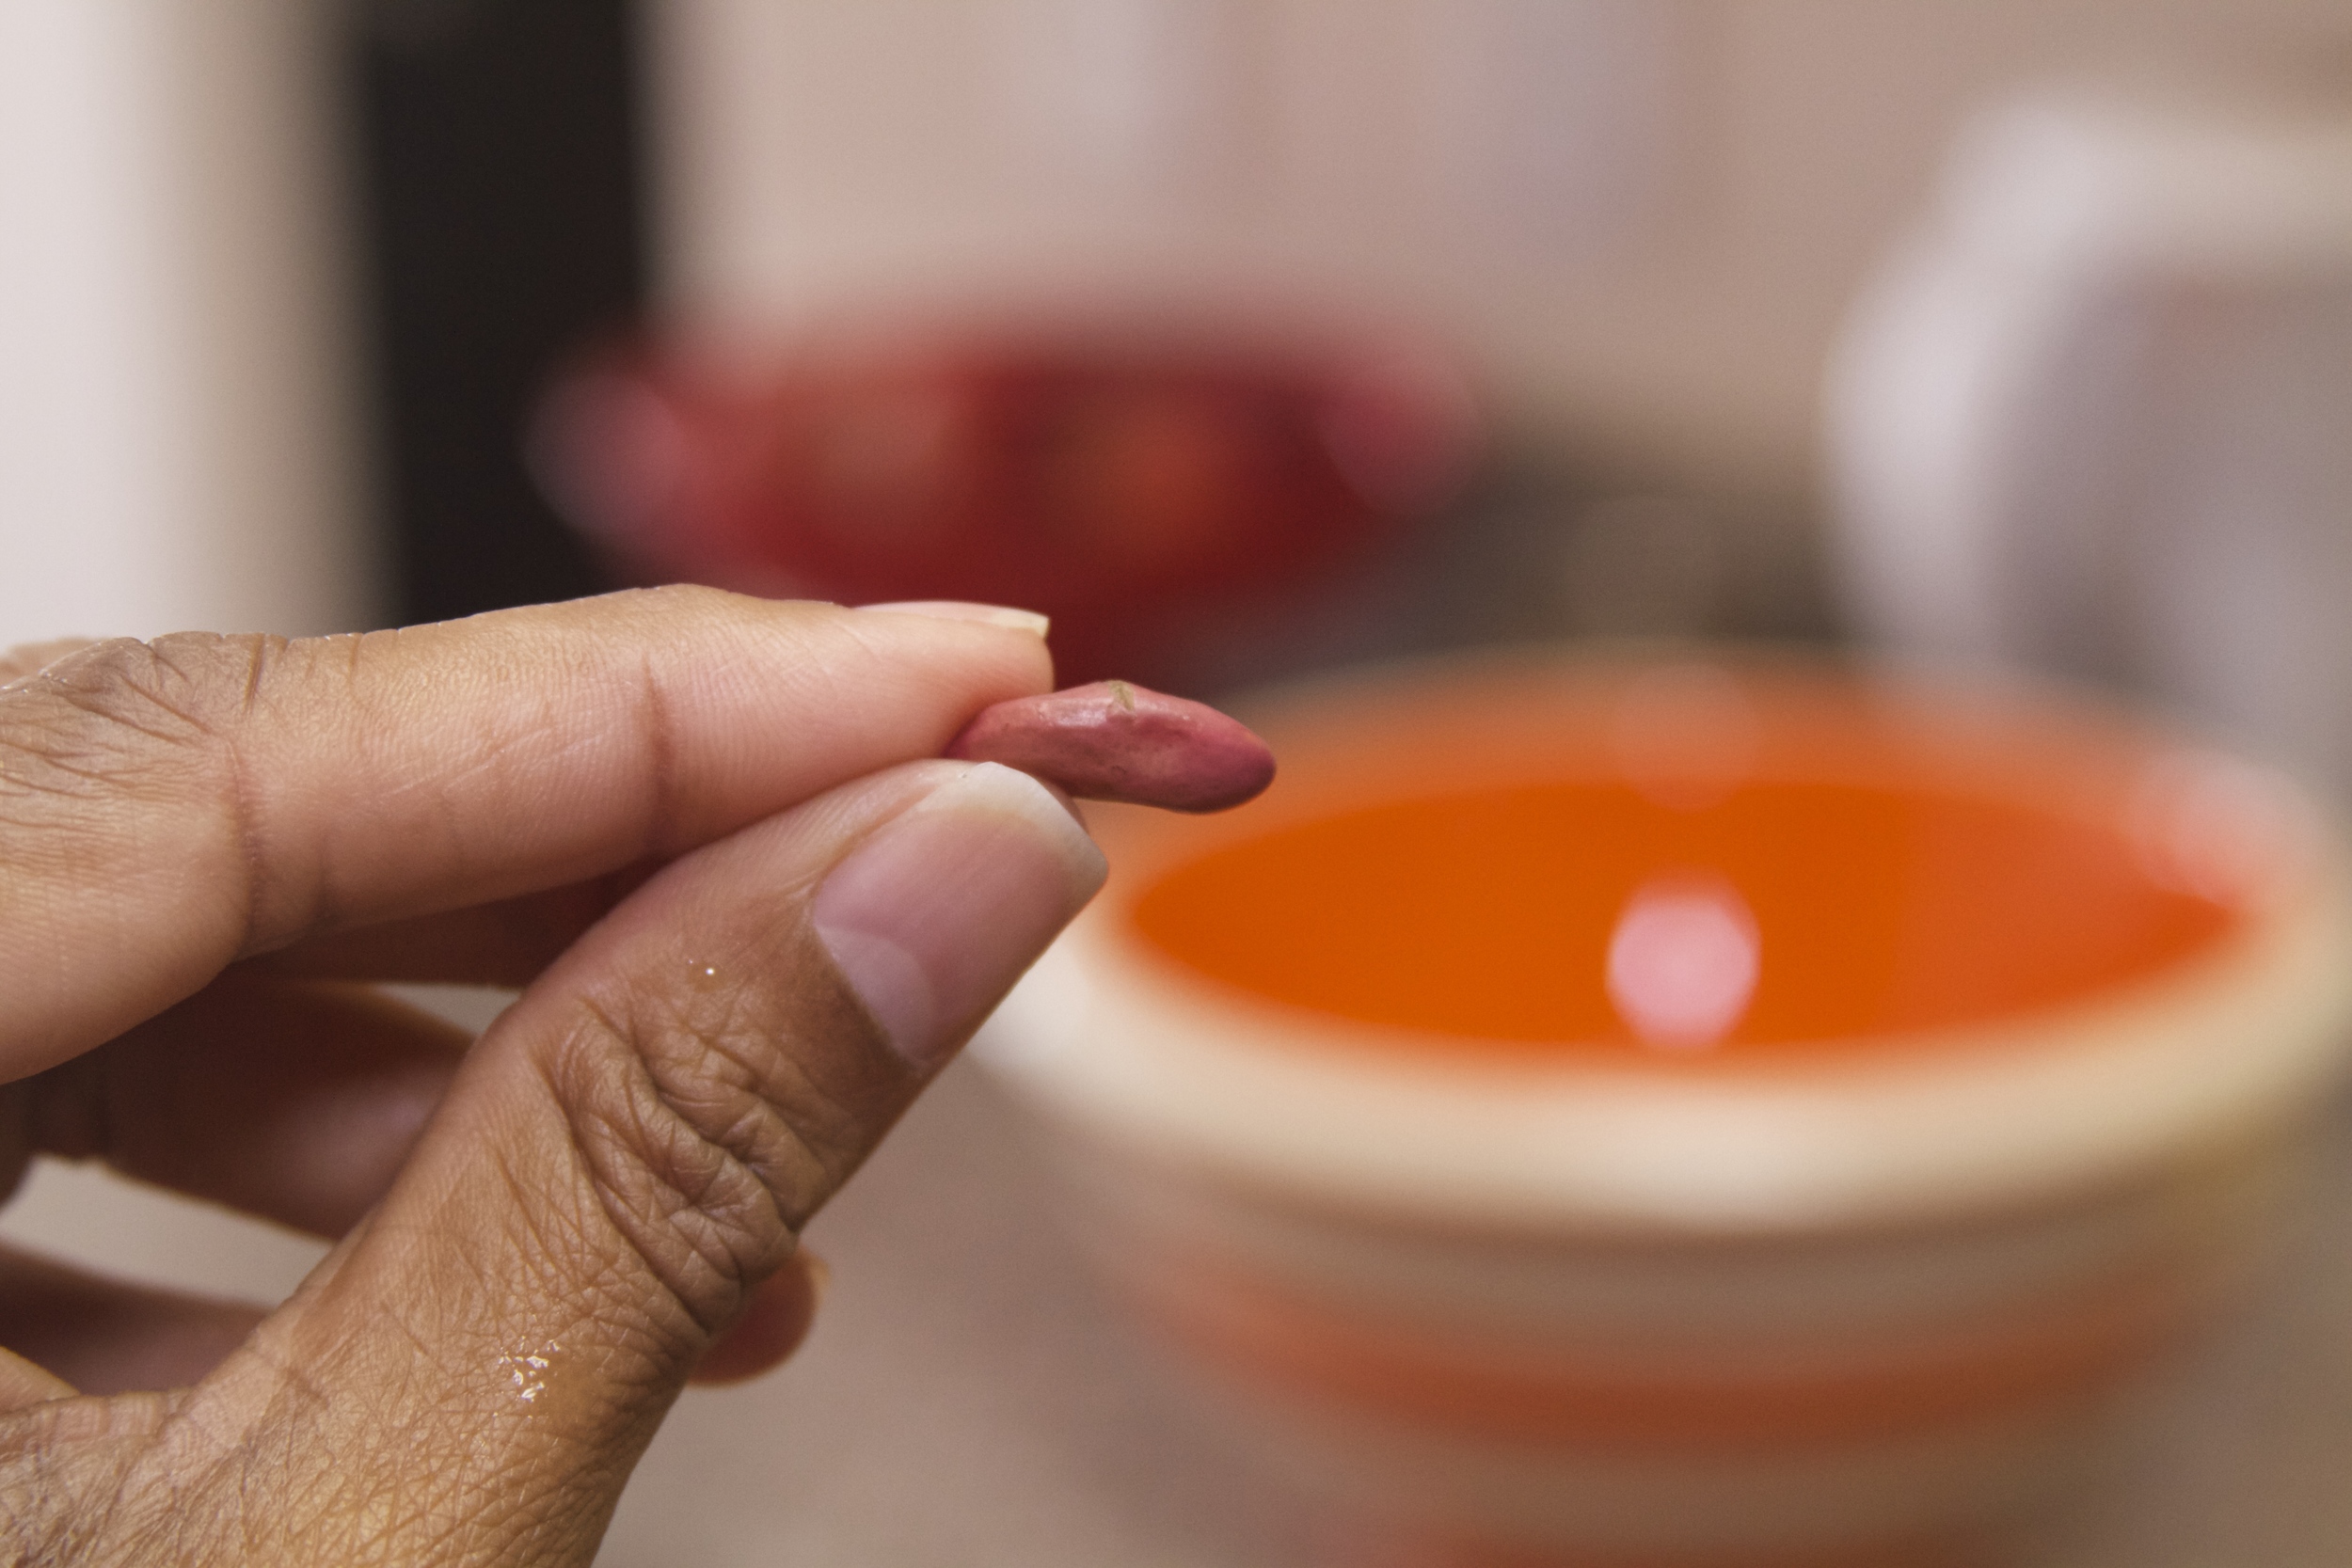
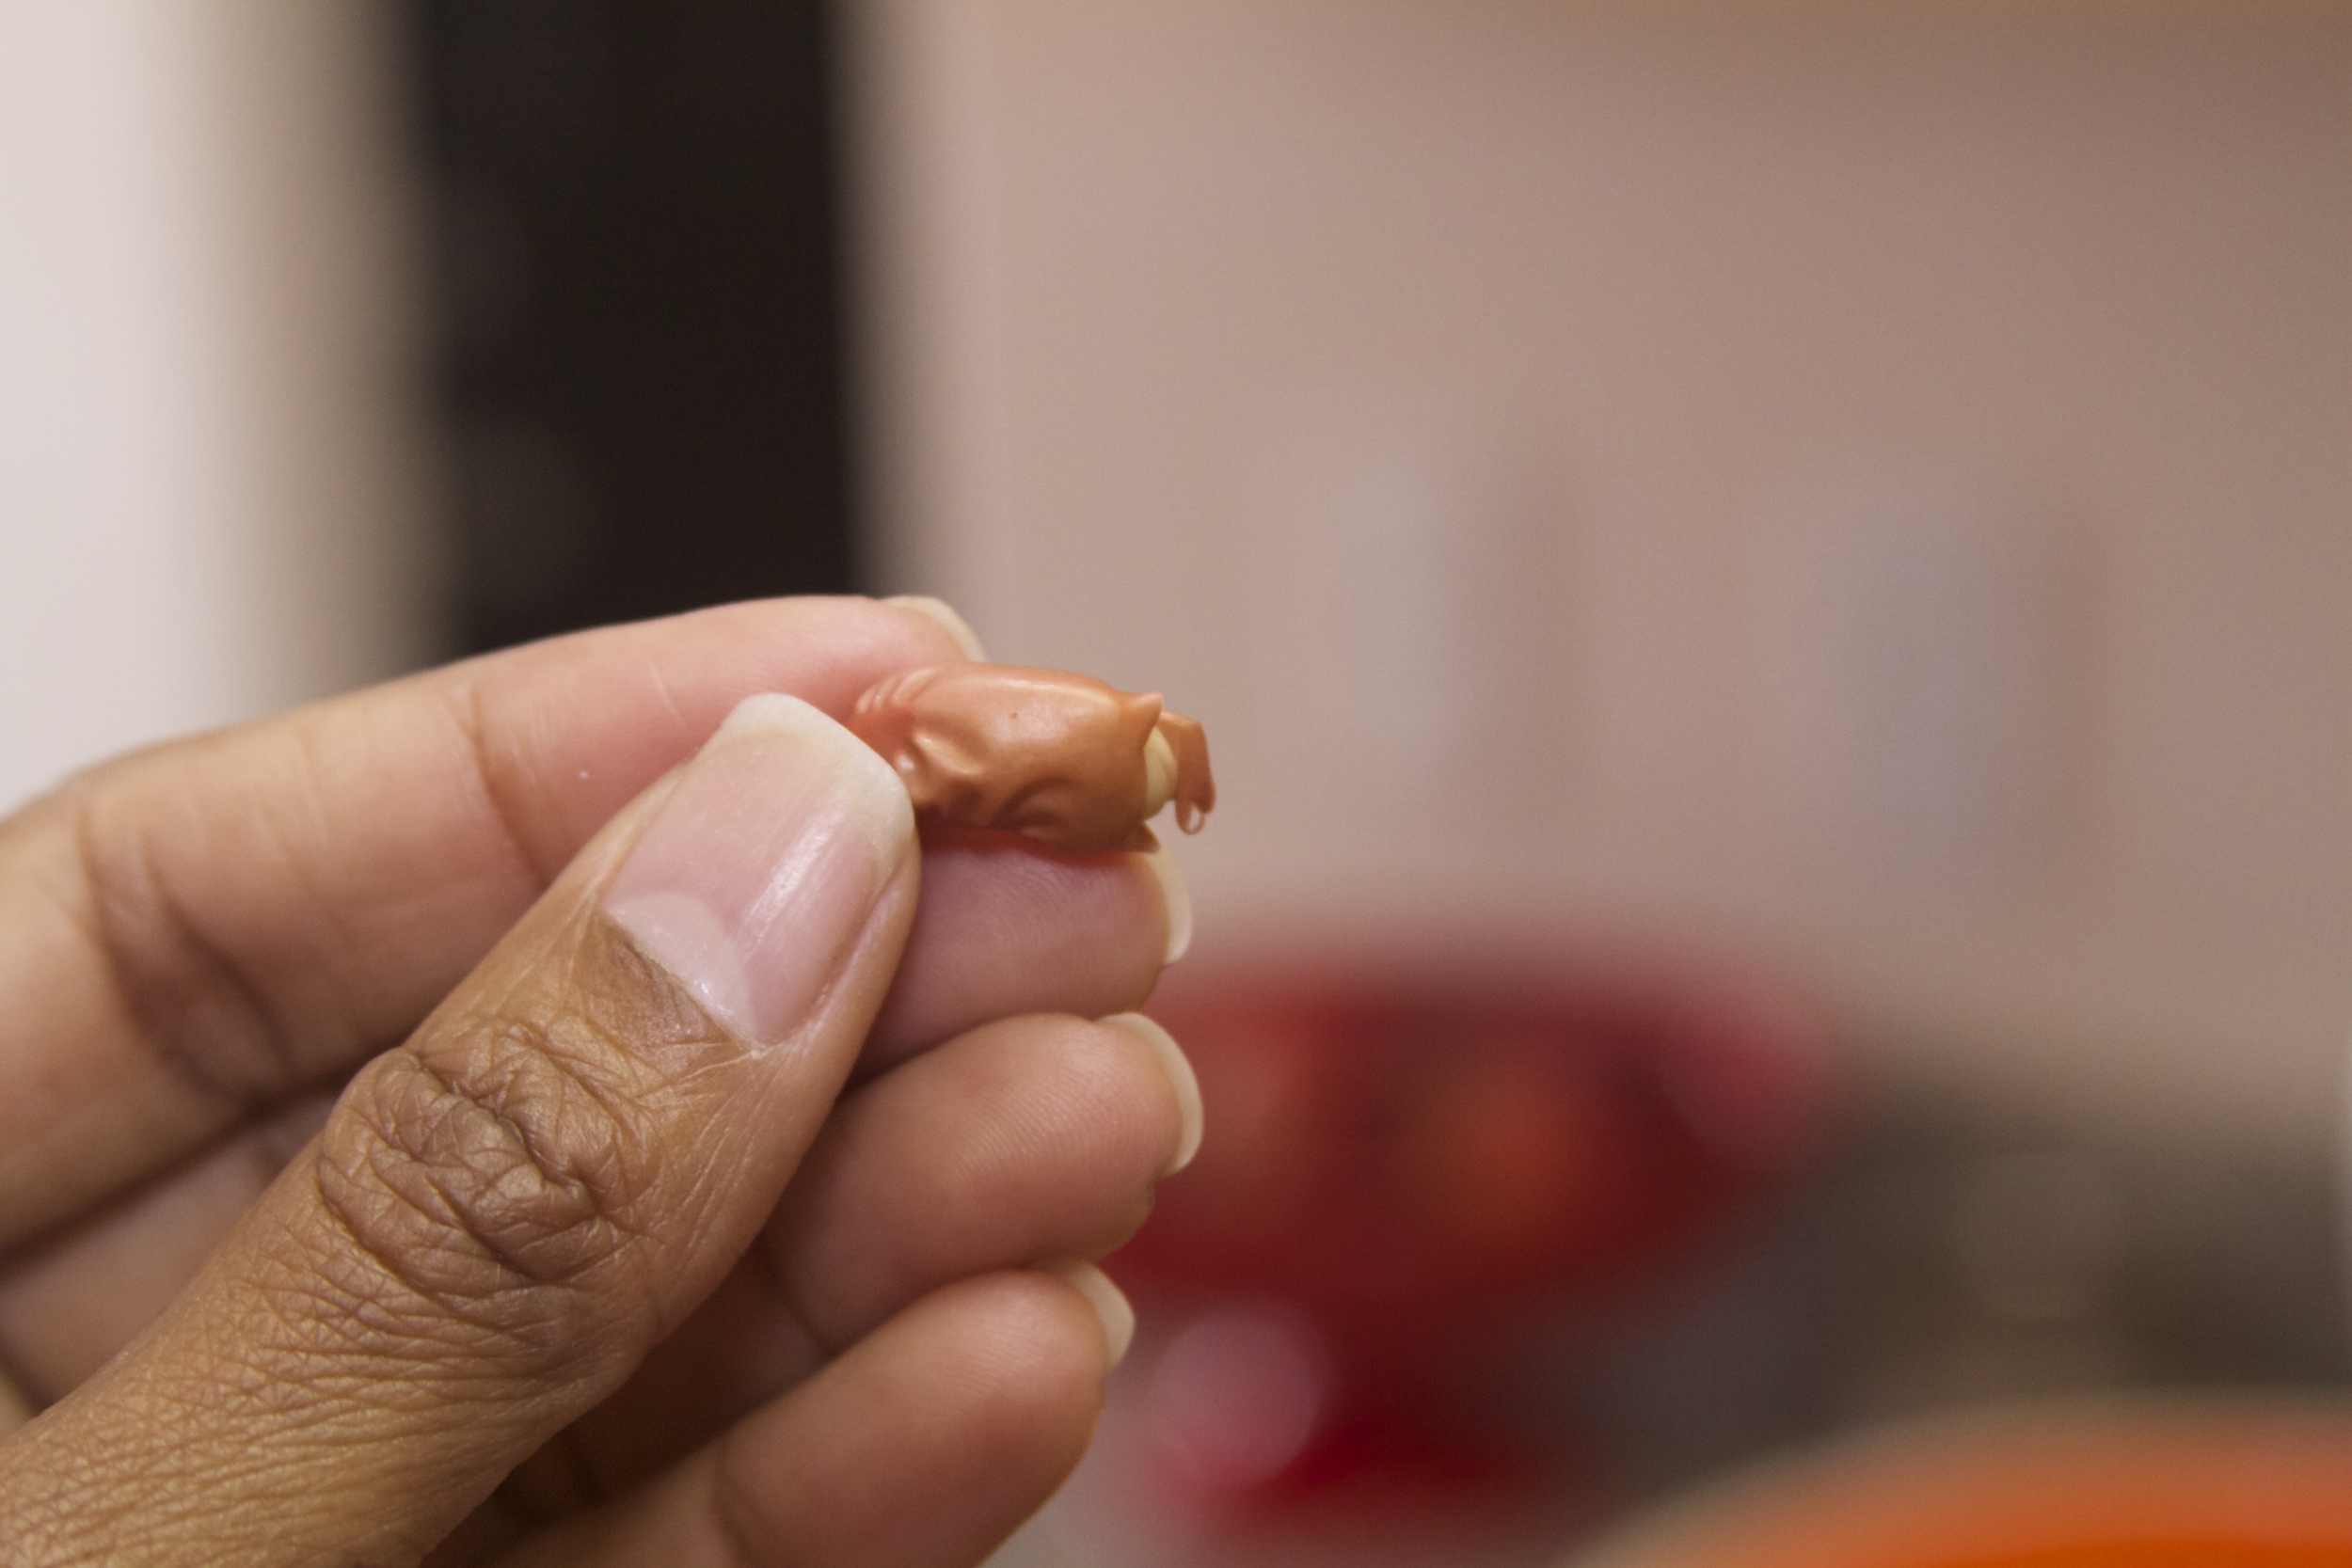
This evening I was sitting here making guacamole for Robby's Super Bowl party of one thinking...the person most impatient for the guac is always the person who has never cut up not nainh avocado. Humph and I thought about Tarsha's muffins again. I asked Mr. Google for a good blueberry muffin recipe and then crossed my fingers that I'd have all the ingredients cuz I wasn't leaving the house for muffins.
I had every thing except for fresh blueberries. I had frozen and where I'm from...we make it do what we do. :)
It made me think about kitchen staples and how I generally always have whatever I need to bake something sweet if we decide we want something sweet. I have flour, baking soda, baking powder, butter, vanilla, sugar, chocolate chips, pecans, dry milk and walnuts pretty much always. If we feel like some chocolate I can whip us up brownies or chocolate chip cookies in a jiffy cuz you know...I'm all fly like that. LOL!
This is the recipe I found:
Headed into the oven!
11 NOT 12 survived the cooling process. *sigh*
I haven't tasted one yet but the dude of the household has and says they are delicious. Ours are gluten-free, of course. I'll let you guys know tomorrow if the frozen blueberries made a difference. I can't tonight because the cheating football team won and apparently we're going to bed now. *BLINK*
Do you bake? What's the last thing you baked? Do you ever make muffins?
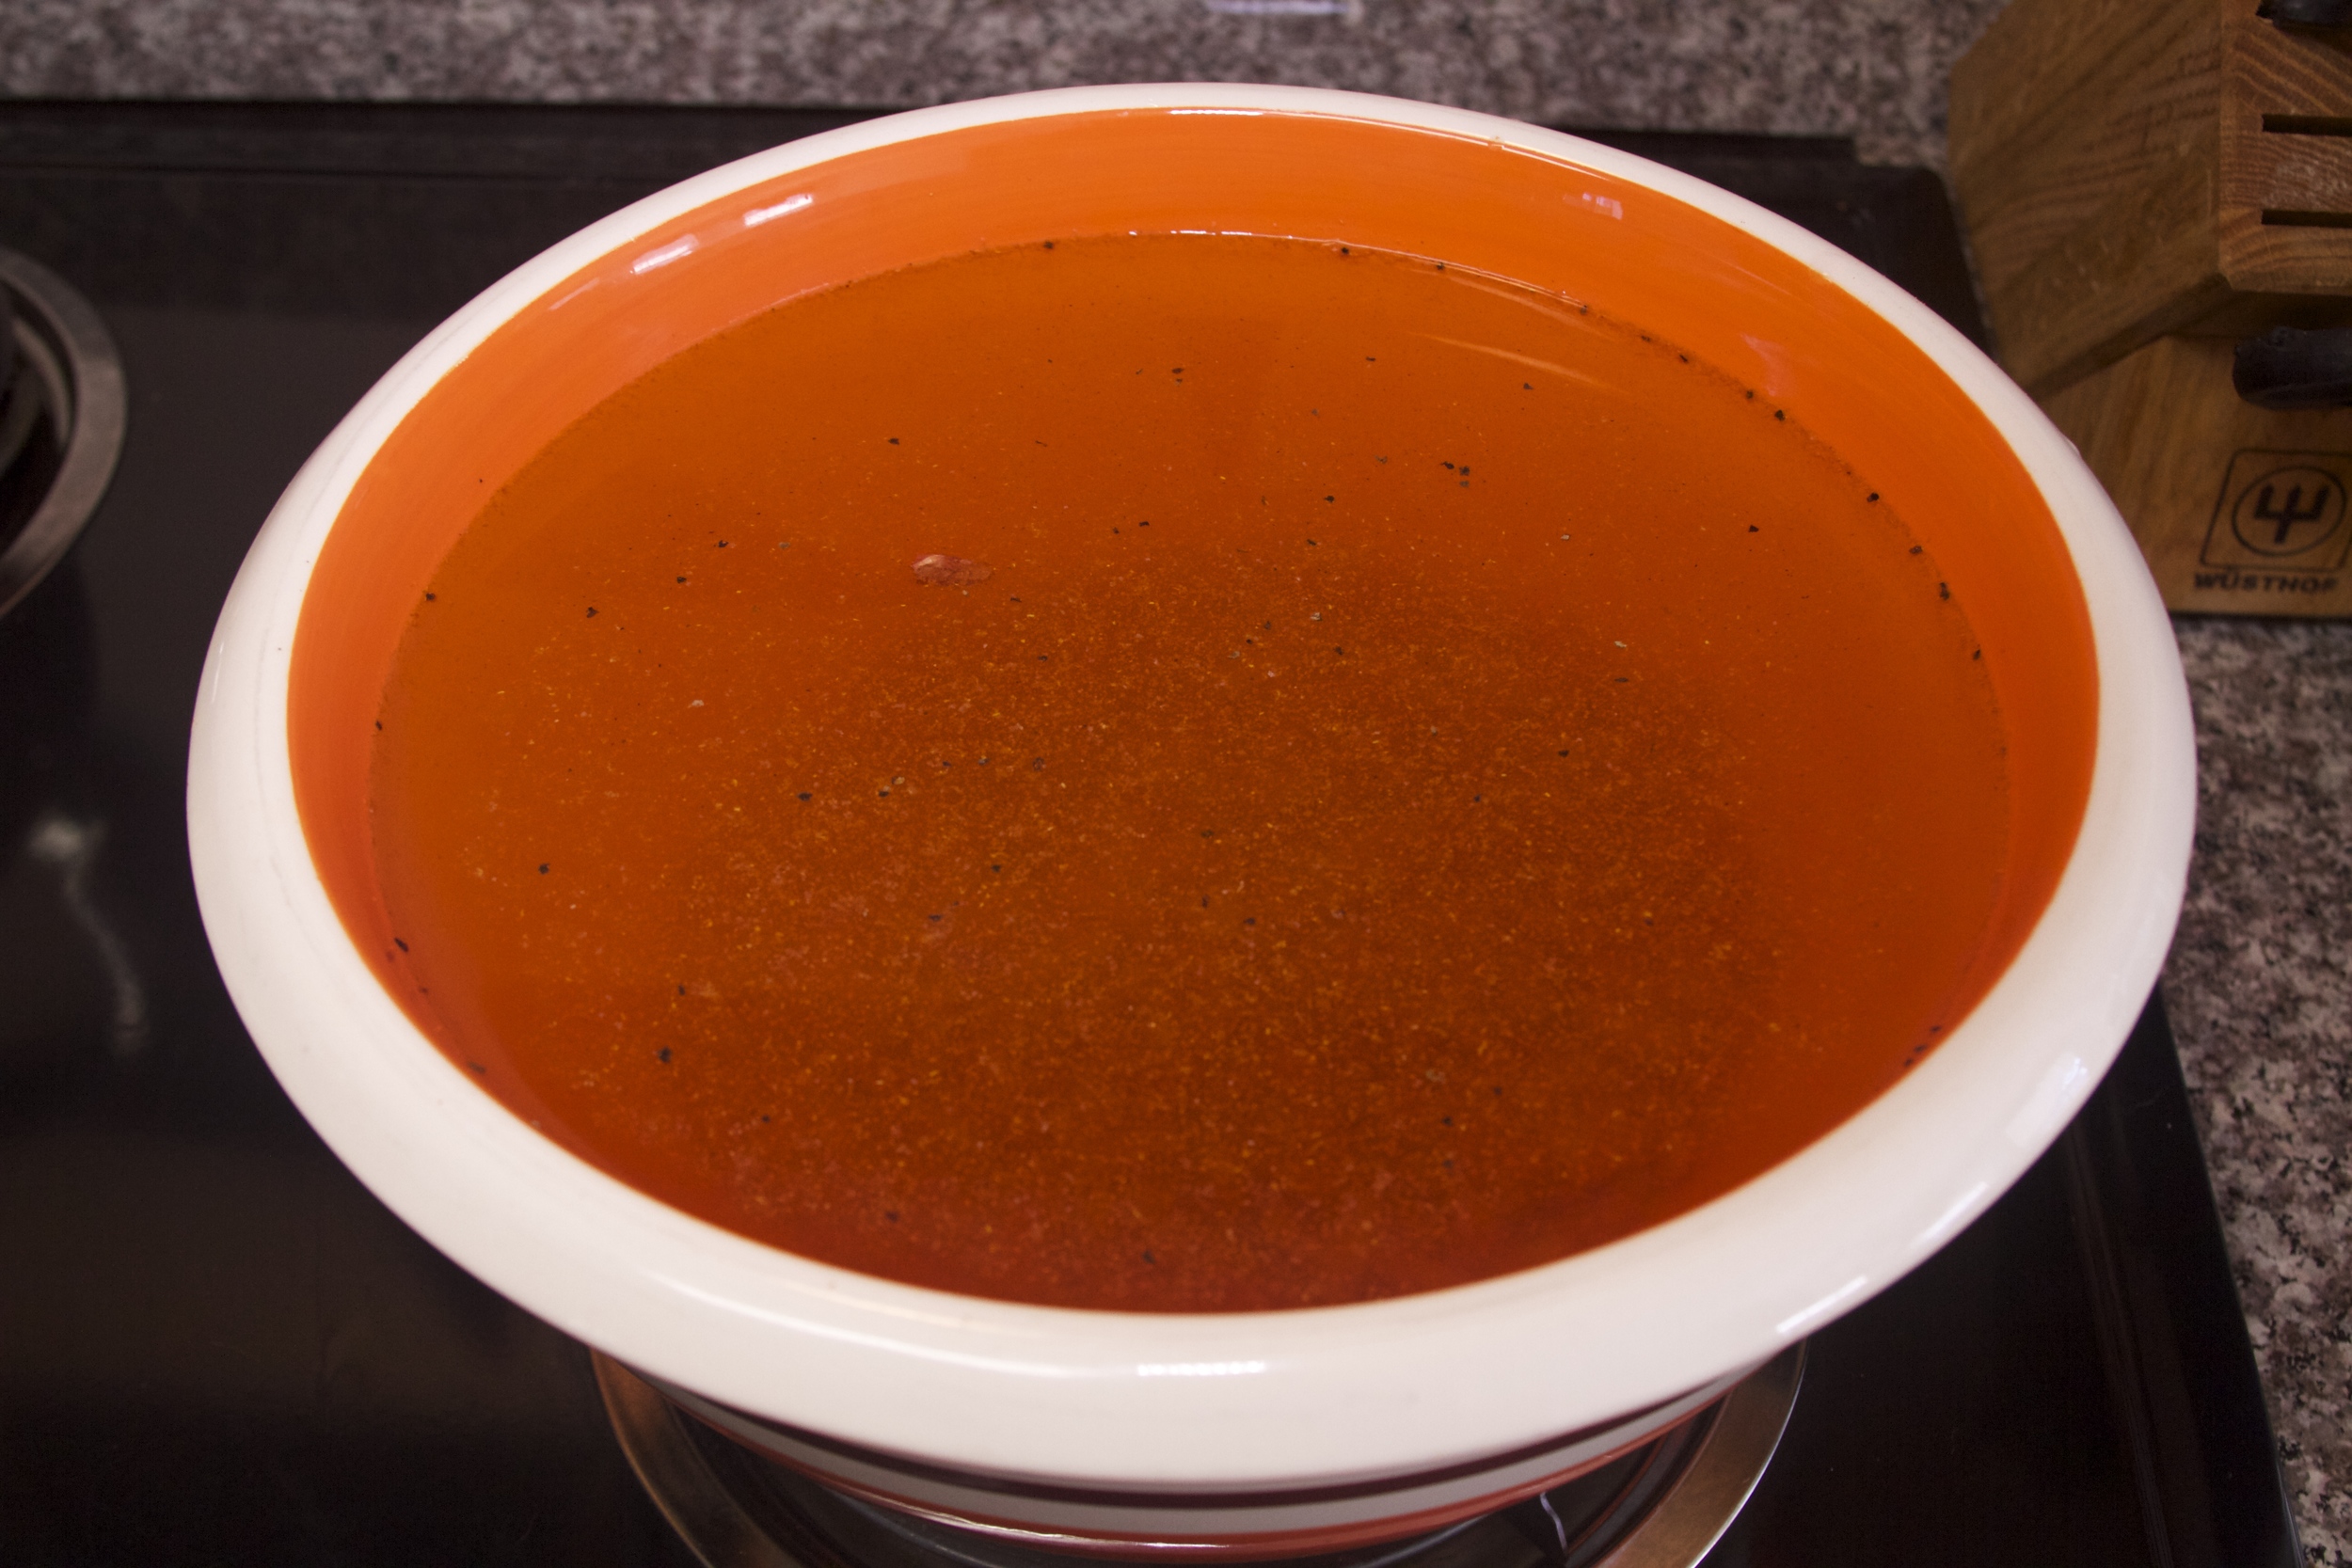
I had a bunch of stuff but no recipe that included all of the stuff I had and wanted some soup. Some HEARTY soup. The kind of soup that you wanted multiple bowls of in one sitting. Because of my current grocery shopping limitations I've learned to simply make it do what it do and use what I have.
That said...I started tossing some stuff together in a way that made sense and WOW! It was so good, I had to stop and take a picture mid-bowl so I could tell yall about it!
So...this is what I did. I'll try and write it out like a for real recipe. LOL!
Ingredients:
Add enough bacon grease to the bottom of the pot to saute onions and add onions and the sausage. Chop up sausage as it cooks. Cook until sausage is done.
Add chicken stock, garlic and seasoning (go light on the Tony Chachere as Italian sausage can be a bit salty), bring to boil.
Add potatoes and cook for about 20 minutes on medium high.
Add collards and cook for 10 more minutes.
Stir in cream.
Serve up a bowl.
Post up like a SUPASTAR!!!!!!!!!!!!!
Remember to work with what you have. Soup is easy. If you don't have heavy cream, use milk with a bit of flour to thicken it. You know how to do it. If you don't...send me a message and I'll see how I can help you. All good cooks started off wrong. LOL!
So...VeggieBee was here for Christmas and I wanted to cook her something vegan since she focuses on eating vegan food at home. I was searching for recipes on the sofa with The Robinator and as I was flipping through this one list, he saw this recipe and declared that he used to have peanut soup at this hotel he used to stay in for work before me and that he hadn't had any since. As he looked at me with puppy dog eyes...I knew I'd be making peanut soup even though I'd never had it.
onefromphilly has attempted to get me to have things such as vegan cheese, etc. and well...she hasn't been successful. I don't like oxymorons as it relates to my food. LOL! As I read the ingredients, however, I perked up because it sounded DELICIOUS! And man! Once it got going the aroma was sooooooooooooooooo awesome! If you don't have an immersion blender, simply allow it to cool well enough to transfer to a blender and puree. It's worth it. I promise. If all vegan foods tastes like this I'm going to be a tad bit more open to vegan foods from now on!
Do YOU eat any vegan dishes? What do you like? What do you NOT like that's vegan so I know to steer clear? LOL!
18-1/2 oz. yellow cake mix
3-1/4 oz. package instant vanilla pudding mix
1/2 cup Southern Comfort
4 eggs
1/2 cup cold water
1/2 cup oil
1 cup chopped walnuts or pecans (I prefer walnuts.)
Glaze:
4 T. Butter
1/8 cup water
1/2 cup granulated sugar
1/4 cup Southern Comfort
This is a super easy one bowl cake recipe that I've been making since I was tall enough to use the hand mixer and see into the bowl. LOL! It's truly delicious. I've used both regular yellow cake mix and gluten-free yellow cake mix and it's delicious either way.
Combine cake ingredients in a large bowl and beat at a medium speed for 2 minutes. Pour into a greased and floured 10-inch tube or 12-cup bundt pan. Bake at 325ºF for 1 hour. Carefully invert on rack and cool for about 30 minutes. Place a plate under cake and cooling rack and prick top repeatedly with toothpick.
To make glaze, melt butter in saucepan. Stir in water and sugar. Boil 3 minutes, stirring constantly. Remove from heat and stir in Southern Comfort.
Brush with glaze. If you lose a lot of glaze and it drips to the plate, remove that plate and add another plate. Use the glaze from the first plate to continue coating the cake.
IF YOU WANT TO...sift 1 teaspoon of powdered sugar over cake. For Christmas time it's really pretty. You can use cookie cutters to make snowflake designs if you'd like. Just set the cutter on the cake lightly and hit the sifter once or twice over cutter and repeat.
I send these to Robby's office in Plain Cake Boxes which I buy from Michael's (Remember...never, ever, EVER go to Michael's without visiting their website first for a coupon. They usually have one of those FABULOUS 40% off coupons and you can just show it to them on your phone!). I also buy the 10 inch cake rounds to put the cake on before putting it in the box. I think I get 10 in a pack for like $4. I also print recipe cards with the recipe printed on them for him to put next to the cake in the event anyone wants to make it at home. It's usually a MAJOR hit!
4 oz Apple Cider
2 oz Fireball whiskey
1 apple slice sprinkled with cinnamon
Warm apple cider and whiskey. (I did it in microwave.) Add apple slice. Fancy people add a cinnamon stick for presentation. I didn't need all that. *HICCUP*
Call me in the morning to discuss cuz we won't discuss anything productive tonight. Blame my friends. They are lushes who make me try stuff I've never tried before and it's always, ALWAYS delicious! GO ME!
I'm perfecting it so I can impress my brother when he gets here next week. LOL! Yup...this is simply RESEARCH! *HICCUP*
Peel & slice 2 large sweet potatoes or enough to equal 2 cups cooked, mashed sweet potatoes.
Boil until done. Add the following:
1 stick butter
1 cup sugar
1/3 cup brown sugar
1/2 cup evaporated milk
1/2 cup sweetened condensed milk
1 egg
1/2 tsp. cinnamon
2 tsp. vanilla
Mix well. Pour into crust. Bake at 350 degrees until brown - about 1 hour.
Be sure the center of the pie is done. Let cool before cutting.
HIDE ONE OF THESE FOR YOURSELF. YOU'LL BE MAD IF YOU DON'T. TRUST ME.
Oh...and don't EVER mix this up with a pumpkin pie. There's sweet potato pie and there's that other pie that isn't allowed in my home because...NO.
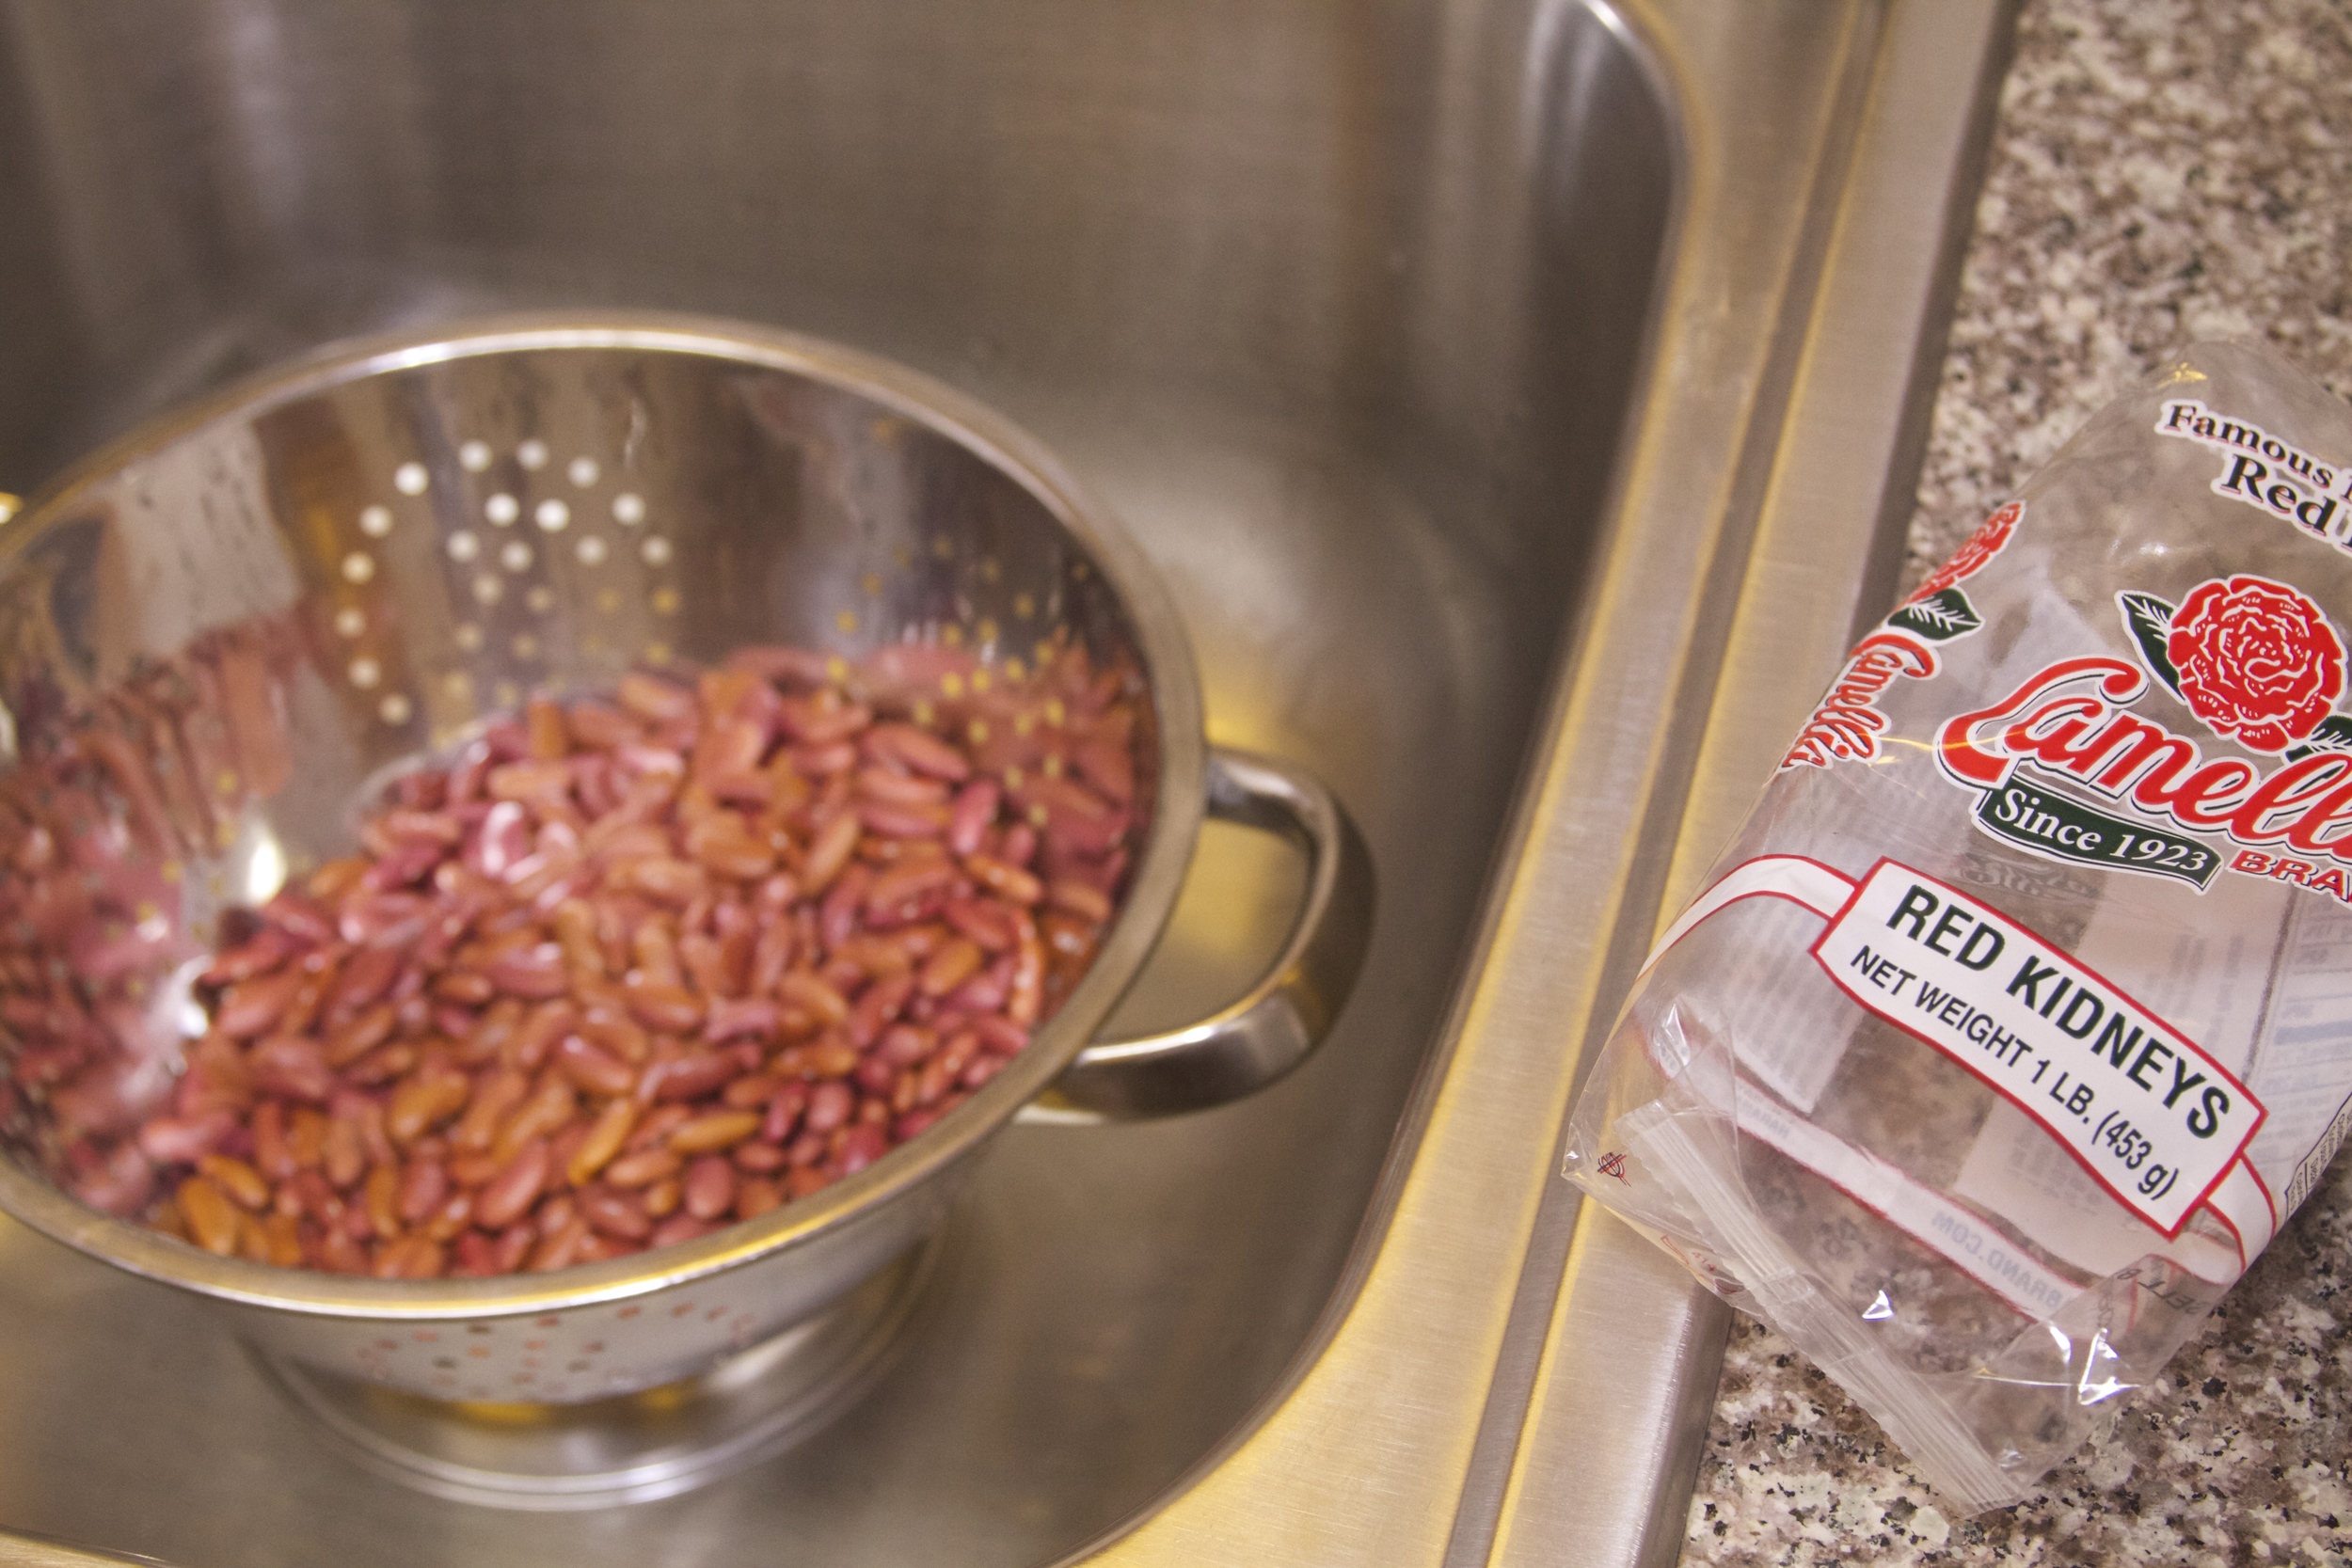
It's no secret that I LURVE red beans and rice. But only mine. LOL! I'm far too critical of other people's red beans and rice so I don't even try them. I know...bad Mingo...BAD!
But my beans are pretty dang delish. If you've ever had them...you know this for sure.
Here is my recipe for each pound of beans you're cooking:
1 lb red beans (Rinse and sort beans and then START SOAKING IN WATER THE MORNING BEFORE THE DAY YOU COOK THEM! The gas needs to expel. Look for white fluffy stuff on top of the water.)
1 ham bone or 1 lb ham hocks (This is why you save the bone with the difficult to cut meat on it from the Christmas ham...just wrap it good in foil and put in a ziploc freezer bag! When I don't have one I use ham hocks.)
1 - 2 lbs sausage (sliced and browned)
1 yellow onion
1 bell pepper
5 stalks of celery
3 cloves of garlic minced
3 bay leaves
1 teaspoon of thyme
9 cups of chicken broth (I use Herbox chicken granules http://www.hormelfoods.com/Brands/BrandWall/Herb-Ox-bouillon)

I season the beans while they are soaking in the water.
Salt and pepper (black and cayenne) to taste *NOTE! I DON'T PUT IN SALT UNTIL THE VERY END AS YOU NEVER KNOW HOW SALTY THE HAM HOCK WILL BE! WHEN YOU HAVE YOUR LAST "TASTE" ADJUST SALT THEN...YOU PROBABLY WON'T NEED ANY!
In olive oil, saute diced onion, celery, garlic and bell pepper for about 10 minutes. Add thyme, bay leaves, black and cayenne pepper. Add beans, broth, and ham hocks/bone.
Bring to boil uncovered. Add sausage. Reduce heat to low and simmer for 2 hours. YES...I SAID TWO HOURS! The best cooking is done slooooooooooooooow!
After two hours, remove ham bone and put on plate. Then, scoop out about 1/2 cup of beansand mash them up. Carve meat off bone into bite sized pieces. Put meat ONLY back in pot. Taste and adjust seasonings. Bring to another low boil and stir mashed beans in well making sure they don't stick to bottom of pot. Lower temperature and simmer on low, covered, for 20 minutes. This makes the beans creamy.
Serve over brown rice. Oh yeah...they will be muuuuuuuuuuch better tomorrow! LOL!
SMOOCHES!
P.S. For non-pork eaters...I guess you can use smoked turkey...but I wouldn't know cuz I use pork...the pig ain't never done nuttin to me! I eat it "from the rooter to the tooter!"
I always prefer a fresh turkey. Because of this, I know I have to order it a few weeks in advance and go either pay for it completely or put a deposit down on it. Then I pick it up Wednesday morning so I can bring it home and get it ready to brine.
If you're using a frozen turkey you should buy it on Monday so it stays in the fridge thawing until Wednesday when you need to get it ready to brine.
The next morning I get the bird out of the fridge and roast it.
I always brine our turkey. The first time I wanted to do it forever ago, I found a brine recipe by Martha Stewart and had ever intention on buying the ingredients and doing it. Well...I needed to run by Williams-Sonoma to pick something up and saw their brining mixes. When I read the ingredient list...sounded the same and when I did the head math it was going to cost way less than all of the ingredients THE MARTHA listed that I'd need.
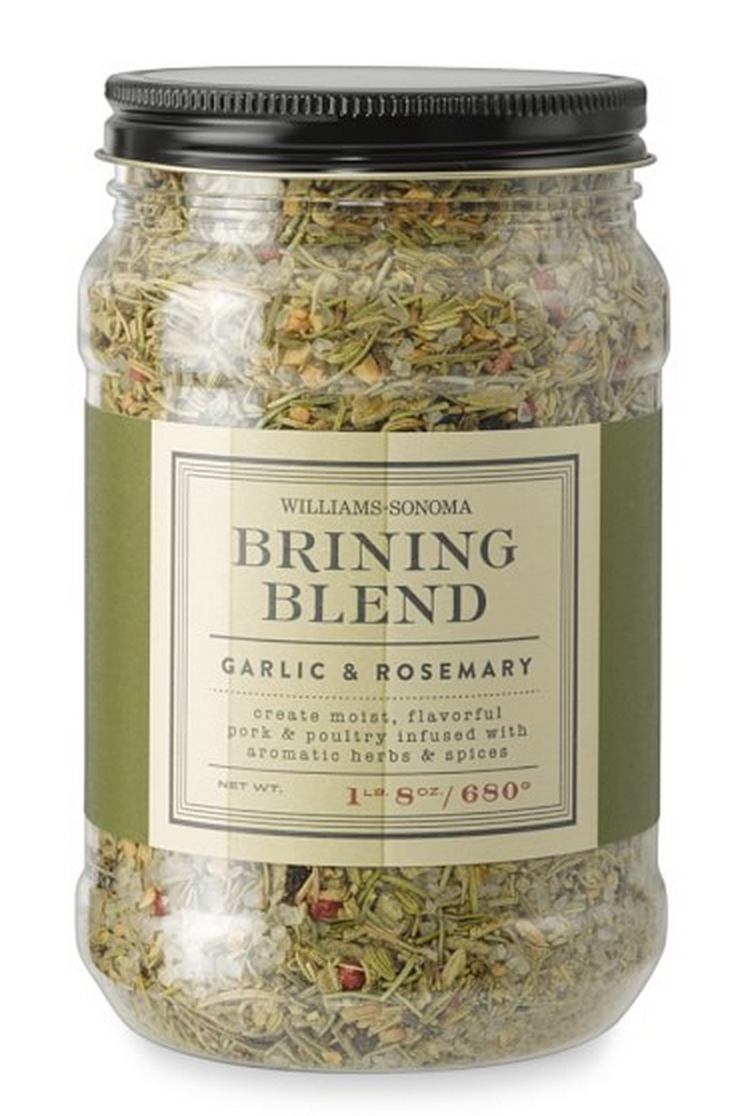
So yeah...bought it and have been using it ever since: Williams-Sonoma Brining Blend, Garlic & Rosemary
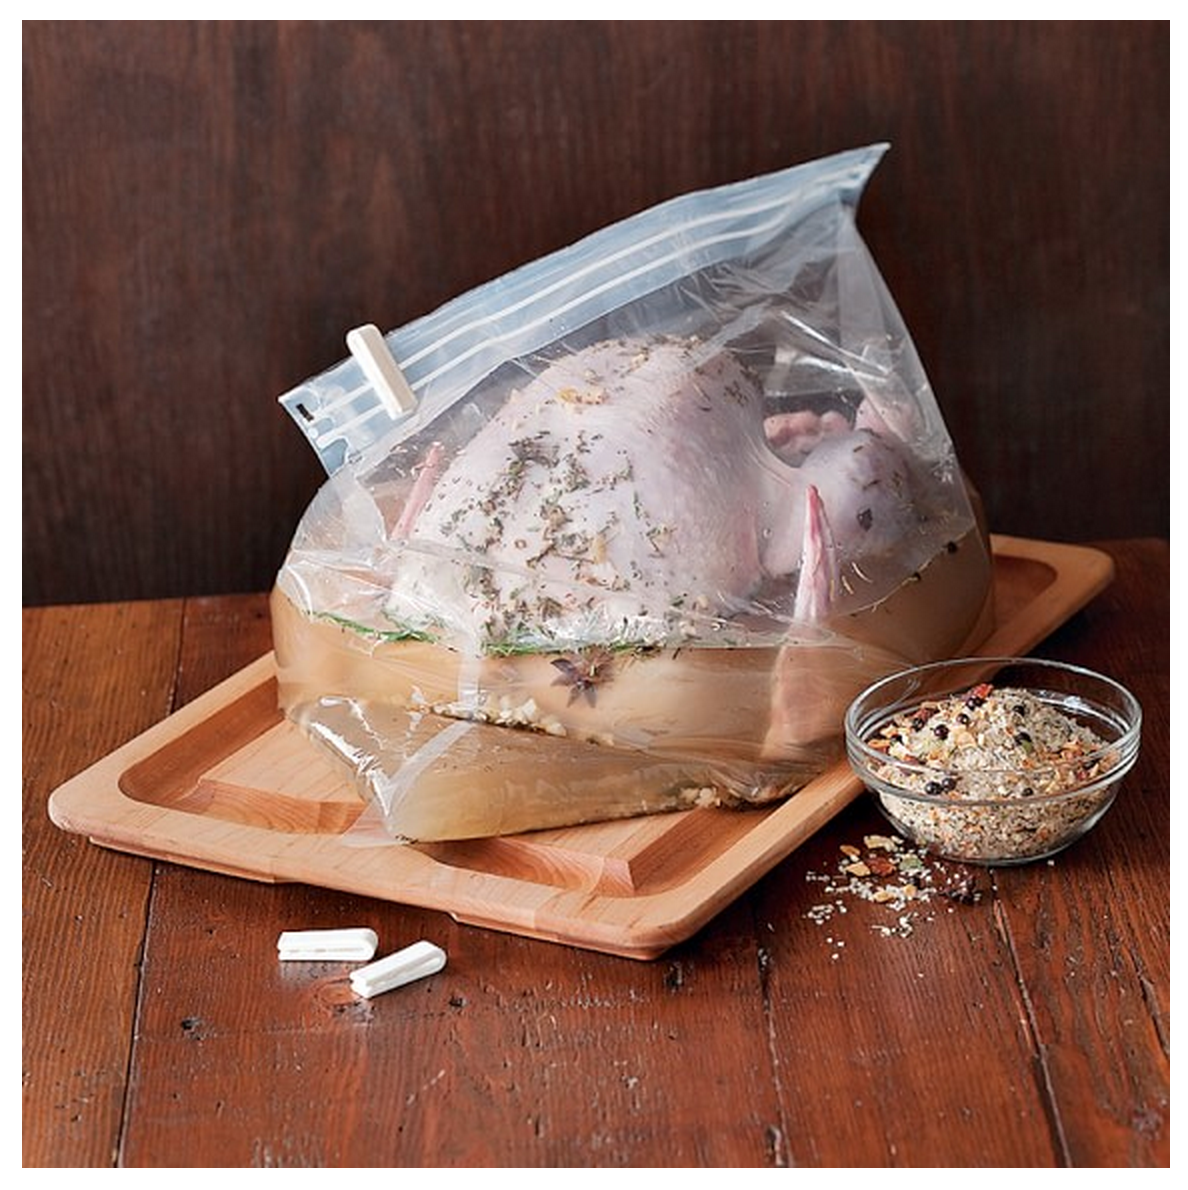
I also bought their brining bags: Brining Bags
And I followed the instructions on the container. I put the bag in my big gumbo pot and put the turkey in it. Then I add the brine, close the bag, put the lid on the pot and put it in the fridge for the amount of time I want to brine it (follow the instructions on the mix).
I've also found that the brining mixes at Whole Foods look pretty much the same so if you can't get to WS, just check out your grocery store options too.
When you brine your turkey you are basically sealing the pores of the bird so the juices stay in while cooking. LOL! All that salt water just seals the skin right on up. This way...you don't have to start with your turkey breast side down first so that the breast is guaranteed to be juicy. The thought of my clumsy behind flipping a hot turkey mid-cooking is tragic. Nobody wants that. That turkey would be sliding across the kitchen floor like a fumbled football on an NFL field.
1. Remove the second rack from the oven and tuck it by the fridge out the way. Position the lone rack so that when you put the turkey in...it's in the MIDDLE of the oven from top to bottom and side to side.
2. Preheat oven to 450 degrees.
3. Take turkey out of brine. Drain right side up holding turkey under the wings.
4. Put turkey on rack inside roasting pan.
5. Put turkey neck and giblets in bottom of pan UNDER rack. (Hopefully you have the proper rack that is not flat to allow this.)
6. IF YOU'RE NOT STUFFING (which I never, ever, EVER do) place a lemon, cut in half, inside the cavity along with half a bell pepper and half an onion.
7. With hands...rub turkey down really well with softened butter (If you forgot to allow your butter to soften put in the microwave for 10 second intervals checking it between intervals to see how soft it is. Should only take one and a half interval or so depending on your microwave.). Make sure you get all up in the crevices and everything.
8. Sprinkle the turkey LIGHTLY with SOME of your herbs at first. Why? Cuz the heat and the butter is going to make most of them slide off in the beginning. Pace yourself...it's gonna be fine...I promise!
9. Fold aluminum foil over the wing tips. You know...kinda like making long Erica B. style gloves for the bird so the tips don't dry out. LOL!
10. Using linen cooking twine, measure out twine. I usually cut off more than I need and trim. Pull twine out, hold arm straight in front of you and let length of twine almost reach the floor. Double that and cut. Starting at the center of the twine...put it under the butt of the bird, folding the butt up tightly. Follow in a common sense way to pull the legs and wings as tight to the bird as possible without it being TOO tight so the twine doesn't cause damage to the skin. It doesn't have to be neat...just tight. Mmmmkay?
11. Add 2 cups of chicken broth to the bottom of the pan along with the giblets.
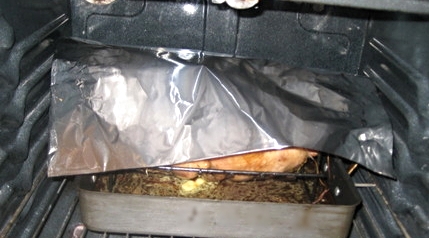
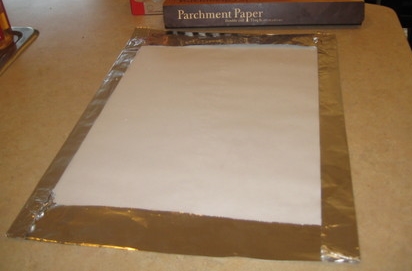
12. Make a "blanket" for your turkey by folding aluminum foil over parchment paper and cover bird.
13. Place turkey in oven setting timer for HALF the time you're going to cook the entire bird. (Roasting time depends on size of bird and if it's stuffed or not. Check here: http://www.fsis.usda.gov/wps/portal/fsis/topics/food-safety-education/get-answers/food-safety-fact-sheets/poultry-preparation/lets-talk-turkey/CT_Index)
14. Turn the oven temperature down to 350 degrees.
15. When timer goes off...you're ready to start the basting process. You won't have much (if any) liquid in the bottom of the pan. This will change. LOL!
16. I always start off with two cans of broth in the bottom of the pan along with half a stick of melted butter. (DON'T FORGET TO REMOVE THE ALUMINUM FOIL GLOVES!!!!!)
17. Sprinkle your bird with the rest of the seasonings you're using and (reset timer for the rest of time needed to cook your bird) Baste the turkey using both the brush and the basting bulb. (I use this: http://creoleindc.typepad.com/rantings_of_a_creole_prin/2013/11/angled-dripless-turkey-baster.html) BE QUICK! EVERY TIME YOU OPEN THE OVEN HEAT IS ESCAPING SO YA GOTTA BE QUICK! USE THE LIGHT ON YOUR OVEN TO CHECK IN!
18. I don't know how often I baste but it's prolly like every 20 minutes or so. I'm quick. Pay attention to what's in the bottom of the pan and adjust as needed with broth and whatnot.
19. Keep basting until the bird is done. It should be a lovely golden brown.
20. Remove and using handles on rack...remove the bird from the pan and put on a long cookie sheet cuz you're about to make the gravy.
Now, everybody has their own method to do anything so keep in mind this is the way I do it. My turkey is always delicious and I've changed up my process over the years and perfected it. There are, arguably, better ways to do most of this so if it makes sense and it works for you...then you know what to do. If you're a first time turkey roaster, however...I promise you can't go wrong following these instructions.
If you have any questions just ask and I'll answer. I promise to be nice unless you ask me something super dooper crazy. What's super dooper crazy you ask? Once...on a recipe for something with shrimp in it, someone asked what could they substitute for shrimp.
*BLINK*
I told them gummy worms because really...that's just dumb. There is no substitution for shrimp. Just don't put shrimp in it.
I made the following video in 2009. I've since changed some things up but it will help you visualize the process. This was BEFORE really getting into filmmaking so yeah...the production quality pretty much sucks. LOL! Next time I roast a turkey I'll make a better one.
I hope this helps! I believe in you! Your turkey is going to be FAN-TA-BU-LOUS!