German Chocolate Cake - Gluten Free

I've been making cakes that I've never made before as gluten-free.  I ran into some issues recently trying to make my own gluten-free flour and well...I won't be doing that mess again.  Nothing worse than an ugly cake that tastes good.  NOTHING!  Cake should be pretty.

Moving on...

The Robinator requested a German Chocolate Cake for his birthday this year and, since I've started using Bob Mill's Gluten-Free Baking Flour...life has been good.  So I just swapped out the flour and made the old super-dooper delicious and word that I hate which starts with a 'M' and ends with a 'T' and is sometimes used to describe non-dry cake.  

CAKE INGREDIENTS

2 cups cake flour

1 tsp baking soda

Kraft Baker's German Sweet Chocolate Bar - 4 oz.

1/2 cup water

1 cup butter

4 large eggs, separated

2 cups sugar

1.5 teaspoons vanilla

1 cup buttermilk

1/4 tsp salt

ICING INGREDIENTS

1.5 teaspoons vanilla

4 large egg yolks

Can of evaporated milk - 12 oz

3/4 cup of butter

1.5 cups sugar

1 cup sweetened coconut flakes

1.5 cups chopped pecans

DIRECTIONS - You need 4 bowls:  2 small glass bowls, a medium and a large bowl.

Small bowl: Break up chocolate chunks, add 1/2 cup of water.  Add an inch of water to the bottom of a pot, bring water to bowl and place bowl on top.  Stir until chocolate is melted.   Remove from heat.

Medium bowl:  Sift together flour, baking soda and salt.

Large bowl:  Beat 2 cups sugar and 1 cup butter until fluffy.  Add egg yolks one at a time blending after each egg until mixed. Add chocolate and vanilla.  Beat.  Add 1/2 cup of flour mixture and 1/4 cup of buttermilk.  Beat.  Repeat until all has been incorporated.

Small bowl:  Beat egg whites until stiff peaks form.  Fold into cake batter gently.

Split between 3 round cake pans which have been buttered and floured.

Bake at 350 degrees for 15 minutes.  Leave in pan for half an hour or so before you take them out of pans to cool.

Make icing.  (This tastes like pecan candy.)

In a saucepan, whip together can of milk and egg yolks over medium / high heat.  Add butter and sugar.  Stirring constantly, bring to boil.  Remove from heat and add coconut and pecans.  Let cool.

To frost, add icing between each layer.  I do it by pouring in the middle and the pushing out to the edges allowing it to drip down the sides.  All the leftover icing should be poured all over top and moved around to spill over.

This cake is ridiculously delicious.


UPCYCLED! Coat, Hat and Umbrella Stand for Foyer

I found this stand and it was super rickety.  Like...SUPER.  But you know how I feel about real wood so I knew it would be alright.  I took it apart and cleaned it really well and then put it back together solidly minus the rings.  Then...I primed it and spray painted it in antique white.  I painted the rings gold.  

Wanna know how much I paid for it?  $5.  LOL!  Yup...you read that right.  $5.  

GO ME!!!!!!!

Sweet Potato and Pecan Cupcakes with Cream Cheese Frosting

Week before last I was sitting at a red light in a bit of traffic.  I looked to my right and caught the eye of the elderly gentleman on side of the road who was selling sweet potatoes.

Him:  You don't need no sweet potatoes?

I laughed and pulled over.  Apparently, I needed sweet potatoes.  

So I returned home with 20 pounds of sweet potatoes for $10 which is a REALLY good deal but um...there are  only two of us and sweet potatoes will probably go bad before sweet potato PIE time.  That said...I've been being uber creative with sweet potatoes and searching out all types of different recipes online.    

Today, I roasted cubes of sweet potatoes tossed in olive oil on a cookie sheet for thirty minutes at 425 degrees.  Then...I put two cups to the side and seasoned the rest for lunch.  

Have I mentioned we had 20lbs?  

Yeah.

I found a recipe for Sweet Potato Pecan cupcakes with Cream Cheese frosting which looked promising so I swapped out the can of sweet potatoes for my smashed cubes of potatoes and they were soooooooooooooooooooooo delicious!  I'm not a big icing person so I put far less icing on them than it seems most folks do but they were so good.  Not too sweet and just perfect!  The Robinator had three in twenty minutes.  LOL!  Good thing the recipe made 24!  

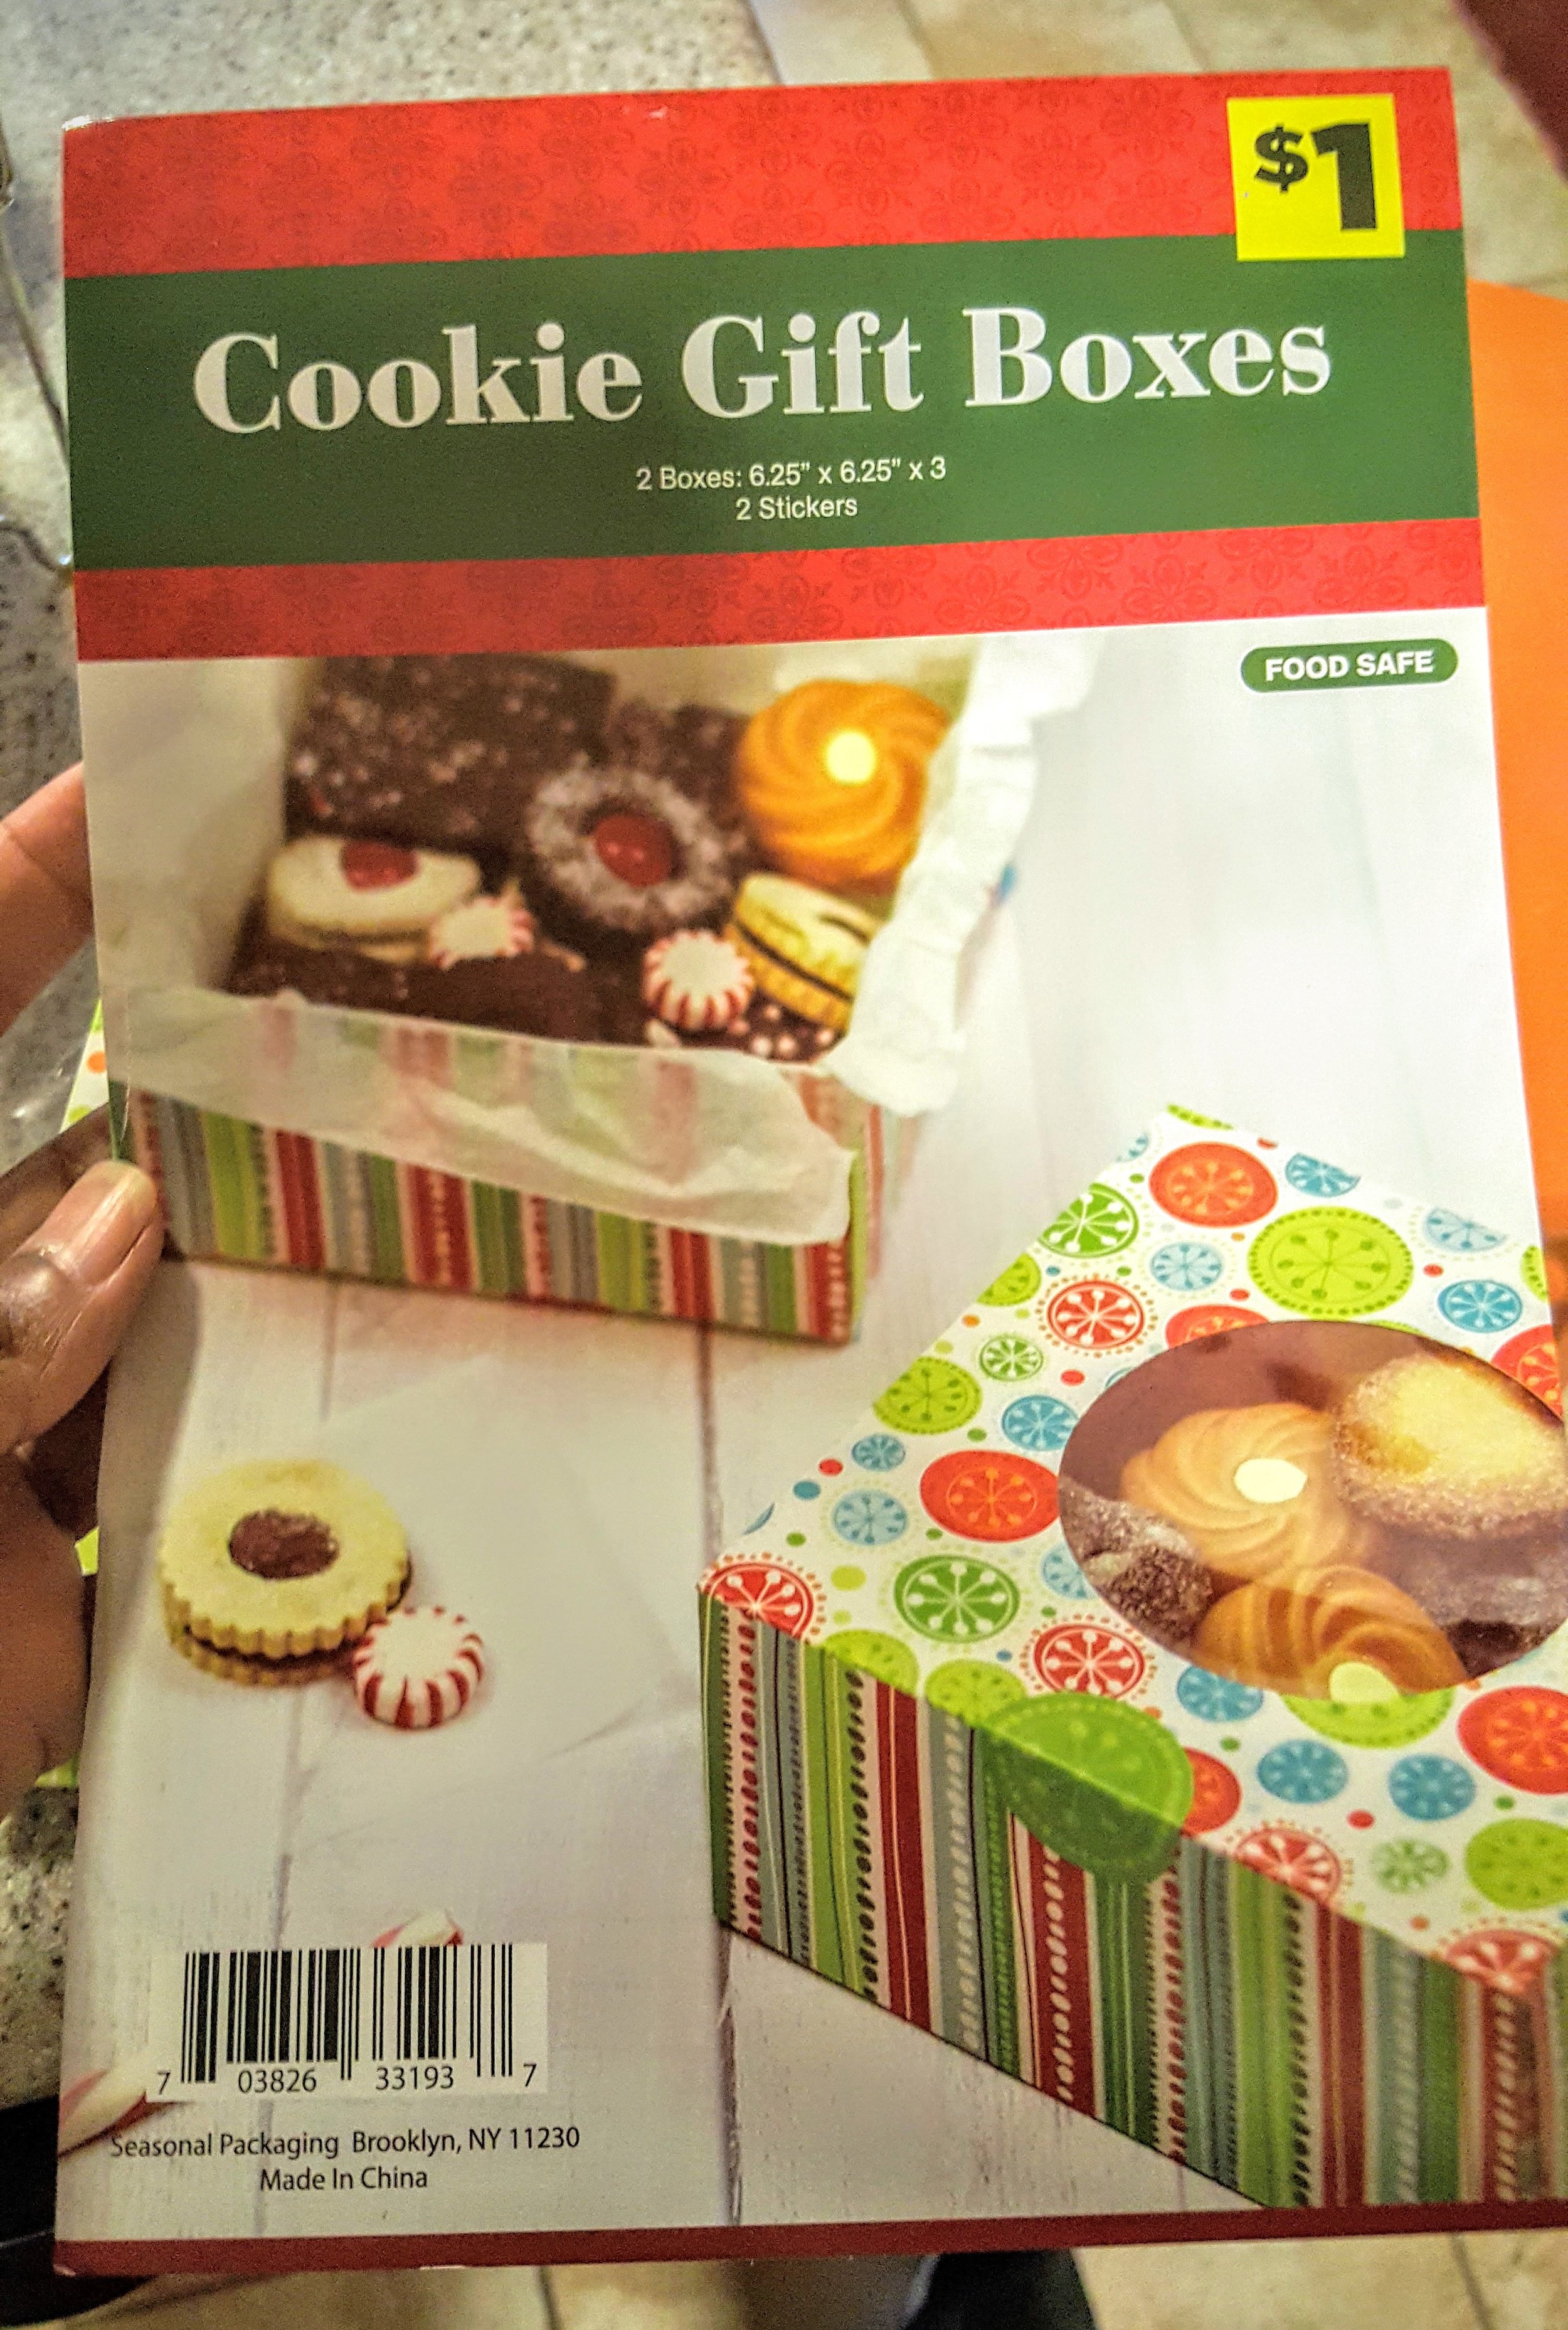
I gave some to the neighbor using the awesome Dollar Store boxes I buy all of when I see them in NON-traditional Christmas print.  LOL!  They are $1 for 3 and they are super nice with a peek-a-boo top.  And they are way nicer than the ones at The Container Store that you pay $6 for.  

I feel safe telling yall that because I have like...a LARGE drawer full of them so I won't run out if there is a shortage.  LOL!

This is a 3 bowl recipe for the cake.  Use the biggest bowl for the creaming together the butter and the sugar.  Oh...you'll need another bowl for the frosting.  LOL!

Sweet Potato and Pecan Cupcakes with Cream Cheese Frosting

  • 1 cup coarsely chopped pecans
  • 2 cups sugar
  • 1 cup butter, softened
  • 4 large eggs
  • 1 (16-oz.) can mashed sweet potatoes OR two cups of mashed roasted sweet potatoes
  • 2/3 cup orange juice
  • 1 teaspoon vanilla extract
  • 3 cups all-purpose flour OR 3 cups of Bob's Red Mill Gluten-Free Baking Flour
  • 1 teaspoon baking powder
  • 1 teaspoon ground cinnamon
  • 1/2 teaspoon baking soda
  • 1/2 teaspoon ground nutmeg
  • 1/4 teaspoon salt
  • Cream Cheese Frosting
  • Garnish: coarsely chopped pecans

1. Place pecans in a single layer in a shallow pan.

2. Bake at 350° for 8 to 10 minutes or until toasted, stirring once after 4 minutes.

3. Beat sugar and butter at medium speed with an electric mixer until blended. Add eggs, 1 at a time, beating until blended after each addition.

4. Whisk together mashed sweet potatoes, orange juice, and vanilla extract. Combine flour and next 5 ingredients. Add flour mixture to sugar mixture alternately with sweet potato mixture, beginning and ending with flour mixture. Beat at low speed just until blended after each addition. Fold in toasted pecans. Place foil baking cups in muffin pans, and coat with vegetable cooking spray; spoon batter into cups, filling two-thirds full.

5. Bake at 350° for 28 to 30 minutes or until a wooden pick inserted into center comes out clean. Remove immediately from pans, and cool 50 minutes to 1 hour or until completely cool. Spread cupcakes evenly with Cream Cheese Frosting. Add a pecan half to the top to make pretty.

The cream cheese frosting is the basic recipe.

1 package of cream cheese, softened

1 stick of butter, softened

2 cups powdered sugar

1 teaspoon vanilla

Cream together cream cheese and butter until fluffy, gradually add powdered sugar on low until all gone and then add vanilla.  Voila...cream cheese frosting!  

These are EXCELLENT fall cupcakes and will be great for the dessert station for Thanksgiving!  GO YOU!

How to Make Lovely Ceramic Coasters!

One day last week I was procrastinating.  STORY OF MY LIFE!  I went to sit down and focus with a drink in my hand.  I already had a mug on the only coaster on that table so then I started thinking that I need more coasters.  So, of course, I started online shopping for coasters.  You know...all the normal places, Pottery Barn, Crate and Barrel, West Elm, etc.

I saw stuff I liked that was more than I wanted to pay and the stuff that I thought was reasonably priced was just BLAH.

BLAH, I SAY!  BLAH!

So then I decided to make my own.  No...seriously...I picked up my keys and went to get supplies to make my own.

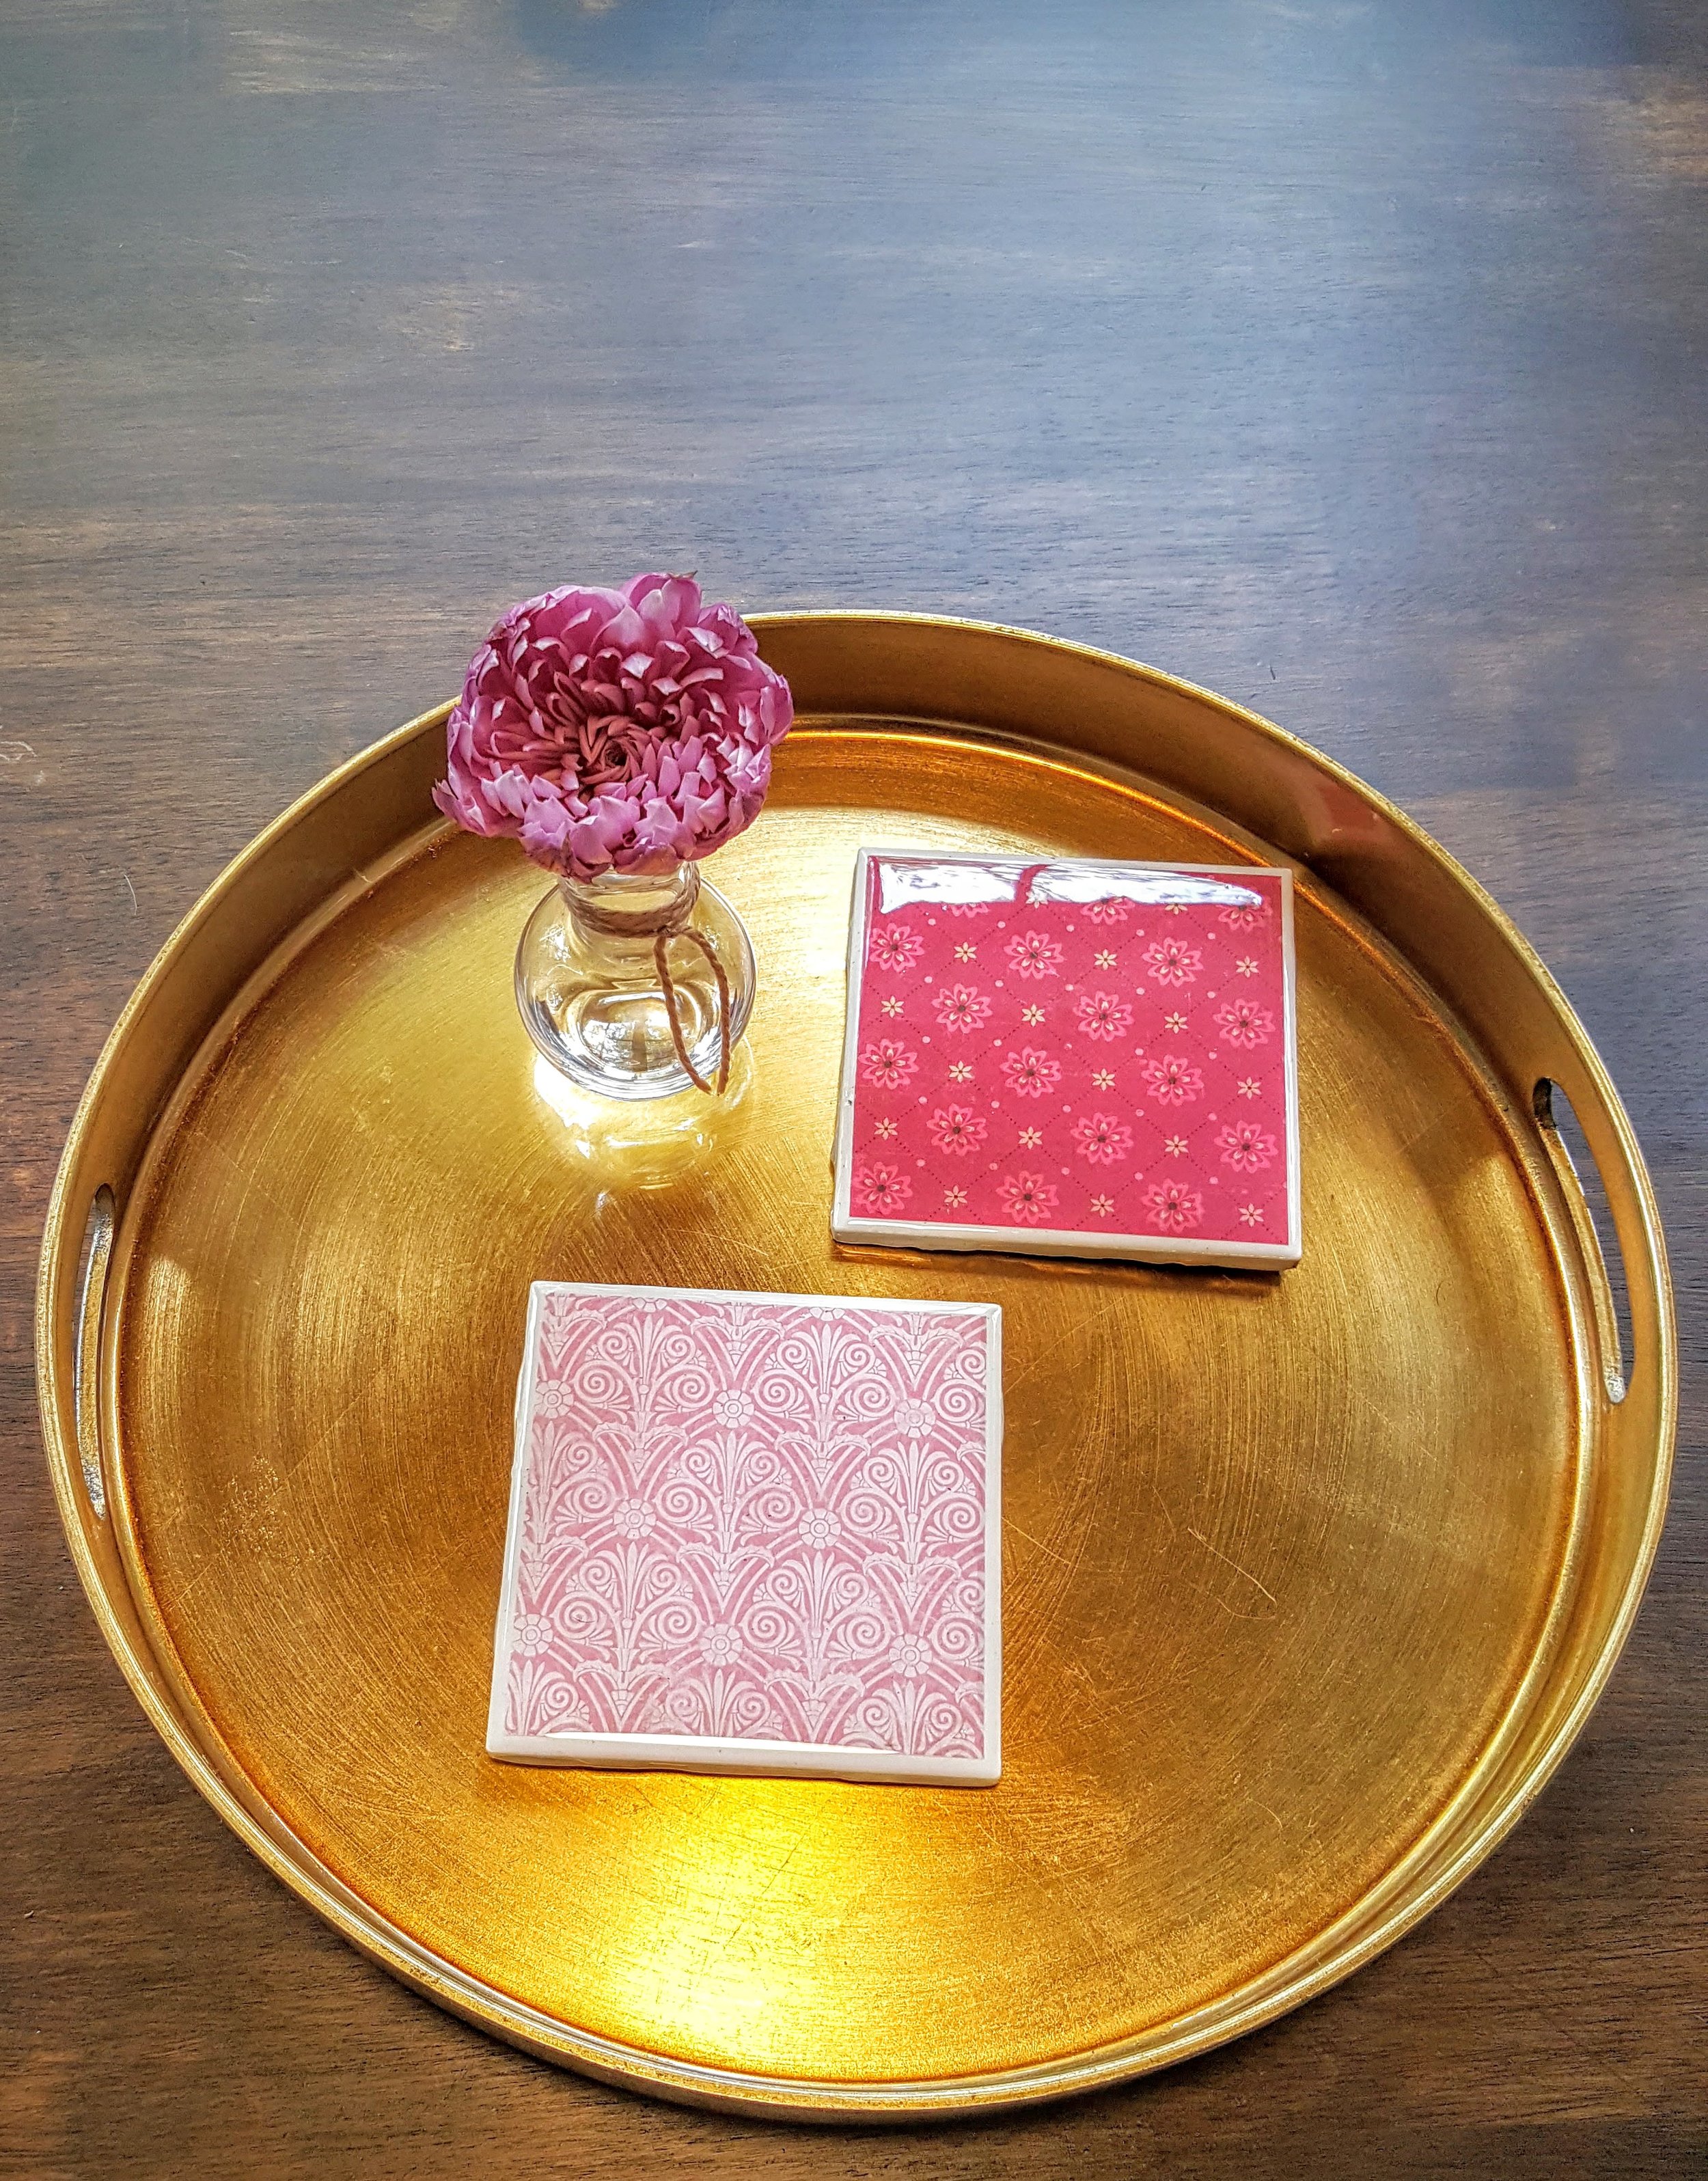
I bought white 4 x 4 tiles for .12 cents each at Lowes, a book of scrapbook paper for $5, some epoxy and some cork squares.

Prep your surface.

1.  Cut scrapbook paper 10cm x 10cm.

2.  Brush tile with Modge Podge.

3.  Put paper on tile.

4.  Let dry for 15 minutes. (A few of them, I did a bit of extra with some paint so I had to let those dry longer.)

5.  Brush tile with another layer of Modge Podge.

6.  Let completely dry overnight.

THE NEXT DAY...

Prep your surface and turn a disposable plastic cup under each tile.

7.  Mix epoxy per directions.  (Don't mix more than a little less than half a cup of each bottle.)

8.  Pour in the center of each tile.

9.  Smooth with a spreader.  I use Bondo spreaders.  

10.  Use a foam brush or a folded index card to make sure the sides coated and there is none under the tile.

11.  Let dry for 24 hours.  (I actually let mine dry longer because I was waiting on the cork adhesive to arrive.)

12.  Add cork squares to bottoms.

13.  Tie something around 2 or 4 of them to give as gifts!  LOL!

So yeah...I think they are gorgeous!  Guess what everyone is getting for Christmas this year?  LOL!  Yup.  Just bought two boxes of 100 tiles for $12.00 per box.  GO ME!  Oh...and I made like 32 more Friday.  Crazy pants.

They are on my Etsy site if you decide to not make any but find you need a few extra coasters around your house too.  I put one on every nightstand and one per chair on or near every table.

Tips:

1.  Line the bottom edges with clear tape that you can pull off when it dries so that the drips don't harden underneath.

2.  If you do get hardened drips, you can sand those off.

3.  Cut all of your paper first with an exacto knife.

4.  Don't let epoxy dry anywhere dust or bugs can light on them.  (Yes...it happened.  Damn daddy long leg mosquito!)